Few handmade gifts earn more iful, and small enough that you can finish it before your yarn basket develops its own postal code. Better still, a basic knit beanie teaches several useful skills at once: knitting in the round, working ribbing, checking gauge, shaping a crown, and weaving in ends without creating a tiny yarn octopus inside the hat.
This step-by-step tutorial shows how to knit a classic children’s hat that fits approximately a child with a 19- to 20.5-inch head circumference. The pattern is intentionally simple, but it leaves plenty of room for stripes, pom-poms, patches, color changes, or whatever wild design choices are currently popular with the small human in your life.
What You Need to Knit a Children’s Hat
Before casting on, gather your supplies. A hat is a friendly project for beginners, but it is much more enjoyable when you are not searching for a stitch marker under the couch halfway through the brim.
Materials
- Approximately 120 to 160 yards of soft worsted-weight yarn
- US size 6 (4 mm) 16-inch circular knitting needle for ribbing
- US size 7 (4.5 mm) 16-inch circular knitting needle for the hat body
- US size 7 double-pointed needles or a long circular needle for magic loop
- One locking or ring stitch marker
- Tapestry needle
- Scissors
- Flexible measuring tape
- Optional pom-pom maker, label, or decorative patch
Skills You Will Use
This children’s knit hat pattern assumes you can cast on, knit, purl, knit two stitches together, and work in the round. You do not need to be a knitting wizard with a cottage in the woods and seventeen hand-carved needles. You simply need patience, a little yarn tension, and the ability to laugh when a stitch marker briefly goes missing.
The main techniques are:
- Knit stitch: The foundation of the hat body.
- Purl stitch: Used for the stretchy ribbed brim.
- K2tog: Knit two stitches together, a simple decrease that shapes the crown.
- Knitting in the round: Creates a seamless tube instead of a flat rectangle with a side seam.
Choose the Right Yarn for a Child’s Knit Hat
For a children’s hat, comfort matters as much as color. A scratchy yarn may look adorable in the skein, but it can become a tiny forehead protest once the hat is actually worn. Choose a yarn that feels soft against the skin, has enough elasticity to bounce back after stretching, and can survive ordinary kid life.
Wool blends, washable merino, acrylic, cotton blends, and superwash yarns can all work well. Wool is warm and naturally springy. Acrylic is often budget-friendly and easy to wash. Cotton can be soft and breathable but has less bounce, so it may need a slightly snugger fit. A wool-acrylic blend is often a nice middle ground for a frequently worn children’s beanie.
For younger children, avoid loose beads, detachable charms, buttons, or decorations that could become a safety concern. A securely attached yarn pom-pom or embroidered face is usually a better choice than turning the hat into a miniature hardware store.
Measure for the Best Children’s Hat Size
To measure a child’s head, wrap a flexible tape measure around the forehead, just above the eyebrows and ears, and bring it around the widest part of the head. Keep the tape snug but not tight enough to make the child look like they are preparing for a scuba dive.
Knitted hats should usually be slightly smaller than the actual head circumference because knit fabric stretches. This is called negative ease. For a ribbed children’s hat, one to two inches of negative ease often creates a comfortable fit.
Example Sizing Formula
Suppose the child’s head measures 20 inches. You may aim for a finished hat circumference of about 18 inches. If your gauge is 4.5 stitches per inch, multiply:
18 inches × 4.5 stitches per inch = 81 stitches
Because this pattern uses 2 x 2 ribbing and eight crown decrease sections, round the number to a stitch count divisible by both 4 and 8. In this example, cast on 80 stitches.
This tutorial uses 80 stitches, which makes a flexible hat for many children around ages 5 through 8. For a smaller or larger size, use the same formula and select a stitch count that works with your ribbing pattern and crown decreases.
Why Gauge Matters More Than Guesswork
Gauge is the number of stitches and rows you knit within a measured space, usually four inches. It may sound like the least glamorous part of knitting a hat, which is fair. Nobody has ever shouted, “Look at this gorgeous gauge swatch!” at a birthday party. Still, gauge is what separates a well-fitting beanie from a hat that either slides over the child’s eyes or squeezes their head like an overachieving grapefruit.
For this project, aim for approximately:
18 stitches and 24 rows = 4 inches in stockinette stitch
To make a swatch, cast on at least 24 stitches with your larger needle. Knit in stockinette stitch for about 4 inches, then measure the center of the fabric. Do not measure along the curled edge, because stockinette has a dramatic personality and likes to roll.
If you have too many stitches per inch, your fabric is too tight and your hat may come out too small. Try a larger needle. If you have too few stitches per inch, your fabric is too loose and your hat may be too large. Try a smaller needle.
Children’s Hat Knitting Pattern: Step by Step
Step 1: Cast On
Using the smaller US size 6 circular needle, cast on 80 stitches with a long-tail cast-on. Leave a tail of about 6 inches for weaving in later.
Before joining, lay the stitches along the circular needle and make sure they are all facing the same direction. This step matters. A twisted cast-on will create a Möbius-strip hat, which is fascinating in a math class but less useful in winter.
Place a stitch marker to mark the beginning of the round. Join the stitches carefully by knitting into the first cast-on stitch.
Step 2: Knit the Ribbed Brim
Work a 2 x 2 ribbing pattern for 1.5 inches:
Round 1: *Knit 2, purl 2; repeat from * around.
Continue repeating this round until the brim measures about 1.5 inches. The ribbing gives the hat stretch and helps it stay on a busy child’s head during playground adventures, grocery-store negotiations, and other high-stakes activities.
For a fold-up cuff, work the ribbing for 2.5 to 3 inches instead. A deeper brim adds warmth and lets you use a contrasting color for a cheerful striped edge.
Step 3: Switch to the Larger Needle
Switch to the US size 7 circular needle. Knit every stitch around. When knitting stockinette stitch in the round, you knit every round; there is no need to purl alternate rows.
Continue knitting until the hat measures approximately 5.5 inches from the cast-on edge. This measurement includes the ribbed brim. If the child prefers a slouchier hat, knit an extra half inch to one inch before starting the crown decreases.
Step 4: Begin the Crown Decreases
The crown is shaped by removing eight stitches at evenly spaced intervals. The decreases create a neat, rounded top rather than a flat tube that looks like it is waiting for further instructions.
Work the following rounds:
- Decrease Round 1: *Knit 8, k2tog; repeat from * around. You will have 72 stitches.
- Round 2: Knit all stitches.
- Decrease Round 3: *Knit 7, k2tog; repeat from * around. You will have 64 stitches.
- Round 4: Knit all stitches.
- Decrease Round 5: *Knit 6, k2tog; repeat from * around. You will have 56 stitches.
- Round 6: Knit all stitches.
- Decrease Round 7: *Knit 5, k2tog; repeat from * around. You will have 48 stitches.
- Round 8: Knit all stitches.
- Decrease Round 9: *Knit 4, k2tog; repeat from * around. You will have 40 stitches.
- Round 10: Knit all stitches.
- Decrease Round 11: *Knit 3, k2tog; repeat from * around. You will have 32 stitches.
- Round 12: Knit all stitches.
- Decrease Round 13: *Knit 2, k2tog; repeat from * around. You will have 24 stitches.
- Round 14: Knit all stitches.
- Decrease Round 15: *Knit 1, k2tog; repeat from * around. You will have 16 stitches.
- Decrease Round 16: K2tog around. You will have 8 stitches.
As the number of stitches shrinks, the hat may no longer fit comfortably around a 16-inch circular needle. Switch to double-pointed needles or use the magic loop technique with a longer circular needle. This is normal. The hat is not rebelling; it is simply becoming a crown.
Step 5: Close the Top of the Hat
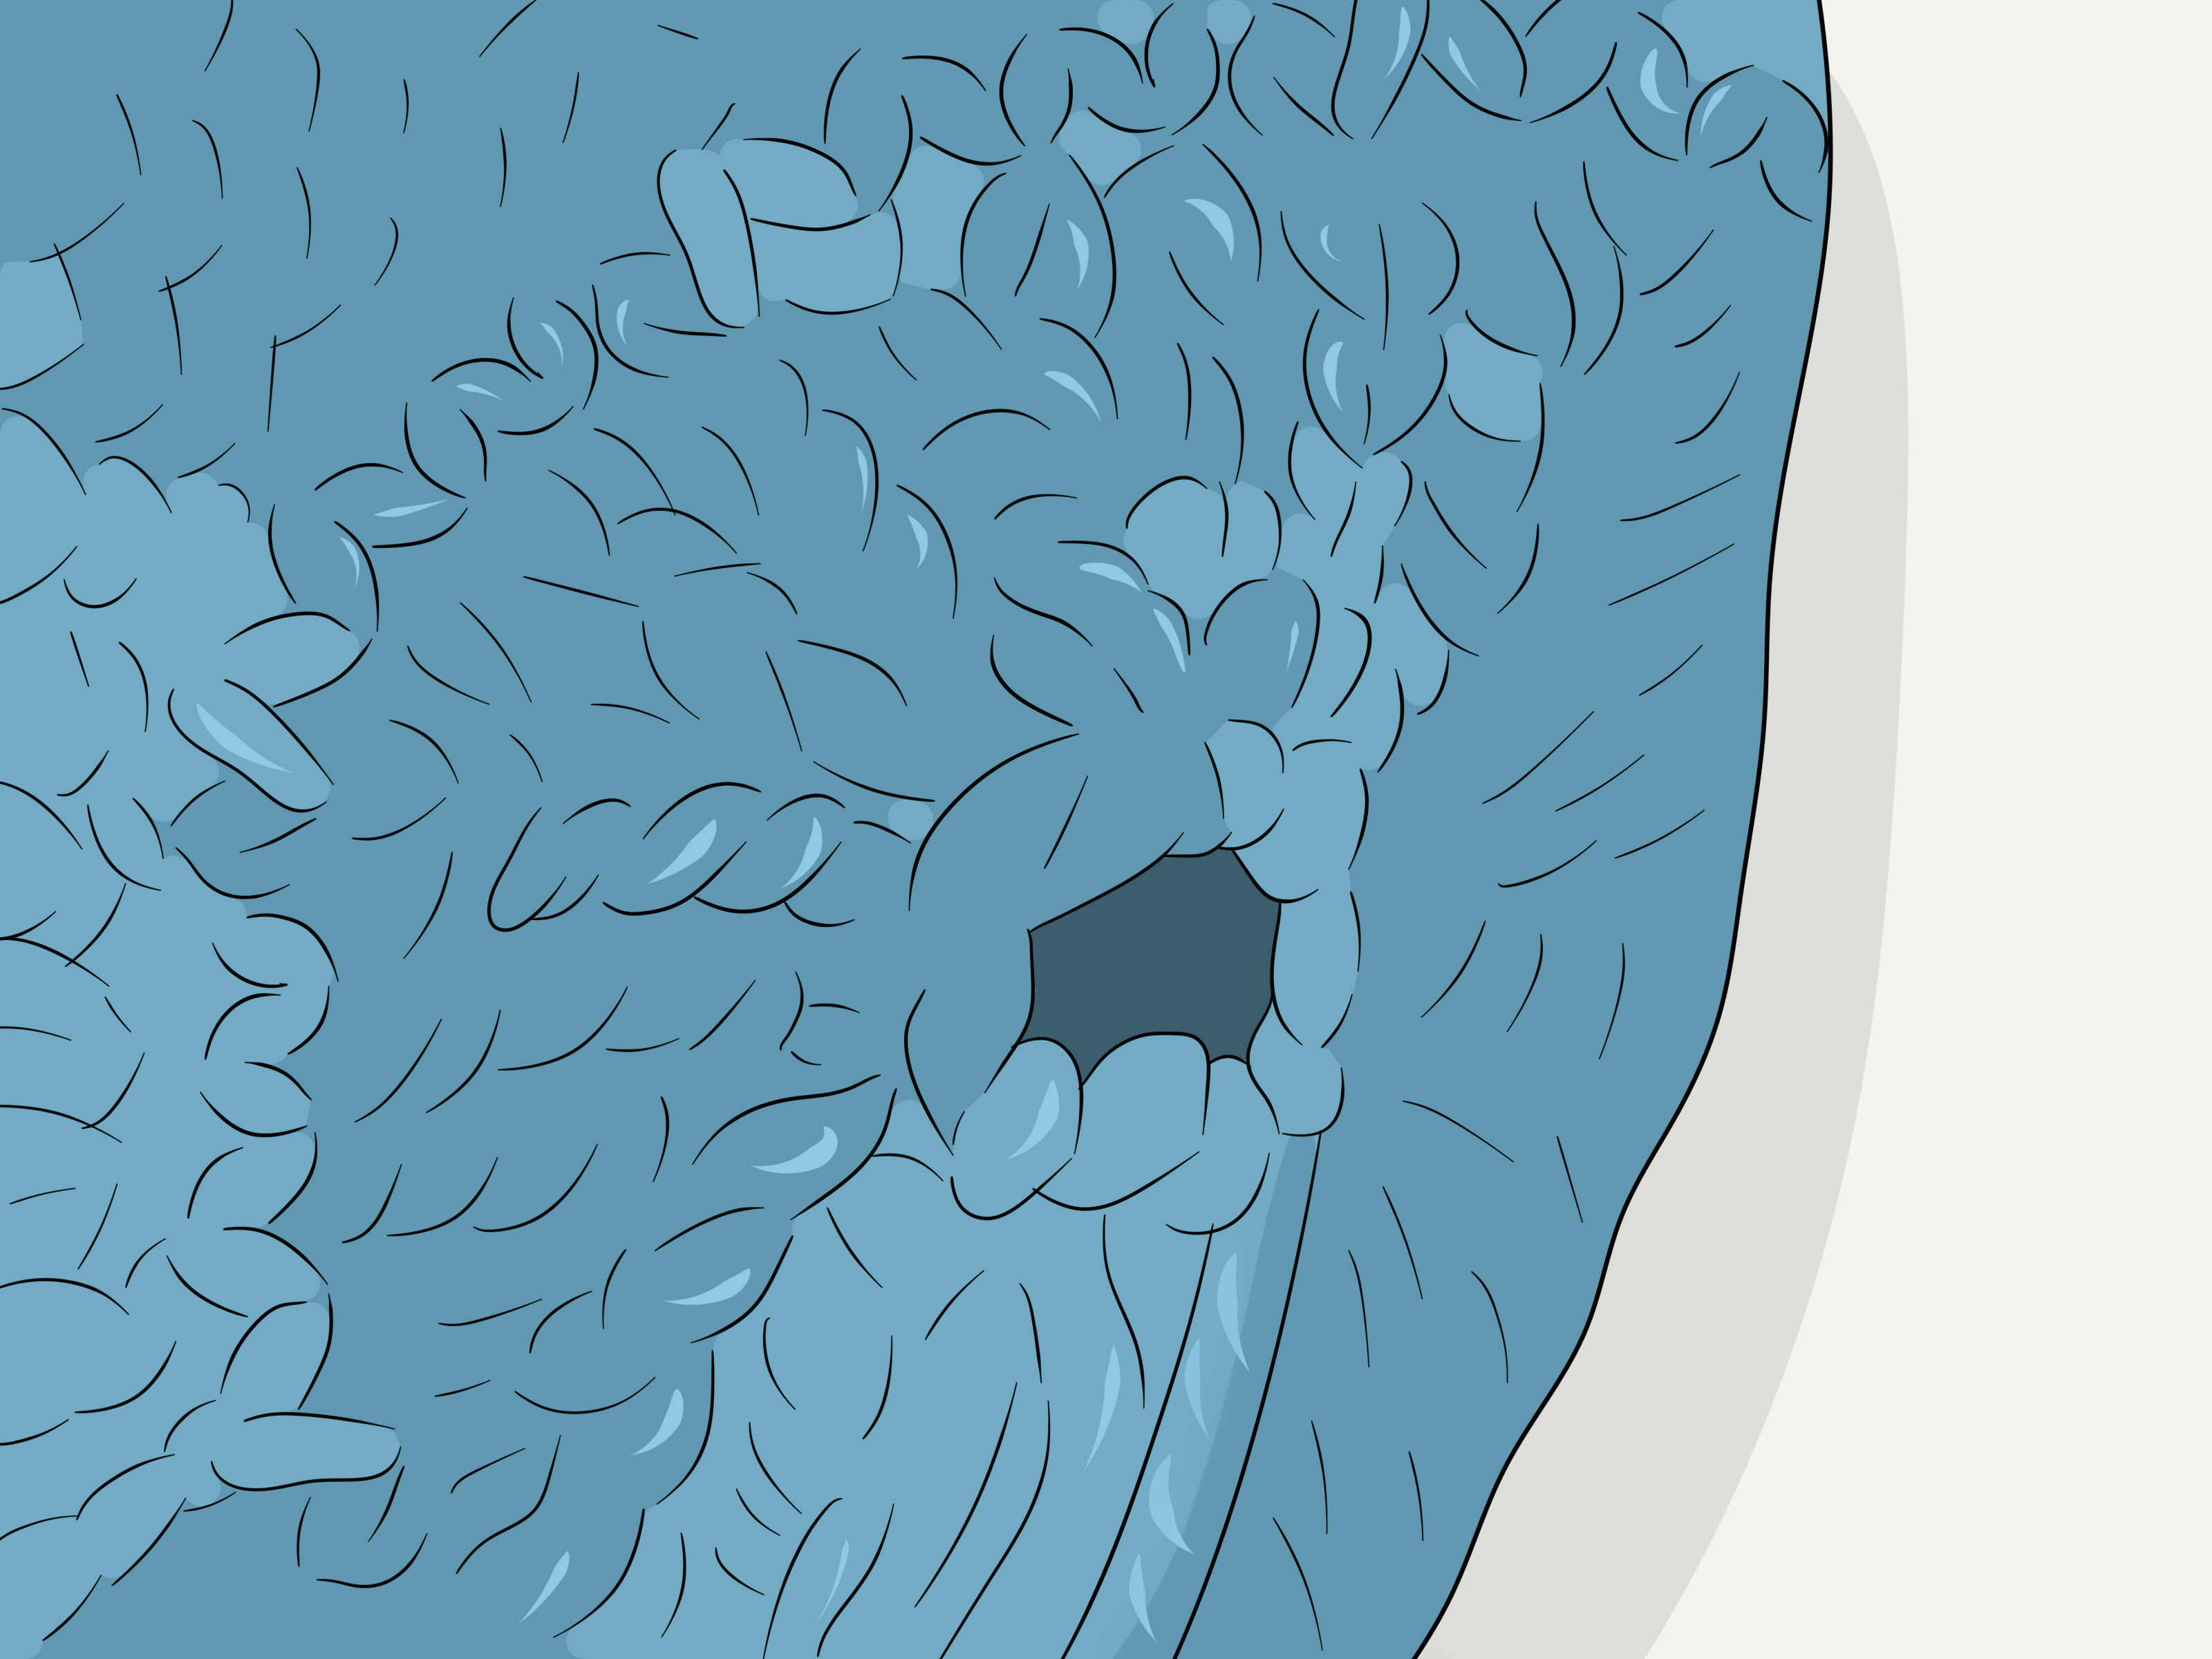
Cut the yarn, leaving a tail about 8 inches long. Thread the tail through a tapestry needle. Slip the remaining eight stitches onto the yarn tail one at a time, then pull firmly to close the opening.
Pass the yarn through the center of the crown to the inside of the hat. Weave in the end securely, moving through several nearby stitches in different directions. Trim the excess yarn once the tail feels anchored.
Step 6: Weave In the Cast-On End
Use the tapestry needle to weave in the cast-on tail along the inside edge of the ribbing. Follow the path of the stitches instead of making large, obvious zigzags. A well-woven end should feel secure without creating a bulky lump against the child’s forehead.
Easy Ways to Customize a Knitted Children’s Beanie
Once you understand the basic hat structure, customization becomes the fun part. You can make several hats from the same pattern without making them look like uniform-issued winter gear.
Add Stripes
Change colors every two, four, or six rounds. For cleaner stripes, bring the old yarn behind the new yarn at the beginning of the color-change round. This helps prevent a visible gap between the first and last stitch of each stripe.
Create a Color-Block Hat
Use one color for the ribbed brim, another for the hat body, and a third for the crown. This is especially useful for yarn leftovers. Tiny amounts of yarn that cannot make a whole scarf can still become the star of a very fashionable hat.
Make a Pom-Pom
A pom-pom can add instant personality. Make one with a pom-pom maker, cardboard rings, or even your fingers. Tie it tightly, pull the ties through the crown, and knot them securely inside the hat. For very young children, make sure the pom-pom is firmly attached or skip it altogether.
Try a Name Tag
Sew a soft fabric label inside the hat with the child’s name or initials. This can help a handmade beanie find its way home after school, camp, or a chaotic playdate involving fifteen nearly identical winter hats.
Common Children’s Hat Knitting Problems and Fixes
The Hat Is Too Tight
A hat that fits too tightly may come from a small gauge, a tight cast-on, or too little negative ease. For the next hat, try a larger needle, cast on more stitches, or use a stretchier cast-on. If only the brim feels tight, the body may be fine; use a looser cast-on method or go up one needle size for the ribbing.
The Hat Is Too Loose
If the hat slides over the child’s eyes, your gauge may be too large or the hat circumference may be too close to the actual head measurement. Try a smaller needle or reduce the cast-on count in a multiple that still works with the ribbing and crown decreases.
The Crown Looks Pointy
A pointy crown often happens when decreases are worked too quickly or without enough knit rounds between them. For a rounder top, add another plain knit round between the early decrease rounds. For a softer finish, stop after 16 stitches, draw the yarn through them, and gently shape the crown by hand.
The Ribbing Looks Uneven
Check that you are knitting the knit stitches and purling the purl stitches consistently. It helps to read the fabric as you work: knit stitches look like little V shapes, while purl stitches look like small horizontal bumps. Once your eyes recognize the pattern, ribbing becomes much easier to maintain.
Knitting Experience: What a Children’s Hat Teaches You
Knitting a children’s hat may seem like a small project, but it teaches the kind of lessons that quietly improve every project that comes after it. The first lesson is that measurements matter, even when the item looks tiny. A difference of two stitches per inch can turn a cozy beanie into something that belongs on a doll, a pumpkin, or a very patient family cat. Learning to make and measure a gauge swatch builds the habit of checking your work before you invest hours in it.
The second lesson is that knitting in the round changes how you see fabric. When you work flat, you turn your project back and forth, creating a right side and a wrong side. In the round, the right side faces you almost all the time. That makes stockinette stitch wonderfully simple because every round is knit, knit, knit. It can feel almost meditative. A child’s hat is small enough that you can practice this rhythm without committing to a sweater large enough to require its own zip code.
The ribbed brim also provides an excellent introduction to reading stitches. At first, knit and purl stitches can seem like cousins who wear nearly identical hats themselves. After a few rounds of ribbing, however, your eyes begin to recognize the little V shapes of knit stitches and the raised bumps of purl stitches. This is a major knitting milestone because it helps you catch mistakes before they travel several inches up the hat and start demanding a rescue mission.
Then comes the crown, where the hat suddenly becomes more than a tube. Crown decreases teach you how shaping works. Every k2tog removes one stitch, and those small reductions gradually turn a cylinder into a rounded cap. It feels a little like watching a puzzle solve itself. The first few decrease rounds may seem slow because you are checking the pattern constantly. By the end, you will likely find yourself counting less and noticing more: the spacing of the decreases, the changing angle of the fabric, and the satisfying way the crown narrows.
There is also a practical joy in knitting for children. Kids tend to have opinions. Strong opinions. A neon green brim may be perfect. A purple pom-pom may be essential. A hat with dinosaur spikes may be declared the only acceptable winter clothing in the entire known universe. These requests are not obstacles; they are invitations to experiment. A basic beanie can become a striped sports hat, a cat-ear hat, a rainbow cap, or a color-blocked creation that looks like it escaped from a box of crayons.
Most importantly, a handmade children’s hat does not need to be technically perfect to be loved. A slightly uneven stitch, a tiny wobble in a stripe, or a pom-pom that leans with surprising confidence can become part of its charm. The goal is warmth, comfort, and the small thrill of saying, “I made this.” Once you finish one children’s hat, you may find yourself planning another before the yarn tail from the first one is even woven in. That is how knitting collections begin: one practical beanie, one cheerful color choice, and one child who asks whether the next hat can have ears.
Final Thoughts
Learning how to knit a children’s hat is one of the most useful beginner knitting projects you can tackle. It is quick enough to stay exciting, practical enough to be worn, and flexible enough to become a personal handmade gift. Start with a soft yarn, respect your gauge, keep the brim stretchy, and take your time with the crown decreases. Before long, you will have a cozy hat ready for school mornings, snowy walks, chilly playgrounds, and every photo where a child insists on making a face instead of smiling.