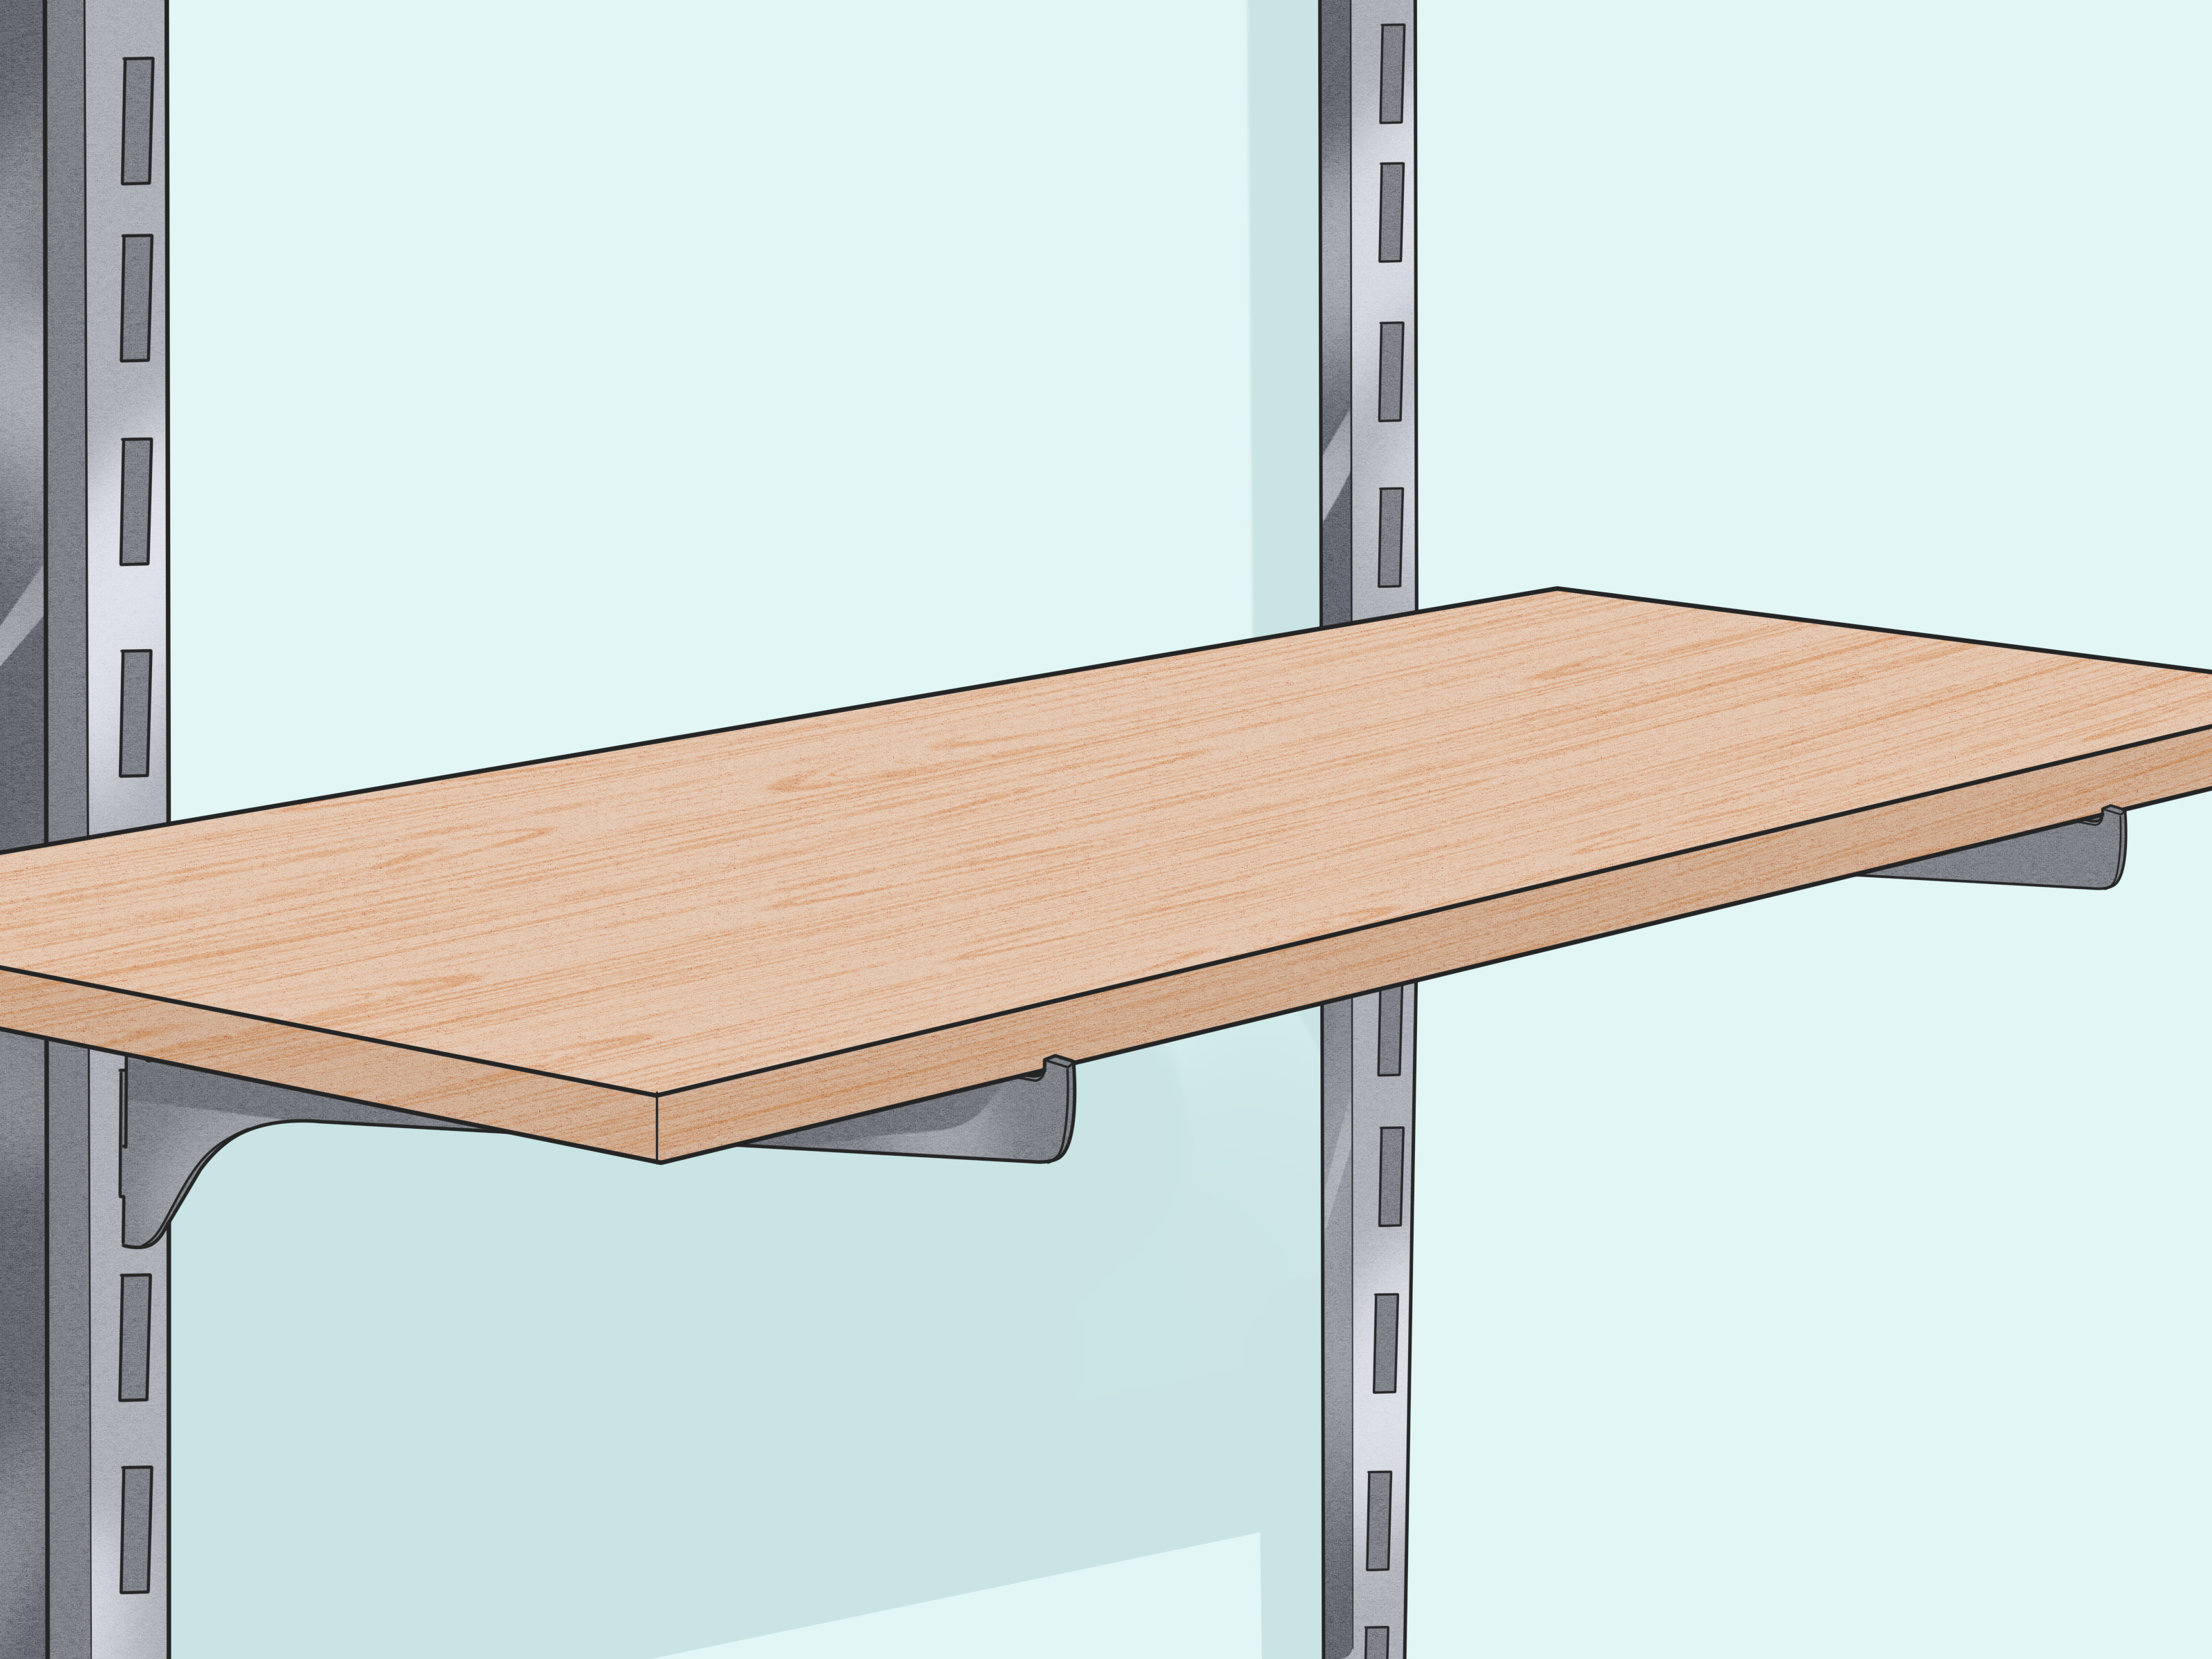
If your pantry currently looks like it was organized by a caffeinated raccoon, adjustable pantry shelves can fix that. They make it easier to store cereal boxes, canned goods, stand mixers, pasta towers, mystery snack bins, and that one giant bag of rice you bought because it seemed like a smart idea at the time. Best of all, adjustable pantry shelves give you flexibility. Today the shelf holds soup cans. Tomorrow it holds small appliances. Next month it becomes the official paper towel penthouse.
This guide walks you through how to build adjustable pantry shelves that are sturdy, practical, and good-looking enough to make your pantry feel custom. We will cover planning, materials, measurements, tools, step-by-step construction, finishing, and smart storage ideas so your shelves work hard without turning into a sagging disaster. Whether you are upgrading a reach-in pantry or building a simple shelving system from scratch, this project is very doable for a confident beginner with patience, a level, and a healthy respect for measuring twice.
Why Adjustable Pantry Shelves Are Worth Building
Fixed shelves can be useful, but they assume your pantry items never change. Real life laughs at that assumption. One week you are storing canned beans and cereal. The next week you are hiding a slow cooker, holiday platters, and a heroic supply of chips. Adjustable shelves solve that problem by letting you move shelves up or down as your storage needs change.
They also help you use vertical space better. A tall shelf gap wastes room when you only need space for jars. A short shelf gap becomes annoying when you want to stash a blender or bulk paper towels. With adjustable shelf pins or standards, you can change the shelf height in minutes instead of rebuilding the whole unit and questioning your life choices.
Plan Before You Cut a Single Board
The secret to great pantry shelving is not the drill. It is the plan. Before you build, take everything out of the pantry and sort it into categories. Dry goods, canned food, baking supplies, snacks, appliances, tall bottles, and bulky items all need different amounts of space. This step tells you how deep and tall your shelves should be.
Think About Shelf Depth
Not every pantry shelf should be the same depth. That is one of the biggest mistakes in DIY pantry design. Deep shelves sound generous, but they can become black holes where cans disappear for months. A smarter layout uses different depths based on what you store.
- Lower shelves can be deeper for bulky items like small appliances, oversized containers, or backstock groceries.
- Eye-level shelves work well when they are moderate in depth so boxes, jars, and cans stay easy to see.
- Upper shelves can be shallower for spices, baking ingredients, and rarely used items.
If your pantry is narrow, do not force deep shelves just because the space allows it. The goal is visibility, not archaeology.
Think About Shelf Spacing
Adjustable shelving shines because you do not have to commit to one shelf spacing forever. Still, you should plan a smart starting layout. Give everyday food items easy-to-reach shelf positions. Put heavier appliances lower. Reserve upper shelves for lightweight or occasional-use items. This creates a pantry that is easier to use and safer too.
Measure the Pantry Carefully
Measure width, depth, and height in at least three spots. Walls are rarely perfectly straight, and old houses enjoy playing tricks on tape measures. Use the smallest measurement when cutting shelves so they fit without scraping drywall, gouging trim, or requiring the kind of language that should not be used around pantry goods.
Best Materials for Adjustable Pantry Shelves
You have a few good options for pantry shelving materials, but cabinet-grade plywood is one of the best choices for most DIYers. It is strong, stable, and easy to paint. Solid wood can also work, especially for face frames or trim, but plywood usually gives you the best balance of cost, appearance, and durability.
Recommended Materials
- 3/4-inch cabinet-grade plywood for shelves and side panels
- 1×2 or 1×3 solid wood for front trim or face frames
- 1/4-inch or 5mm shelf pins, depending on your jig and hardware
- Wood screws or cabinet screws
- Wood glue
- Edge banding or solid wood edging for a finished look
- Primer and paint, or stain and clear coat
If your pantry shelves will hold heavy items, do not go too thin. Flimsy material may save money now, but sagging shelves are the home improvement equivalent of buying cheap flip-flops before a long hike.
Tools You Will Need
- Tape measure
- Level
- Circular saw or table saw
- Drill or driver
- Shelf pin jig or drilling template
- Drill bit that matches your shelf pins
- Clamps
- Stud finder
- Sander or sanding block
- Pencil and straightedge
- Optional nail gun for trim
A shelf pin jig is the star of the show here. It helps you drill evenly spaced holes so the shelves sit level and do not wobble like a restaurant table with one short leg.
How to Build Adjustable Pantry Shelves Step by Step
Step 1: Empty the Pantry and Mark Your Layout
Remove everything from the pantry. Yes, everything. Sweep, patch holes, and inspect the walls. Then mark the layout of your shelving system. Decide whether you are building shelves wall to wall, installing side panels to create a cabinet-style unit, or mounting standards and clips inside an existing pantry niche.
For a built-in look, many DIYers create a plywood carcass or use side cleats and wall supports. For a simpler build, shelf standards or rows of shelf-pin holes in side panels can support adjustable shelves just as well.
Step 2: Cut the Side Panels and Shelves
Cut your vertical side panels first if your design uses them. Then cut the shelves to width and depth. Label each piece as you go. Pantry projects involve lots of rectangles, and rectangles are surprisingly good at becoming anonymous the moment you stack them together.
Leave a little breathing room so shelves slide in and out easily. If you are adding edge banding or wood trim, account for that in your cuts.
Step 3: Drill the Adjustable Shelf Pin Holes
This step is what turns ordinary pantry shelves into adjustable pantry shelves. Use a shelf pin jig or a carefully made template to drill straight, evenly spaced holes in the side panels. Keep the rows perfectly aligned on both sides. If one row is off, your shelf will tilt, and cereal boxes will start leaning like they are in an emotional support group.
Most DIY shelf systems use a consistent hole spacing pattern. Drill only where shelves may realistically go, and avoid placing holes too close to the front or back edge. Keep the front row aligned across all panels so shelf clips sit evenly and shelves rest flat.
Step 4: Build the Frame or Install Supports
If you are building a full shelving unit, assemble the side panels, top, and fixed bottom or base. Check for square before fastening everything permanently. If you are installing shelves directly into a pantry alcove, attach wall cleats, standards, or mounting strips securely into studs where needed.
A solid base matters, especially for lower shelves that may hold heavy food containers or appliances. In some pantries, a toe-kick base also improves appearance and keeps the bottom shelf away from dust and mops.
Step 5: Add Shelf Edging for Strength
Front trim is not just decorative. It can also stiffen the shelf and reduce the chance of sagging. Attach a strip of solid wood to the front edge of each shelf using wood glue and clamps, or glue and brad nails. This small upgrade makes a big difference, especially on wider shelves.
If you want a clean painted look, edge banding works too. But for strength, a thicker hardwood nosing is hard to beat.
Step 6: Sand, Prime, and Finish
Sand all surfaces and edges before installation. Then prime and paint, or stain and seal. Pantry shelves take more abuse than people expect. Cans scrape. Baskets slide. Pasta boxes shed crumbs with reckless confidence. A durable finish helps the shelves wipe clean and stay looking fresh.
White paint is popular because it brightens the pantry and makes labels easy to see. Natural wood looks warm and custom. Either works. The best finish is the one you will not regret every time you open the door.
Step 7: Install the Shelf Pins and Set the Shelves
Insert the shelf pins at matching heights. Set each shelf in place and check for level. Test for wobble before loading it up. If a shelf rocks, double-check your hole alignment, shelf size, and pin placement.
Once everything is level, start arranging the shelf heights around your actual pantry items. Put everyday foods where you can reach them comfortably. Store heavier items lower. Keep a little clearance above containers so things slide in and out without a wrestling match.
Smart Design Tips for a Better Pantry
Mix Shelf Depths
One-size-fits-all shelving is convenient to build, but not always convenient to use. Mixing depths makes the pantry feel more intentional and efficient. Deep shelves are useful near the floor. Narrower shelves higher up improve visibility and reduce forgotten items.
Do Not Make Every Shelf Adjustable
Here is a pro move: combine one or two fixed structural shelves with several adjustable shelves. Fixed shelves can add rigidity to the unit, while the adjustable ones handle flexibility. That hybrid approach gives you the best of both worlds.
Consider Pantry Accessories
Adjustable shelves are the foundation, but accessories make them work even harder. Clear bins, turntables, can risers, door racks, and labeled containers help keep clutter under control. The shelves create the structure. The accessories keep the structure from turning into snack chaos.
Common Mistakes to Avoid
- Making shelves too deep: Deep shelves hide items and waste food because you cannot see what you own.
- Ignoring load capacity: Heavy appliances and canned goods need sturdy materials and proper support.
- Skipping the jig: Freehand shelf pin holes often lead to crooked shelves.
- Using rough materials: Splintery, unfinished shelves are harder to clean and look unfinished.
- Poor planning: If you do not design around real pantry items, the shelves may look nice but function badly.
How to Make Adjustable Pantry Shelves Look Custom
If you want the finished pantry to look built-in rather than basic, small details matter. Add a face frame, matching trim, or crown molding if the shelves reach the ceiling. Use consistent shelf thickness. Paint the walls and shelves the same color for a seamless look. Consider under-shelf lighting if the pantry is dim.
You can also use matching bins and glass jars to make open shelving feel styled rather than chaotic. No, your pantry does not have to look like a magazine spread. But it can look like a space designed by someone who has met a label maker and respects it.
Budget and Time Expectations
The cost to build adjustable pantry shelves depends on pantry size, wood choice, finish, and hardware. A simple small pantry project can stay fairly budget-friendly, especially if you use plywood efficiently. A larger custom pantry with trim, paint, and accessories will cost more, but it can still be far cheaper than custom cabinetry.
Most DIYers can complete a basic version over a weekend, with extra time for painting and drying. The more carefully you plan, the faster the build tends to go. In DIY, confusion is expensive. A sketch and cut list are cheap insurance.
Real-World Experience: What Building Adjustable Pantry Shelves Actually Feels Like
On paper, building adjustable pantry shelves sounds wonderfully straightforward. Measure the pantry. Cut some plywood. Drill some holes. Paint everything. Insert shelf pins. Admire your work. In real life, the experience is a little more human, which is to say it includes sawdust in odd places, at least one moment of staring at a wall as if it personally betrayed you, and the sudden realization that your pantry floor is not as level as you once believed.
The first surprise for many people is how much planning matters. You do not notice the weirdness of your pantry until you try to build inside it. Maybe one wall bows slightly. Maybe the baseboard steals half an inch. Maybe the door trim decides it would like to be involved in every design choice. That is why experienced DIYers always talk about measuring in several spots. It is not because they are dramatic. It is because houses are dramatic.
Another very real experience is discovering how different pantry items are from one another. A shelf height that feels perfect for canned soup can be completely wrong for cereal boxes, oil bottles, or a stand mixer. That is exactly why adjustable shelves feel so satisfying once installed. Instead of forcing your life to fit the shelving, you make the shelving fit your life. It is one of those small home upgrades that makes daily routines feel less annoying. Suddenly, the snacks are visible. The pasta is not avalanche-prone. The paper towels are not living on the same shelf as the baking cocoa for no reason at all.
There is also a confidence boost that comes from drilling clean, even shelf-pin holes and seeing the system work. It feels precise. Professional, even. The shelves slip into place, sit level on their pins, and instantly make the pantry look more custom. That moment is deeply rewarding, especially if you started the project feeling a little intimidated by woodworking tools. Adjustable pantry shelves are one of those rare builds that teach useful skills without demanding master-carpenter status.
Perhaps the best part of the experience comes later, after the paint has dried and the food has been put back. The pantry works better. You stop digging through stacks of half-forgotten groceries. You can change shelf heights when your needs shift. Holiday baking season arrives, and the mixer fits. Bulk shopping happens, and the shelves adapt. The space becomes less of a storage problem and more of a helpful system.
That is why this project tends to stick with people. It is practical, yes, but it is also strangely satisfying. You build something simple, and then you use it every single day. Every jar, can, basket, and box becomes proof that the effort paid off. Not bad for a weekend project powered by plywood, shelf pins, and the universal dream of finding the cinnamon on the first try.
Conclusion
Building adjustable pantry shelves is one of the smartest DIY upgrades for a kitchen or utility space. It gives you flexible storage, better visibility, and a more organized pantry without the cost of full custom cabinetry. With careful planning, sturdy materials, and accurately drilled shelf pin holes, you can build a shelving system that looks polished and adapts as your household changes.
The beauty of adjustable pantry shelving is simple: it keeps working even when your storage needs change. That means fewer wasted inches, fewer lost groceries, and a pantry that finally feels like it is on your side. Build it once, build it well, and enjoy the rare thrill of opening a pantry door and not being mildly annoyed.