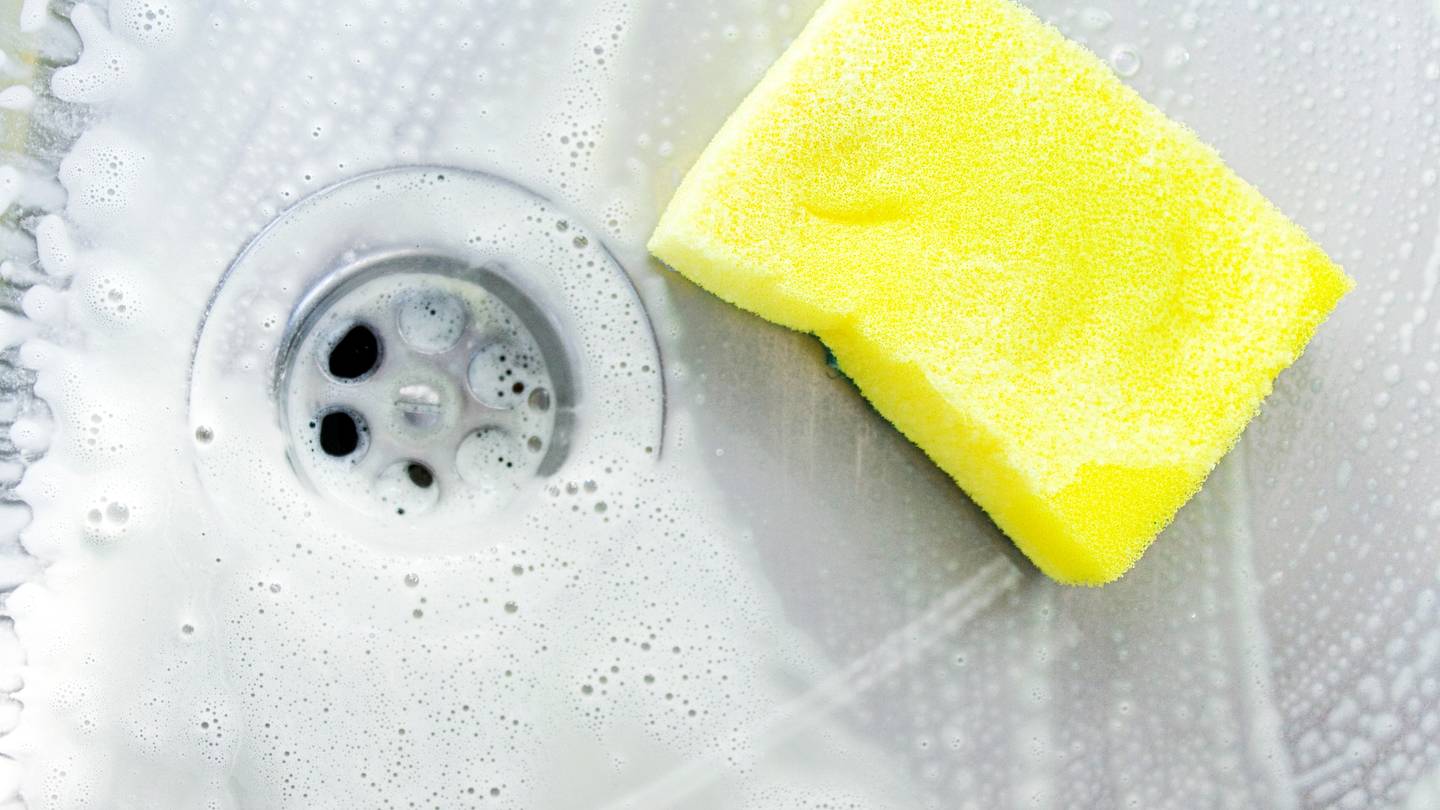
Your kitchen sink is the MVP of your home. It catches pasta water, rinses muddy produce, soaks “I’ll deal with it later” plates, and occasionally hosts a
science fair project you didn’t sign up for (hello, mystery slime around the drain).
And here’s the rude truth: even if your sink looks fine, it’s usually dirtier than you think. Not because you’re a slobbecause sinks are basically
designed to collect moisture, food bits, and germs like it’s their full-time job with great benefits.
Why your sink gets gross so fast (even in “clean” kitchens)
1) It’s wet. All the time.
Moisture is the secret sauce behind a lot of household funk. A damp environment lets microbes and odors hang around longer, especially in the drain area
where water, food residue, and warmth meet and decide to start a little community.
2) It’s a food court for bacteria
Tiny crumbs. Grease streaks. Coffee grounds. That “one grain of rice” you swear couldn’t matter. In the drain and around the strainer, it absolutely can.
Food residue feeds buildup and encourages biofilman invisible, slippery layer that forms on wet surfaces (and laughs at your quick rinse).
3) The sink touches everything (including the risky stuff)
Raw meat packaging, unwashed produce, dirty hands, sponges, pet bowlsyour sink is the crossroads where all those worlds collide. If you’re not cleaning it
consistently, it becomes an easy place for cross-contamination to happen.
So… how often should you clean a kitchen sink?
Think of sink care like brushing your teeth: you don’t wait until things feel “crispy” to do something about it. A practical rhythm looks like this:
- Daily (or close to it): Quick cleanwash away residue, wipe the basin, and clear the strainer.
- 1–2 times per week: Deep cleanscrub corners, faucet base, drain ring, and any sink accessories (grids, mats, strainers).
- After raw meat/poultry/seafood contact: Clean then sanitize/disinfect the sink and surrounding splash zone.
- Weekly (if you use it often): Freshen the garbage disposal (or drain area) so odors don’t build a permanent address.
- Monthly: Bonus detailsclean the faucet aerator, check caulk seams, and inspect for slow-drain gunk.
If your household has higher-risk situations (immunocompromised family member, frequent raw meat prep, lots of cooking, kids who “help”),
lean toward the more frequent end.
The parts everyone forgets (AKA: where the gross hides)
If you only scrub the shiny, flat basin, you’re basically cleaning the sink’s Instagram profile and ignoring its group chat. Don’t miss these:
- Drain ring and strainer basket: Food debris builds up fast here.
- Garbage disposal splash guard (the rubber flaps): This is a prime stink factory.
- Faucet handle(s) and base: Constant hand contact + water drips = grime magnet.
- Faucet aerator: Mineral scale and debris can collect where water exits.
- Sink seams and caulk lines: Moisture can linger and discoloration can start.
- Overflow opening (if your sink has one): Often forgotten, often funky.
- Sink grids/mats: Helpful for protecting the surface, but they trap gunk underneath.
A simple deep-clean routine that actually works
This is the no-drama method you can do in 10–15 minutes. The goal is: remove residue, break up biofilm, and prevent odors from staging a comeback tour.
Step 1: Clear and rinse
Remove dishes, food scraps, and sink accessories (strainer, grid). Rinse everything with warm water. This sounds basic, but you’d be shocked how much “cleaning”
is just getting rid of the stuff that shouldn’t be there.
Step 2: Wash the basin with soap first
Use warm water + dish soap (or a mild sink-safe cleaner). Scrub with a non-scratch sponge or soft brush. Pay attention to corners, the drain ring, and the
faucet base. Cleaning first matters because grime can block sanitizers/disinfectants from doing their job.
Step 3: Deodorize and gently scrub (baking soda is the cheat code)
Sprinkle baking soda over the basin and scrub. It’s mildly abrasive, helps lift residue, and doesn’t usually bully your sink finish the way harsh abrasives can.
Step 4: Deal with mineral deposits (if you have hard water)
If you see cloudy white spots or crusty scale, that’s usually mineral buildup. Many people use a small amount of white vinegar on stainless steel to break
it downbut avoid vinegar on natural stone (like marble) and be cautious with specialty finishes. When in doubt, follow the sink manufacturer’s
care guidance.
Step 5: Sanitize or disinfect when appropriate
For routine maintenance, many households do fine with regular cleaning plus periodic sanitizing. If you’ve handled raw meat/poultry, had illness in the home,
or want a more hygienic reset, choose a product labeled to sanitize or disinfect and follow its directions.
If you use bleach solutions, follow product directions and ventilate the area. As a general reference:
- Sanitizing strength (everyday kitchen sanitizing): some food-safety guidance uses a weaker bleach-to-water mix for sanitizing food-contact surfaces.
- Disinfecting strength (stronger): public-health guidance often lists higher bleach-to-water ratios for disinfecting hard surfaces.
Important safety note: Never mix bleach with ammonia, vinegar, or other cleaners. Rinse thoroughly if needed, and keep kids/pets away until surfaces
are dry and safe.
Step 6: Dry the sink (yes, dry it)
Drying is underrated. It prevents water spots, slows mineral buildup, and makes it harder for new gunk to cling. A microfiber cloth turns your sink from
“fine” into “wow, who lives herean adult?”
Don’t ignore the drain: it’s often the real problem
If your sink smells weird even after you clean the basin, the odor probably isn’t coming from the shiny part you can see. It’s usually coming from the drain,
where biofilm and trapped food residue can build up over time.
Easy drain freshening (no heroics required)
- Run hot tap water for 30–60 seconds to warm the drain line.
- Scrub the strainer and drain ring with a brush and soapy water.
-
Use a baking soda + vinegar flush occasionally for deodorizing (especially for mild funk), then rinse with hot tap water.
Tip: Some plumbers caution against dumping full-on boiling water down certain drains (especially with PVC or cold pipes). Hot tap water is usually a safer bet. - If it’s still funky: remove and clean the P-trap (if you’re comfortable), or use a drain snake tool to physically remove buildup.
Garbage disposal care (because it’s not self-cleaning, sorry)
If you have a disposal, clean it weekly if you use it often. Focus on the splash guard and the underside areathose rubber flaps are where smells like to hide.
- Quick refresh: cold water + a handful of ice, run the disposal briefly, then flush with water.
- Deodorize: a little baking soda and a citrus slice can help with odor (but don’t treat citrus peels like a magical disinfectant).
- Deep clean: scrub the splash guard with a brush and soapy water. It’s not glamorous, but neither is “What is that smell?”
Material matters: cleaning tips by sink type
Stainless steel sinks
- Clean with mild soap and water for daily upkeep.
- Scrub with the grain to avoid visible scratches.
- Avoid steel wool and harsh abrasives.
- If you use bleach at all, rinse promptlyprolonged contact can damage stainless finishes.
Porcelain/enamel/fireclay sinks
- Use non-scratch sponges and gentle cleaners.
- Avoid harsh chemicals and abrasive scrubbers that can dull or damage the glaze.
- Clean frequently to prevent stainingwaiting makes discoloration harder to remove.
Composite granite/quartz sinks
- Stick to mild soap and water or manufacturer-recommended cleaners.
- Avoid harsh acids and strong abrasives, especially on matte finishes.
- Drying helps reduce mineral spotting and haze.
Natural stone sinks (rare, but fancy)
- Avoid vinegar and acidic cleaners; they can etch stone.
- Use a pH-neutral cleaner made for stone surfaces.
- Seal and maintain according to the stone’s needs.
Seven sink-cleaning mistakes that keep you stuck in the stink cycle
- You “rinse” but don’t clean. Water alone doesn’t remove oils, film, or bacteria.
- You reuse the same sponge forever. Sponges can be germ hotspots; replace or sanitize them regularly.
- You forget the drain parts. The smell is usually coming from below, not the basin.
- You ignore the faucet handle. You touch it with messy hands and then wonder why it looks… haunted.
- You use abrasives on delicate finishes. Scratches hold grime and make cleaning harder long-term.
- You leave food bits in the strainer. That’s basically a buffet invitation.
- You treat lemon peels like a disinfectant. They help with odor, not hygiene. Nice try though.
A 60-second “company is coming” sink reset
If you need your sink to look and smell respectable right now:
- Clear debris + empty the strainer.
- Soap + quick scrub around the drain ring and corners.
- Rinse thoroughly.
- Wipe faucet handle and rim.
- Dry the basin for that “sparkly” finish.
Make it effortless: a sink-cleaning schedule you’ll actually follow
The best cleaning routine is the one you’ll do without negotiating with yourself like it’s a hostage situation. Try habit-stacking:
- After dinner: quick soap scrub + rinse + dry (2 minutes).
- On trash night: deep clean the sink and drain (10 minutes).
- First weekend of the month: clean the faucet aerator and check for leaks or slow drainage.
If you want one simple rule: clean the sink more often than you think you need to, and you’ll need to deep clean it less often than you fear.
Conclusion: your sink shouldn’t smell like “yesterday”
A clean kitchen sink isn’t about perfectionit’s about consistency. When you clean the basin, drain area, and the parts you touch every day, you reduce odors,
lower the risk of cross-contamination, and make your whole kitchen feel fresher. Plus, it’s oddly satisfying to look at a sparkling sink and think,
“Yes. I am thriving. I definitely have my life together.” (Even if your laundry situation says otherwise.)
Experiences: what changes when you start cleaning your sink often enough
People don’t usually have a “sink awakening” because they read a thrilling essay about drain rings. It’s almost always triggered by an experiencean odor,
a sudden swarm of tiny flying freeloaders, or the moment you set a clean glass down and it comes back up feeling… emotionally sticky.
The Mystery Odor Era
One common experience is the “Why does it smell fine until I run the water?” phase. The basin looks clean, you’ve even wiped it down, and then the water hits
the drain and suddenly your kitchen smells like old soup memories. This is usually when people realize the sink isn’t just a bowlit’s a system. The drain ring,
strainer, disposal splash guard, and the first stretch of drain line can hold onto residue and biofilm, which releases odor when warmed up. Once you start
scrubbing the strainer basket and giving the drain area attention weekly, that “surprise smell” stops surprising you (because it stops existing).
The Fruit Fly Summer
Another classic: the “Where are these fruit flies coming from?” summer. You clean the counters, you hide bananas like they’re contraband, you accuse your
roommate/spouse/teenager of leaving something out, and yet the tiny invaders keep showing up. Many people eventually discover the sink drain is a cozy breeding
spot when organic gunk builds up. The experience tends to flip a switch: strainers get emptied daily, the drain ring gets scrubbed, and the drain gets a routine
flush. It’s less about becoming a cleanliness superhero and more about cutting off the insects’ favorite little hangout.
The Stainless Steel Streak Saga
If you have stainless steel, you may know the heartbreak of streaks. You clean, you rinse, you step backand it looks like someone wiped the sink with a slice
of baloney. People who finally get consistent results usually report two changes: they scrub with the grain using non-scratch tools, and they dry the sink after
cleaning. Drying sounds fussy until you realize it takes less time than staring at water spots and whispering, “Why are you like this?”
The Raw Chicken Splash Moment
A lot of folks upgrade their sink routine after a raw poultry incident. Maybe it’s a package leak. Maybe it’s a splash that lands in the basin and on the
surrounding counter. Suddenly, “I’ll just rinse it” doesn’t feel like enough. That experience usually leads to a better understanding of cleaning vs.
sanitizing/disinfecting: first remove residue with soap and water, then use an appropriate sanitizing/disinfecting product for higher-risk situations, and
don’t forget the faucet handle you touched mid-chaos. It’s not paranoiait’s just smart food-safety behavior.
The “My Disposal Growled at Me” Chapter
Garbage disposals have a way of telling you when you’ve been neglecting them. The sound changes. The smell changes. Sometimes both. People who start cleaning
their disposal weekly often describe the same surprising outcome: the whole kitchen smells cleaner, even if nothing else changed. That’s because odors travel,
and a gunky disposal can perfume your entire space in a way no candle can defeat. Once you scrub the splash guard and stop letting residue accumulate, you don’t
need extreme measuresjust small, regular maintenance.
The Unexpected Bonus: cleaning gets easier
The most consistent experience from people who finally clean their kitchen sink often enough is that it becomes less of a project. When you do a 2-minute daily
wipe-down, you’re preventing the “cement phase” where grime hardens, stains set, and you need to carve out a full cleaning session. The sink stays brighter,
the drain smells neutral, and you spend less time doing dramatic, sweaty scrubbing while questioning every life decision that brought you here.
In other words: cleaning your sink more often isn’t about adding chores. It’s about trading one big annoying job for a few tiny easy onesand getting a kitchen
that feels fresher every single day.