Note: Body-only HTML for web publishing. Citation artifacts and unnecessary markup have been removed.
Installing vinyl replacement windows sounds like the kind of project that starts with a confident “How hard can it be?” and ends with you standing in the driveway holding a shim like it betrayed you personally. The good news is that this is one of the more realistic DIY upgrades for a careful homeowner. The even better news is that vinyl replacement windows are popular for a reason: they are low-maintenance, energy-efficient, and generally more forgiving than some heavier, fussier window materials.
Still, this is not a slap-it-in-and-hope-for-the-best job. A successful vinyl replacement window installation depends on accurate measuring, a sound existing frame, a level sill, proper shimming, and smart sealing. Get those right, and your new window should open smoothly, lock properly, and keep out drafts, rain, and regret. Get them wrong, and the window may look fine until the first windy storm or the first winter morning when your living room feels like a refrigerated produce aisle.
This guide walks through the easy DIY steps for installing vinyl replacement windows, with practical advice, common mistakes to avoid, and real-world examples that make the process feel a lot less mysterious.
What Counts as a Vinyl Replacement Window?
Before grabbing a pry bar and your “weekend warrior” playlist, it helps to know what you are actually installing. A vinyl replacement window, often called an insert window or pocket replacement window, is designed to fit into an existing window frame after the old moving parts are removed. That means you typically keep the original frame, exterior trim, and interior casing in place.
This type of window replacement works best when the existing frame is still solid, square enough to work with, and free of serious rot or structural damage. If the sill is mushy, the jambs are twisted, or water damage has already staged a hostile takeover, a full-frame replacement is usually the better move. In plain English: if the old frame is falling apart, do not ask a replacement insert window to fix your life.
Is This a Good DIY Project?
For many homeowners, yes. Installing vinyl replacement windows is one of the more approachable window projects because you are not usually rebuilding the wall opening. You are fitting a new unit into an existing frame. That reduces complexity, saves time, and limits the amount of trim, siding, or drywall drama you have to deal with.
It is a good DIY fit when:
- The existing window frame is in good condition.
- You are replacing a standard-size window, not a giant picture window that weighs as much as a small moon.
- You are comfortable using a drill, level, utility knife, pry bar, caulk gun, and measuring tape.
- You are patient enough to check level and plumb more than once without muttering insults at the bubble.
It is probably time to call a pro when you find rot, major out-of-square framing, exterior water intrusion, masonry complications, or code issues involving bedrooms, basements, safety glazing, or egress requirements. A smooth DIY install is satisfying. A failed one is educational in the most expensive way possible.
Tools and Materials You’ll Want Nearby
Basic Tools
- Tape measure
- Drill/driver
- Level
- Pry bar
- Putty knife
- Utility knife
- Hammer
- Caulk gun
- Shop vacuum or brush
- Safety glasses and gloves
Materials
- Vinyl replacement window sized for the opening
- Shims
- Exterior-grade sealant or silicone caulk approved by the manufacturer
- Low-expansion window and door foam or fiberglass insulation
- Flashing tape if recommended for your application
- Finish nails or trim screws if interior stops or trim need reinstallation
- Wood filler, paint, or touch-up materials for finish work
One small but important detail: use low-expansion foam made for windows and doors. Standard expanding foam can bow the frame, which turns your brand-new window into an expensive lesson in why labels matter.
Step 1: Measure Like You’re Being Graded
Measuring is where a lot of window projects are won or lost. For a replacement window, measure the opening inside the existing frame, not the decorative trim. Take width measurements at the top, middle, and bottom. Then measure height at the left, center, and right. Use the smallest width and the smallest height when ordering.
Why the smallest? Because older window openings can be slightly out of square, slightly bowed, or slightly weird in that charming old-house way that is less charming when you are trying to install a precise product. The smallest measurement gives you the best chance of getting a window that fits the actual opening instead of the imaginary perfect rectangle that your house has never been.
Also check the frame depth. Most replacement windows need enough existing jamb depth to sit securely and operate correctly. If the opening is too shallow, the install can get complicated fast.
Pro tip: write down each measurement clearly and label it. “I’ll remember that later” is how people end up buying a window for some other house entirely.
Step 2: Remove the Old Sashes and Interior Stops Carefully
Once the new window arrives and you have confirmed the size, remove the old window components. In a typical double-hung setup, this means taking off the interior stop, removing the lower sash, pulling the parting stop, and then removing the upper sash. Depending on the old unit, you may also need to remove jamb liners, sash cords, or old hardware.
Work slowly, especially if you want to reuse interior stops or trim. A careful pry can save you repair time later. A reckless pry can turn a nice piece of painted trim into firewood with aspirations.
Once the moving parts are out, clean the opening thoroughly. Vacuum dust and debris. Scrape off old caulk. Remove protruding fasteners. Inspect the sill, jambs, and head for damage. If you find rot or soft wood, stop and deal with that first. New windows are not magic. They are windows.
Step 3: Prep the Opening So the New Window Has a Fighting Chance
With the opening exposed, check the sill for level. If it is out of level, you may need shims to create a stable base. Dry-fitting the window before applying sealant is a smart move because it confirms the fit and shows you where the shims will likely go.
At this stage, the opening should be:
- Clean
- Dry
- Structurally sound
- Reasonably square
- Free of loose debris and old sealant buildup
Some installations also call for flashing tape at the sill or other water-management details, especially where manufacturer instructions require it. Follow the window manufacturer’s instructions for the product you bought. That document is not decorative literature. It is the difference between “good job” and “why is water coming in behind the stool?”
Step 4: Dry-Fit the Vinyl Replacement Window
Place the new vinyl replacement window into the opening without caulk first. This dry-fit lets you confirm that the unit sits properly and that you have an even gap around the frame. Check that it rests squarely, does not rack, and can be centered between the jambs.
If the fit is too tight, do not force it. Replacement windows should fit with enough room for minor adjustment, shimming, and sealing. Forcing a unit into place can twist the frame and create operating problems before the first screw even goes in.
Step 5: Apply Caulk and Set the Window
After the dry-fit checks out, remove the unit and apply a continuous bead of approved sealant where the manufacturer recommends, usually along the interior-facing contact points of the existing frame. Then set the replacement window back into the opening, pressing it firmly into the sealant.
From here, the name of the game is alignment. Center the window. Check for level, plumb, and square. Open and close the sash if possible during fitting. A window can look straight and still operate like it has a grudge, so operation matters just as much as appearance.
Step 6: Shim and Fasten Without Distorting the Frame
Shims go near fastening points and at spots that support the frame without bowing it. This is the part where patience pays off. Add shims gradually, check operation, and make sure the reveal around the sash stays consistent.
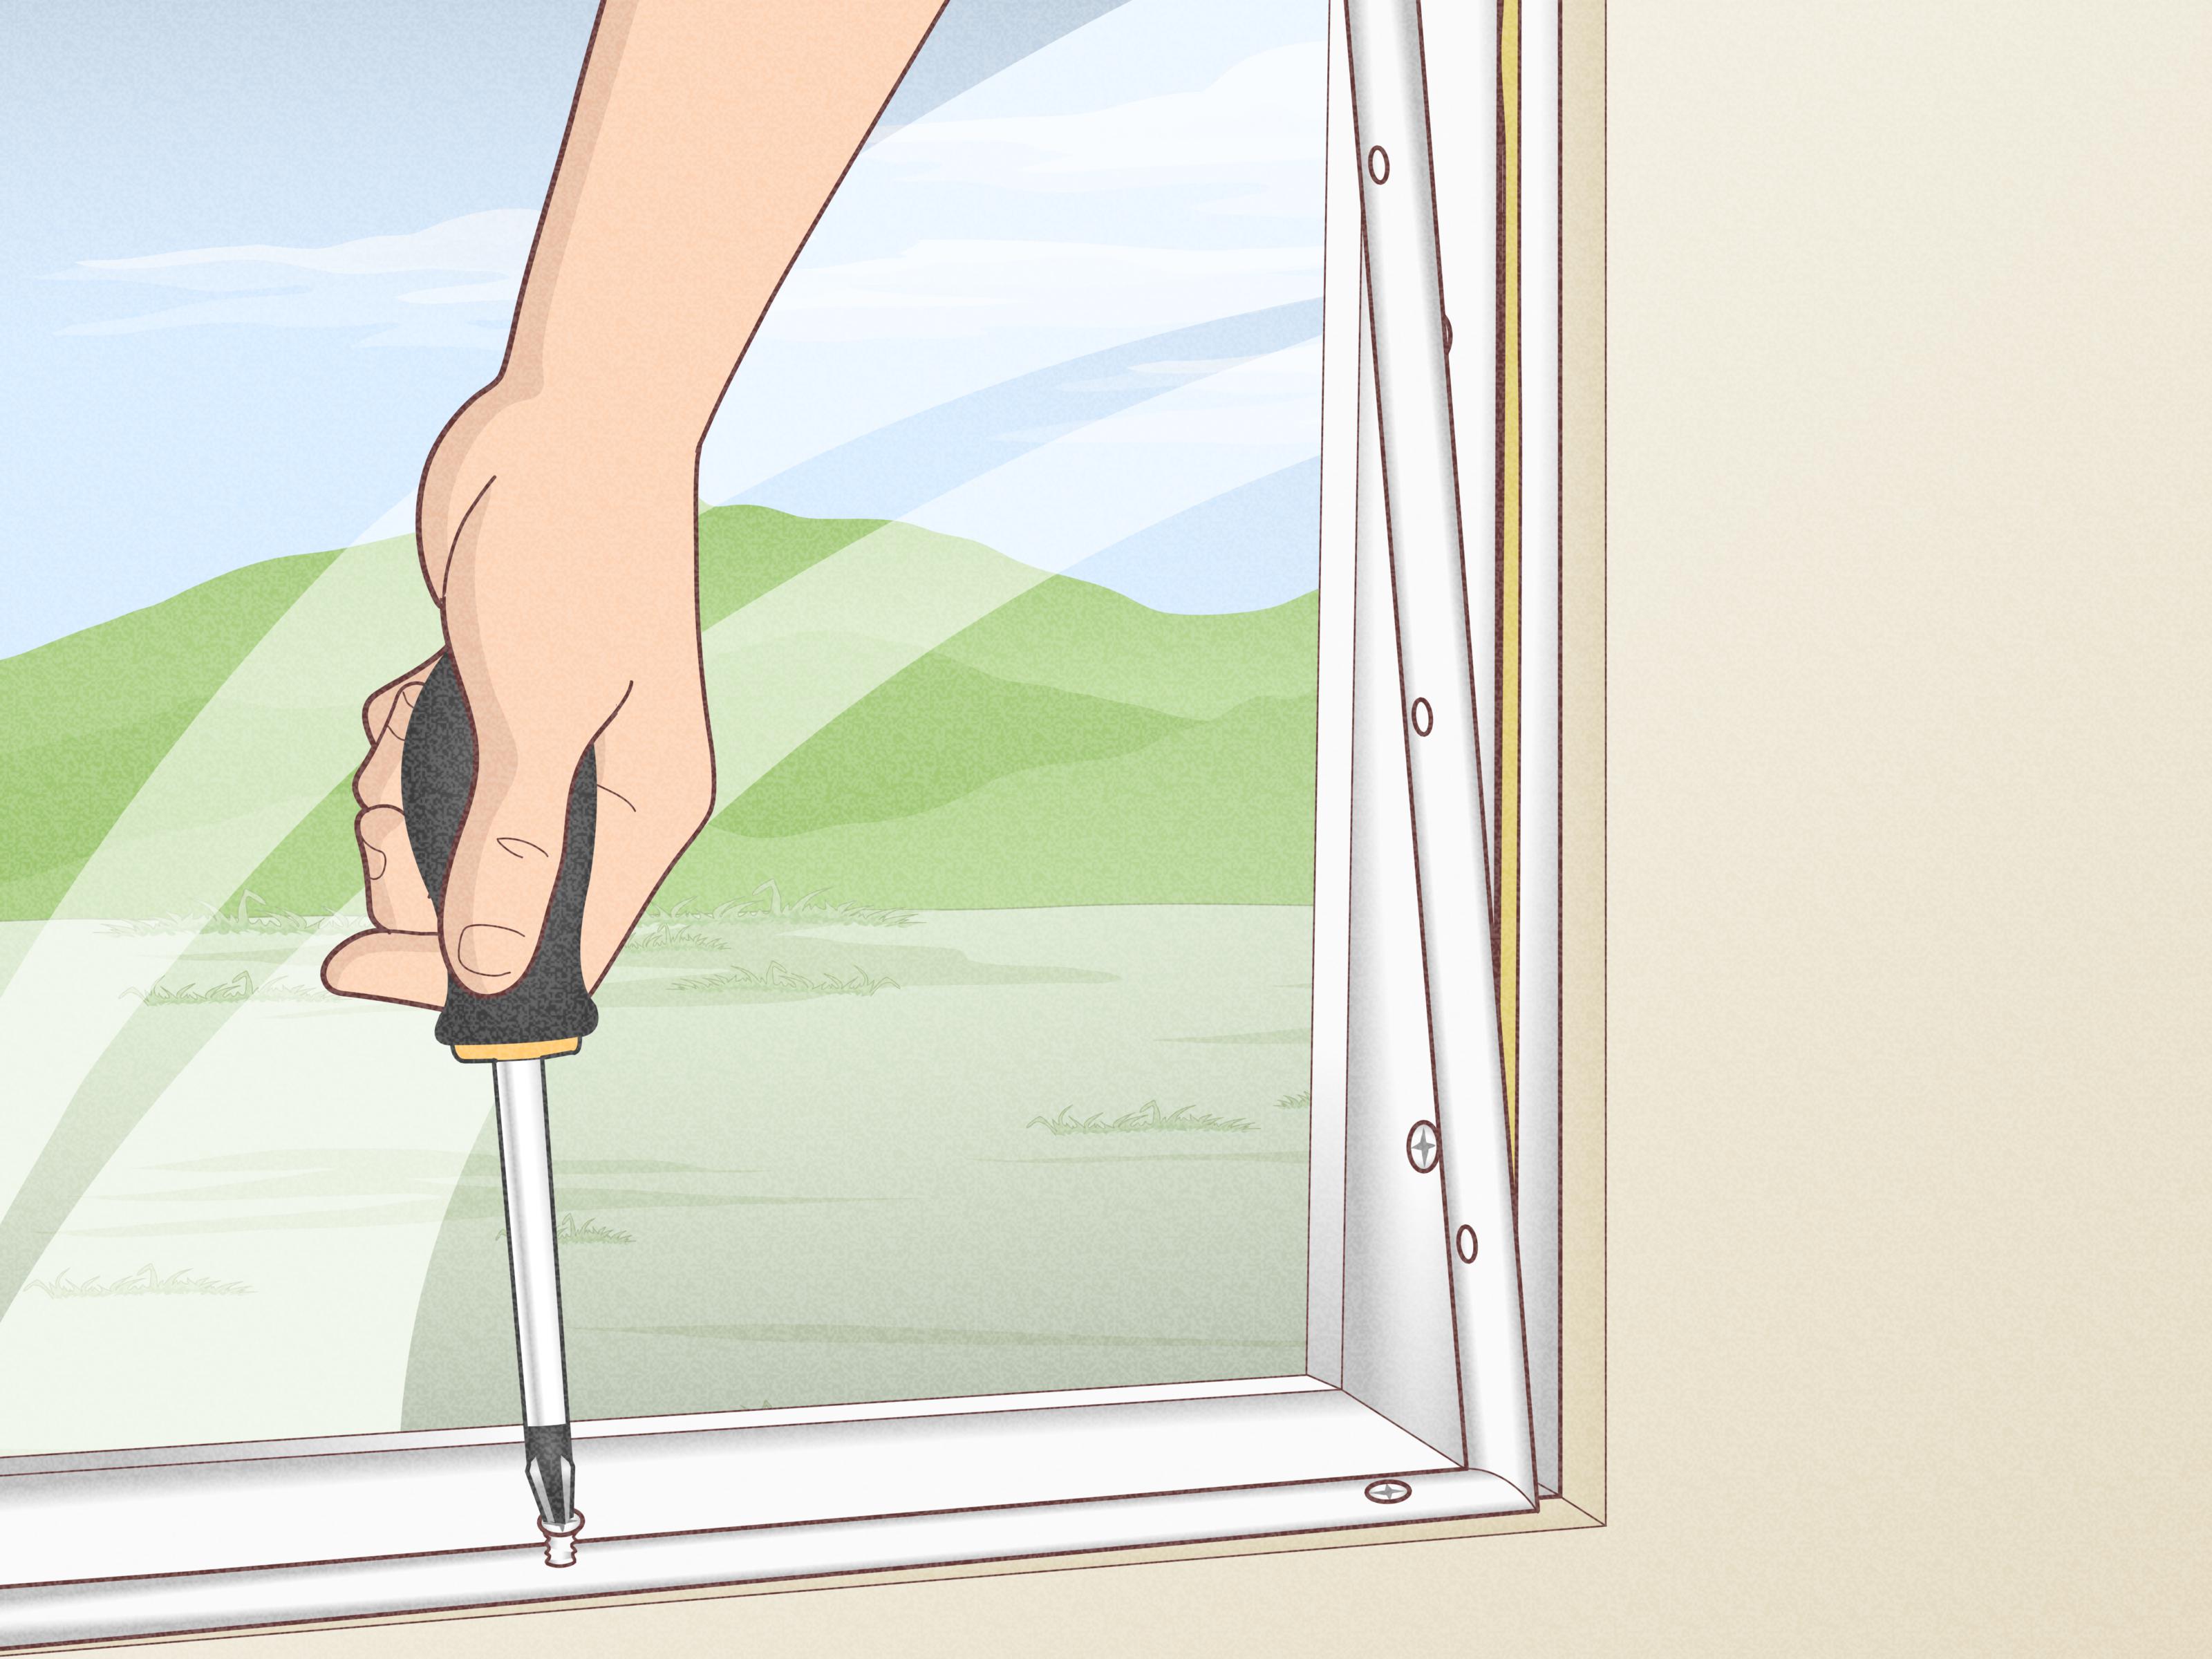
Drive installation screws through the predrilled holes or specified fastening locations. Tighten them enough to secure the unit, but not so aggressively that the frame bends inward. Over-tightening is one of the most common DIY mistakes. The window does not need a motivational speech and a death grip. It needs to stay square.
After fastening, check:
- Does the sash open and close smoothly?
- Does the lock line up properly?
- Are the margins even?
- Does the frame still read level and plumb?
If something feels off, now is the time to adjust shims before you move on to insulation and trim.
Step 7: Insulate the Gaps and Finish the Interior
Once the window is secured and operating correctly, insulate the gap between the new unit and the old frame. Use low-expansion window and door foam sparingly, or use loose fiberglass where appropriate. The goal is air sealing, not pressure. Too much foam can distort the frame and undo all your careful shimming.
Reinstall the interior stops or trim. Caulk small finish gaps for a clean appearance. Then touch up paint as needed. This is the part where the project finally starts looking intentional instead of like your wall briefly lost a fight.
Step 8: Check the Exterior Seal
The window may be in, but the job is not done until the exterior seal is handled properly. Inspect the outside perimeter and seal any gaps as required by the manufacturer’s installation instructions. Good exterior sealing helps prevent water intrusion and air leaks while giving the window a finished, professional look.
Be neat. Exterior caulk lines do not need to be perfect, but they should not look like you iced a cupcake during a mild earthquake.
Common DIY Mistakes to Avoid
Ordering the Wrong Size
Always use the smallest measured width and height from the existing opening. One bad measurement can turn a simple project into a return-policy adventure.
Ignoring Frame Damage
If the old frame is rotten or unstable, do not install an insert replacement window and hope the issue goes away. Structural and water issues need real repairs.
Skipping the Dry-Fit
Dry-fitting reveals problems before sealant, screws, and frustration enter the scene.
Over-Tightening Screws
Too much force can twist the vinyl frame and cause poor operation or gaps.
Using the Wrong Foam
High-expansion foam can bow the frame. Use a product designed specifically for windows and doors.
Forgetting Local Code Issues
Bedrooms, basements, and areas that may require safety glazing or special egress considerations deserve extra attention. Check local requirements before replacing those windows.
Why Vinyl Replacement Windows Are a Popular Choice
Homeowners choose vinyl replacement windows because they offer a practical balance of price, energy performance, durability, and ease of maintenance. They do not need scraping and repainting like wood, and many models include modern glass packages and weatherstripping that can improve comfort and reduce drafts.
That said, product selection still matters. Choose a window rated for your climate, follow the manufacturer’s installation instructions, and do not assume every white rectangle at the home center is equally impressive. Some are excellent. Some are just enthusiastic.
Final Thoughts
Installing vinyl replacement windows is one of those home improvement projects that rewards care more than bravado. You do not need superhero strength. You need accurate measurements, a clean opening, a level sill, patient shimming, and a disciplined approach to sealing. In other words, less “extreme makeover,” more “calm competence with a caulk gun.”
If the existing frame is solid and you follow each step methodically, a DIY vinyl replacement window installation can absolutely be a satisfying upgrade. You will improve comfort, refresh the appearance of the room, and maybe even gain the rare homeowner luxury of opening a window without performing a shoulder workout.
Take your time, respect the details, and let the level settle before you declare victory. Windows have a funny way of exposing optimism. But when installed correctly, vinyl replacement windows can make your home quieter, tighter, and a whole lot happier.
Experience Notes: What DIY Installation Really Feels Like
The first time you install a vinyl replacement window, the job feels like it should take one cheerful Saturday morning. Then reality strolls in wearing work gloves. You start by removing trim carefully, because every guide says you might be able to reuse it. Five minutes later, you understand why professionals develop an almost spiritual respect for old painted wood. It comes off in slow motion, accompanied by the kind of concentration usually reserved for bomb disposal and holiday gift wrapping.
Then comes the measuring. You measure the top, middle, and bottom. You measure again because the bottom is somehow different from the middle in a way that feels rude. You write the numbers down, circle the smallest one, then stare at them as if a better number might appear. This is the point where many homeowners learn that old houses are not square, not level, and not particularly interested in being judged by modern manufacturing standards.
The actual installation gets easier once the opening is clean and the new unit is dry-fit. There is a surprisingly satisfying moment when the window slides into the opening and just sits there like it belongs. That moment lasts about seven seconds, because then you notice one side is slightly off, the sill needs a shim, and the lock does not line up quite yet. Welcome to the fine art of tiny adjustments.
Shimming teaches patience in a very specific way. Too little, and the frame is unsupported. Too much, and the sash binds. Tighten a screw too far, and the window suddenly operates like it is trying to retire early. Back it off, recheck level, test the sash again, and repeat until everything works smoothly. It is less dramatic than television renovation shows and much more realistic, which is another way of saying there are no jump cuts between “slightly crooked” and “perfect.”
The most valuable DIY lesson usually comes during sealing and insulation. This is when homeowners discover that more is not always better. More foam is not better. More caulk is not better. More confidence without checking the instructions is definitely not better. A careful bead, a light touch, and one last operational test can save a lot of cleanup and future annoyance.
But here is the rewarding part: once the trim is back on, the sash glides smoothly, and the drafts are gone, the whole project feels worth it. The room looks cleaner. Outside noise softens. The window actually locks without a wrestling match. You stand there for a second pretending you are just inspecting the finish, when really you are admiring the fact that you pulled it off.
That is the real experience of installing vinyl replacement windows. It is not instant, it is not glamorous, and it will almost certainly involve one extra trip to the hardware store. But it is a very doable DIY project for a careful person, and the payoff is one of the best kinds of home improvement success: the kind you notice every day without thinking about it.