Concrete form tubes may not look glamorous sitting in the aisle of a hardware store, but they are the quiet heroes behind sturdy decks, fence posts, mailboxes, pergolas, sheds, porch supports, basketball hoops, and backyard projects that should not wobble every time the wind clears its throat. These round cardboard or fiber tubes help you pour clean, cylindrical concrete piers without building complicated wooden forms. In other words, they turn a messy hole in the ground into a neat structural support.
If you have ever wondered how to use concrete form tubes correctly, the good news is that the process is beginner-friendly when planned properly. The not-so-good news is that concrete has a memory like an elephant and a sense of humor like a grumpy building inspector. If a tube is crooked, too shallow, poorly braced, or filled with air pockets, the finished pier may tell that story for years.
This guide walks you through 14 practical steps for using concrete form tubes, from checking utility lines and frost depth to cutting, leveling, pouring, curing, and removing the tube. Whether you are setting deck footings, installing a mailbox post, or building a small outdoor structure, these steps will help you get a cleaner, stronger, more professional result.
What Are Concrete Form Tubes?
Concrete form tubes are cylindrical forms made from heavy-duty fiber, cardboard, or coated paper material. They are designed to hold wet concrete in a round shape until it hardens. Common diameters include 8 inches, 10 inches, 12 inches, and larger sizes, depending on the project. Most home improvement stores sell them in 48-inch lengths, though longer versions are available for bigger jobs.
They are commonly used for deck footings, porch piers, fence posts, lamp posts, sign posts, mailbox bases, small columns, and outdoor structures. Their biggest advantage is simplicity. Instead of building square wood forms, you dig a hole, position the tube, brace it, pour concrete, and let it cure. The result is a round concrete pier that looks tidy above grade and performs well below grade when sized and installed correctly.
Tools and Materials You Will Need
- Concrete form tubes in the proper diameter
- Ready-mix concrete or bagged concrete mix
- Post hole digger or power auger
- Shovel and digging bar
- Tape measure
- Level
- String line and stakes
- Gravel or crushed stone
- Handsaw or utility knife for cutting tubes
- Wood stakes or braces
- Screws or clamps for bracing
- Rebar, anchor bolts, or post bases if required
- Trowel or float
- Wheelbarrow, mixing tub, or concrete mixer
- Gloves, eye protection, dust mask, and work boots
How to Use Concrete Form Tubes: 14 Steps
Step 1: Plan the Project Before You Dig
Start with a clear layout. Mark where each footing or pier will go, then double-check spacing, load requirements, and local building rules. For a mailbox or light-duty fence post, the requirements are usually simple. For a deck, porch, shed, or anything supporting people or serious weight, you need the correct footing size and depth.
Do not guess based on what your neighbor did in 1998. Soil conditions, frost depth, load, post spacing, and local codes all matter. If the structure requires a permit, get one before digging. It is much easier to adjust your plan on paper than after you have six holes, a pile of concrete bags, and a very judgmental spouse watching from the kitchen window.
Step 2: Call 811 Before Digging
Before putting a shovel in the ground, contact 811 or your local utility marking service. This free service helps locate buried utility lines such as gas, electric, water, communication, and sewer lines. Even a shallow hole can hit something important, expensive, or dangerous.
Wait until all utilities have responded and marked the area. The colored flags and paint may make your yard look like a tiny construction festival, but they are there for a reason. Respect the markings and adjust your footing locations if needed.
Step 3: Choose the Right Tube Diameter
The correct concrete form tube size depends on the load and the project. An 8-inch tube may work for smaller posts or light-duty applications, while 10-inch, 12-inch, or larger tubes are often used for decks, pergolas, porch supports, and structural piers. Bigger tubes hold more concrete and distribute loads over more area, but they also require more digging and more mix.
For deck footings, the tube diameter should match the design load, beam span, soil bearing capacity, and code requirements. A common mistake is choosing a tube because it looks “about right.” Concrete is not chili seasoning; “about right” is not a reliable measurement system.
Step 4: Determine the Proper Hole Depth
Depth is one of the most important parts of using concrete form tubes. In areas with freezing winters, footings usually need to extend below the local frost line. If a footing is too shallow, freezing soil can lift it, shift it, and make your structure move over time. This movement is called frost heave, and it is as annoying as it sounds.
For posts that are embedded in concrete, many general post-setting guides recommend a hole depth equal to roughly one-third to one-half of the above-ground post height, plus extra room for gravel at the bottom. For structural footings, always follow local building code or project plans.
Step 5: Lay Out the Footing Locations Accurately
Use stakes, string lines, and a tape measure to mark the exact locations of your tubes. For decks or rectangular structures, check that corners are square by measuring diagonally from corner to corner. If the diagonal measurements match, the layout is square. If not, adjust before digging.
Take your time here. A hole that is two inches off can become a post that is two inches off, which can become a beam that does not line up, which can become a Saturday afternoon full of words you should not teach children.
Step 6: Dig the Holes
Dig each hole wider than the tube so you have room to position and adjust it. A post hole digger works for smaller projects, while a power auger can save time on multiple footings. Keep the sides as straight as possible and remove loose soil from the bottom.
If the plans call for a wider base or bell-shaped footing, dig the bottom wider than the tube. A wider base helps spread the load over more soil. In some projects, contractors use a footing form or allow the concrete to mushroom out below the tube, creating a larger bearing area. Follow the design required for your structure.
Step 7: Add and Compact Gravel
Add several inches of gravel or crushed stone to the bottom of the hole, then compact it with a post, 2-by-4, or hand tamper. Gravel helps with drainage and creates a more stable base for the concrete. Six inches of compacted gravel is commonly used for many post and footing projects, but your specific project may vary.
Do not skip compaction. Loose gravel behaves like a bowl of cereal under pressure: crunchy, unstable, and not something you want supporting your deck.
Step 8: Cut the Concrete Form Tube to Length
Measure the depth of the hole and decide how far above grade the concrete pier should extend. Many builders leave the top of the pier a few inches above ground level to keep wood posts and hardware away from standing water, mulch, and soil. Mark the tube carefully and cut it with a handsaw or utility knife.
For the cleanest top edge, use the factory-cut end as the top when possible. A smooth, level top makes it easier to finish the concrete and install anchors. If your cut is slightly rough, place that end at the bottom where it will not be seen.
Step 9: Position the Tube in the Hole
Set the tube into the hole on top of the gravel or footing base. Use a level to check that it is plumb from multiple directions. Adjust the tube until it is straight and positioned exactly on your layout lines. For multiple footings, check that all tube tops are at the planned elevation.
This is where patience pays off. Wet concrete will not politely correct your alignment later. Once the tube is full, it becomes heavy, stubborn, and very uninterested in your regrets.
Step 10: Brace or Backfill the Tube
Before pouring, secure the tube so it cannot shift. You can partially backfill around the tube with soil, brace it with stakes, or use temporary lumber supports. For above-grade sections, bracing is especially important because wet concrete creates outward pressure.
Check the tube again after bracing. Sometimes the act of securing it nudges it out of plumb. Adjust until it is straight, centered, and stable. The goal is simple: when the concrete goes in, the tube stays exactly where you put it.
Step 11: Mix the Concrete Correctly
Use a concrete mix suitable for footings or structural supports. Follow the water instructions on the bag. Too little water makes the mix hard to place and consolidate. Too much water weakens the concrete and can cause excessive shrinkage or a crumbly surface.
The ideal mix should be workable but not soupy. Think thick oatmeal, not gray milkshake. Mix thoroughly until all dry pockets are gone. Wear gloves and eye protection, because cement is alkaline and can irritate skin and eyes.
Step 12: Pour Concrete Into the Tube
Fill the tube gradually. If the tube is deep, pour in lifts rather than dumping all the concrete in at once. As you fill, use a piece of rebar, a shovel handle, or a sturdy rod to consolidate the concrete. Push the tool up and down through the mix to remove trapped air pockets and help the concrete settle around the edges.
Do not overdo it with aggressive vibration unless the manufacturer or engineer specifies it. The goal is to remove voids, not turn your footing into a science experiment. Keep checking that the tube remains plumb as the concrete rises.
Step 13: Install Anchors or Hardware
If your project requires a post base, anchor bolt, bracket, or embedded hardware, place it while the concrete is still wet. Use your layout lines to center the hardware, then check alignment carefully. For deck posts, metal post bases are often preferred because they keep wood elevated above concrete and reduce moisture exposure.
Make sure anchors are set at the correct height and orientation. This is not the moment for freestyle creativity. A post base turned 15 degrees off-center can make framing more difficult later.
Step 14: Finish, Cure, and Remove the Tube if Needed
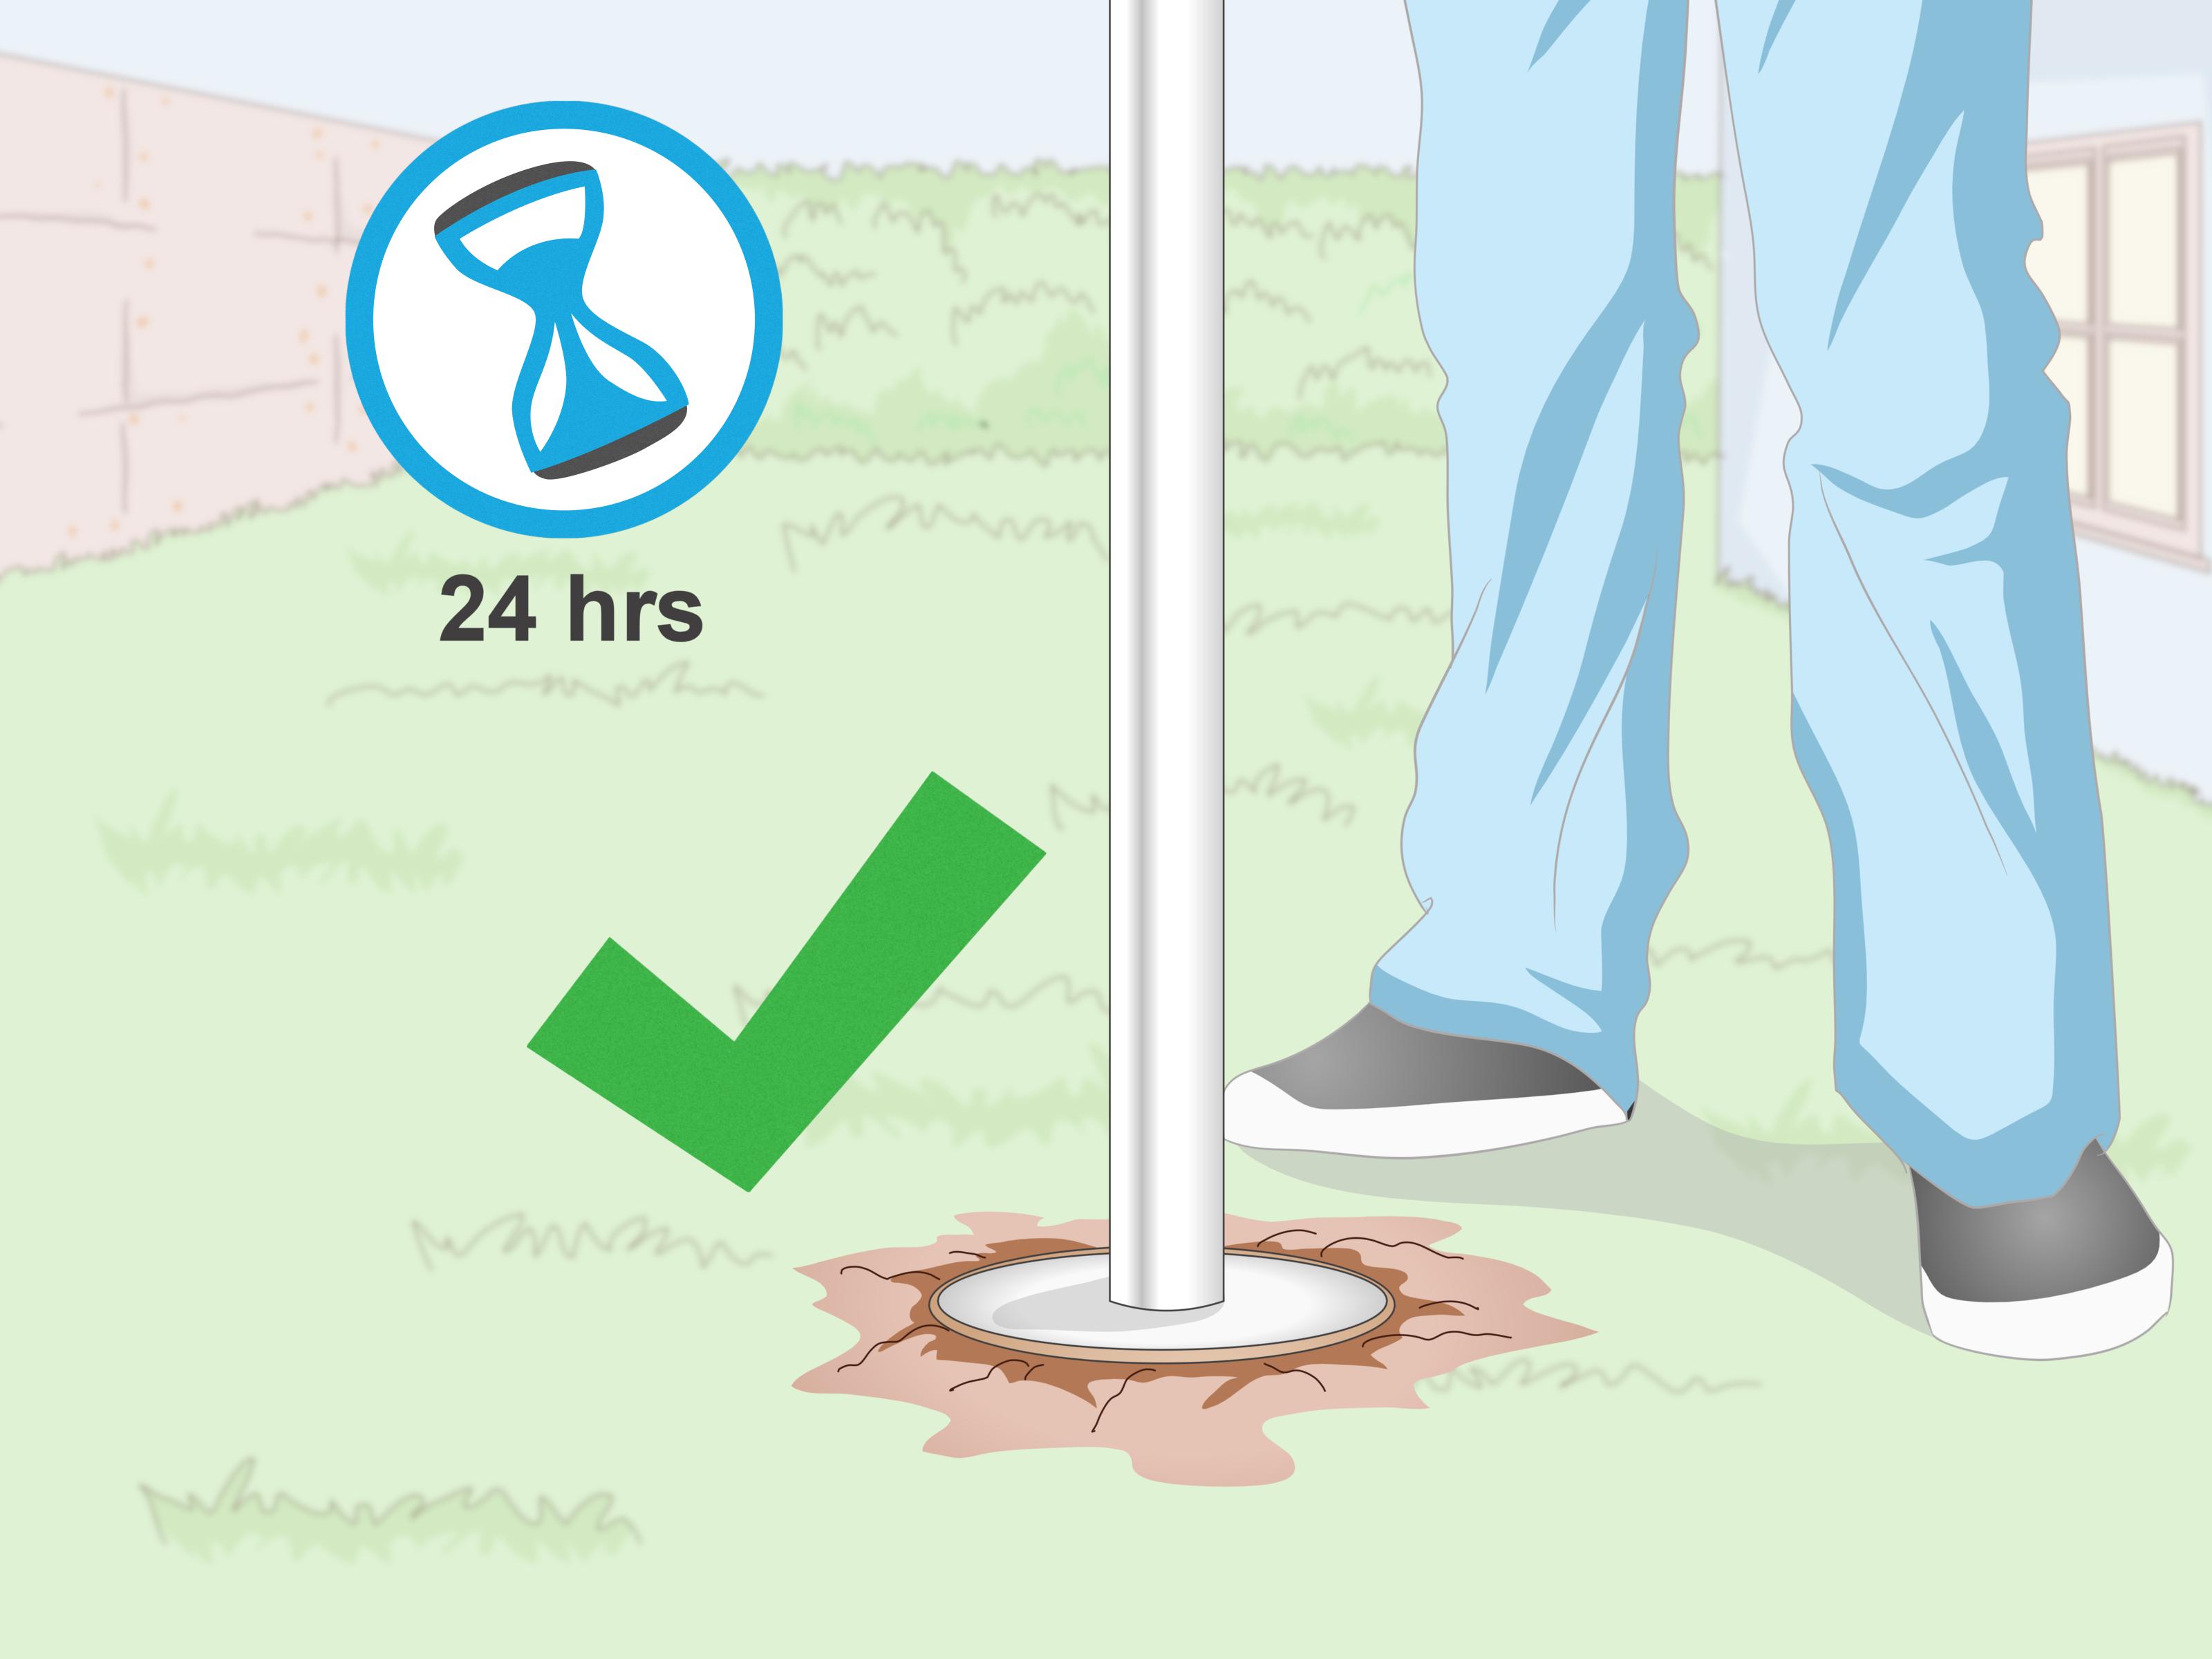
Smooth the top of the concrete with a trowel, sloping it slightly away from the center if water drainage is important. Allow the concrete to cure according to the product instructions. Many forms can be stripped after about 24 to 48 hours, but concrete continues gaining strength for days and weeks. For structural loading, wait the recommended curing time before building on the pier.
Some concrete form tubes are left in place below grade, while exposed tube material above grade is often peeled or cut away after the concrete has hardened. If you want a cleaner finished appearance, remove the visible portion carefully once the concrete is firm enough.
How Much Concrete Do You Need?
To estimate concrete volume for a tube, use the cylinder formula:
Volume = 3.14 × radius² × height
Use feet for all measurements. For example, a 12-inch diameter tube has a 6-inch radius, which is 0.5 feet. If the tube is 4 feet tall, the volume is approximately:
3.14 × 0.5 × 0.5 × 4 = 3.14 cubic feet
An 80-pound bag of concrete often yields about 0.6 cubic feet, so that one 12-inch by 48-inch tube would need roughly six 80-pound bags after rounding up for waste. Always buy a little extra. Running out of concrete halfway through a pour is like running out of frosting halfway through a birthday cake: technically fixable, but emotionally damaging.
Common Mistakes to Avoid
Using a Tube That Is Too Small
A tube that is too narrow may not provide enough bearing area for the load. Always size the footing based on the structure, soil, and local code.
Ignoring Frost Depth
In cold climates, shallow footings can move when soil freezes and thaws. Dig below the local frost line for structural footings where required.
Failing to Brace the Tube
Wet concrete is heavy. If the tube shifts during the pour, the finished pier will be crooked. Brace first, pour second, celebrate third.
Adding Too Much Water
Extra water may make concrete easier to pour, but it can reduce strength. Follow the mix instructions and aim for a workable, not watery, consistency.
Forgetting to Consolidate the Concrete
Air pockets weaken the pier and can leave voids. Consolidate the concrete as you pour, especially around rebar, anchors, or embedded posts.
Safety Tips for Working With Concrete Form Tubes
Concrete work is manageable for DIYers, but it still deserves respect. Wear gloves, eye protection, and a dust mask when handling dry mix. Wet cement can irritate or burn skin, so wash it off quickly if it contacts your hands or arms. Lift concrete bags carefully, and do not be heroic with 80-pound bags if your back is already filing complaints.
Keep children and pets away from open holes and fresh concrete. Cover holes if you must leave the site unattended. If using a power auger, follow the equipment instructions and work with a helper. Augers can catch roots or rocks suddenly, and they do not care how confident you felt five seconds earlier.
Best Uses for Concrete Form Tubes
Concrete form tubes are excellent for projects that need round, vertical concrete supports. They are especially useful for decks, pergolas, porch piers, mailbox posts, flagpoles, fence gate posts, small retaining structures, basketball hoops, and garden structures. They also work well when you need a neat exposed pier above ground.
However, they are not a universal solution. Large structures, poor soil, steep slopes, heavy loads, or unusual designs may require engineered footings. When in doubt, ask a building inspector, contractor, or structural professional. A little expert advice before pouring can prevent expensive repairs later.
Real-World Experience: Lessons From Using Concrete Form Tubes
One of the biggest lessons with concrete form tubes is that preparation matters more than pouring speed. Many beginners focus on the dramatic partmixing and dumping concretebecause it feels like the main event. In reality, the success of the job is usually decided before the first bag is opened. Accurate layout, proper hole depth, compacted gravel, and careful bracing are what make the finished pier look professional.
For example, when setting tubes for a small deck, it is tempting to dig all the holes, drop the tubes in, and start pouring immediately. But even a small slope in the yard can make the tube tops end up at different heights. A better approach is to establish a level reference line first. Use a laser level, water level, or string line to mark the desired elevation on each tube. Then cut or adjust the tubes so the concrete tops line up. This extra step saves frustration when installing beams or post bases later.
Another practical tip is to stage materials before mixing concrete. Have your water, mixer, shovel, rebar, anchors, level, trowel, and braces ready. Concrete does not wait politely while you wander around looking for a missing bracket. Once the mix is wet, the clock starts. A calm, organized setup makes the pour smoother and reduces mistakes.
Moisture is another lesson people learn quickly. Fiber tubes can soften if left lying in wet grass or rain before installation. Store them off the ground and cover them until you are ready to use them. If rain is expected after the pour, protect the top of the fresh concrete without sealing it so tightly that curing is affected. The goal is to prevent washout while allowing the concrete to cure properly.
It is also smart to buy more concrete than the math suggests. Holes are rarely perfect cylinders. The bottom may be wider, the sides may crumble, or the tube may sit slightly higher than planned. Having one or two extra bags prevents an emergency store run in dusty clothes. If you do not need the extra bags, most stores allow returns if they are clean and dry.
Finally, never underestimate the value of checking plumb repeatedly. Check the tube when you place it, after you brace it, halfway through pouring, and again after installing hardware. Tiny shifts can happen at each stage. A two-minute check can save hours of correction later. Concrete form tubes are simple tools, but simple does not mean careless. Treat each step like it matters, because once concrete hardens, it becomes very committed to your decisions.
Conclusion
Learning how to use concrete form tubes is one of the most useful skills for outdoor DIY construction. These tubes make it easier to create strong, clean, round concrete piers without building custom wooden forms. The process is straightforward: plan the layout, check utilities, dig to the proper depth, add gravel, cut and position the tube, brace it securely, pour and consolidate the concrete, set your anchors, and allow enough curing time.
The difference between a reliable footing and a future repair problem often comes down to small details. A properly sized tube, a plumb setup, a compacted base, and correct curing can make your deck, fence, mailbox, or pergola feel solid for years. Concrete may be heavy, dusty, and occasionally dramatic, but with the right approach, it is also wonderfully dependable.