Setting up GPG on Ubuntu sounds like something that belongs in a dark server room guarded by three sysadmins and a coffee machine that has seen too much. In reality, GPG is simply a practical tool for protecting files, signing messages, verifying downloads, and proving that a Git commit actually came from younot from some digital raccoon wearing your username as a tiny hat.
GPG, short for GNU Privacy Guard, is the free OpenPGP implementation commonly used on Linux systems. On Ubuntu, it is especially useful because it works from the terminal, integrates with developer tools, supports email encryption workflows, and helps verify software packages and downloads. Whether you are a developer signing Git commits, a privacy-minded user encrypting documents, or an administrator managing repository keys, learning how to use GPG on Ubuntu is one of those skills that quietly upgrades your entire security toolbox.
This guide walks you through installing GPG, creating a key pair, exporting and importing keys, encrypting and decrypting files, signing and verifying data, using GPG with Git, and avoiding common mistakes. No trench coat required.
What Is GPG and Why Should Ubuntu Users Care?
GPG is a command-line encryption and signing tool based on the OpenPGP standard. It uses public-key cryptography, which means you work with a key pair: a public key and a private key. Your public key can be shared with other people. Your private key must stay private, preferably guarded like the last slice of pizza at a developer meetup.
Here is the simple version: if someone wants to send you an encrypted file, they use your public key. Only your private key can decrypt it. If you want to sign a file, message, or Git commit, your private key creates the signature. Other people use your public key to verify that the signature matches.
Common Uses for GPG on Ubuntu
Ubuntu users typically use GPG for four major tasks:
- Encrypting files so only the intended recipient can read them.
- Signing files, messages, or releases to prove authenticity.
- Verifying software downloads and package signatures.
- Signing Git commits and tags for GitHub, GitLab, and other platforms.
That makes GPG useful for developers, system administrators, journalists, researchers, students, and anyone who occasionally sends a file and thinks, “Maybe this should not float across the internet in a tiny digital bathrobe.”
Step 1: Install GPG on Ubuntu
Most Ubuntu installations already include GPG, but it is smart to verify before you begin. Open Terminal and run:
If GPG is installed, you will see version information, supported algorithms, and the location of your GPG home directory, usually ~/.gnupg.
If Ubuntu says the command is not found, install GPG with:
For terminal-only systems or SSH sessions, you may also want a text-based passphrase prompt:
The pinentry program handles secure passphrase entry. Without it, GPG may occasionally stare at you silently, which is Linux for “I needed a password but forgot how to ask.”
Step 2: Create Your GPG Key Pair
To generate a new key pair, run:
GPG will ask several questions. For broad compatibility, RSA remains a safe beginner-friendly choice. Choose:
- Key type: RSA and RSA
- Key size: 4096 bits
- Expiration: 1 or 2 years is a sensible start
- Name and email: Use the identity you want associated with the key
- Passphrase: Use a long, unique passphrase
A good passphrase is not your birthday, your dog’s name, or “ubuntu123.” Try a long sentence with unusual words. Something like Blue tacos prefer quiet thunderstorms at noon is easier to remember and harder to guess than a short pile of symbols.
Check Your New Key
After generating the key, list your secret keys:
You will see output containing a key ID, fingerprint, user ID, and expiration date. The fingerprint is the most reliable identifier. When verifying someone’s public key, compare the full fingerprint, not just the short key ID.
Step 3: Create a Revocation Certificate
A revocation certificate lets you invalidate your public key if your private key is lost, stolen, or compromised. Think of it as the emergency brake. You hope you never need it, but you definitely want it before the hill gets steep.
Create one with:
Store revoke.asc somewhere safe and offline, such as an encrypted USB drive. Do not keep it casually in your Downloads folder next to memes, tax PDFs, and mysterious files named final_final_REAL.docx.
Step 4: Export and Share Your Public Key
Your public key is meant to be shared. Export it in ASCII-armored format with:
You can send this file to contacts, upload it to GitHub or GitLab for signed commits, or publish it on your website. Anyone who has your public key can encrypt files for you or verify signatures you create.
Import Someone Else’s Public Key
If someone sends you a public key, import it with:
Then check the fingerprint:
Always verify fingerprints through a trusted channel, such as a phone call, secure chat, in-person confirmation, or a trusted website. Downloading a key from somewhere and blindly trusting it is like accepting a sandwich from a stranger because it has your name written on it.
Step 5: Encrypt Files with GPG on Ubuntu
To encrypt a file for someone else, you need their public key in your keyring. Once imported, use:
This creates an encrypted file named document.txt.asc. The --armor option makes the output text-friendly, which is useful for email or messaging systems that dislike binary files.
Encrypt for Yourself
You can also encrypt personal files for your own key:
This is handy for storing sensitive notes, credentials, backup instructions, or documents you do not want sitting around in plain text.
Step 6: Decrypt Files with GPG
To decrypt a file, run:
GPG will ask for your passphrase if your private key is required. If everything matches, the decrypted file appears as document.txt.
To view decrypted content directly in the terminal, you can omit --output:
Be careful with this on shared screens. Nothing says “career-limiting move” like decrypting secrets during a Zoom call.
Step 7: Use Symmetric Encryption for Simple File Protection
Public-key encryption is powerful, but sometimes you just want to protect a file with a passphrase. That is where symmetric encryption helps.
Or shorter:
This creates financial-notes.txt.gpg. To decrypt it:
Symmetric encryption is great for personal archives, but for team communication, public-key encryption is usually cleaner because you do not need to share one password with everyone.
Step 8: Sign Files and Verify Signatures
Encryption hides content. Signing proves authenticity. These are related, but not the same. A signed file may still be readable by everyone; the signature simply proves who signed it and whether it changed afterward.
Create a Clear-Signed Message
This creates message.txt.asc, which contains readable text plus a signature block.
Create a Detached Signature
Detached signatures are common for software downloads:
This creates a separate signature file, usually ending in .asc or .sig.
Verify a Signature
If the signature is valid and the signing key is trusted or known, GPG will confirm it. If the file changed after signing, verification fails. That is exactly what you want. GPG is not being dramatic; it is doing its job.
Step 9: Back Up Your GPG Keys
Losing your private key can lock you out of encrypted files forever. There is no “forgot my key” button. Cryptography is wonderfully secure and occasionally very unforgiving.
Export your private key with:
Export your public key too:
Store private backups offline in an encrypted location. Good options include an encrypted USB drive, a password manager that supports secure file storage, or a secure offline backup disk.
Restore a Key from Backup
After importing, check your key:
Step 10: Configure GPG for Git on Ubuntu
Developers often use GPG to sign Git commits and tags. This helps prove that commits came from the person who owns the signing key. Platforms like GitHub and GitLab can show verified signatures when your public GPG key is added to your account.
Find Your Signing Key
Look for a line like:
The long value after the slash is your key ID.
Tell Git Which Key to Use
Make Git sign every commit by default:
Set the GPG program if needed:
Sign a Commit Manually
Sign a Git Tag
Verify a Signed Tag
If you use GitHub or GitLab, export your public key and add it to your account settings:
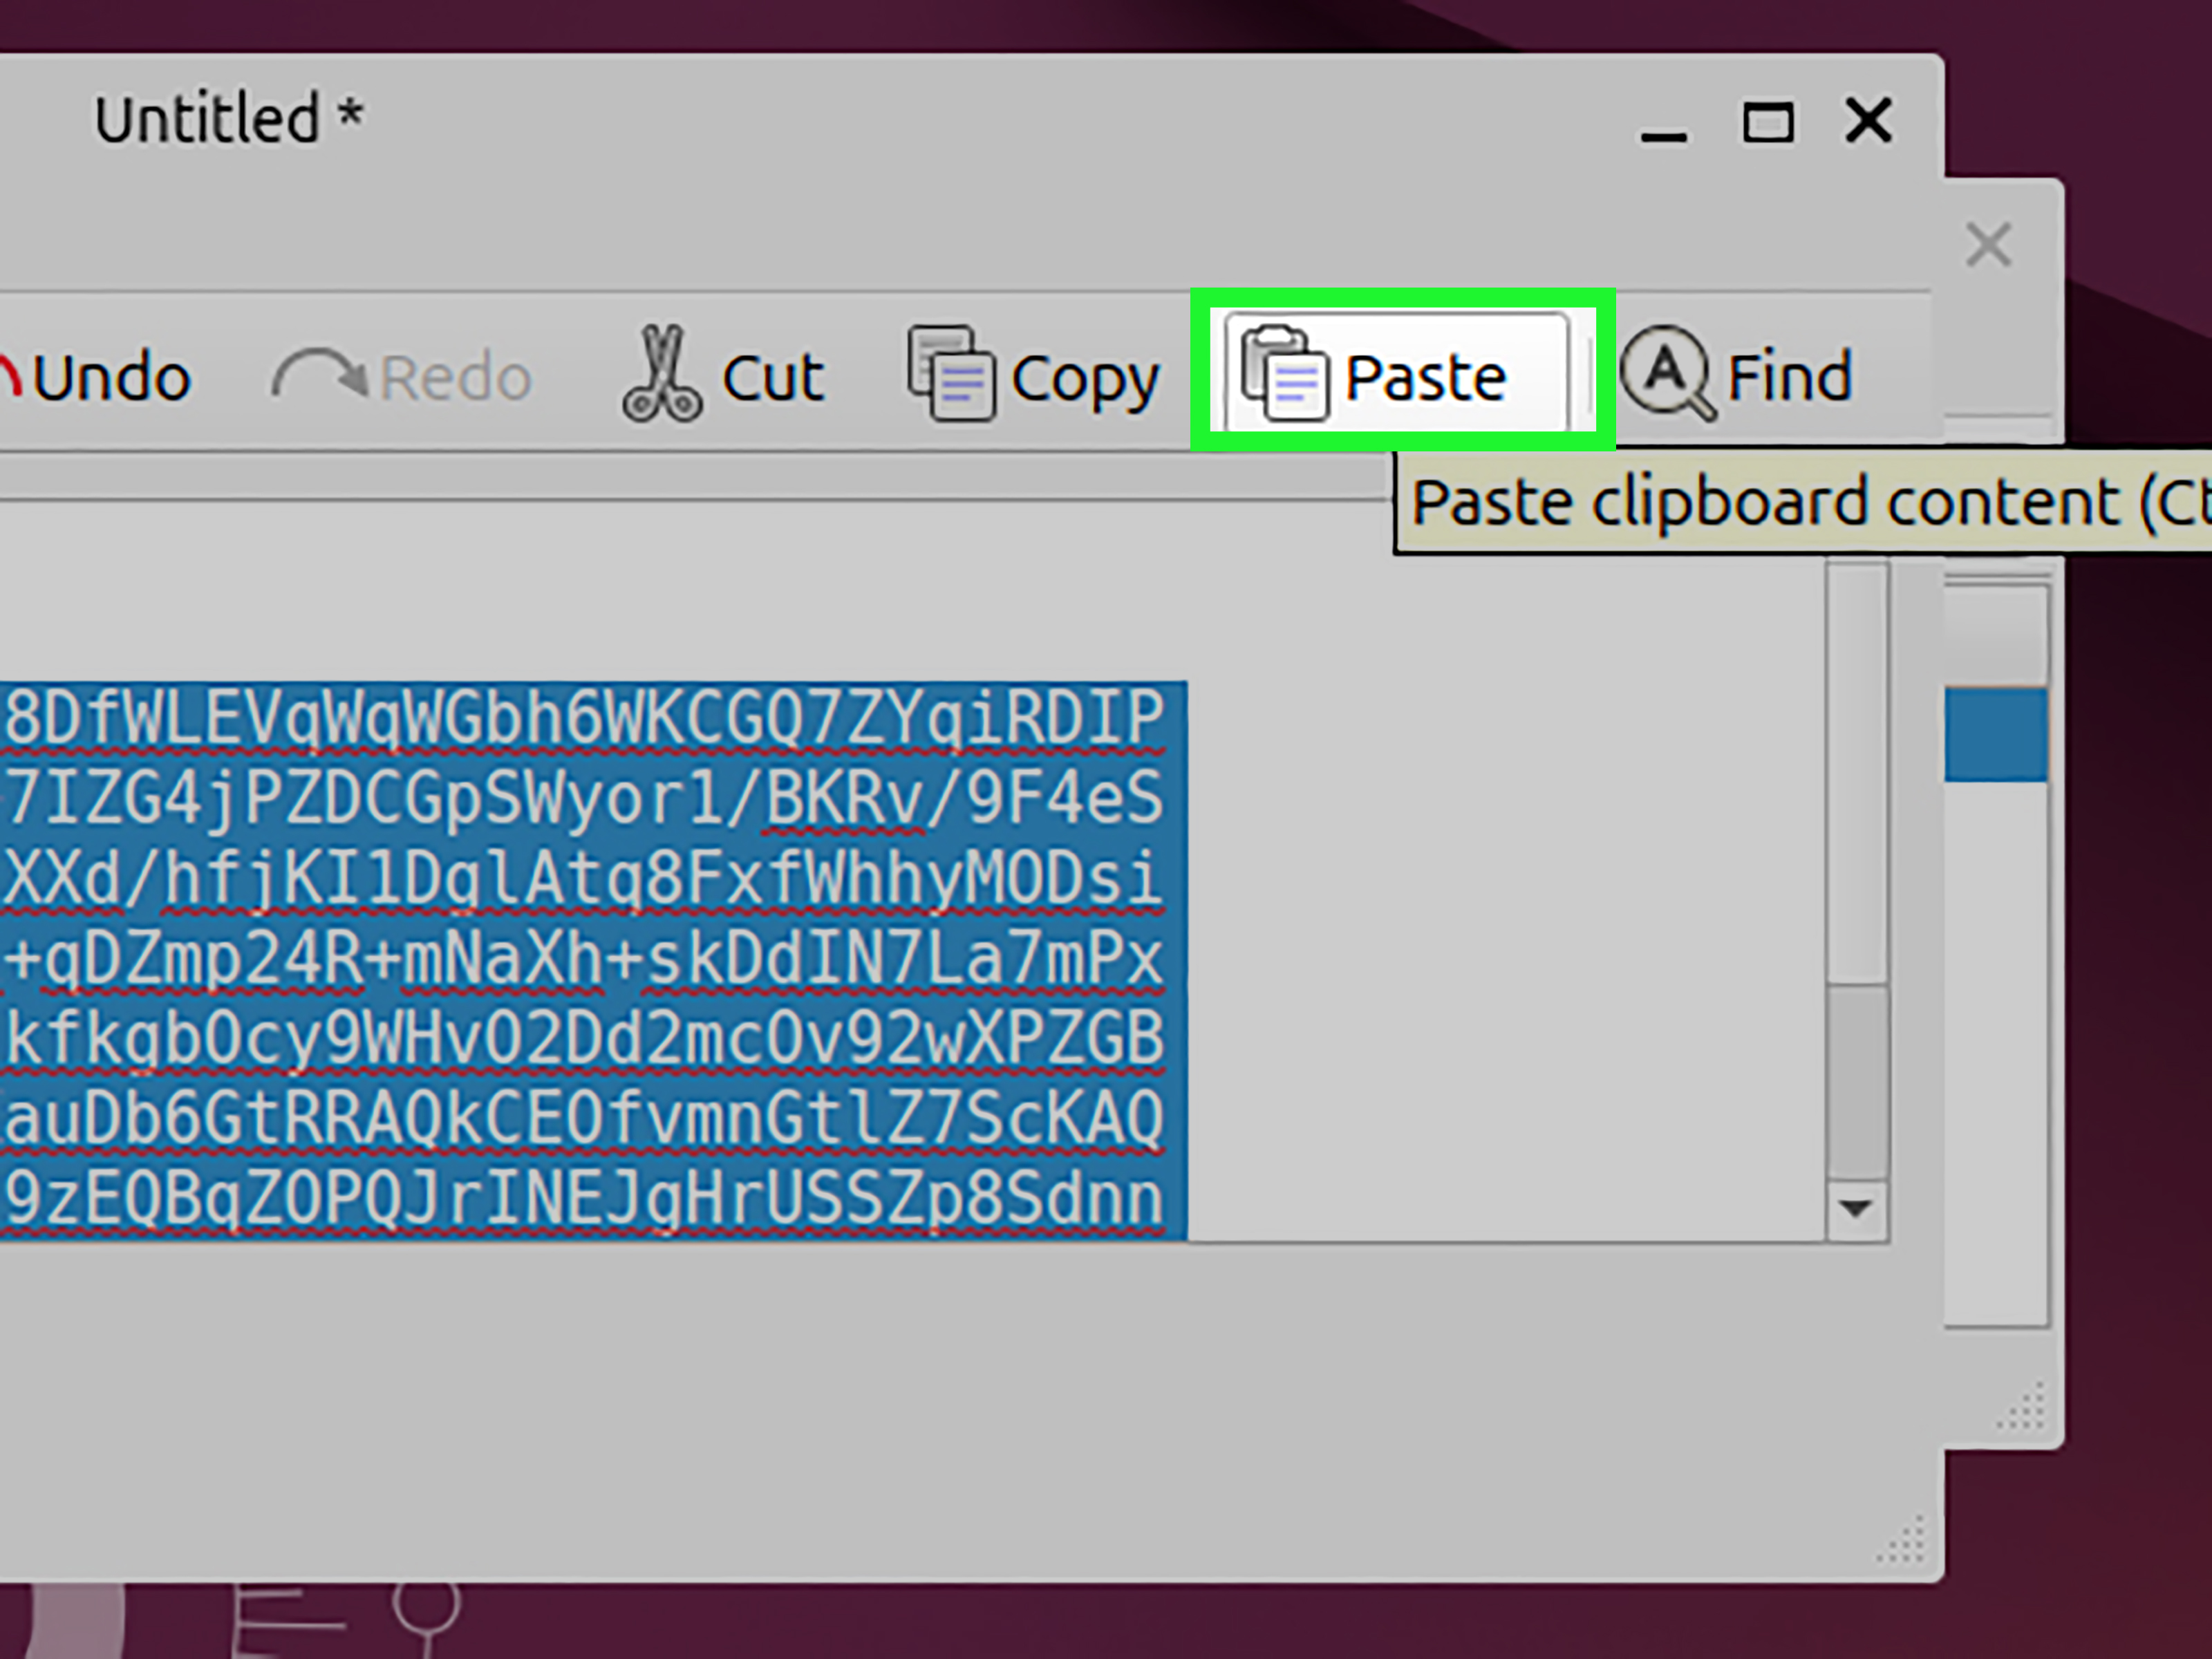
Copy the full output, including the BEGIN PGP PUBLIC KEY BLOCK and END PGP PUBLIC KEY BLOCK lines.
Step 11: Use GPG with Ubuntu Software Repositories
Ubuntu uses cryptographic signatures to help verify package repositories. In older tutorials, you may see apt-key. Modern Ubuntu workflows avoid apt-key because it grants broad trust. The safer approach is to store repository keys in a dedicated keyring file and reference that file with signed-by.
A modern repository key workflow often looks like this:
Then the repository entry should reference that key:
This limits the key to that repository instead of letting it authenticate everything on the system. It is the difference between giving someone a key to one office and giving them a master key to the whole building plus the snack cabinet.
Useful GPG Commands for Ubuntu
Here is a quick command reference for daily use:
| Task | Command |
|---|---|
| Check GPG version | gpg --version |
| Generate a key | gpg --full-generate-key |
| List public keys | gpg --list-keys |
| List private keys | gpg --list-secret-keys --keyid-format=long |
| Export public key | gpg --armor --export [email protected] |
| Import a key | gpg --import key.asc |
| Encrypt a file | gpg --encrypt --recipient [email protected] file.txt |
| Decrypt a file | gpg --decrypt file.txt.gpg |
| Sign a file | gpg --detach-sign file.txt |
| Verify signature | gpg --verify file.txt.sig file.txt |
Common GPG Problems on Ubuntu and How to Fix Them
Problem: GPG Does Not Ask for a Passphrase
If you are using SSH or a minimal terminal environment, GPG may fail because the graphical pinentry prompt cannot open. Install pinentry-curses:
Then configure it:
Problem: Git Commit Signing Fails
First, confirm Git knows your signing key:
Then test signing directly:
If that works, Git is probably misconfigured. If it fails, the problem is likely GPG, your agent, or pinentry.
Problem: “No Public Key” When Verifying
You need the signer’s public key. Import it, then verify again:
Problem: You Forgot Your Passphrase
There is no practical recovery method for a forgotten GPG private key passphrase. If you still have a revocation certificate, revoke the key and create a new one. If you do not, publish a new key and clearly communicate the change to your contacts.
Best Practices for Using GPG on Ubuntu
GPG is powerful, but safe habits matter. Start with these rules:
- Use a long, unique passphrase for your private key.
- Create and safely store a revocation certificate.
- Back up private keys offline and encrypt the backup.
- Verify full fingerprints before trusting public keys.
- Set expiration dates and renew keys when needed.
- Do not upload private keys to cloud drives without encryption.
- Use dedicated keyrings for third-party apt repositories.
For higher security, advanced users can explore subkeys, hardware security keys, smart cards, and offline primary keys. Beginners do not need to start there. First learn the core workflow. Then you can graduate to the “I keep my master key offline in a fireproof safe” level of Linux wizardry.
Experience Notes: What It Is Really Like to Use GPG on Ubuntu
The first time many Ubuntu users set up GPG, the experience feels more complicated than it actually is. The commands are not hard, but the concepts are unfamiliar. Public key, private key, fingerprint, revocation certificate, trust level, signing, encryptionGPG introduces a small vocabulary storm. Once you use it a few times, though, the fog clears. The trick is to separate the ideas: encryption protects content, signing proves identity, and verification checks whether something has changed.
In real-world Ubuntu use, the most common GPG moment is not dramatic spy-movie email encryption. It is usually verifying a download, signing a Git commit, or handling a repository key. Developers often meet GPG when GitHub or GitLab marks commits as “verified.” At first, commit signing feels like extra paperwork. Then one day you realize it helps protect project history from impersonation, and suddenly the paperwork looks less annoying.
Another common experience is the pinentry problem. On a desktop Ubuntu session, passphrase prompts usually appear normally. On a server, SSH session, container, or minimal window manager, GPG may fail because it cannot display the prompt. This is where pinentry-curses becomes the quiet hero. Installing it and restarting gpg-agent fixes many mysterious issues. It is one of those Linux fixes that feels magical, even though it is mostly plumbing.
Key backup is another lesson users often learn too late. A private key is not like a password you can reset. If you encrypt important files and lose the private key, those files may be gone for practical purposes. That sounds harsh, but it is also why GPG is valuable. Strong encryption means strong responsibility. A good backup routine is not optional. Export the secret key, protect it, store it offline, and test restoration before you actually need it.
Using GPG also teaches healthy skepticism. When verifying a software signature, a “good signature” message is useful, but it does not magically prove that you trust the person behind the key. You still need to verify fingerprints and understand where the key came from. GPG is a tool, not a mind reader. It can tell you whether a signature matches a key; it cannot tell you whether you got the right key from the start.
For daily Ubuntu work, the best approach is simple: start small. Generate a key, export your public key, encrypt a test file to yourself, decrypt it, sign a text file, verify it, and then configure Git signing. After that, GPG stops feeling like a mysterious security artifact and starts feeling like a reliable pocket tool. Not flashy, not always friendly, but extremely useful when you need proof, privacy, or both.
Conclusion
Learning how to set up and use GPG for Ubuntu gives you a practical foundation in encryption, digital signatures, software verification, and secure developer workflows. You do not need to become a cryptography professor or start correcting people at dinner parties about key fingerprints. You only need to understand the basics: keep your private key private, share your public key, verify fingerprints, back up responsibly, and use signatures when authenticity matters.
Once configured, GPG becomes part of your normal Ubuntu workflow. You can encrypt sensitive files, decrypt protected messages, sign documents, verify downloads, and create trusted Git commits. It is one of those tools that rewards careful setup with long-term confidence. And unlike many security tools, it does not need to be flashy to be powerful. It just needs to workand on Ubuntu, it does.
Note: Commands may vary slightly depending on your Ubuntu version, desktop environment, Git platform, and security policy. Always test GPG workflows with non-critical files before using them for important data.