Taking a selfie should be simple: lift phone, smile, tap button, become internet royalty. Yet somehow, the result often looks like you were surprised by your own camera in a grocery-store security mirror. The good news is that learning how to pose for a selfie is not about changing your face, buying a new phone, or practicing mysterious influencer magic under a full moon. It is about using light, angles, posture, framing, and expression in a way that feels natural.
A great selfie is part portrait, part tiny storytelling moment. It can show your mood, outfit, haircut, travel view, coffee date, new glasses, or “I left the house today, please applaud” energy. Whether you want a polished profile picture, a casual Instagram Story, a mirror selfie, or a group shot where everyone’s forehead gets equal screen time, the right pose makes the photo look intentional instead of accidental.
This guide breaks down practical selfie posing tips with examples you can try right away. No awkward model vocabulary. No “just be effortless” advice, which is usually said by people standing in perfect window light. Just clear, useful techniques for better selfies.
Why Selfie Posing Matters
Selfie posing matters because the camera does not see the world exactly the way your eyes do. Phone lenses can exaggerate whatever is closest to the camera, lighting can create shadows, and a tiny change in angle can completely shift the mood of a photo. That does not mean you need to obsess over every pixel. It simply means a little awareness goes a long way.
Think of posing as giving the camera helpful instructions. When you turn slightly, relax your shoulders, lift the phone a little, or look toward the light, you help the camera capture a more balanced, expressive version of the moment. The goal is not perfection. The goal is a selfie that looks like you on a good day, not you being interrogated by a ceiling lamp.
Before You Pose: Set Up the Selfie First
Clean the Camera Lens
This is the least glamorous tip and possibly the most powerful. Your phone lives in pockets, bags, hands, desks, and places we should not discuss while eating. A smudged lens softens detail, adds haze, and makes good lighting look cloudy. Wipe the front camera gently with a clean microfiber cloth or the edge of a soft shirt before shooting.
Find Soft, Even Light
Good selfie lighting usually comes from a window, open shade, cloudy daylight, or golden hour. Stand facing the light or slightly angled toward it. Avoid harsh overhead lighting when possible because it can create strong shadows under the eyes and nose. If the sun is bright, move into shade instead of squinting bravely like a cowboy in a shampoo commercial.
Check the Background
A clean background keeps attention on you. This does not mean your room must look like a furniture catalog where nobody has ever owned a charger. Just remove distracting clutter, check for random objects behind your head, and make sure the background supports the photo. A plain wall, curtain, bookshelf, café corner, garden, car window, or street mural can all work well.
Use the Grid
Turn on the camera grid if your phone has one. Place your eyes near the upper third of the frame, especially for close-up selfies. This simple composition trick makes the shot feel more balanced. Centering can work too, especially for symmetrical selfies, but the grid gives you options beyond “face floating in the exact middle like a passport photo with ambition.”
Try the Timer
The timer is your best friend for hands-free selfies, mirror selfies, outfit photos, and relaxed poses. Prop your phone against a stable object or use a small tripod. A timer lets your hands, shoulders, and expression relax because you are no longer wrestling the phone like it owes you money.
How to Pose For a Selfie: Step-by-Step
1. Hold the Camera Slightly Above Eye Level
For a classic selfie, hold the phone slightly above eye level and angle it down just a little. This often creates a clean, flattering portrait angle and helps your eyes become the focus. Do not raise the phone so high that you look like you are asking a drone for emotional support. A small lift is enough.
Example: Stand near a window, hold the phone just above your eyes, turn your face slightly to one side, and look into the lens. Keep your chin relaxed and smile gently.
2. Turn Your Face or Body Slightly
Facing the camera straight on can look bold and direct, but a slight turn adds depth. Rotate your face or shoulders about 15 to 45 degrees. This creates a natural portrait shape and prevents the image from looking flat.
Example: For a casual profile photo, turn your shoulders slightly away from the camera, then bring your face back toward the lens. This gives the photo movement without making it look staged.
3. Relax Your Shoulders
Tense shoulders can make a selfie look stiff. Before you tap the shutter, breathe out, drop your shoulders, and loosen your neck. If you are taking a mirror selfie, shift your weight onto one foot and let the other knee bend slightly. The pose will instantly look more natural.
Example: For an outfit selfie, stand at a slight angle, relax one shoulder lower than the other, and let one hand rest in a pocket, on a bag strap, or lightly at your side.
4. Give Your Hands Something to Do
Hands can be weird in photos. They suddenly feel like two confused birds attached to your arms. Solve this by giving them a simple job. Touch your hair, hold sunglasses, adjust a collar, hold a coffee cup, rest a hand on your cheek, or use one hand to hold the phone while the other stays relaxed.
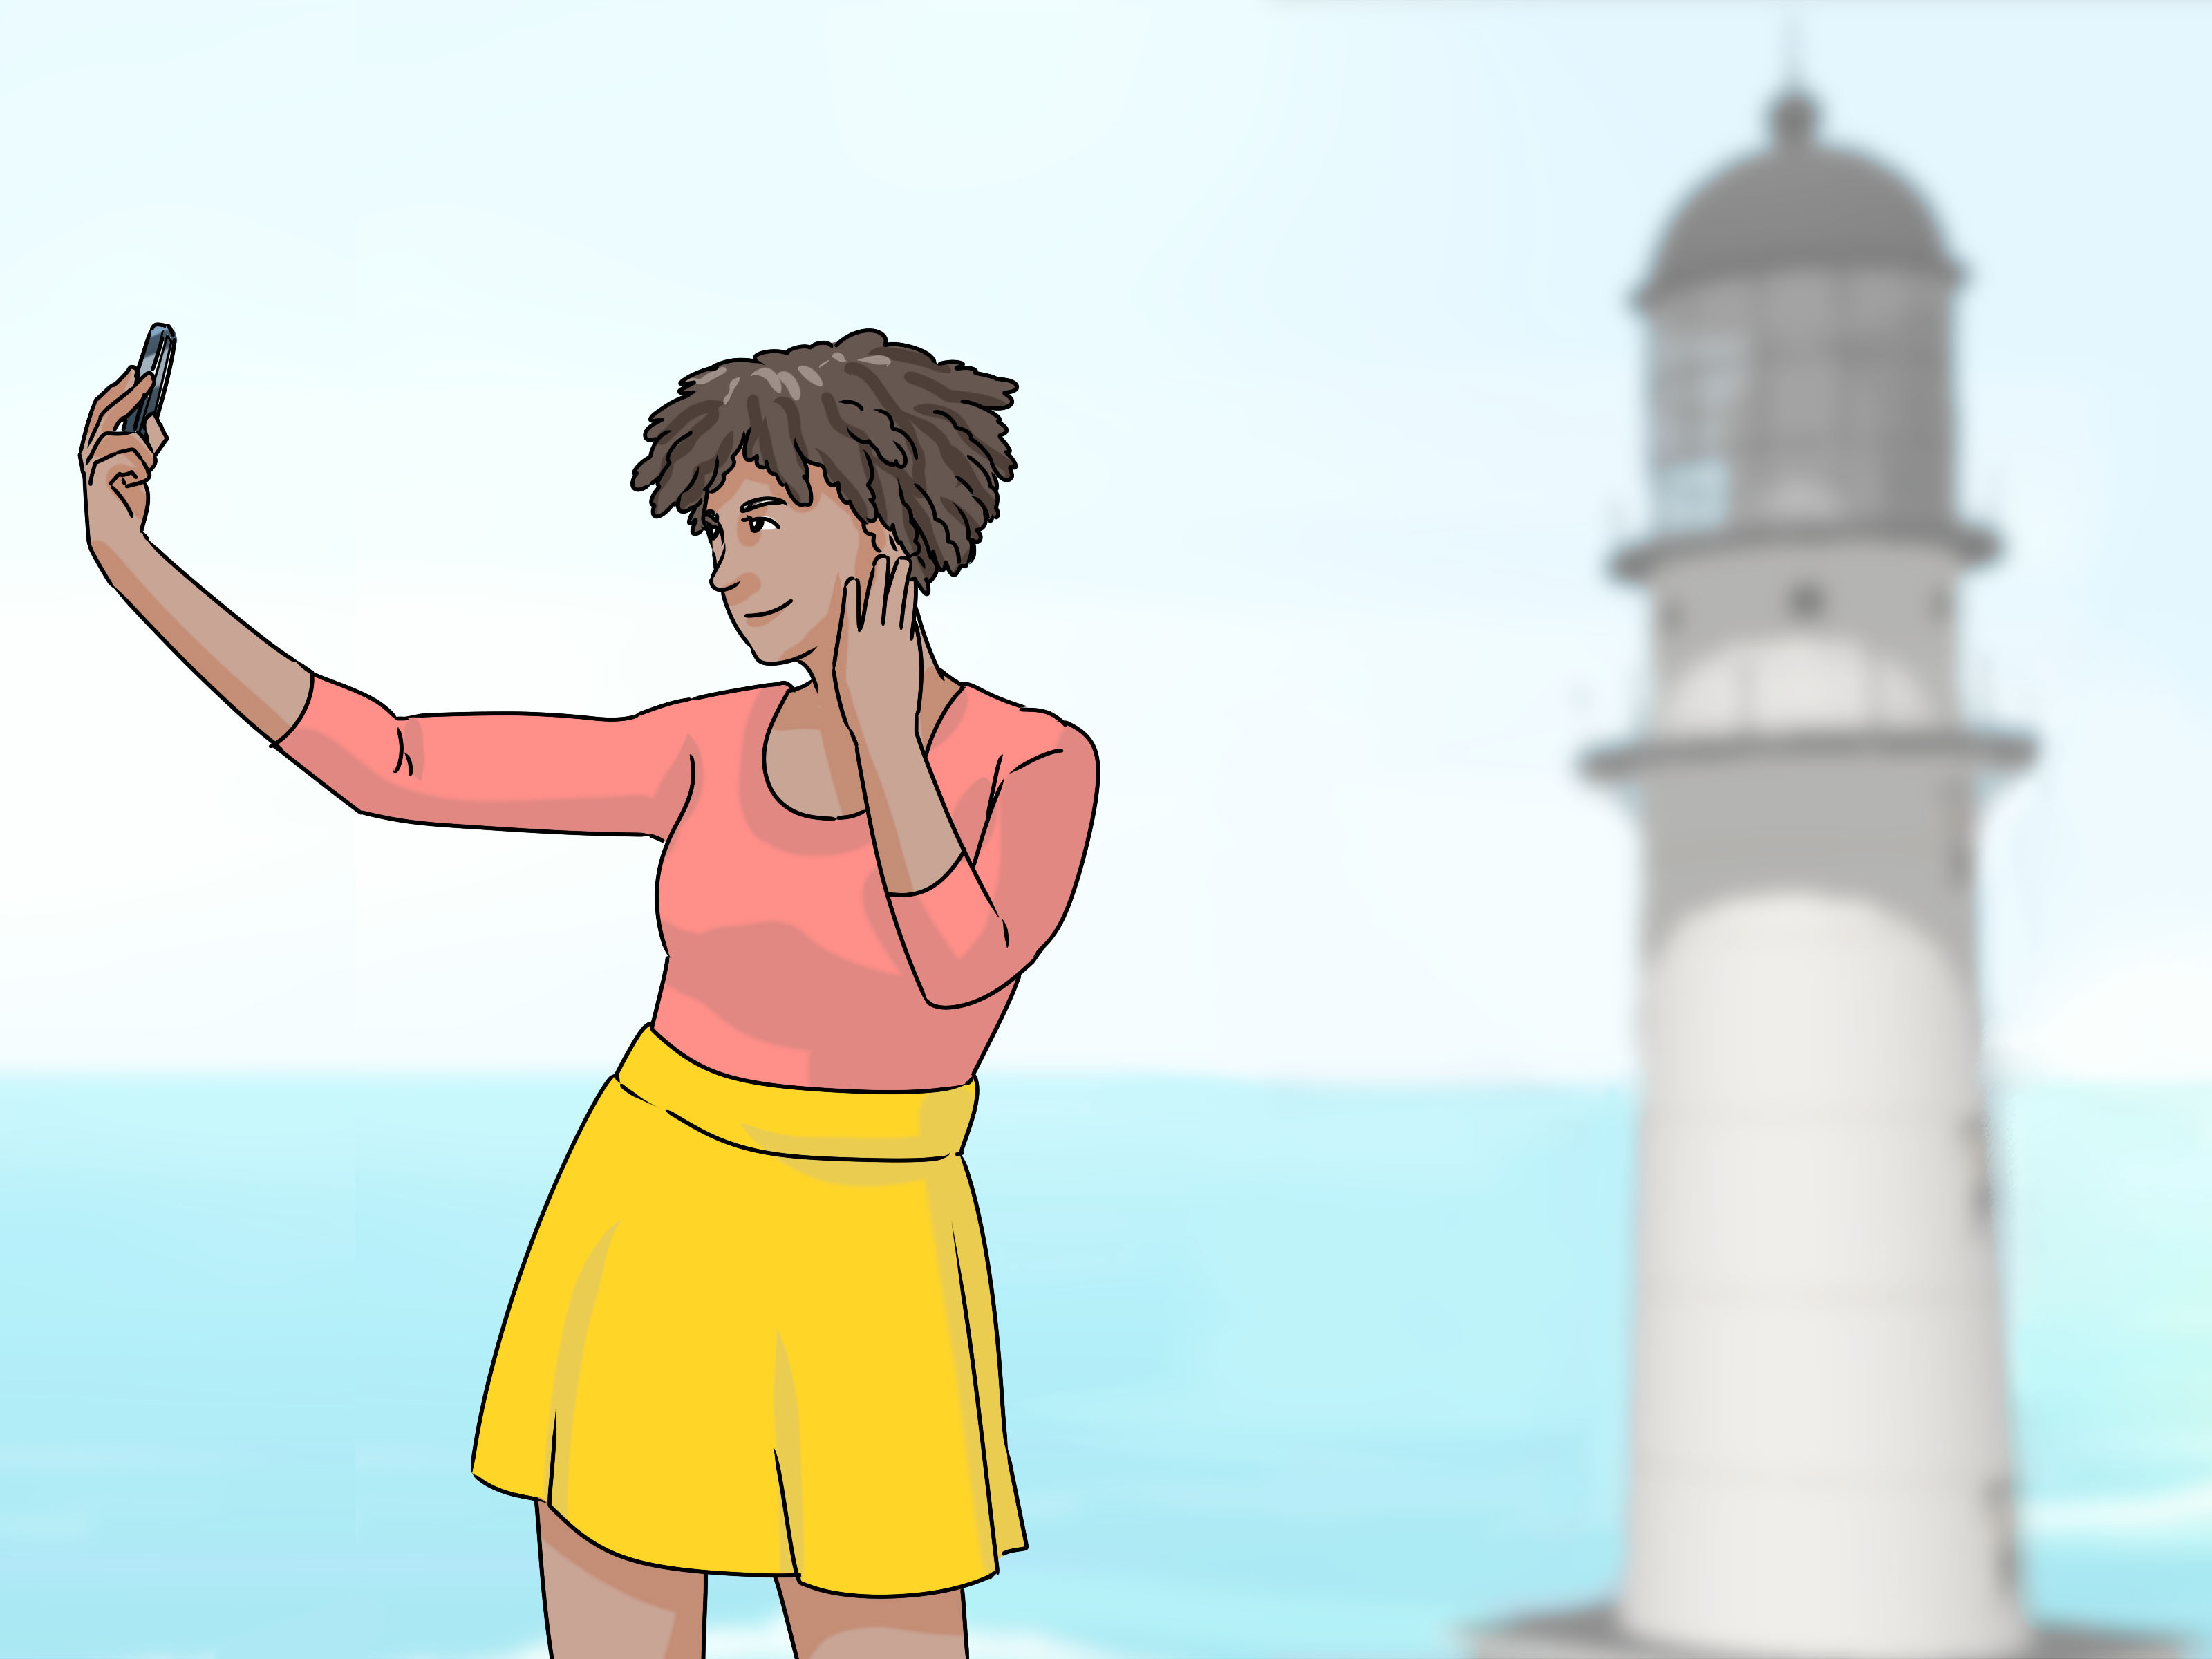
Example: For a relaxed outdoor selfie, hold your phone with one hand and use the other to lightly touch the brim of a hat or tuck hair behind your ear.
5. Look at the Lens, Not the Screen
It is tempting to stare at yourself on the screen, especially when checking hair, lighting, and whether your expression says “friendly human” or “tax audit.” But for a connected selfie, look into the lens. This creates direct eye contact with the viewer.
Example: Take two photos: one looking at the screen and one looking at the lens. The lens version usually feels more personal and confident.
6. Try Micro-Expressions
A selfie does not need one default smile. Try a soft smile, big laugh, raised eyebrows, thoughtful look, side glance, or “I know the Wi-Fi password” confidence. Take several shots with tiny changes instead of forcing one perfect expression.
Example: Turn on burst mode or record a short video while moving slowly through different expressions. Then choose the frame that feels most natural.
7. Use Portrait Mode Carefully
Portrait mode can blur the background and make a selfie look polished. It works best when your face is clearly visible and the background is not too busy. Keep some space between you and the background so the blur looks natural. If the edges around your hair or glasses look odd, switch back to regular photo mode.
Example: Stand three to six feet in front of a wall, tree, curtain, or city lights. Use portrait mode to softly blur the background while keeping your face sharp.
Selfie Pose Examples You Can Try
Classic Window-Light Selfie
Stand facing a window with soft daylight. Hold the phone slightly above eye level. Turn your face a little to one side and look into the lens. This is the “reliable white T-shirt” of selfies: simple, clean, and almost always useful.
The Three-Quarter Angle Selfie
Turn your shoulders 45 degrees away from the camera, then turn your face back toward it. This pose adds dimension and works well for profile pictures, casual portraits, and selfies where you want a more composed look.
The Laughing Selfie
Instead of saying “cheese,” think of something genuinely funny, or take a photo while talking to a friend. A real laugh brings movement to your eyes and face. Yes, you may take five weird frames first. That is the tax we pay for joy.
The Mirror Outfit Selfie
Stand a few feet from the mirror, angle your body slightly, and hold the phone around chest or face height. Keep the mirror clean and avoid covering your entire face unless that is the style you want. Use the timer if you want both hands free.
The Sitting Selfie
Sit near good light, angle your knees slightly away from the camera, and lean forward a little from the hips. Keep your back naturally lifted rather than slouched. This works well at cafés, desks, parks, and anywhere you are pretending you did not take twelve photos before choosing one.
The Over-the-Shoulder Selfie
Turn your body away from the camera, then look back over one shoulder. This pose is playful and works especially well when the background matters, such as a beach, mural, garden, or travel spot.
The Low-Angle Confidence Selfie
A lower camera angle can make the shot feel bold and dramatic. Hold the phone slightly below eye level, but keep the lens far enough away to avoid distortion. This pose works best when you want attitude, not a traditional portrait.
The Hands-Free Professional Selfie
For a LinkedIn-style or profile photo, place your phone on a tripod or stable surface. Use the rear camera if possible, set a timer, face soft light, and keep the background simple. Stand or sit tall, relax your jaw, and use a calm, friendly expression.
The Group Selfie
Use wide selfie mode if your phone offers it. Hold the camera slightly above eye level and make sure everyone is inside the frame before shooting. Put taller people toward the back or edges and ask everyone to lean in. Take several shots, because someone will blink. This is not pessimism; it is group-photo science.
The Pet Selfie
Hold your pet close enough to be in frame without forcing them to perform. Face the light, use burst mode, and make a small sound near the phone to catch their attention. Accept that the pet may become the star. This is their internet now.
The Travel Selfie
Do not cover the entire landmark with your face. Hold the phone a little farther away, place yourself to one side of the frame, and let the background breathe. Use the grid so your face and the scenery share the image instead of competing like reality-show finalists.
The Detail Selfie
Use this pose when you want to show glasses, earrings, makeup, a haircut, a hat, or a mood. Crop closer, angle your face toward the light, and keep the background simple. A detail selfie works best when one feature or accessory is the focus.
Common Selfie Mistakes and Easy Fixes
Mistake: Shooting in Harsh Overhead Light
Fix: Move near a window, step into shade, or turn toward softer light. If you are indoors at night, place a lamp slightly in front of you rather than directly above your head.
Mistake: Holding the Phone Too Close
Fix: Extend your arm a little farther, use a selfie stick, or switch to a timer. Distance reduces lens distortion and gives you more room to frame your face, outfit, or background.
Mistake: Forgetting the Background
Fix: Scan the edges of the frame before shooting. Move laundry, cups, cords, or anything accidentally growing out of your head. A two-second background check can rescue the whole photo.
Mistake: Forcing the Same Expression
Fix: Take a few photos with different moods. Try smiling, looking away, laughing, or softening your expression. Variety helps you find the photo that feels like you.
Mistake: Over-Editing
Fix: Edit lightly. Adjust brightness, contrast, warmth, and crop before reaching for heavy filters. A good edit should make the photo clearer, not make you look like a wax figure with excellent Wi-Fi.
Best Selfie Poses by Situation
For a Profile Picture
Use soft light, a simple background, and a head-and-shoulders crop. Look directly into the lens and use a natural smile or calm expression. Keep the pose clean and approachable.
For Instagram Stories
Stories can be more casual. Try a mirror selfie, coffee selfie, walking selfie, or quick reaction selfie. Add movement by turning your head slightly or capturing a real moment instead of freezing too hard.
For an Outfit Photo
Use a mirror or timer. Stand farther from the camera so the full outfit fits. Angle your body slightly, shift your weight, and keep your hands relaxed. Clean shoes and good light help more than complicated posing.
For a Makeup or Hair Selfie
Face the light and crop closer. Keep the phone steady, avoid strong shadows, and turn your face slightly so texture and color are visible. Look at the lens for connection, or look slightly down for a softer beauty-style image.
For a Fun Casual Selfie
Do not overthink it. Laugh, tilt your head, include a friend, hold a snack, or let the moment be imperfect. Some of the best selfies are not technically perfect; they just feel alive.
Real-Life Experience: What Actually Works When Taking Selfies
In practical experience, the biggest improvement rarely comes from a dramatic pose. It usually comes from changing the light. A person can try ten facial expressions in bad overhead lighting and still feel frustrated. Then they move three feet toward a window and suddenly the photo looks calmer, clearer, and more natural. Light is the quiet editor working before editing even begins.
Another useful lesson is that the best selfie pose often appears between poses. People tend to become stiff when they think, “Now I am posing.” The shoulders rise, the smile freezes, and the photo starts giving school-ID-card energy. A better method is to move slowly while taking several shots. Turn your face a little. Look down, then back at the lens. Laugh at how awkward the process feels. Adjust your sleeve. Shift your weight. The keeper is often the frame where you were not trying so hard.
Mirror selfies also improve with distance. Standing too close to the mirror can make the photo feel cramped and distorted. Step back, clean the mirror, and let the outfit or background have space. If the phone blocks your face, lower it slightly or angle it to the side. If the pose feels empty, give your free hand something to do: touch a jacket, hold a bag, rest a hand lightly at your side, or place it in a pocket. The hand does not need a dramatic acting career. It just needs employment.
For group selfies, the best experience-based advice is simple: take more than one. Someone will blink, someone will talk, someone will look at the wrong camera, and someone in the back will appear as a mysterious floating eyebrow. Use wide mode, raise the phone a little, and ask everyone to lean toward the center. Count down out loud, then take a few extra shots after the “official” one. The candid photo right after the posed shot is often the best.
For profile photos, hands-free shooting makes a huge difference. Prop the phone up, use the timer, and step back. This removes the visible arm angle and lets you use more natural posture. A simple wall, soft window light, and a relaxed expression can look more professional than a heavily filtered close-up. The photo feels less like “I took this in a hurry” and more like “I planned this for seven minutes, which is exactly enough planning.”
The final experience worth remembering is that confidence grows through testing. Take selfies from the left, right, straight on, slightly high, eye level, sitting, standing, smiling, and serious. You are not being vain; you are learning your camera. Delete the awkward ones. Everyone has awkward ones. The camera roll is a backstage area, not a courtroom. With a little practice, posing for a selfie becomes less about chasing perfection and more about recognizing the angles, light, and expressions that feel most like you.
Conclusion
Learning how to pose for a selfie is really learning how to work with your phone camera instead of fighting it. Start with soft light, a clean lens, and a simple background. Hold the camera slightly above eye level for classic selfies, turn your face or shoulders for depth, relax your posture, and look into the lens when you want connection. Use portrait mode, timers, wide selfie settings, and burst shots when they help, but do not let tools replace personality.
The best selfie pose is not one universal angle. It is the one that matches the moment: polished for a profile picture, playful for a Story, spacious for travel, relaxed for a mirror selfie, and spontaneous for friends. Try the examples in this guide, save what works, and laugh at what does not. A good selfie should look like you, not like you were assembled by a ring light committee.