If you have ever looked at a mandolin and thought, “Ah yes, a tiny guitar with twice the attitude,” welcome to the club. Restringing a mandolin can feel a little intimidating the first time because you are not just dealing with four strings. You are dealing with eight strings arranged in pairs, a tailpiece that may seem determined to launch metal loops into orbit, and often a floating bridge that loves to remind you who is really in charge.
The good news is that learning how to restring a mandolin is absolutely doable at home. Once you understand the order, the tools, and the small details that keep the instrument stable, the process becomes less “luthier panic” and more “satisfying weekend maintenance.” In this guide, you will learn how to remove old strings, install new ones correctly, tune the mandolin back to pitch, and avoid common mistakes that can throw off tone, tuning stability, or bridge position.
Whether you play bluegrass, folk, Celtic tunes, or just love making bright, punchy chords in your living room, fresh strings can make your mandolin feel alive again. Let’s get that instrument back in fighting shape.
Why restringing your mandolin matters
Mandolin strings work hard. Because the instrument uses paired courses and relatively high tension for its size, strings gradually lose brightness, develop tuning issues, and start to feel dull or stiff under the pick. Old strings can also make intonation seem off, even when your tuning says everything is fine. In plain English: tired strings can make a good mandolin sound cranky.
Fresh strings usually give you better clarity, stronger projection, improved tuning response, and a more lively feel. If your mandolin sounds muddy, feels rough, or refuses to stay in tune after normal playing, a restring may be overdue.
What you need before you start
- A fresh set of mandolin strings
- A clip-on tuner or reliable tuning app
- A string winder
- Wire cutters
- A soft cloth
- Optional: a pencil or nut lubricant for the nut slots
- Optional: painter’s tape or a small ruler for bridge reference
Before opening the string pack, make sure you bought the right type. Many mandolins use loop-end strings, while some tailpiece designs accept ball-end strings. Check your current set or your mandolin’s specs before you begin. Also pay attention to gauge. Light strings are often easier on the fingers and popular with many players, while medium gauges may offer a fuller, stronger response.
Know your mandolin before removing the strings
Here is the part that saves beginners from unnecessary drama: many mandolins have a floating bridge. That means the bridge is held in place by string tension rather than being permanently fixed to the top. If you take all the strings off at once, the bridge can shift or fall over. Then you are not just restringing. You are also re-establishing bridge placement and possibly correcting intonation.
That is why many players prefer to change strings one course at a time. It keeps tension on the bridge and makes the whole job simpler. If you do want to remove all the strings for a deep cleaning, mark the bridge position first with low-tack tape or measure its placement carefully before loosening everything.
Mandolin string order and tuning
A standard mandolin is tuned in fifths: G-D-A-E, from the lowest-pitched course to the highest. Each course has two strings tuned to the same note.
- G course = lowest pair
- D course = next pair
- A course = next pair
- E course = highest pair
If you are new to the instrument, think of it as a violin’s tuning, but with doubled strings and a lot more sparkle.
How to restring a mandolin step by step
1. Loosen the old strings slowly
Start with one course. Turn the tuning pegs to reduce tension until both strings are slack. Do not cut fully tensioned strings right away. That can be rough on the instrument and even rougher on your nerves if a string snaps upward like a tiny steel cobra.
2. Remove the old strings from the tuning posts
Once the strings are loose, unwind them from the tuning posts. Gently pull the free ends out. Keep the loose strings controlled so they do not scratch the headstock or slap against the finish.
3. Detach the strings from the tailpiece
At the tailpiece, remove the loop end or ball end from its anchor point. On some mandolins, this is the trickiest moment because the tailpiece cover can make the hooks hard to see. Take your time. A soft cloth placed under the tailpiece area can help protect the top in case a metal end slips.
4. Clean the exposed area
With the old course removed, wipe down the fingerboard, top, and hardware in the newly exposed area. This is your best chance to remove dust, finger oils, and accumulated grime. You do not need to turn the mandolin into a museum piece, but a quick clean is worth it.
5. Install the new string at the tailpiece
Hook the new string onto the tailpiece. If you are using loop-end strings, make sure the loop sits securely on the correct post or hook. If your mandolin uses ball-end strings, seat the ball properly so it does not shift when tension increases.
This is a good time to keep a finger lightly on the string near the tailpiece so it does not pop loose while you guide the other end toward the tuner.
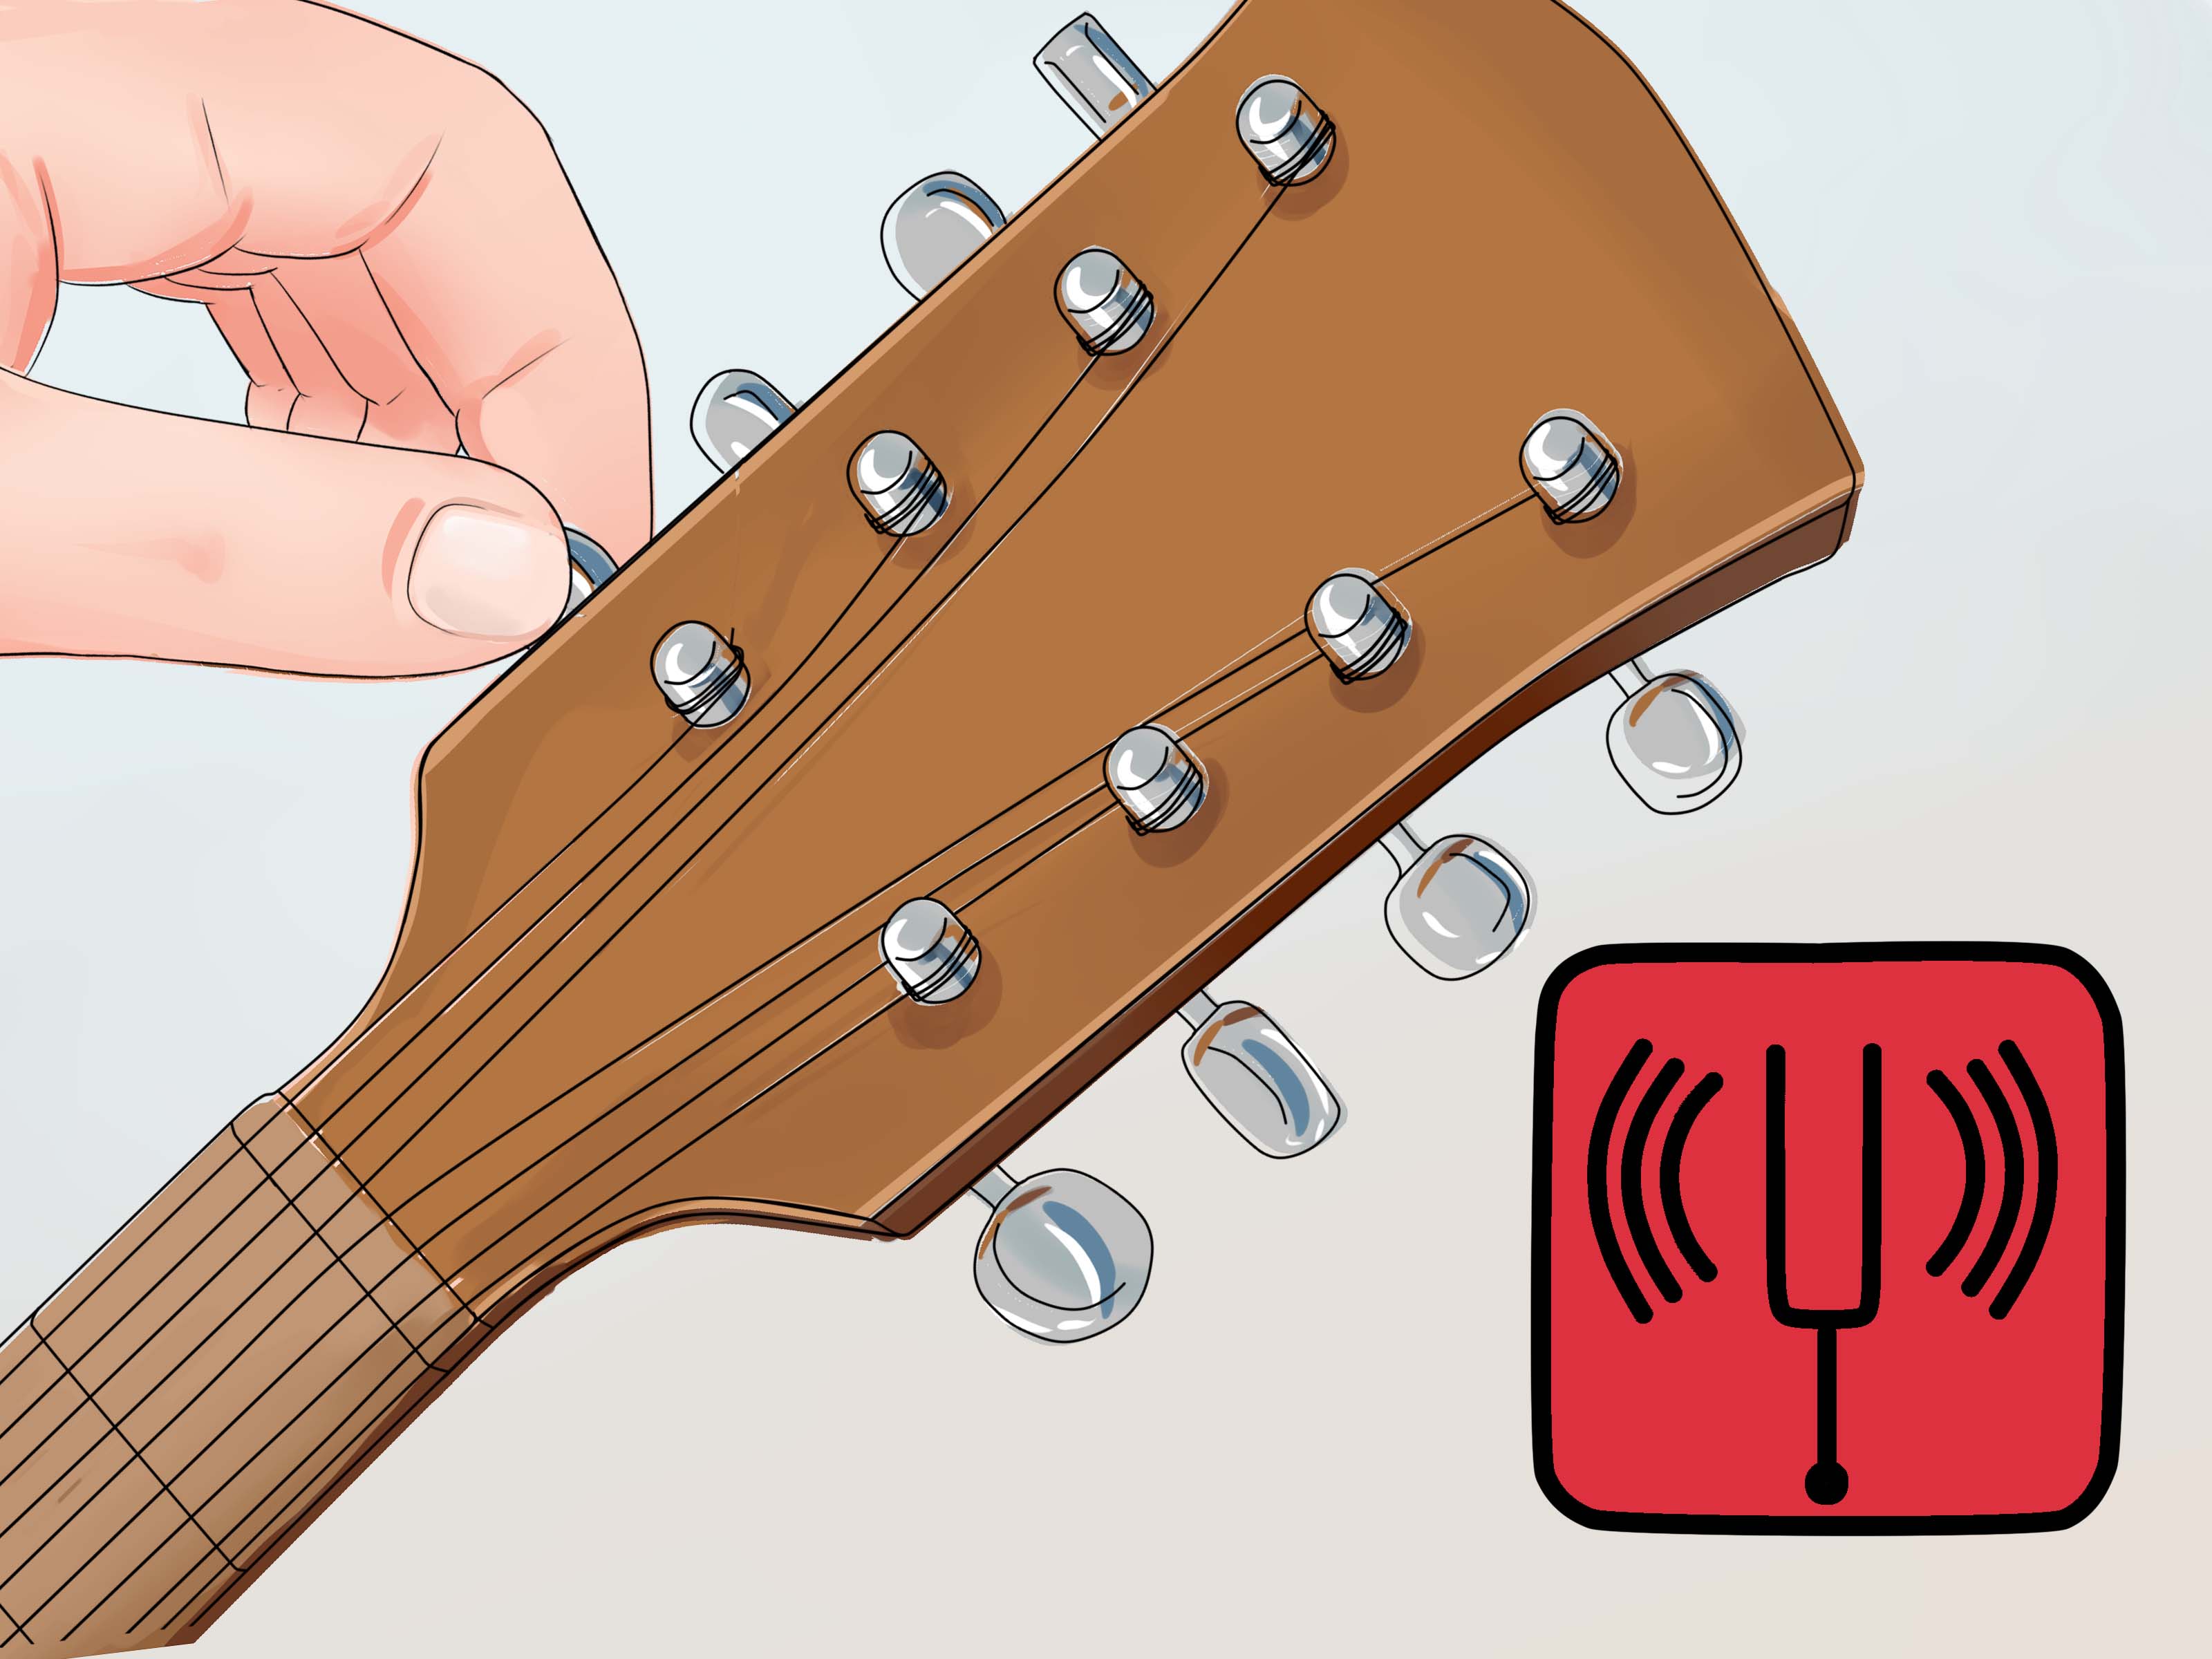
6. Thread the string through the tuning post
Guide the string through the correct tuning machine hole. Pull it mostly taut, but leave enough slack for a few neat wraps around the post. Too little slack can cause slipping. Too much creates a messy tangle that looks like your mandolin got dressed in the dark.
A good rule of thumb is to leave enough room for about two to four tidy winds, depending on the string and the tuner layout.
7. Create a clean wind
Begin winding so the wraps spiral neatly down the post. The string should wind in a way that keeps a clean break angle over the nut without crossing over itself excessively. Neat wraps help tuning stability and reduce frustration later.
If you want extra stability, you can guide the loose end so the first wrap helps lock the string in place. The exact technique varies a little by tuner style, but the goal is always the same: secure, orderly wraps with no chaos.
8. Bring the string up to gentle tension
Tighten the string until it is snug, but do not rush it all the way to concert pitch immediately. Repeat the process for the second string in that course. Once both strings are installed, tune them gradually toward the target note.
Doing this carefully helps the course settle evenly and reduces the chance of tugging the bridge out of position.
9. Repeat for the remaining courses
Work through the mandolin one course at a time until all eight strings are installed. Many players like to move from low to high or from the outside courses inward. The exact order matters less than staying organized and checking that each string is going to the correct tuning post.
10. Tune to standard pitch
Use your tuner and bring the mandolin to standard tuning: G-D-A-E. Because fresh strings stretch, expect to retune several times. That is normal. New strings are a bit like puppies: energetic, unpredictable, and not immediately ready to behave.
11. Stretch the strings gently
After tuning, gently pull each string upward a small amount along its length, then retune. Do not yank. Just encourage the wraps and string seating points to settle. Repeat until the strings begin holding pitch more reliably.
12. Check the bridge position
Look at the bridge from the side. If it is leaning forward, correct it carefully before playing much. Also check intonation by comparing the open string note to the fretted note at the 12th fret. If the bridge shifted during restringing, you may need a minor adjustment. If you are uncomfortable doing that, a repair tech can help quickly.
Common mistakes to avoid
Removing all strings without marking the bridge
This is the classic floating-bridge surprise. If you plan to take all the strings off, mark the bridge location first. Otherwise, you may spend more time fixing intonation than actually playing.
Using the wrong string ends
Loop-end and ball-end strings are not universally interchangeable. Match the string ends to your tailpiece design.
Winding too many wraps
Too many wraps can cause tuning instability and clutter on the post. Clean, controlled wraps work better than a giant metal cinnamon roll.
Tuning too fast
Rushing to pitch can stress the strings, encourage bridge movement, and make it easier to overshoot the note. Sneak up on pitch instead.
Ignoring the nut slots
If strings bind at the nut, tuning will feel jumpy or inconsistent. A tiny bit of graphite from a pencil or a proper instrument-safe lubricant can help the strings move more smoothly.
How to choose the best strings for your mandolin
If you are wondering which set to buy, start with your playing style and tone preference.
- Phosphor bronze: warm, balanced, and popular for acoustic tone
- Nickel-plated steel: punchy, bright, and often favored by bluegrass players
- Coated strings: longer life and smoother feel, though some players find them slightly less lively right out of the pack
- Light gauge: easier fretting and often easier for beginners
- Medium gauge: more resistance, often more volume and body
If your mandolin already plays well and you like its current feel, the safest move is to replace the strings with the same type and gauge. Changing gauges can affect tension, feel, setup, and sometimes intonation.
How often should you restring a mandolin?
That depends on how much you play, how acidic your hands are, and how picky you are about tone. Frequent performers may restring often to keep the sound bright and responsive. Casual players may go much longer. A good practical clue is this: if the mandolin sounds dull, feels rough, or starts acting squirrelly with tuning and intonation, it is probably time.
When to let a pro handle it
Restringing is beginner-friendly, but some situations call for a professional setup. If your bridge will not stay upright, your mandolin buzzes badly after restringing, the nut slots pinch the strings, or the intonation remains off even after careful tuning, a repair tech can sort it out.
That is not cheating. That is wisdom with a shop invoice.
Real-life experiences with restringing a mandolin
The first time many players restring a mandolin, the process feels slower than expected. You think you are changing a few strings and suddenly you are in a full negotiation with eight pieces of wire, two rows of tuners, and a tailpiece that seems to have been designed by a mischievous engineer. That experience is normal. In fact, almost every mandolin player has a “my first restring” story.
One common experience is discovering just how much brighter a mandolin can sound with fresh strings. Players often get used to the slow decline in tone and do not realize how tired the old set has become until the new one is on. The difference can be dramatic: more snap in chop chords, cleaner melodies, stronger projection, and less of that tired, thuddy sound that sneaks up over time.
Another frequent lesson comes from the floating bridge. Many beginners do not even know the bridge is floating until they loosen all the strings and the bridge shifts. Suddenly the instrument is restrung but the intonation is off, and every chord sounds suspicious. After that happens once, most players become devoted members of the “one course at a time” school of thought.
Players also talk about how restringing improves their connection to the instrument. It is one of those maintenance jobs that teaches you where everything is, how the tailpiece works, how the tuners feel under your fingers, and how much tension the instrument carries. After two or three restringing sessions, many people stop feeling intimidated and start feeling competent. That is a big step for any musician.
There is also the emotional side. A fresh restring often makes a mandolin feel inspiring again. You pick it up “just to check the tuning,” and twenty minutes later you are still playing because the response feels lively and fun. For some musicians, restringing becomes part practical care and part ritual reset. Clean the fingerboard, install the new set, tune up slowly, play a few scales, strum a few open chords, and suddenly the instrument feels new again.
Of course, not every restring is graceful. Sometimes a string slips off the tailpiece three times in a row. Sometimes you tune the wrong pair to the wrong note and spend a minute wondering why the mandolin sounds like it is arguing with itself. Sometimes you clip a string and the little offcut vanishes into another dimension. These moments are annoying, but they are also part of learning. Every player who sticks with the mandolin eventually becomes calmer, faster, and better organized during string changes.
The most useful takeaway from real-world experience is simple: restringing a mandolin gets easier quickly. The first attempt may feel careful and clumsy. The second feels manageable. By the third or fourth time, you develop your own rhythm and preferences. What once felt like a technical chore becomes ordinary instrument care, and maybe even a little satisfying.
Conclusion
Learning how to restring a mandolin is one of the most useful maintenance skills a player can have. It helps you protect tone, improve tuning stability, and understand your instrument better. Start with the right string set, work one course at a time, keep the bridge stable, wind cleanly, and tune up gradually. Do that, and your mandolin will reward you with a brighter, clearer, more responsive sound.
In other words, a good restring is cheaper than a new mandolin and much easier to explain to your wallet.