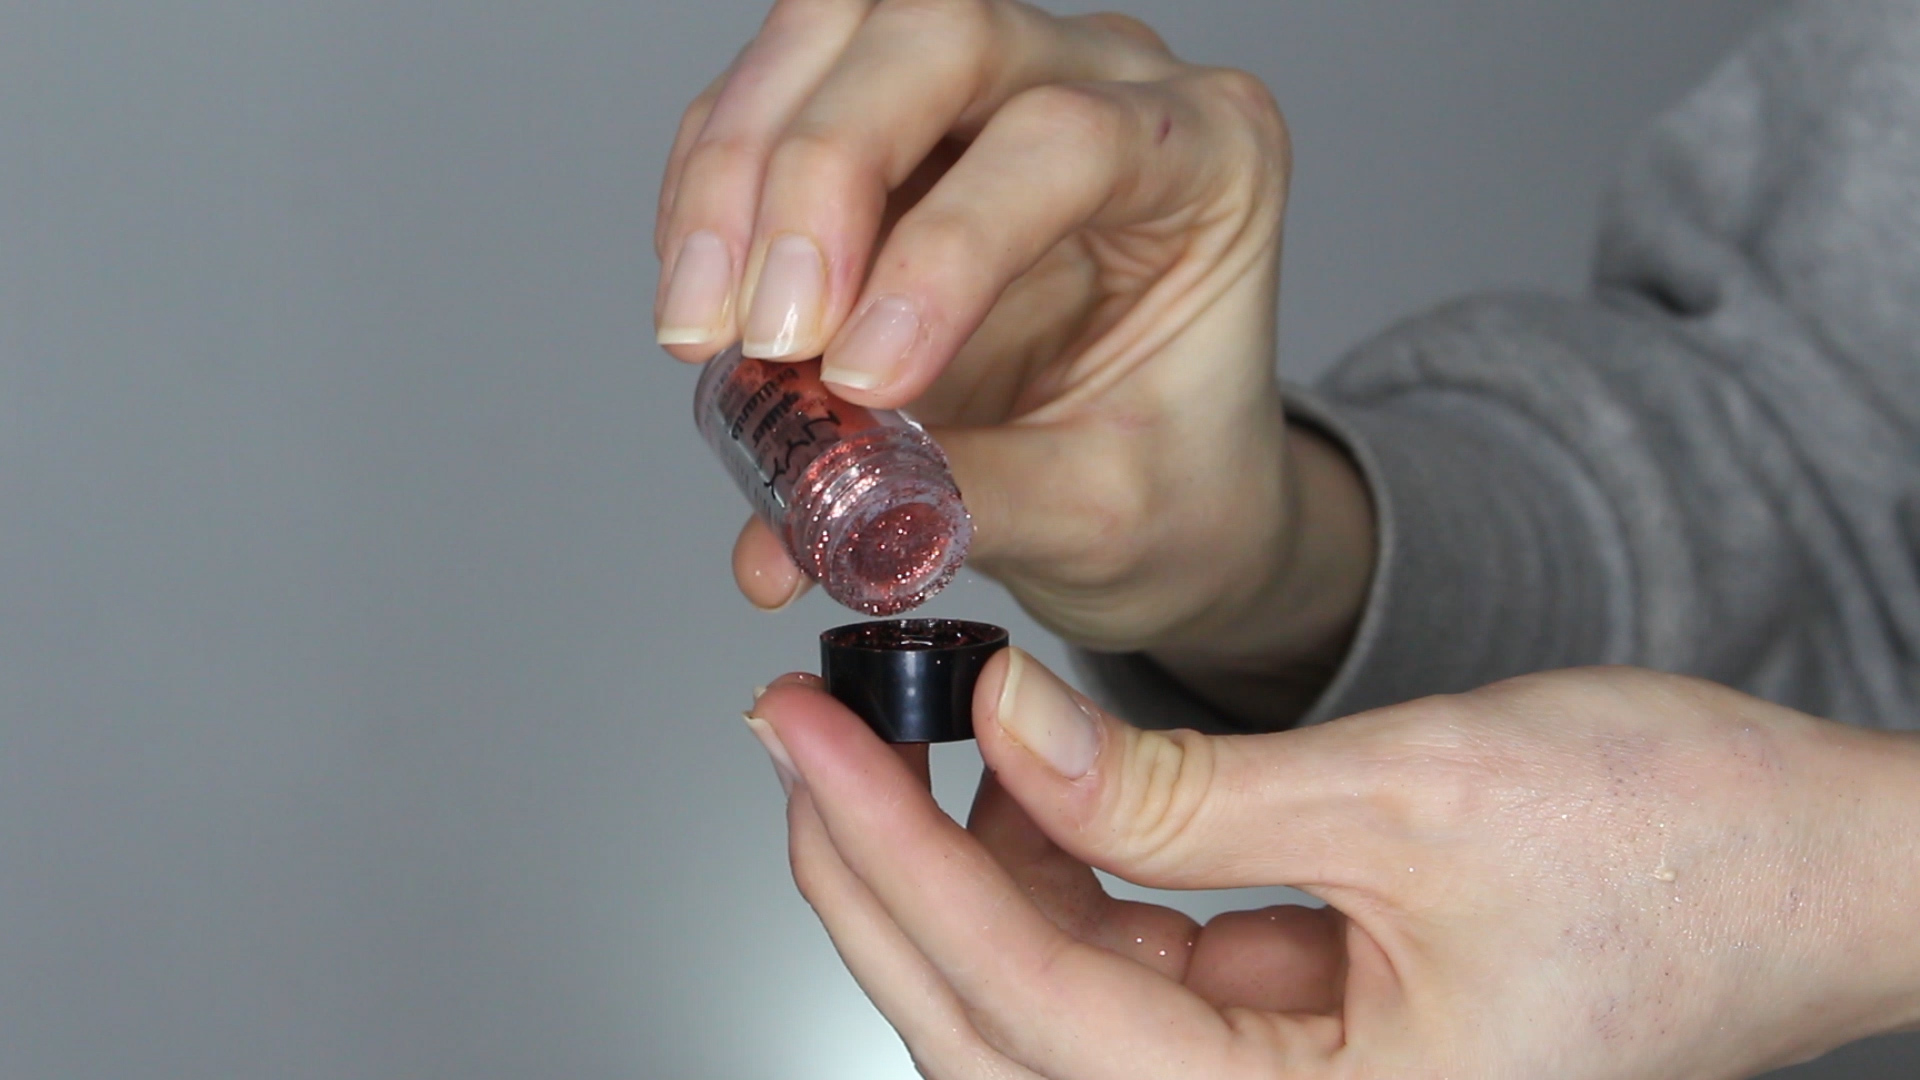
Note: This article is for beauty education only. For eye comfort and safety, use cosmetics labeled for the eye area, avoid craft glitter near the eyes, and stop using any product that causes burning, redness, swelling, or irritation.
Glitter eye shadow is the confetti cannon of makeup: joyful, dramatic, and capable of turning a simple look into a “yes, I did plan this outfit around my eyelids” moment. But glitter also has a famous personality flaw. It likes to travel. One minute it is sparkling on your lids; the next, it has relocated to your cheeks, your nose, your hairline, your favorite sweater, and somehow your phone case.
The good news? Glitter eye shadow can stick beautifully when you use the right prep, texture, adhesive base, and application method. Whether you are working with pressed glitter, loose cosmetic glitter, metallic shimmer, liquid sparkle, or a topper shadow, the secret is not brute force. Please do not attack your eyelids like you are sanding a table. The secret is controlled tackiness, thin layers, clean tools, and a little patience.
In this guide, you will learn how to get glitter eye shadow to stick in 8 practical steps, plus tips for oily lids, hooded eyes, fallout, long wear, safe removal, and real-life experience from people who have learnedoften the sparkly hard waythat glitter needs boundaries.
Why Glitter Eye Shadow Does Not Stick
Before fixing the problem, it helps to know why glitter misbehaves. Glitter particles are heavier and chunkier than regular powder eye shadow. Matte eye shadow can grip onto a primed lid because it is finely milled, but glitter needs something tacky to hold it in place. If your eyelids are oily, damp, heavily moisturized, or covered in unset concealer, glitter may slide around like it is late for a party.
Another common issue is using the wrong type of glitter. Cosmetic glitter made for the eye area is different from craft glitter. Craft glitter may have sharper edges, larger particles, or color additives not intended for use around the eyes. When applying anything near your eyes, choose products specifically labeled for eye use. Your eyelids deserve sparkle, not chaos.
What You Need to Make Glitter Eye Shadow Stick
You do not need a professional makeup kit the size of a suitcase. A small set of products and tools can make a major difference:
- Gentle cleanser or micellar water
- Oil-free moisturizer or lightweight eye cream
- Eye shadow primer
- Glitter primer or glitter glue
- Pressed, loose, cream, or liquid glitter eye shadow
- Flat synthetic brush or clean fingertip
- Cotton swabs for cleanup
- Translucent powder or under-eye shields
- Gentle eye makeup remover
The star product is usually a glitter primer. Unlike standard eye primer, glitter primer stays slightly tacky so sparkly particles have something to hold onto. Think of it as double-sided tape, but prettier and socially acceptable on your face.
How to Get Glitter Eye Shadow to Stick: 8 Steps
Step 1: Start With Clean, Dry Lids
Glitter sticks best to a clean surface. Wash your face, then gently remove any leftover oil, sunscreen, old mascara, or skin-care residue from your eyelids. If your lids are naturally oily, swipe a small amount of micellar water across them with a cotton pad and let the area dry fully.
This step sounds boring, but it is the foundation of the whole look. Applying glitter over oil is like trying to tape a birthday card to a stick of butter. Technically possible? Maybe. Recommended? Absolutely not.
If you use eye cream, choose a lightweight formula and give it time to absorb. Heavy creams can make glitter slip, crease, or collect in fine lines. For daytime sparkle, less skin care on the lids often means better wear.
Step 2: Apply Eye Shadow Primer
Eye shadow primer helps smooth the lid, control oil, improve color payoff, and prevent creasing. Apply a thin layer from lash line to crease, then blend it evenly with a fingertip or brush. Do not pile it on. Too much primer can become slippery or patchy, which is the exact opposite of the goal.
For oily eyelids, set the primer lightly with a neutral matte shadow before adding your crease color. For very dry lids, skip heavy powder and let the primer remain slightly flexible. The best base depends on your skin, but the rule is simple: smooth, even, and not greasy.
Primer is especially important if you want glitter eye shadow to last through school events, parties, concerts, weddings, photos, or any moment where someone says, “Let’s take one more picture,” exactly 47 times.
Step 3: Build a Base Shadow First
Glitter looks more polished when it sits on top of a planned eye look. Apply your matte or satin transition shades first, then deepen the crease or outer corner if you want dimension. A base shadow gives glitter a background, making the sparkle look intentional instead of sprinkled on during a windstorm.
For example, champagne glitter looks soft and bright over beige, taupe, or peach shadow. Silver glitter pops over gray, black, navy, or cool brown. Gold glitter glows over bronze, caramel, warm brown, or terracotta. Pink glitter becomes more romantic over mauve, rose, or berry tones.
If you are creating a cut crease or spotlight eye, shape the matte shadows first. Once glitter goes on, blending around it becomes trickier. Glitter is not famous for compromise.
Step 4: Add a Thin Layer of Glitter Primer or Glitter Glue
This is the magic step. Tap a tiny amount of glitter primer onto the area where you want sparkle. Use less than you think you need. A rice-grain amount is often enough for one lid. The primer should feel tacky, not wet and goopy.
Use a clean fingertip or a small flat synthetic brush. Press, do not rub. Rubbing can disturb the shadow underneath and create bald patches. Keep the glitter primer slightly below the crease if you have hooded eyes, because glitter placed too high may transfer when you blink.
Let the primer become tacky for a few seconds. This short wait helps the glitter grab better. If you apply glitter while the primer is too wet, the particles may clump. If you wait too long and the primer dries down completely, it may lose grip. The sweet spot is sticky but not slippery.
Step 5: Press Glitter Onto the Lid
Now comes the sparkle. Pick up a small amount of glitter eye shadow with your fingertip or a flat brush, then press it onto the tacky area. Do not sweep it back and forth like regular eye shadow. Pressing keeps the particles concentrated and reduces fallout.
For pressed glitter, your fingertip often gives the strongest payoff because body warmth helps pick up the product. For loose cosmetic glitter, use a flat brush or cotton swab and work carefully in small sections. For liquid glitter, apply a thin coat directly with the applicator, then let it dry before blinking dramatically at your mirror.
Thin layers are better than one chunky layer. If you want more impact, wait a moment and press on a second layer. This creates a smoother, longer-lasting finish and prevents that crunchy “glitter pancake” texture nobody requested.
Step 6: Control Fallout Before It Controls You
Glitter fallout is normal, but it does not have to ruin your makeup. One easy trick is to do your eye makeup before foundation. That way, you can wipe away stray sparkle without sacrificing your base. Another option is placing under-eye shields, tissue, or a thick layer of loose powder under the eyes before applying glitter.
If glitter falls onto your cheeks, do not smear it. Smearing turns one glitter speck into a glitter neighborhood. Instead, use a clean spoolie, a piece of low-tack tape, or a cotton swab with a tiny bit of makeup remover. Gently lift the particles away.
For special events, keep a cotton swab and mini concealer in your bag. Glitter is glamorous, but it has the survival instincts of glitter. It will try to escape.
Step 7: Lock the Look Without Overloading It
Once your glitter is in place, avoid touching your lids. You can lightly mist your face with setting spray, but do not soak your eyes. Too much moisture may loosen the glitter or make it crease. If you use setting spray, close your eyes, hold the bottle at a comfortable distance, and let the mist settle naturally.
Waterproof or long-wear mascara pairs well with glitter eye shadow because it helps the finished look stay clean. If you wear eyeliner, apply it after the glitter so the line remains sharp. For a soft look, press dark shadow along the lash line instead of using liquid liner.
People with watery eyes may prefer cream glitter or liquid glitter formulas instead of loose particles. Cream and liquid textures often cling better and create less fallout, especially when the eyes are sensitive or prone to tearing.
Step 8: Remove Glitter Gently at the End of the Day
Getting glitter to stick is only half the story. Removing it safely matters too. Use a gentle eye makeup remover, cleansing balm, or micellar water. Soak a cotton pad, press it over the closed lid for several seconds, then wipe softly. Do not scrub. Your eyelids are delicate, not a kitchen counter.
If glitter remains, use a clean cotton swab dipped in remover to lift it away. You can also use a small piece of low-tack tape on the surrounding skin, but avoid placing tape too close to the lash line or directly on irritated skin.
Never sleep in glitter eye makeup. Leaving eye makeup on overnight can increase the chance of irritation, clogged glands, and unhappy morning mirror moments. Clean lids are the final step in making tomorrow’s makeup look better too.
Best Techniques for Different Types of Glitter Eye Shadow
Pressed Glitter
Pressed glitter is beginner-friendly because the particles are already packed into a pan with binders. Use glitter primer underneath, then press the product onto your lid with a fingertip. This method gives strong payoff and keeps the glitter where you place it.
Loose Cosmetic Glitter
Loose glitter creates the boldest sparkle but requires the most control. Always use cosmetic-grade glitter labeled for the eye area. Apply glitter primer first, then press the glitter on in tiny amounts. Keep your eye closed while applying and avoid placing loose glitter too close to the waterline.
Liquid Glitter Eye Shadow
Liquid glitter is excellent for quick looks. Swipe on a thin layer, then keep your eye lowered for a few seconds while it dries. If you apply too much, it may crack or feel heavy. A light coat gives a more elegant shine and usually wears better.
Cream Glitter or Sparkle Toppers
Cream glitter and topper shadows are great for soft, wearable sparkle. Tap them over matte shadow with a fingertip. They are ideal when you want a glossy, twinkly effect without full disco-ball commitment.
Common Mistakes That Make Glitter Fall Off
The most common mistake is applying glitter over bare, oily lids. Without primer, glitter has very little to grip. Another mistake is using concealer as the only base. Some concealers stay creamy, which can make glitter crease faster. If you use concealer on the lids, set it lightly or add glitter primer on top.
Using too much product is another sparkle sabotage. Thick glitter layers may look amazing for five minutes, then start flaking. Apply thin layers and build gradually. Also, avoid blending after glitter has been placed. Blend your matte shadows first, then press glitter last.
Finally, do not use craft glitter on your eyelids. It may look similar in the jar, but it is not designed for the eye area. Eye-safe cosmetic glitter is the smarter choice.
Tips for Oily Lids, Hooded Eyes, and Sensitive Eyes
For Oily Lids
Clean the lids thoroughly, use an oil-control eye primer, and keep skin care away from the mobile lid. Apply a thin matte shadow before glitter primer if needed. The goal is to reduce slip without making the lid look dry or textured.
For Hooded Eyes
Place glitter where it will be visible when your eyes are open. Keep the most intense sparkle on the center of the mobile lid, slightly above the natural fold if needed. Use thin layers to reduce transfer.
For Sensitive Eyes
Choose fragrance-free, ophthalmologist-tested, or sensitive-skin-friendly products when possible. Avoid the waterline, skip chunky glitter, and remove makeup as soon as the event is over. If your eyes sting, water, or turn red, stop using the product.
Real-Life Experiences: What Actually Works When Glitter Has Plans of Its Own
After testing glitter eye shadow in real life, most people learn the same lesson: the prettiest sparkle is not always the easiest sparkle. Pressed glitter is usually the friendliest option for beginners. It gives shine without requiring a full emergency cleanup crew. A fingertip works better than a fluffy brush because it presses the glitter into place instead of tossing it into the air like fairy dust with poor aim.
One of the biggest practical discoveries is that glitter primer changes everything. Regular eye primer helps, but glitter primer grips. The difference becomes obvious after a few hours. Without a tacky base, glitter may drift downward and create accidental cheek sparkle. With glitter primer, the shine stays more concentrated on the lid. It is the difference between “glam makeup” and “I hugged a craft project.”
Another experience-based tip is to do the eyes first. Many makeup lovers learn this after finishing a flawless foundation base, applying glitter, and watching tiny sparkles rain down like a festive weather event. When eye makeup comes first, cleanup is simple. Wipe away fallout, then apply foundation and concealer. This order saves time and prevents frustration.
For daytime glitter, less is usually better. A small tap of champagne, rose gold, or bronze glitter on the center of the lid can brighten the eyes without feeling too dramatic. For night looks, layering glitter over a darker base creates more impact. Black shadow under silver glitter gives a smoky effect. Brown shadow under gold glitter looks warm and expensive. Mauve shadow under pink glitter feels soft but still fun.
People with hooded eyes often find that glitter transfers if it is placed directly in the fold. The solution is to apply glitter slightly lower on the lid or use a very thin layer above the crease only after testing where the lid naturally touches. Looking straight into the mirror while applying helps. If you can see the sparkle with your eyes open, you are placing it in the right zone.
For oily lids, the winning routine is usually clean skin, eye primer, a tiny dusting of neutral shadow, glitter primer, then pressed glitter. Skipping one step can reduce wear time. The eyelid may be small, but it has opinions.
Removal is another lesson people remember. Glitter should never be scrubbed off aggressively. Holding a soaked cotton pad over the lid works better than rubbing. A cleansing balm can melt the makeup gently, while cotton swabs help remove leftover particles around the lash line. Patience protects the skin and keeps the eyes comfortable.
The final real-world takeaway is simple: glitter eye shadow is not difficult, but it does demand a method. Clean lids, sticky base, pressing motions, thin layers, and gentle removal make the difference. Once you master those habits, glitter becomes less of a messy gamble and more of a reliable beauty trick. Sparkle responsibly, and your eyelids can shine without sending glitter on a solo tour across your face.
Conclusion
Learning how to get glitter eye shadow to stick is mostly about preparation and placement. Start with clean lids, use eye primer, create a base shadow, apply glitter primer, press the glitter instead of sweeping it, manage fallout, set the look carefully, and remove everything gently at the end of the day.
The best glitter makeup looks are not necessarily the most complicated. A little sparkle in the center of the lid can look fresh and polished. A bold glitter cut crease can feel dramatic and artistic. A soft shimmer topper can make everyday makeup look brighter. The technique stays the same: give glitter something safe and tacky to hold onto, and it will reward you by staying where it belongs.
Glitter may always have a tiny bit of mischief in its personality, but with the right steps, you can keep the sparkle on your eyesnot on your cheeks, your desk, your cat, or your entire future.