Rainwater looks innocent. It falls from the sky, sparkles in puddles, and makes your dog suddenly believe
in hydration. But if your plan is to drink it, here’s the plot twist: rainwater isn’t automatically
safe just because it took the scenic route through a cloud.
The good news: with the right setup, treatment, and maintenance, many households do safely use harvested
rainwater as a drinking-water source. The bad news: “right setup” is doing a lot of work in that sentence.
This guide walks you through a practical, homeowner-friendly approachso your rainwater system doesn’t
become a science fair project you accidentally ingest.
First, the safety reality check (aka: why “it’s just rain” isn’t a water plan)
Rainwater can pick up contaminants from the air (think dust and smoke) and then collect extra “flavor notes”
as it washes over roofs, gutters, and pipes. Those contaminants can include microbes (bacteria, viruses,
parasites) and chemicals (from building materials or metals). That’s why potable (drinkable) rainwater systems
rely on two big habits: treat the water and test the water.
Also important: if you’re going to drink collected rainwater, don’t casually mix it into previously treated water
(like municipal tap or bottled water storage). Mixing can contaminate the treated waterlike adding one questionable
shrimp to a perfectly good pasta.
Step 1: Check local rules before you buy a single fitting
In many places, rainwater harvesting is allowed and even encouraged. In some areas, there are limitsespecially
tied to water rights, plumbing codes, or how the water is used (non-potable vs. potable). Your best move is to
check state and local guidance and, for potable use, contact your local health department or environmental health
office for testing and treatment recommendations.
Quick planning questions
- Will this be emergency-only (short-term) or your primary drinking supply?
- Do you want one faucet (kitchen only) or a whole-house potable line?
- Will the system ever connect to municipal water as a backup? (If yes, you’ll need proper backflow protection.)
- How will you maintain itmonthly, quarterly, seasonally?
Step 2: Choose a “clean catch” surface (your roof matters more than your barrel)
Your roof is the collection plate. If the plate is questionable, the meal is questionable. Roof material, nearby
trees, wildlife activity, and surrounding environment all affect water quality.
Roof and material tips for potable rainwater
- Prefer smoother, cleaner surfaces and keep debris off the roof (leaves, seed pods, bird “gifts”).
-
Avoid catchment surfaces that can shed problematic contaminants. Pay attention to older roofing materials and any
components that may introduce metals. - Use components intended for drinking-water contact when possible (tanks, sealants, fittings, and pipes).
If you’re designing a system for drinking water, it’s smart to look for equipment that aligns with recognized
drinking-water component and treatment standards (and/or third-party certifications). That’s not marketing fluff
it’s a way to reduce “mystery plastics” and “surprise metals” in your water pathway.
Step 3: Build a sane collection path (aka: keep roof gunk out of your tank)
A potable rainwater system works best as a multi-barrier setup. The first barriers are physical:
keeping leaves, insects, and roof debris from ever reaching storage.
Core collection components
- Gutters and downspouts sized and sloped correctly to move water reliably.
- Leaf screens / basket filters to stop big debris before it becomes tank sludge.
-
First-flush diverter (highly recommended) to route the first dirty runoff away from storage.
The “first flush” often contains the most dust, debris, and roof residue. - Inlet screening at the tank entry (and a mosquito screen where appropriate).
How much “first flush” should you divert?
Many guides recommend diverting a set amount per roof area. A common rule-of-thumb approach is around
10 gallons per 1,000 square feet of collection area for each rain event, with adjustments based on
roof conditions, season, and local air quality. If your area has long dry spells, heavy pollen seasons, or wildfire
smoke events, your “first flush” matters even more.
Step 4: Store rainwater like you actually want to drink it
Storage is where “pretty clean” can become “mysteriously funky” if you get lazy with design. Your goal is to store
water in a way that discourages sunlight, pests, algae, and sediment churn.
Storage tank (cistern) must-haves
- Opaque or UV-resistant tank (sunlight encourages algae growth).
- Secure lid and sealed penetrations to keep pests out.
-
Screens on openings and overflow small enough to block mosquitoes (and installed so overflow can
still discharge during heavy rain without backing up). - Overflow routed away from your foundation (and not into a spot that becomes standing water).
- Outlet not flush at the bottom so you’re not pumping the sediment layer into your filters.
Bonus points for a calming inlet (reduces sediment disturbance) and a floating intake
(draws from the cleaner middle layer of the tank). These features aren’t fancy; they’re practical ways to keep your
“stored water” from becoming “liquid compost tea.”
Step 5: Size your system (do the math, save the disappointment)
You don’t need a spreadsheet with seventeen tabsbut you do need a rough estimate of how much water your roof can
produce. A commonly used method estimates harvestable gallons from roof area and rainfall:
Gallons captured ≈ Roof area (sq ft) × Rainfall (inches) × 0.623 × Runoff coefficient
The runoff coefficient accounts for losses (evaporation, splash, absorption). Many practical designs
use something like 0.8–0.9 for reasonably efficient roof catchment (your mileage varies with roof type, slope, and
system condition).
Example
If you have a 1,200 sq ft roof section feeding the system and get 1 inch of rain:
1,200 × 1 × 0.623 × 0.85 ≈ 635 gallons captured (approx.).
Step 6: Treat it with a multi-barrier approach (the part that makes it “drinkable”)
If you remember only one thing: storage does not equal treatment. A potable rainwater system needs
filtration and disinfection. Many systems do “pre-storage” steps (screens + first flush) and then “after-storage”
steps (filters + disinfection), often right before the kitchen tap or potable distribution line.
Stage A: Sediment filtration (make the water clear)
Sediment filters remove particles like grit, roof dust, and fine debris. A common approach is “step-down”
filtration (for example: a coarser filter first, then a finer one) so you don’t clog the finest filter immediately.
Clearer water improves the effectiveness of many disinfection methods.
Stage B: Activated carbon (taste + many organics)
Carbon filtration can improve taste and odor and can reduce many organic compounds. It’s not a magic eraser for
everything, but it’s a workhorse in potable systemsespecially for making rainwater taste less like “roof memory.”
Stage C: Disinfection (kill microbes)
Disinfection targets bacteria, viruses, and other microorganisms that can cause illness. Common options include:
-
UV disinfection (often used as a final step). UV systems vary by class; “Class A” units are typically
intended to inactivate pathogens and often include alarms, while “Class B” is more of a polishing step and not
meant to be the only disinfection method. -
Chlorination (can leave a protective residual in plumbing, but must be done carefully and according to
appropriate potable-use guidance and equipment instructions). - Boiling (practical for emergency batches or short-term use; less practical for whole-house daily supply).
Important nuance: disinfection works best when water is clear. If sediment is present, it can shield
microorganisms from UV and reduce the effectiveness of chemical disinfection.
Optional Stage D: Reverse osmosis or ultrafiltration (extra protection)
Some households add reverse osmosis (RO) at the kitchen sink or as part of the potable line for additional reduction
of certain dissolved contaminants. It’s not required in every situation, but it can be a reasonable choice if you’re
concerned about specific chemical risksespecially when paired with regular testing.
One big warning: if water is contaminated with harmful chemicals or toxins (like fuel or certain industrial
chemicals), boiling and standard disinfection may not make it safe. When in doubt, treat it like a hazmat mystery and
use an alternate source until you can confirm safety via testing and professional guidance.
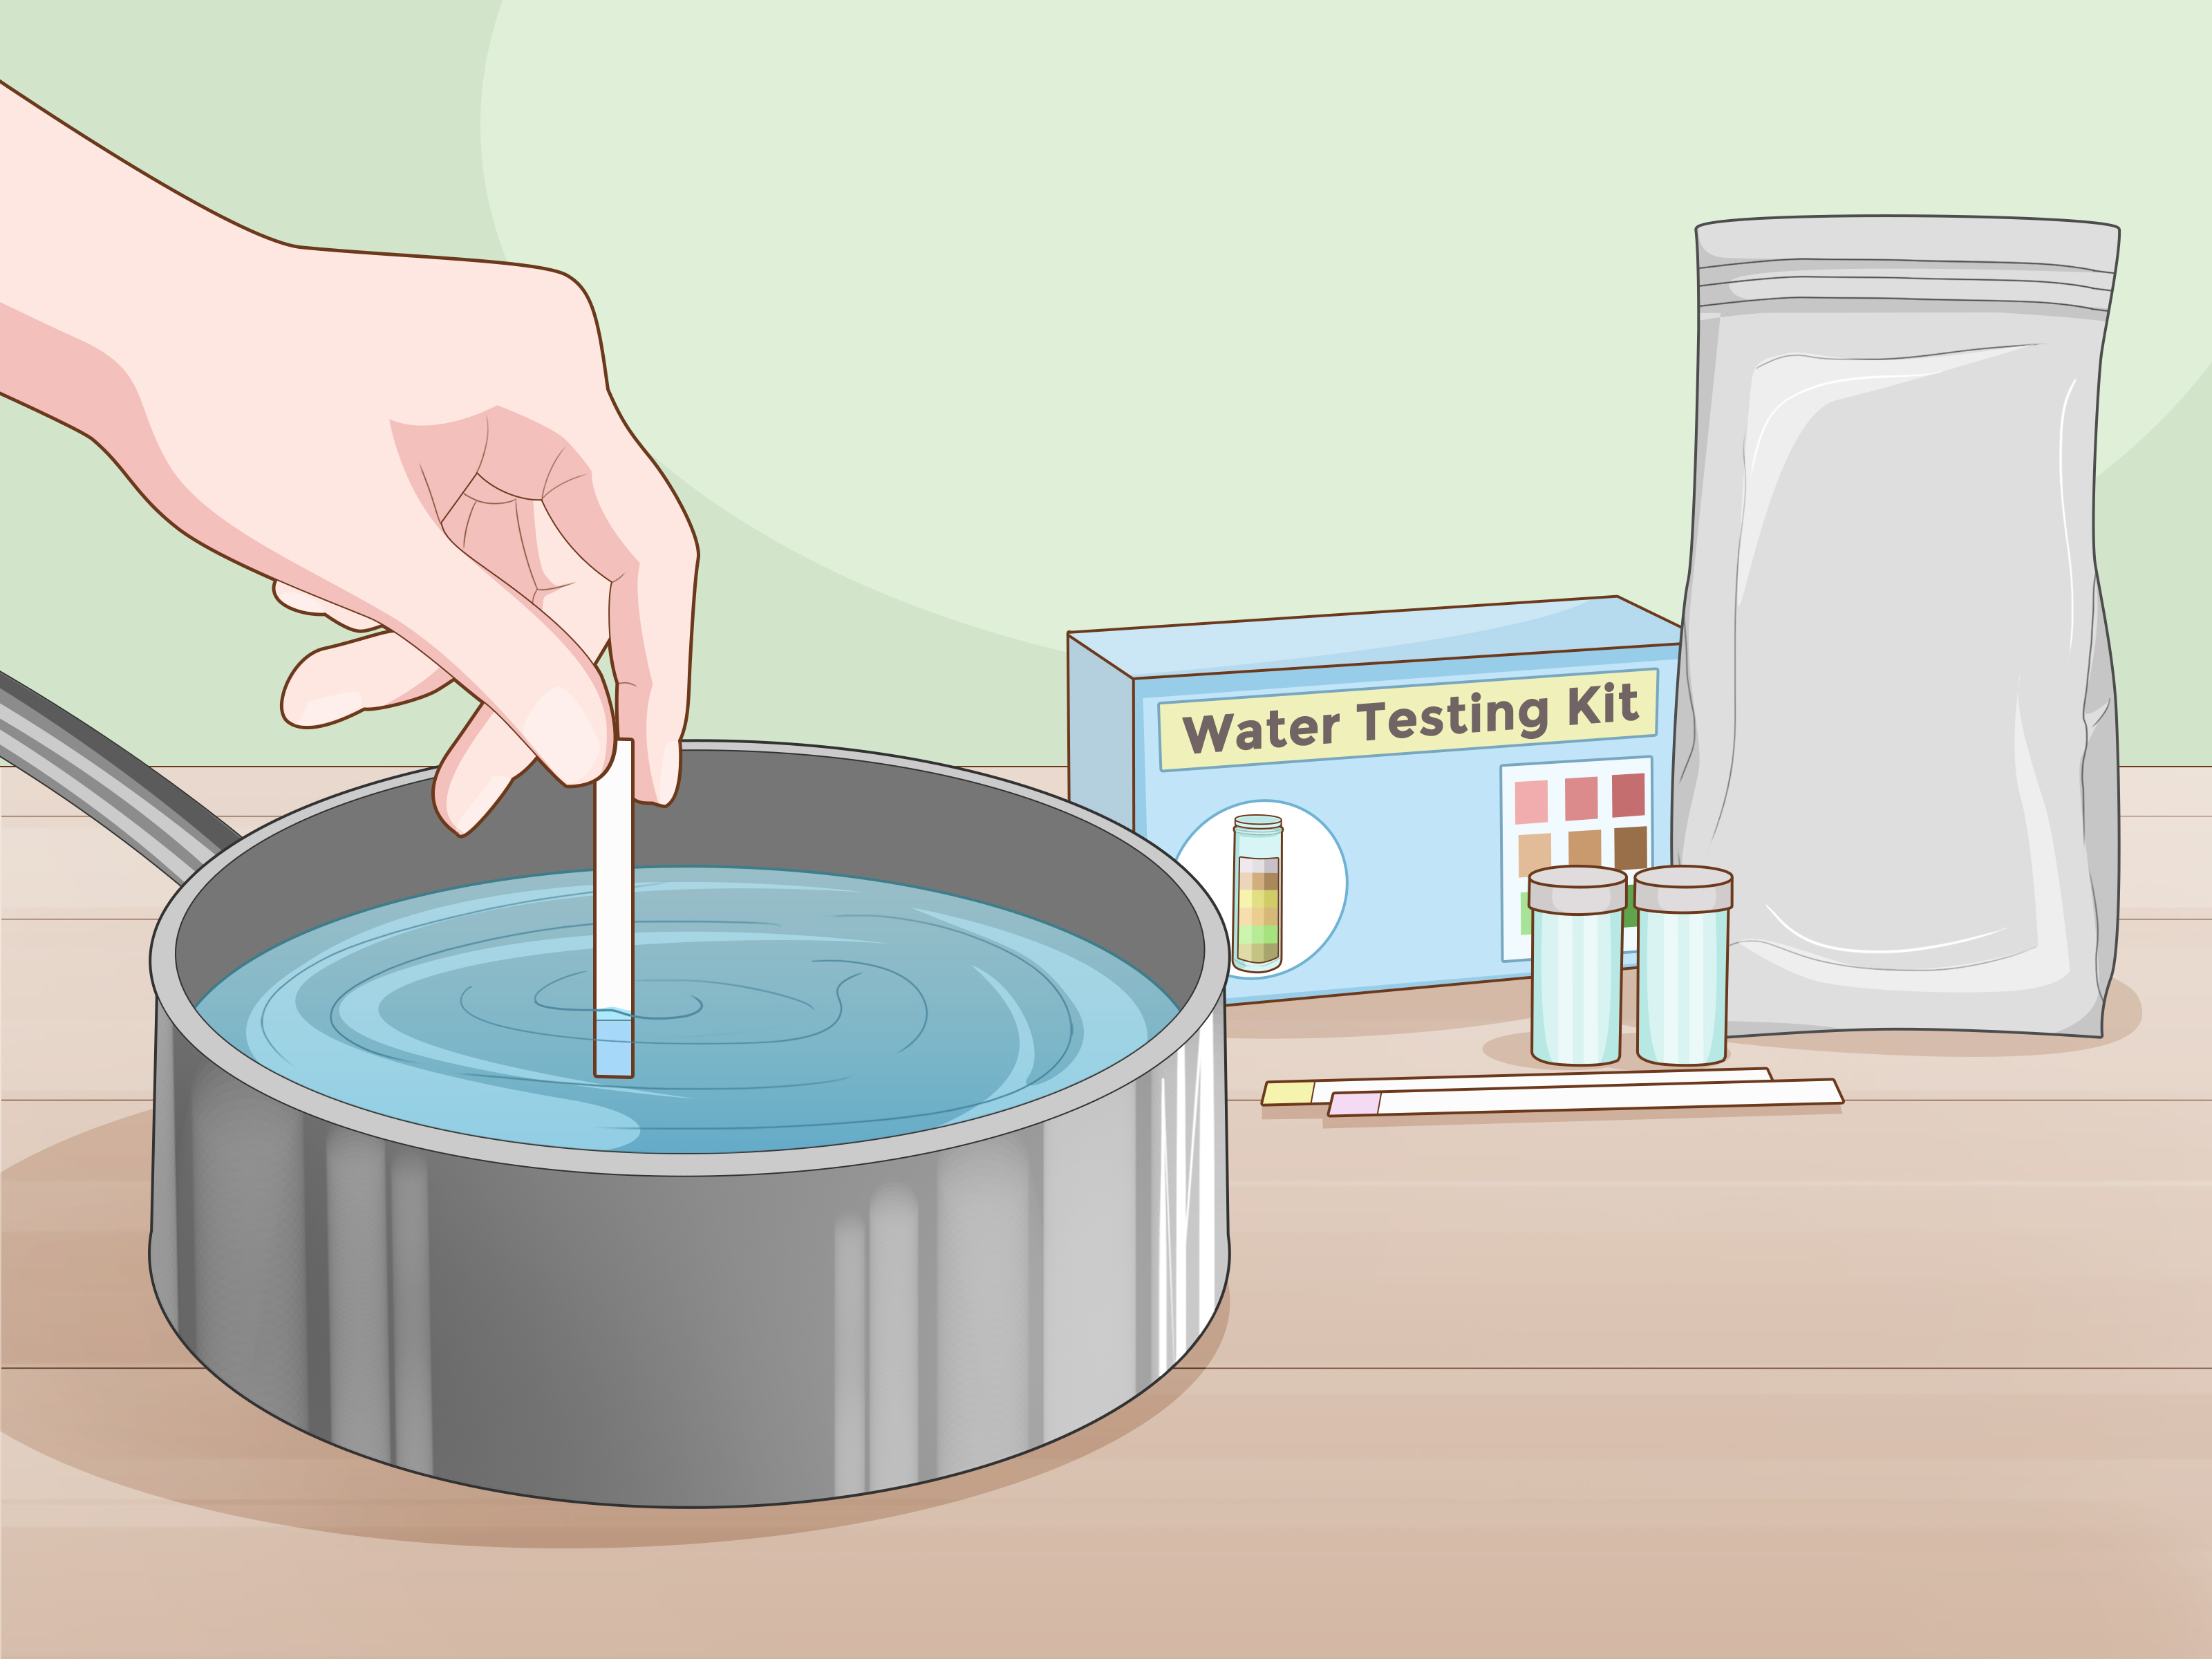
Step 7: Test your rainwater (yes, reallytest it)
Testing is how you confirm your system is working and your treatment steps are appropriate. If you drink, cook with,
or bathe in collected rainwater, many public health resources recommend regular testing for both germs
and chemicals, guided by your local health department.
Common test targets (talk to your local health department/lab)
- Total coliform and E. coli (microbial indicators)
- Metals such as lead and copper (especially if older materials exist anywhere in the pathway)
- Nitrates (less common in rainwater but sometimes tested in private supplies)
- Other local concerns (wildfire ash impacts, nearby industrial activity, etc.)
A practical rhythm many households follow: test more frequently when the system is new, after major changes
(new roof, new tank, plumbing work), after unusual events (wildfire smoke season, flooding), and then at routine
intervals once everything is stable.
Step 8: Maintenance (the unsexy secret to “safe”)
The cleanest rainwater system is the one you actually maintain. If your filters are overdue, your screens are torn,
and your gutters look like a botanical exhibit, your system is not “off-grid.” It’s “off the rails.”
Simple maintenance checklist
- Inspect roof and gutters regularly; clean debris (especially during leaf/pollen seasons).
- Drain/clean first-flush diverters as needed.
- Check tank screens, seals, and overflow protections (mosquito prevention matters).
- Replace cartridges on schedule (or sooner if flow drops).
- Follow manufacturer guidance for UV bulbs, alarms, and maintenance.
- Keep tank overflow from creating standing water (mosquitoes love a lazy drainage plan).
Two example setups (so you can picture what “good” looks like)
Example 1: Emergency + camping-style potable rainwater
- Roof + gutter screen
- First flush diverter
- Sealed rain barrel/tank (opaque)
- Pre-filter (sediment)
- Batch treatment: boil or properly dose disinfectant (as directed by public health guidance)
- Periodic testing if used frequently
This setup is best for short-term use where you can treat water in batches. It’s also easier to maintain because you
can visually inspect more of the system.
Example 2: Home potable line (kitchen tap or whole-house potable)
- Roof catchment + leaf screens
- First flush + inlet screen
- Large sealed cistern (with mosquito-proof screening and proper overflow)
- Pump + pressure tank (if needed)
- Multi-stage filtration (sediment step-down + carbon)
- Disinfection (often UV Class A, and/or chlorination done correctly)
- Routine lab testing and scheduled maintenance
This approach is more comfortable for daily life, but it only stays safe if you treat it like a real water system
not a DIY decoration.
Common mistakes to avoid (because the internet will not babysit your cistern)
- Skipping the first flush and wondering why the water tastes like “roof.”
- Using a clear tank in full sun (congratulations, you built an algae terrarium).
- Ignoring mosquito-proofing on openings and overflow.
- Assuming filters = disinfection (filters and disinfection are teammates, not substitutes).
- Never testing because “it looks fine.” Many risks are invisible.
- Cross-connecting with municipal water without proper backflow protection (a code and safety problem).
Frequently asked questions
Can I drink rainwater straight from a rain barrel?
Not safely. Barrels are great for gardening, but potable use typically requires a more robust system:
cleaner catchment, sealed storage, proper filtration, and disinfectionplus testing.
Is boiling enough?
Boiling can kill many pathogens, making it useful for emergencies or batch treatment. But boiling doesn’t remove
many chemical contaminants. If chemical contamination is a concern, testing and more advanced treatment may be needed.
How do I keep mosquitoes out?
Seal and screen openings (including overflow) with appropriately fine mesh, keep gutters clean, and avoid overflow
drainage that creates standing water. Mosquito control is an essential design feature, not an optional accessory.
Conclusion: A safe system is built, treated, tested, and maintained
Collecting rainwater for drinking isn’t about owning a barrelit’s about running a small, well-managed water system.
Do it right and you get a resilient, independent supply with real everyday value. Do it halfway and you get a
rolling experiment in “What’s That Smell?”
Start with local rules, build a clean catchment, divert the first flush, store water in a sealed, screened, opaque
tank, and then treat it using a multi-barrier approach (filtration + disinfection). Finallytest it, maintain it,
and adjust your system based on what the data tells you. Your taste buds (and your stomach) will thank you.
Real-World Experiences: What It’s Like to Live on (and Drink) Rainwater
People who switch to potable rainwater harvesting often expect the biggest challenge to be “the equipment.”
In reality, the biggest shift is mindset. You stop thinking of water as an invisible utility and start
thinking of it as a household resource you actively managemore like a garden than a light switch.
One of the first “aha” moments many rainwater drinkers describe is how quickly they become weather-aware. A normal
forecast turns into a planning meeting: How much did we get? How long until the next storm? Did the wind blow
ash or dust this week? Even people who never cared about rainfall suddenly know exactly what an inch of rain
means for their roof area. (Once you’ve done the math, you can’t unsee it.)
Another common experience: taste surprises. Properly treated rainwater is often described as clean and
soft-tastingsometimes “lighter” than mineral-heavy well water. But taste swings are also an early warning system:
if water suddenly tastes earthy, stale, or “off,” long-time users don’t debate itthey investigate. They check gutters,
screens, the first-flush diverter, and filter change schedules. In homes that treat rainwater like a real potable
supply, a weird taste isn’t a mystery. It’s a maintenance notification with a personality.
Maintenance habits become seasonal rituals. In tree-heavy neighborhoods, people talk about “gutter season” the way
others talk about spring cleaning. After big storms, many users do quick inspections: are screens intact, is overflow
draining correctly, did the roof dump unusual debris into the system? Households that stay happy on rainwater tend to
be the ones who prefer short, frequent checkups over rare, dramatic repairs. Ten minutes of prevention beats two hours
of “why is my filter housing full of sludge?”
Mosquito control is another “learn it once, remember it forever” lesson. People who get it right don’t just screen
the tank opening; they think about overflow outlets, tiny gaps around fittings, and drainage points that create
standing water. The lived experience here is simple: if you give mosquitoes a loophole, they will file the paperwork
and move in.
For many households, the most empowering moment is the first time they confirm water safety through testing and
consistent results. It turns the system from “I hope this is okay” into “I have data.” Families who rely on rainwater
often become surprisingly fluent in the basicsfilter micron ratings, UV bulb schedules, and which lab tests matter
most for their setup. It’s not that they turn into water engineers; it’s that they build enough competence to keep
their system reliable.
Finally, there’s a practical kind of peace that comes with resilience. People using potable rainwater often say that
storms feel less like a nuisance and more like replenishment. During minor supply disruptions, boil-water advisories,
or dry months, having a managed private supply can reduce stressespecially when the system is designed with backup
options (like emergency disinfection procedures or a properly protected alternate fill). The experience isn’t “free
water forever.” It’s “water I understand and can manage.” And that’s a surprisingly satisfying upgrade to modern life.