Copper tubing has a talent few craft materials can match: it looks polished when new, warmer as it darkens, and wonderfully old-world once hints of green patina appear. Put it among flowers and grasses, and the metal seems to change with the garden rather than merely sitting in it.
This project turns ordinary tubing into a sculptural copper flower with a spiral center and a sturdy garden stake. The design is beginner-friendly, customizable, and possible with solder, exterior metal epoxy, or decorative copper-wire wraps. A torch is therefore optional, not an admission ticket.
Why Copper Tubing Works So Well Outdoors
Copper is naturally colorful, malleable, durable, and resistant to corrosion. Soft or annealed tubing bends into loops and spirals, while rigid tubing works well for stems and frames. Bare copper gradually darkens outdoors and may eventually develop blue-green patina, depending on moisture, air, salts, and local conditions.
You can preserve a brighter finish with a compatible exterior clear coat or leave the sculpture unsealed and let the weather become an unpaid creative partner. Copper is also recyclable without losing its useful properties, so save clean offcuts for leaves, antennae, hanging details, or future repairs.
Project Plan: A Copper Flower and Spiral Stake
The finished sculpture can stand about 36 to 60 inches tall. It consists of a straight stem, five looped petals, a central spiral, and two optional leaves. For decorative curves, 1/4-inch or 3/8-inch soft copper tubing is easy to shape. For the stem, use 1/2-inch rigid copper tubing or slide copper tubing over a steel garden stake for extra strength.
Materials
- One length of 1/2-inch rigid copper tubing for the stem
- Six to ten feet of 1/4-inch or 3/8-inch soft copper tubing
- Copper couplings, tees, or elbows as needed
- 16- to 20-gauge copper wire
- Exterior-rated metal epoxy or lead-free soldering supplies
- A steel garden stake or short rebar section for reinforcement
- Fine abrasive pad or emery cloth
- Exterior clear coat for metal, if a bright finish is desired
Tools
- Tape measure and permanent marker
- Copper tubing cutter and deburring tool
- Hand tubing bender or round forms such as cans and buckets
- Pliers, drill, metal bits, gloves, and safety glasses
- Propane torch, heat shield, and extinguisher only if soldering
How to Make DIY Copper Garden Art
1. Draw a Full-Size Pattern
Sketch the sculpture on kraft paper or flattened cardboard. Mark its height, petal width, spiral size, and connection points. A full-size drawing quickly reveals whether the design is balanced or resembles a plumbing diagram having an emotional episode.
Keep most of the visual weight close to the stem. A large shape extending far to one side catches wind and twists the anchor. For a 48-inch stake, a focal element roughly 10 to 16 inches wide is usually manageable.
2. Cut and Deburr the Tubing
Measure twice, mark clearly, and place the tubing cutter over the line. Tighten it just enough to score the copper, rotate it, then tighten slightly every few turns until the cut is complete. Excess pressure can deform soft tubing.
Remove sharp burrs with a reamer, round file, or fine abrasive. Clean edges are safer, fit connectors better, and produce neater joints. A hacksaw can cut decorative tubing, but a tubing cutter generally gives a straighter result with less cleanup.
3. Bend the Petals, Spiral, and Leaves
Wrap soft tubing gradually around a paint can, bucket, or PVC pipe. Choose a form slightly smaller than the desired curve because the copper may spring back. Move your hands along the bend instead of forcing all the pressure into one spot.
For five petals, make five long loops and leave short straight tails for attachment. Form the center spiral around a wooden dowel, widening the curve as you work. Create each leaf as a narrow teardrop. A tubing bender helps with tighter curves and reduces the risk of flattening or kinking.
4. Dry-Fit the Sculpture
Lay every piece over the pattern and secure the joints temporarily with painter’s tape or loose wire. Stand the assembly upright and view it from several angles. Adjust petal spacing, spiral direction, and overall balance before making permanent connections.
5. Choose a Joining Method
Exterior metal epoxy: Scuff and clean both surfaces, mix the adhesive according to its label, assemble the joint, and brace it until fully cured. This is the simplest option for lightweight decorative work.
Copper-wire wrapping: Tight wire wraps are useful for petals, leaves, beads, and crosspieces. Use the same wrap direction and number of turns at repeated joints so the reinforcement looks intentional.
Soldering: Clean the mating surfaces until bright, apply a thin coat of flux, fit the pieces together, and heat the copper and fitting rather than directly heating the solder. When the metal is hot enough, solder flows into the seam. Use lead-free products and work in a ventilated, fire-safe area with eye protection, gloves, a heat shield, and an extinguisher nearby.
6. Reinforce and Anchor the Stem
For better wind resistance, slide the copper stem over a steel garden stake that extends 12 to 18 inches into the soil. Secure the materials near the top with epoxy or a drilled mechanical pin. The steel carries the load while the copper supplies the good looks.
Do not hammer directly on the decorative copper stem. Repeated blows can distort the end and loosen joints. Drive the steel support first, then install the sculpture over it.
7. Add Decorative Details
Add copper washers, glass beads, short chains, small bells, or hanging shapes. Flatten a tubing end between wood blocks with a mallet before drilling a hanging hole; the blocks help reduce tool marks. Keep moving pieces short enough that they do not strike windows, delicate stems, or one another all night.
8. Clean and Finish the Copper
For a bright finish, remove fingerprints, grease, oxidation, and flux residue. Wash and dry the sculpture thoroughly, then apply a clear exterior coating formulated for metal. Use thin coats and follow the label’s temperature, humidity, ventilation, and curing instructions.
For natural weathering, clean the copper and leave it bare. Avoid pouring chemical patina mixtures where runoff could reach soil, ponds, or pets. Natural patina takes longer, but its uneven browns and greens often blend beautifully with planting beds.
Creative Copper Garden Art Variations
Copper Dragonfly
Make four elongated wing loops, a straight body, and curled wire antennae. Slight differences between the wings make the insect look lively rather than factory-made.
Sunburst Stake
Form a central circle and attach alternating short and long copper rays. The strong silhouette works especially well against evergreen shrubs.
Mini Copper Trellis
Use tees and elbows to build a narrow ladder, fan, or arch for a lightweight annual vine. The frame remains decorative after the plant fades.
Kinetic Spiral
Hang a balanced spiral from a swivel beneath a rigid arm. Test it in a light breeze and provide generous clearance from branches and structures.
Garden Orb
Cross several large copper hoops and secure their intersections. Mount the orb on a stake or nestle it among low grasses and gravel.
Common Mistakes to Avoid
- Forcing tight bends: Bend gradually around a form or use a tubing bender.
- Skipping deburring: Sharp edges are unsafe and interfere with clean joints.
- Joining dirty copper: Epoxy and solder need clean, freshly prepared surfaces.
- Ignoring wind load: Reinforce tall, broad, or one-sided designs.
- Sealing over residue: Flux, polish, or fingerprints can discolor the metal beneath clear coat.
- Using indoor-only finishes: Select coatings labeled for exterior metal.
- Touching sensitive plants with bare copper: Air plants can be harmed by direct copper contact, so seal the contact point or add a nonreactive spacer.
Placement and Maintenance
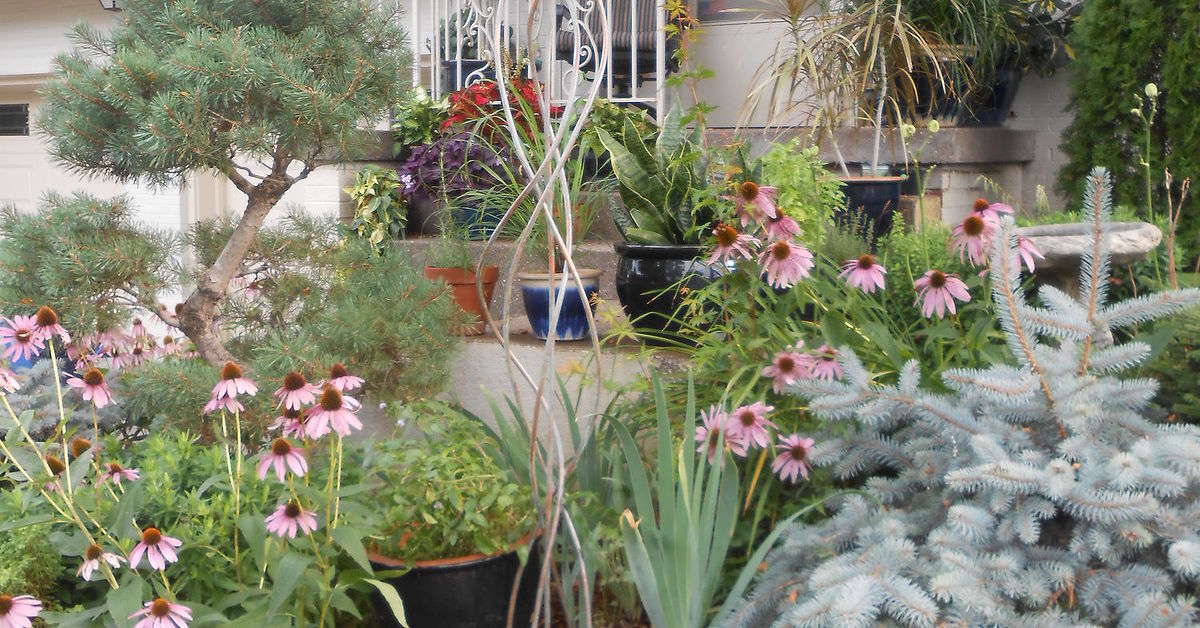
Position copper where morning or evening light can strike it. Dark foliage makes bright copper stand out, while blue-green grasses complement older brown and green patina. Keep stakes outside main paths so they do not catch hoses, sleeves, or wheelbarrows.
Inspect the sculpture after strong storms and at the start of each growing season. Tighten wire, check adhesive joints, remove new sharp edges, and confirm that the anchor is firm. Recoat sealed pieces when the finish becomes chipped or cloudy. Naturally weathered copper usually needs only gentle cleaning.
Frequently Asked Questions
What Size Copper Tubing Is Easiest to Shape?
Soft 1/4-inch or 3/8-inch tubing is convenient for petals and spirals. Rigid 1/2-inch tubing works better for stems and structural frames.
Can Copper Garden Art Be Made Without Solder?
Yes. Exterior metal epoxy, copper wire, compression fittings, small bolts, and well-designed slip joints can all work. Combining epoxy with wire reinforcement is effective for many lightweight sculptures.
Will Copper Rust Outdoors?
Copper does not rust like iron, but it oxidizes, darkens, and may form patina. That change is normal and is often part of the design.
How Can I Keep Copper Shiny?
Clean it thoroughly and apply a compatible exterior clear coat. Touch up scratches before moisture moves beneath the coating.
Is Copper Safe Around Plants?
Copper structures are widely used outdoors, but avoid direct contact with sensitive plants and prevent flux, cleaners, patina chemicals, or coating overspray from entering soil or water.
Conclusion
DIY copper garden art from copper tubing combines craft, metalwork, and landscape design in one approachable project. Start with a strong silhouette, make clean cuts, bend slowly, test the balance, and choose joints suited to the sculpture’s size and exposure.
The most successful piece does not need seventeen moving parts and the acoustic personality of a cutlery drawer. A simple copper flower or spiral can catch light, frame a favorite plant, and grow more interesting as its surface changes through the seasons.
Practical Experience: Lessons From Building Copper Garden Art
My first copper flower began with an ambitious sketch and the dangerous confidence produced by watching a very short metalworking video. The plan called for five matching petals and a centered spiral. The first assembly looked more like a satellite dish trying to remember what a flower was.
The full-size template saved it. I stacked the petal loops together, marked their widest points, and reshaped every loop around the same paint can. They never became mathematically identical, but the repeated proportions created enough rhythm that the small differences looked handmade instead of accidental.
The next lesson involved patience. On my first tight bend, I grabbed both ends and pulled. The tubing flattened immediately. On the replacement piece, I worked around the form in small increments and moved my hands along the curve. Copper is cooperative, but it keeps receipts when treated badly.
I tested both epoxy and wire wrapping. Epoxy made cleaner joints, provided I stopped poking them to see whether they had cured. Scrap wood blocks and painter’s tape held the pieces in alignment overnight. Copper wire was faster and looked surprisingly good when every joint used the same direction and number of wraps.
The original copper-only stem went about six inches into loose soil. A moderate wind tilted it before lunch. I rebuilt the base around a steel stake extending roughly 16 inches into the ground. That hidden support made the sculpture feel far more substantial without changing its appearance.
I also tried two finishes. The polished, clear-coated version looked brilliant, but a scratch near one joint eventually allowed uneven darkening. On the second sculpture, I removed all residue and left the copper bare. Its mottled browns suited the planting bed better, and maintenance became simpler.
Placement changed the project as much as construction did. In the center of a sunny lawn, the flower looked small and isolated. Against dark shrubs, its outline sharpened and the copper caught evening light. Beside blue-green ornamental grass, the warm metal finally had the contrast it needed.
For a first attempt, I would now recommend a single spiral stake. It teaches measuring, cutting, deburring, gradual bending, anchoring, and finishing without requiring many joints. Add one challenge at a time afterward: a leaf, another spiral, a bead, or a soldered fitting.
One more lesson came from surface preparation. I originally assumed shiny-looking copper was clean enough, but fingerprints and factory residue made one adhesive joint weak and left blotches beneath the clear coat. Light abrasion followed by careful cleaning produced a much better bond and a more even finish. That unglamorous ten-minute step did more for the final quality than any decorative flourish I added later.
The most satisfying part is watching the sculpture change. Fresh copper flashes between spring leaves. By late summer, it becomes darker and quieter. After rain, the surface looks richer; in winter, the bare form becomes a focal point. Eventually, it stops feeling like an object placed in the garden and starts feeling like something that has lived there.
Note: This original article synthesizes practical guidance from 10–15 reputable U.S.-focused sources covering copper materials, home improvement, gardening, finishing, and public safety. Visible source links and publishing-system citation artifacts have been omitted as requested. Research basis: