A model airport is more than a runway with a plastic airplane parked nearby. Done well, it becomes a miniature transportation system complete with taxiways, gates, service roads, terminals, lighting, landscaping, and dozens of tiny details that quietly say, “Yes, somebody definitely lost their luggage here.”
Whether you are creating an airport diorama for school, building a display for die-cast aircraft, or adding an aviation scene to a larger layout, the secret is careful planning. Airports may look like giant fields of concrete, but every line, building, and parking position serves a purpose. A convincing model should reflect that organization without requiring you to earn an engineering degree before touching the glue.
This guide explains how to build a realistic model airport in 14 manageable steps. It combines practical scale-modeling techniques with real airport design principles, including runway markings, taxiway layouts, aircraft clearances, terminal operations, scenery, and miniature lighting.
Materials and Tools You May Need
Your exact supply list will depend on the model’s size and complexity, but most projects use the following materials:
- A plywood, MDF, foam board, or rigid insulation-foam base
- A metal ruler, measuring tape, square, pencil, and compass
- A hobby knife with spare blades and a cutting mat
- White glue, foam-safe adhesive, and cyanoacrylate glue
- Acrylic paints in gray, black, white, yellow, green, and earth tones
- Masking tape or fine-line modeling tape
- Styrene sheets, card stock, chipboard, or architectural foam
- Model aircraft, vehicles, figures, and airport accessories
- Fine sand, static grass, turf, shrubs, and miniature trees
- Optional LEDs, resistors, wire, switches, and a low-voltage power source
Use sharp tools on a cutting mat, ventilate the workspace when painting or using strong adhesives, and provide adult supervision for younger builders. Tiny airports are fun. Tiny emergency-room visits are considerably less charming.
How to Build a Model Airport in 14 Steps
Step 1: Decide What Kind of Airport You Want to Build
Begin by choosing the airport’s identity. A small regional airport may have one runway, a compact terminal, several general-aviation hangars, and a modest parking lot. An international airport could include multiple concourses, cargo facilities, maintenance areas, and enough gates to make the project consume your dining table until further notice.
You can reproduce a real airport, create a fictional facility, or combine recognizable features from several airports. Building a fictional airport gives you more freedom because no one can complain that Gate B12 is three millimeters too close to the coffee shop.
Give the airport a location and purpose. A desert cargo hub will look different from a coastal tourist airport. Climate affects vegetation, building colors, pavement weathering, and the types of aircraft that appear in the scene.
Step 2: Choose a Consistent Scale
Select your scale before buying aircraft, vehicles, figures, or buildings. The scale is the ratio between a model measurement and its full-size equivalent. For example, in 1:400 scale, one inch on the model represents 400 inches in reality. NASA educational modeling guidance emphasizes that all linear dimensions in a true scale model should use the same ratio.
Popular airport-model scales include:
- 1:500: Excellent for displaying many aircraft in a limited area
- 1:400: A popular balance between detail and manageable size
- 1:200: Highly detailed but requires considerably more space
- 1:144: Compatible with many plastic aircraft kits
- 1:87: HO scale, useful when integrating an airport with a model railroad
Measure your largest aircraft model, including its wingspan. This aircraft becomes your planning tool for gate spacing, taxiway width, and apron size. Aircraft manufacturers publish planning information covering dimensions, ground maneuvering, terminal servicing, and turning paths, demonstrating why aircraft size should guide an airport layout rather than being treated as an afterthought.
Step 3: Determine the Size and Shape of the Base
Choose a base that is rigid enough to remain flat. Thin foam board is inexpensive and easy to cut, but it can warp on large projects. Plywood or MDF is stronger, while extruded insulation foam provides a lightweight surface that can be carved and shaped.
A small tabletop airport might fit on a 24-by-36-inch board. A detailed 1:400 international terminal may require several modular panels. Modular construction is often the smartest approach because each section can be stored, repaired, or expanded separately.
Leave a border around the scene so delicate lights and signs do not sit directly on the edge. Consider where the finished model will be displayed before creating a six-foot runway that cannot fit through the bedroom door.
Step 4: Sketch the Airport Layout
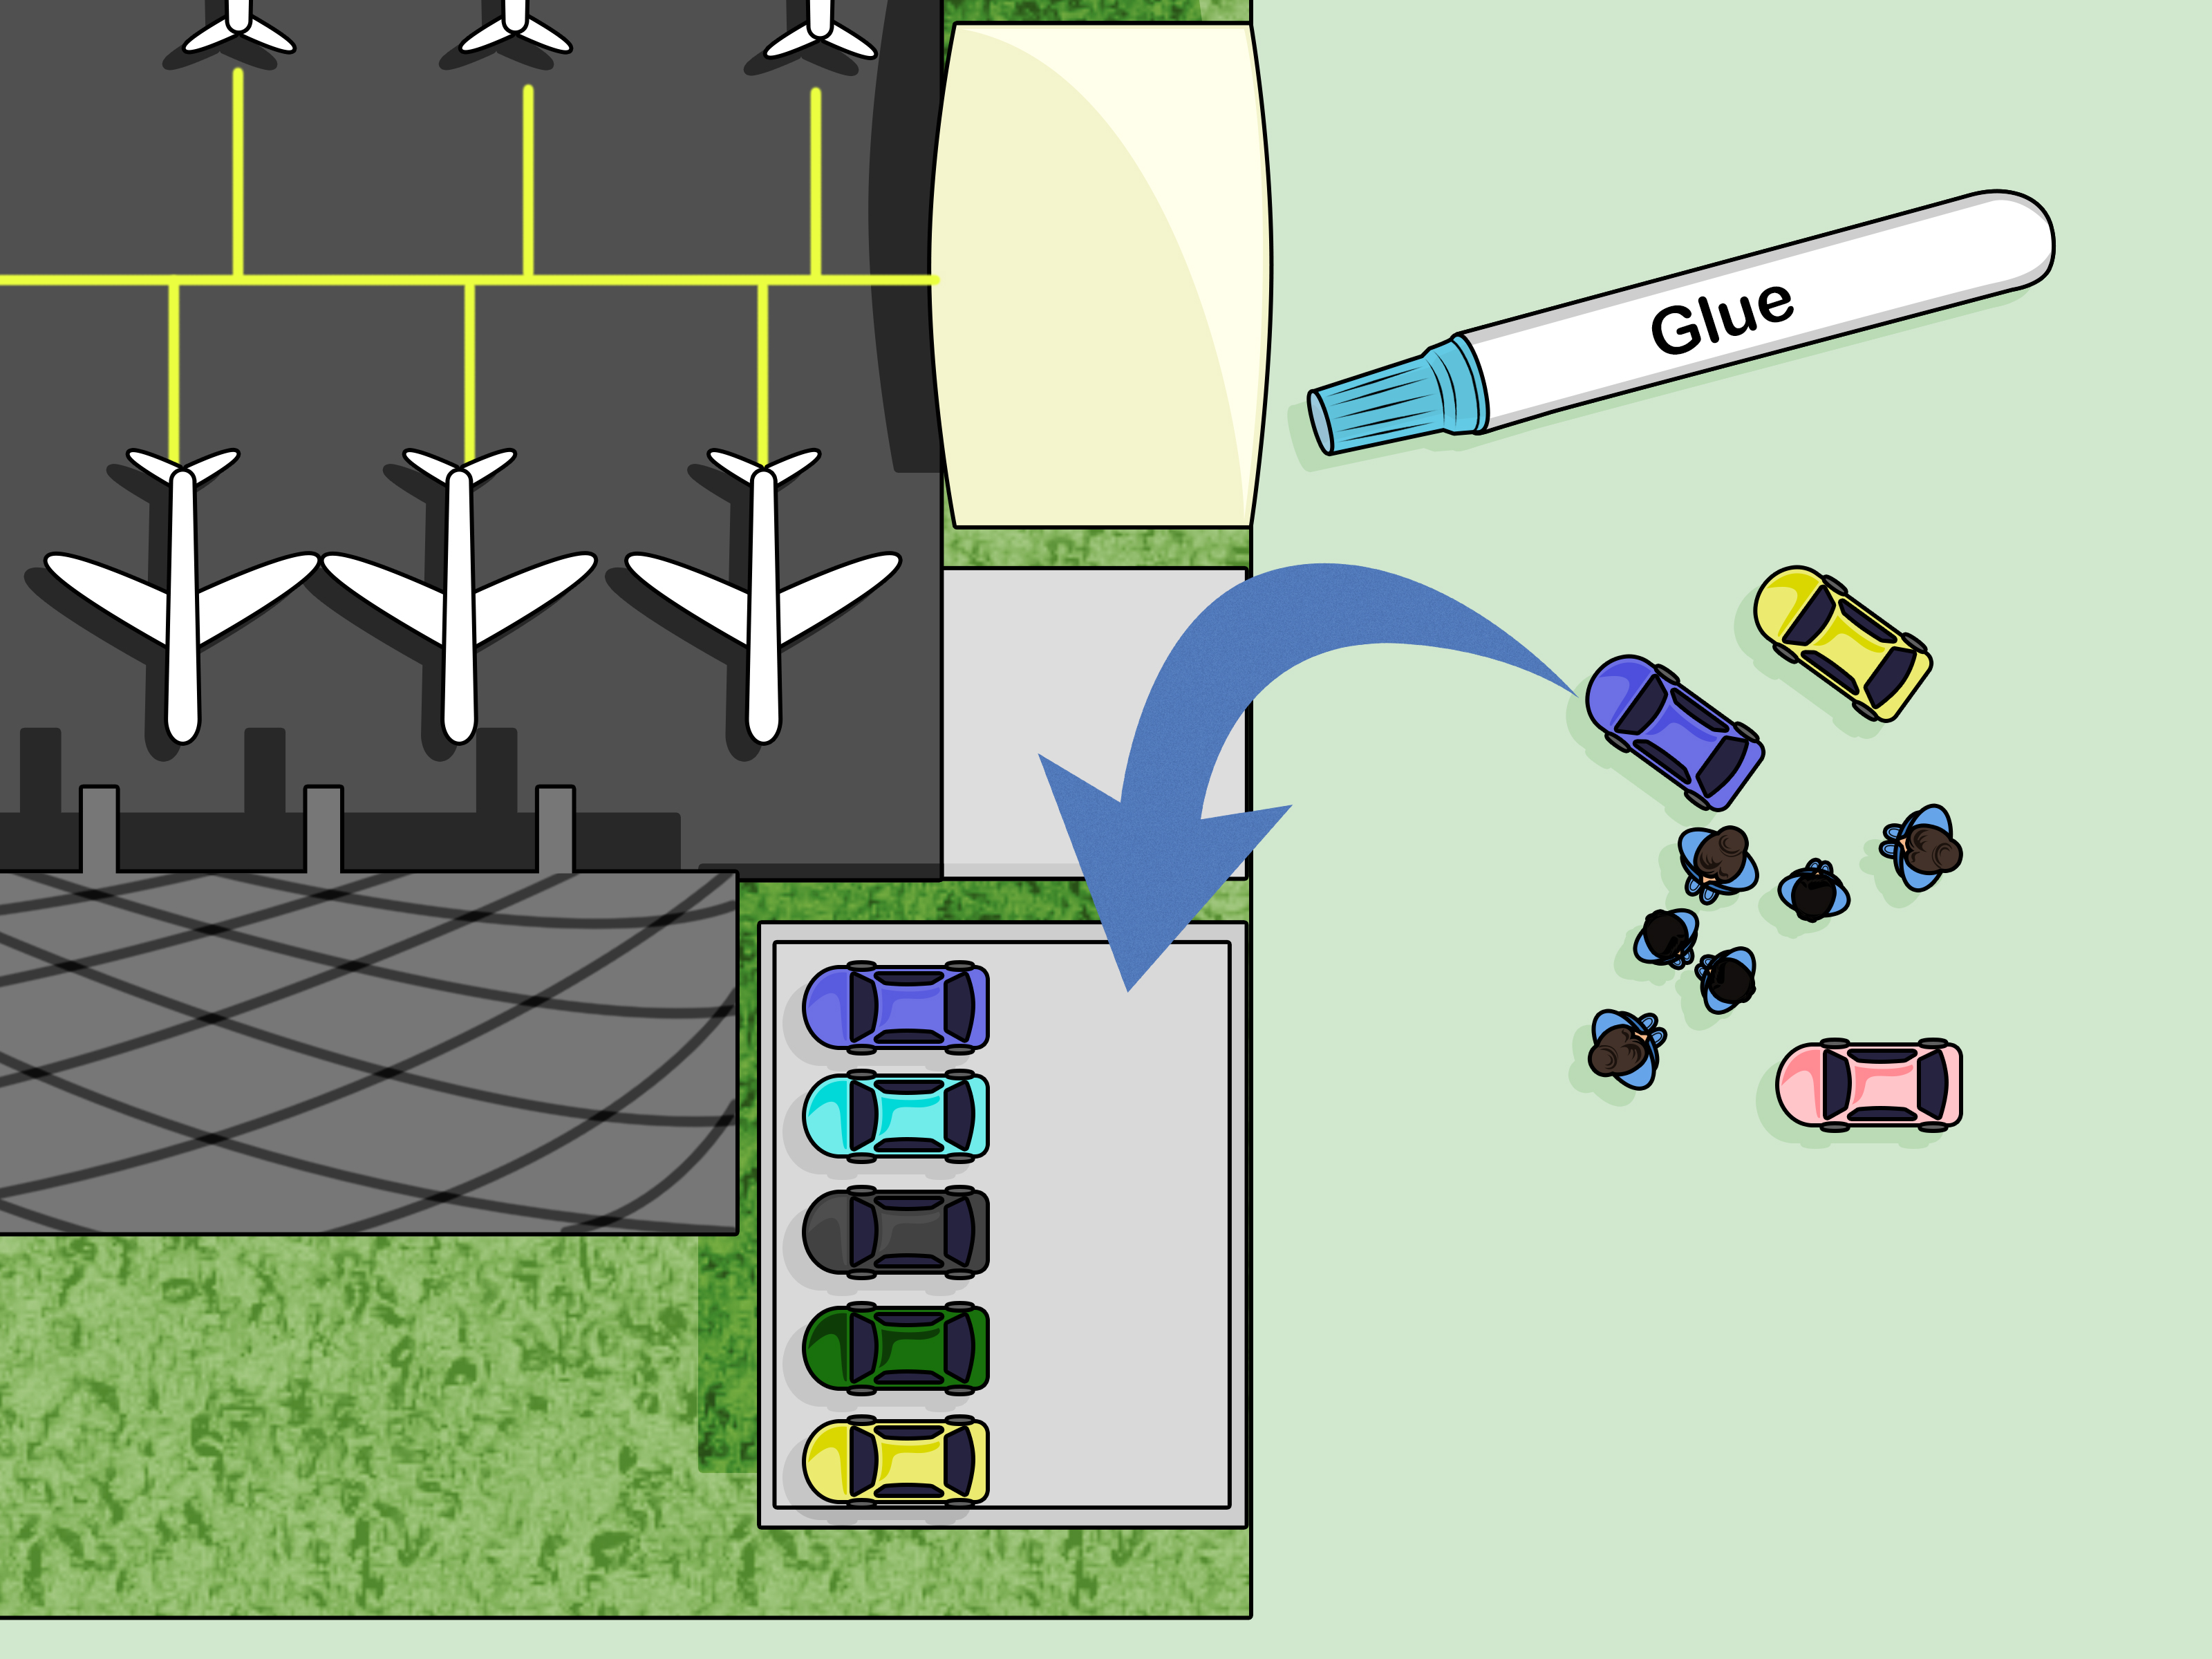
Draw the complete plan on paper before marking the base. Include the runway, taxiways, terminal, aircraft apron, hangars, parking lots, access roads, control tower, and undeveloped land.
Real airport geometry is designed around aircraft movement, safety areas, visibility, and operational efficiency. FAA airport-design guidance covers the arrangement of runways, taxiways, aprons, and associated facilities. Your model does not need full engineering-level dimensions, but following the same basic logic will make it believable.
Avoid making every element perfectly parallel. Slightly angled concourses, curved service roads, and irregular grassy areas often look more realistic. However, taxiways should connect smoothly enough that a model aircraft could theoretically follow them without performing a turn worthy of a shopping cart with one bad wheel.
Step 5: Test the Plan With Aircraft Templates
Before cutting or painting anything, place your aircraft models on the sketch. If you do not own all the planned airplanes yet, cut paper templates matching their lengths and wingspans.
Move the templates around gates and taxiways. Check that adjacent aircraft do not overlap and that planes can travel between the runway and apron. Add room for pushback tractors, fuel trucks, baggage carts, and catering vehicles.
This dry-layout test catches expensive mistakes early. A terminal may look spacious on paper but become surprisingly cramped when a wide-body aircraft arrives and parks with its tail hanging over the airport hotel.
Step 6: Prepare and Seal the Base
Sand rough wooden edges and fill dents or gaps. Apply a primer or sealing coat before adding pavement. Sealing helps reduce warping and creates a more uniform painting surface.
If you are using foam, confirm that your adhesive and spray paint are foam-safe. Some solvent-based products can dissolve exposed foam. Test unfamiliar materials on a scrap piece rather than discovering the problem in the middle of your main runway.
Mark the centerlines of the runway and major taxiways lightly in pencil. Use a square to create accurate right angles and a flexible curve or homemade template for rounded pavement corners.
Step 7: Create the Runway
The runway should be the visual anchor of the airport. Paint it a dark charcoal gray rather than solid black. Real pavement develops variation from tire rubber, repairs, sun exposure, and weather.
Mask the runway edges for crisp lines. Add white centerline dashes, threshold bars, runway numbers, and touchdown-zone markings when appropriate. Runway numbers correspond approximately to magnetic direction with the final zero omitted, so a runway facing roughly 270 degrees is labeled Runway 27.
Research the runway category you want to portray. A small visual runway has fewer markings than a major precision-instrument runway. FAA standards distinguish markings used on runways, taxiways, and aprons, while FAA reference material shows the placement and appearance of common airport markings.
Apply subtle black streaks in touchdown areas to represent tire deposits. Use a dry brush, weathering powder, or a very thin wash. Keep the effect irregular; identical streaks make the runway look as though every pilot landed on the same pixel.
Step 8: Add Taxiways, Holding Positions, and Aprons
Paint taxiways slightly lighter or darker than the runway to create visual separation. Add continuous yellow centerlines and, where needed, yellow edge markings. Runway holding-position markings should appear where taxiways meet the runway.
FAA guidance specifies that taxiways normally have centerline markings and that holding-position markings are used at runway intersections.
Create the terminal apron with large gray-painted areas. Use a fine pencil or hobby knife to add expansion joints, then soften them with paint so they do not resemble deep drainage canals. Paint gate lead-in lines, aircraft stand numbers, equipment zones, and safety boundaries.
Several slightly different gray tones will make the pavement more convincing. A single flat color tends to resemble a kitchen countertop, which is not the glamorous aviation atmosphere we are aiming for.
Step 9: Build the Terminal and Control Tower
Construct the terminal from styrene, foam core, chipboard, or printed architectural panels. Begin with simple geometric forms rather than attempting every window and ventilation grille immediately.
Add depth with layered walls, roof sections, columns, glass-effect plastic, and covered entrances. Jet bridges can be scratch-built from folded card stock or styrene strips. Make them movable or removable when possible so they can serve different aircraft types.
The control tower should have a clear view of the runway and movement areas. It may be attached to the terminal or built as a separate structure. For the cab windows, use transparent plastic tinted lightly with blue-gray paint.
Modeling guidance from the National Model Railroad Association recommends blending structures into the surrounding scenery rather than simply placing them on top of the layout. Hide visible gaps with sidewalks, curbs, grass, pavement, or landscaping.
Step 10: Construct Hangars and Support Facilities
Add maintenance hangars, cargo warehouses, fuel-storage areas, fire stations, and utility buildings. These secondary structures make the airport feel operational rather than decorative.
Hangars are relatively easy to build because many are simple rectangular structures with broad doors. Corrugated paper or textured styrene can imitate metal siding. Add vents, rooftop machinery, warning signs, and service entrances.
Keep fuel tanks and service yards away from the passenger terminal. Place cargo buildings near a separate apron with trucks and loading equipment. Even on a compressed layout, organizing facilities by function improves realism.
Step 11: Add Roads, Parking, and Ground Transportation
An airport needs a landside transportation network. Build an entrance road, terminal drop-off lanes, parking lots, bus stops, employee areas, and rental-car facilities.
Paint roads in a dark gray and add white or yellow traffic lines. Parking spaces should be narrow and regular, while accessible spaces, crosswalks, arrows, and curb markings create useful detail. Tiny printed signs can identify arrivals, departures, taxis, and parking garages.
Use a mixture of miniature cars, buses, shuttles, delivery trucks, and emergency vehicles. Do not arrange them with perfect spacing. Real airport traffic has clusters, empty spaces, and at least one driver who appears deeply confused by the departure-level signs.
For realistic paved surfaces, established scenery techniques commonly use layered paint, texture, fine cracks, and weathering rather than one uniform finish.
Step 12: Install Airport Lighting
Lighting can transform an ordinary airport model into a dramatic evening display. Use small low-voltage LEDs or fiber optics for runway edges, taxiway edges, terminal interiors, apron floodlights, and obstruction beacons.
On real airports, runway edge lights are generally white. Threshold lights appear green to approaching aircraft, while runway-end lights show red toward an aircraft on the runway. Taxiway edge lights are commonly blue, and taxiway centerline lights are green. FAA aeronautical-lighting references provide the underlying color conventions.
Drill light holes before attaching fragile buildings and scenery. Route wires beneath the base, label each circuit, and test every light before permanently gluing it into place. LEDs require a suitable power source and current-limiting components, so use a prepared hobby-lighting kit unless you are comfortable designing the circuit.
Keep the lighting subtle. A model airport should resemble an airfield at night, not a holiday display experiencing an identity crisis.
Step 13: Add Grass, Terrain, and Weathering
Cover undeveloped areas with earth-colored paint before adding grass. This prevents bright base material from showing through thin scenery. Apply fine turf, static grass, weeds, shrubs, drainage areas, and a limited number of trees.
Airports usually keep vegetation low near runways, so place taller trees farther from aircraft movement areas. Add drainage ditches, perimeter roads, fences, antenna installations, and patches of worn ground.
Foamboard, layered foam, cardboard strips, and plaster-based terrain are widely used scenery methods. Lightweight foam is especially useful for portable layouts and can hold trees and details securely.
Weather buildings with thin washes and dry-brushing. Add soot near service areas, light dirt around hangars, and faded patches on older pavement. FineScale Modeler identifies washes and dry-brushing as foundational weathering methods because they emphasize recessed and raised details without requiring heavy paint coverage.
Step 14: Populate, Inspect, and Protect the Model
Place aircraft at gates, cargo stands, hangars, and holding points. Add baggage tractors, belt loaders, fuel trucks, buses, catering vehicles, maintenance crews, passengers, and security equipment.
Tell several small stories. One aircraft may be boarding, another may be receiving cargo, and a third may be waiting near the runway. A fire truck could be parked outside the emergency station while a maintenance vehicle inspects a taxiway light.
Inspect the airport from eye level as well as from above. Eye-level viewing reveals floating buildings, crooked signs, oversized markings, and other details that disappear from a bird’s-eye perspective.
Finally, protect the model from dust with a clear acrylic cover or display case. If the project is modular, store each section in a rigid box with foam padding around delicate buildings and lights.
Experience-Based Lessons From Building Model Airports
The most common lesson model builders learn is that the aircraft collection should influence the airport plan from the beginning. It is tempting to draw a beautiful terminal, paint every gate, and then introduce the airplanes. Unfortunately, aircraft wings are not known for respecting an artist’s original vision. Testing the layout with real models or paper footprints prevents crowded gates and impossible taxi routes.
Another valuable lesson is to build in layers. Finish the broad pavement areas first, followed by markings, buildings, roads, lighting, scenery, and small accessories. Adding ground vehicles too early guarantees that they will be knocked over repeatedly. Installing trees before painting nearby pavement is an equally effective way to create a forest covered in accidental gray overspray.
Removable buildings make later work much easier. A terminal attached permanently at the beginning can block access to wiring, road markings, and apron details. Mounting major structures on thin styrene or card bases allows them to be lifted out for repairs. The bases can then be blended into the surrounding surface with sidewalks, landscaping, or pavement strips.
Pavement usually looks more realistic when imperfections are added gradually. Begin with a clean gray surface, then introduce expansion joints, faded paint, patch repairs, rubber deposits, and stains. Stop frequently and view the model from several feet away. Weathering that looks almost invisible at arm’s length may appear perfectly balanced from normal viewing distance. Heavy black washes, meanwhile, can turn a modern airport into something that appears to have survived several volcanic eruptions.
Lighting also rewards patience. Builders frequently discover a failed connection only after scenery has hidden the wiring. Test each circuit during installation, photograph the wire routes, and provide access panels beneath important connections. A small electrical diagram can save hours of detective work later.
Scale consistency matters more than microscopic accuracy. A simplified terminal with correctly scaled doors, vehicles, and aircraft usually looks better than an elaborate building surrounded by accessories from three unrelated scales. When exact-scale products are unavailable, choose items that look visually compatible and place questionable objects away from familiar references such as doors or people.
Small details should support the main scene rather than compete with it. Five carefully positioned service vehicles often look more convincing than 40 vehicles scattered randomly across the apron. Empty space is useful. Real airports contain safety zones, grass fields, unused pavement, and service corridors. Filling every square inch can make the model feel like an aviation-themed parking lot.
Finally, experienced builders treat the first airport as a learning project rather than a final examination. Scenery can be repaired, markings can be repainted, and buildings can be replaced. The National Model Railroad Association similarly encourages beginners to experiment because most scenery work can be changed or redone.
Photograph the finished model from low angles with a simple sky background. Careful framing can make a tabletop airport appear surprisingly large, especially when foreground objects are sharp and distant buildings are slightly softened. Those photographs will also reveal which areas deserve improvement when the airport inevitably receives its next expansion.
Common Model Airport Mistakes to Avoid
- Mixing scales: Oversized vehicles and undersized buildings quickly break the illusion.
- Skipping the paper plan: Improvised layouts often create cramped gates and awkward taxiways.
- Using pure black pavement: Charcoal gray with subtle variation looks more natural.
- Making markings too thick: Test line widths on scrap material before painting the model.
- Overloading the scene: Leave open spaces around runways, taxiways, and service areas.
- Installing untested lights: Check every connection before covering the wiring.
- Applying too much weathering: Build stains and fading in thin, controlled layers.
- Ignoring storage: Plan how the airport will be covered, transported, or separated into modules.
Conclusion
Building a model airport combines architecture, transportation planning, miniature painting, electronics, and storytelling in one satisfying project. Start with a clear theme, choose a consistent scale, and design the layout around the aircraft you intend to display. Once the runway, taxiways, apron, and terminal are correctly positioned, smaller elements such as markings, service vehicles, lighting, grass, and weathering can bring the entire scene to life.
Your airport does not need to reproduce every real-world measurement to be convincing. It needs consistent proportions, logical aircraft movement, recognizable markings, and enough operational detail to suggest that the miniature facility has a purpose. Work gradually, test components before gluing them, and allow the airport to expand as your skills and aircraft collection grow.
The final result may occupy only a corner of a room, but from the right viewing angle, it can feel like an entire aviation world preparing for departure.
Note: This is a display-modeling guide. Real airport construction, electrical work, and operational planning must follow applicable professional standards and regulations.