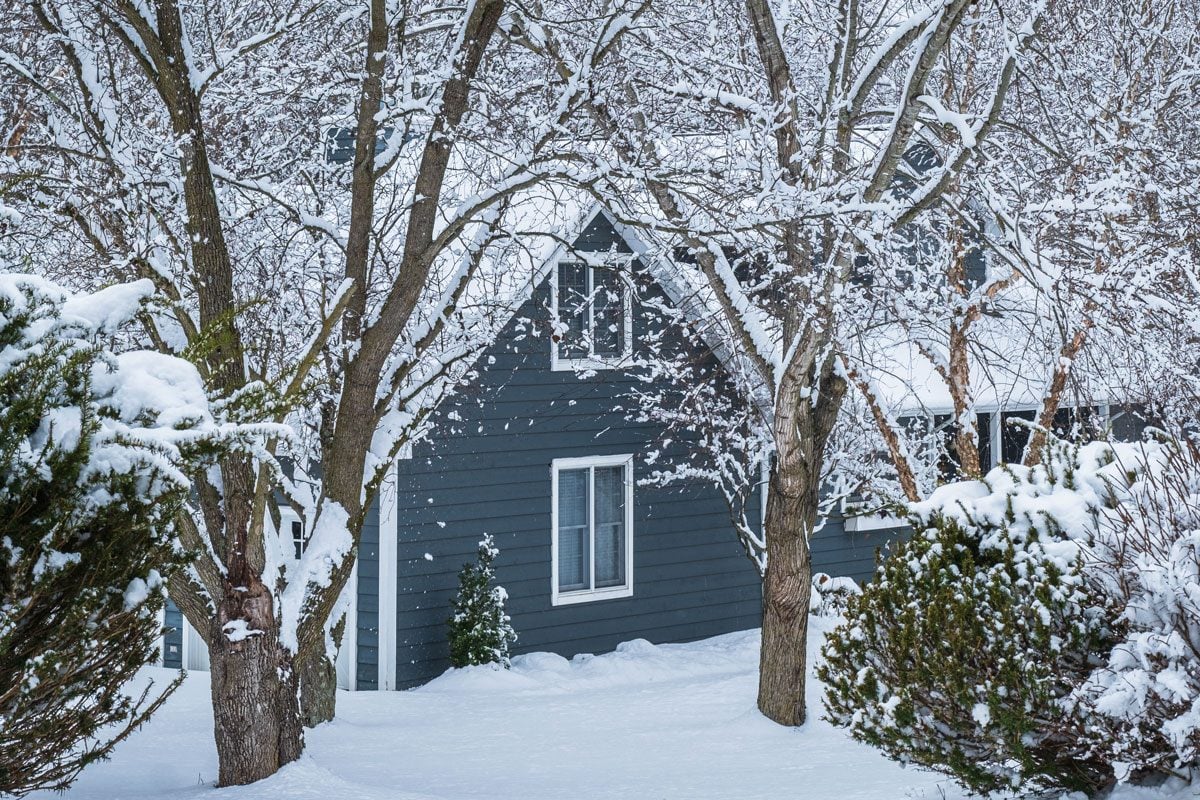
Winter has a talent for showing up like an uninvited guest with icy shoes, a dramatic wind machine, and a very expensive heating bill. The good news? You do not need a month, a contractor parade, or a tool collection worthy of a home improvement TV host to get your house ready. With one focused weekend, a practical checklist, and a little determination, you can winterize your home, reduce drafts, protect pipes, improve comfort, and make your heating system work less like it is training for a marathon.
This guide breaks home winterization into simple, doable steps for Friday evening, Saturday, and Sunday. You will learn how to find air leaks, seal drafty windows and doors, check insulation trouble spots, protect plumbing, prepare your heating system, and build a small winter emergency plan. Think of it as giving your home a warm sweater, a windbreaker, and a thermos of cocoaminus the marshmallow crumbs in the couch.
Why Weekend Home Winterization Matters
Winterizing your home is not just about comfort. It is about energy efficiency, safety, and preventing small problems from becoming expensive disasters. Cold air sneaking through gaps around doors, windows, attic hatches, plumbing penetrations, and baseboards can make rooms feel chilly even when the thermostat is working overtime. Meanwhile, exposed pipes can freeze, neglected filters can reduce heating performance, and blocked vents or unsafe backup heat sources can create serious risks.
A weekend winterization plan works because many high-impact tasks are small: adding weatherstripping, applying caulk, installing window film, replacing furnace filters, cleaning gutters, checking smoke and carbon monoxide alarms, and insulating exposed pipes. None of these jobs require superpowers. They require attention, basic supplies, and the heroic ability to find where you put the utility knife.
Friday Evening: Inspect, Prioritize, and Shop Smart
Walk Through the House Like a Draft Detective
Start with a simple home energy inspection. Move room by room and look for cold spots, rattling windows, gaps around exterior doors, cracked caulk, loose outlets on outside walls, and attic or basement openings. On a breezy evening, hold your hand near window frames, door edges, and baseboards. If you feel air movement, congratulations: you have found a tiny winter gremlin.
Pay special attention to common leak zones: attic access panels, recessed lights, plumbing and wiring holes, fireplace dampers, mail slots, dryer vents, and the area where the foundation meets the framing. Air sealing is often one of the most cost-effective ways to improve winter comfort because it reduces the amount of heated air escaping and cold air entering.
Make a Weekend Supply List
Before Saturday begins, gather your supplies. A practical winterize-home kit may include adhesive weatherstripping, door sweeps, exterior-grade caulk, caulk gun, foam outlet gaskets, shrink-plastic window film, pipe insulation sleeves, furnace filters, gutter scoop, work gloves, flashlight, batteries, and a few microfiber cloths. Add a sturdy step ladder if you will be reaching vents, gutters, or attic access areas.
Choose materials based on the job. Use weatherstripping for moving parts like doors and operable windows. Use caulk for stationary gaps and cracks. Use window film for older windows that leak air or feel cold to the touch. Use pipe insulation for exposed water lines in basements, crawl spaces, garages, and under sinks on exterior walls.
Set Safety Boundaries Before You Start
Some projects are great for a weekend DIY plan. Others deserve a licensed professional. Do not attempt to repair gas lines, modify electrical wiring, service a furnace burner, or inspect a chimney from the roof unless you are trained and properly equipped. Home winterization is supposed to prevent emergencies, not create a dramatic story your family retells every Thanksgiving.
Saturday Morning: Seal Doors, Windows, and Obvious Leaks
Weatherstrip Exterior Doors
Exterior doors are often the biggest draft offenders. Close the door and look for daylight around the edges. If light can get in, cold air is probably sneaking in with the confidence of a raccoon near an unsecured trash can. Install adhesive-backed foam or rubber weatherstripping around the top and sides of the door frame. The seal should compress when the door closes, but it should not make the door difficult to latch.
Next, check the bottom of the door. If there is a gap, install or replace the door sweep. A good sweep blocks drafts, dust, and the occasional ambitious insect. For older doors, an adjustable threshold can also help create a tighter seal.
Seal Drafty Windows Without Replacing Them
New windows are wonderful, but they are not always in the weekend budget. Luckily, you can improve old windows quickly. First, lock every window; locks pull the sash tighter against the frame. Then inspect the caulk around the trim. Scrape away loose or cracked caulk and apply a fresh bead where stationary gaps exist.
For windows that still feel drafty, install shrink-plastic window film on the interior side. Clean the frame, apply the double-sided tape, attach the plastic, and gently shrink it with a hair dryer. When done neatly, it creates a clear air barrier that can make a chilly room feel noticeably more comfortable. It is not glamorous, but neither is paying to heat the neighborhood.
Do a Fast Outlet and Switch Check
Electrical outlets and switch plates on exterior walls can leak air. Turn off power to the area if needed, remove the cover plate, add a foam gasket, and reinstall the plate. This tiny task is inexpensive and surprisingly satisfying. It is the home maintenance version of finding money in a coat pocket.
Saturday Afternoon: Attack the Attic, Basement, and Insulation Gaps
Check the Attic Hatch
The attic hatch is a classic heat-loss trouble spot. Warm air rises, finds a poorly sealed attic access panel, and escapes into the attic like it has a vacation booked. Add weatherstripping around the hatch frame so the panel seals tightly when closed. If the hatch is thin and uninsulated, attach rigid foam board or another suitable insulation material to the attic side.
While you are near the attic, look for obvious gaps around plumbing stacks, wiring holes, and dropped soffits. Small openings can be sealed with appropriate caulk or foam, but use the correct material for the location. Around chimneys, flues, and heat-producing fixtures, use fire-rated or high-temperature materials and follow manufacturer guidance. When in doubt, hire a qualified professional.
Look at Insulation Like a Heat Accountant
Insulation slows heat flow. In winter, that means it helps keep warm air inside living spaces instead of letting it migrate into attics, garages, crawl spaces, and the outdoors. You do not need to solve your entire insulation situation in one weekend, but you can identify obvious problems.
Look for thin, uneven, wet, compressed, or missing insulation in accessible areas. If insulation is damp, do not simply cover it up; find and fix the moisture source first. In many homes, attic insulation and air sealing work best together. Insulation is the sweater, air sealing is the windbreaker, and your heating bill would very much like both.
Insulate Exposed Pipes
Frozen pipes can turn a peaceful winter morning into a water-themed disaster you definitely did not request. Focus on pipes in unheated or poorly heated areas: basements, crawl spaces, garages, exterior walls, and under kitchen or bathroom sinks. Foam pipe sleeves are easy to cut and install. Fit them snugly around the pipe and seal the seams as recommended.
For very cold nights, open cabinet doors under sinks on exterior walls to allow warmer room air to circulate. If a severe freeze is expected, letting faucets drip slightly can help reduce pressure buildup in the pipes. Also learn where your main water shutoff valve is located. Label it clearly. Future-you will send present-you a thank-you card.
Saturday Evening: Tune Up Heating Habits
Replace or Clean Furnace Filters
If your home uses a forced-air furnace or heat pump, check the filter. A dirty filter restricts airflow, reduces efficiency, and makes equipment work harder. Replace disposable filters according to the manufacturer’s recommendations, or clean reusable filters as directed. This is one of the easiest winter home maintenance tasks, yet it has a big effect on comfort and airflow.
Program the Thermostat
A programmable or smart thermostat can help reduce heating costs by lowering the temperature when you are asleep or away. You do not need to turn your home into an ice cave. Even a modest schedule can help: comfortable when people are home and active, slightly cooler overnight, and lower when the house is empty.
Avoid dramatic thermostat swings if you use a heat pump, because some systems may trigger backup heat when recovering from a large temperature drop. If you are unsure, check your system manual or ask an HVAC technician for ideal settings.
Check Vents, Radiators, and Dampers
Move furniture, rugs, curtains, and laundry baskets away from supply and return vents. Heat cannot do its job if your sofa is sitting on the vent like a bouncer outside a nightclub. If you have radiators, keep them clear so warm air can circulate. If you have a fireplace, make sure the damper closes tightly when there is no fire. An open damper can pull heated indoor air straight up the chimney.
Sunday Morning: Prepare the Exterior
Clean Gutters and Downspouts
Clogged gutters can contribute to ice dams, roof leaks, and foundation problems. Remove leaves, twigs, and roof grit from gutters. Flush downspouts if possible, and make sure water drains away from the foundation. Add downspout extensions if water pools near the house.
Use ladder safety. Place the ladder on level ground, keep three points of contact, and avoid overreaching. If the roofline is high, icy, steep, or just gives you a bad feeling in your knees, hire a professional. Pride is cheaper than an emergency room visit only in theory.
Disconnect Garden Hoses and Protect Outdoor Faucets
Remove garden hoses from outdoor spigots before freezing weather arrives. Drain the hoses and store them in a garage, shed, or basement. If your outdoor faucet has an interior shutoff valve, close it and open the outside faucet to drain remaining water. Add insulated faucet covers for extra protection.
Inspect Exterior Gaps
Walk around the outside of your home and look for cracks or openings where cold air, moisture, or pests can enter. Check around hose bibs, cable lines, dryer vents, foundation penetrations, and door trim. Seal small gaps with appropriate exterior caulk. For larger holes, use suitable patching materials or call a professional if the opening suggests structural, moisture, or pest damage.
Sunday Afternoon: Make the House Safer for Winter
Test Smoke and Carbon Monoxide Alarms
Winter means more heating equipment, more closed windows, and sometimes backup power sources during outages. That makes working smoke alarms and carbon monoxide alarms essential. Test alarms monthly, replace batteries as needed, and follow the manufacturer’s replacement timeline for the entire unit. Place carbon monoxide alarms near sleeping areas and on every level of the home where recommended by local code and product guidance.
Use Space Heaters Carefully
Space heaters can warm a chilly room, but they need respect. Place them on a flat, stable surface at least three feet away from anything that can burn, including curtains, bedding, papers, and furniture. Plug them directly into a wall outlet rather than an extension cord unless the manufacturer says otherwise. Turn them off before leaving the room or going to sleep.
Never Use Unsafe Heat Sources Indoors
Never use a gas oven, charcoal grill, camp stove, or portable generator to heat your home. Portable generators belong outside, far away from doors, windows, vents, garages, crawl spaces, and enclosed areas. Carbon monoxide is invisible and odorless, which is exactly why alarms and safe equipment placement matter so much.
Build a Small Winter Emergency Kit
A winter emergency kit does not have to look like a bunker inventory. Keep flashlights, batteries, blankets, bottled water, shelf-stable food, basic first-aid supplies, necessary medications, pet supplies, a phone power bank, and a printed list of important contacts. Add ice melt, a snow shovel, and windshield scraper if your climate demands it.
A Simple Weekend Schedule to Winterize Your Home
Friday: Plan and Purchase
Spend one to two hours inspecting the home and making a supply list. Look for drafts, check filters, identify exposed pipes, and note outdoor tasks. Buy materials before Saturday morning so your weekend does not disappear into three separate hardware store trips and one emotional debate with the caulk aisle.
Saturday: Seal and Insulate
Start with doors and windows because they provide quick comfort improvements. Add weatherstripping, install door sweeps, caulk stationary gaps, and apply window film where needed. In the afternoon, move to the attic hatch, basement, crawl space, and pipe insulation. End the day by replacing filters and setting your thermostat schedule.
Sunday: Exterior and Safety
Clean gutters, disconnect hoses, protect outdoor faucets, and inspect exterior gaps. Then move inside to test alarms, prepare emergency supplies, clear vents, check fireplace dampers, and review safe heating habits with everyone in the household.
Common Mistakes to Avoid When Winterizing Your Home
Sealing Before Checking Moisture Problems
Air sealing is powerful, but do not ignore moisture. If you find wet insulation, moldy smells, roof leaks, or condensation problems, address the source first. Sealing a damp area without fixing the cause can trap moisture and create bigger issues.
Forgetting the Attic Hatch
Many homeowners seal windows and doors but forget the attic access panel. Because warm air rises, that hatch can leak a surprising amount of heat. Weatherstripping and insulation here are small upgrades with a big comfort payoff.
Blocking Airflow
Closing too many vents or blocking returns can reduce system performance. Heating systems are designed for balanced airflow. Keep vents clear and avoid treating closed registers as a magic money-saving button.
Ignoring Professional Maintenance
DIY winterization is excellent, but heating equipment, chimneys, and fuel-burning appliances need proper maintenance. Schedule professional service when needed, especially if equipment makes unusual noises, produces odors, cycles strangely, or has not been inspected in a long time.
Real-World Experience: What a Weekend Winterization Actually Feels Like
The first thing you notice when winterizing a home in one weekend is that the house has opinions. Some doors behave politely. Others reveal gaps large enough to make you wonder whether the previous owner was trying to ventilate the entire county. The trick is to stay practical. You are not renovating the home in two days; you are making it tighter, warmer, safer, and less expensive to heat.
In my experience, the fastest comfort improvement usually comes from exterior doors. A worn door sweep can make an entryway feel like a tiny wind tunnel. Replacing it takes a little measuring, a little trimming, and occasionally a few words you would not say in front of a kindergarten teacher, but the result is immediate. The hallway feels calmer. The floor is less icy. The heating system stops kicking on every time the wind sneezes.
Window film is another underrated weekend hero. At first, it feels suspiciously simple: tape, plastic, hair dryer. But once the film tightens and the window stops radiating cold into the room, it becomes oddly satisfying. The key is patience. Clean the frame first, apply the tape carefully, and do not rush the shrinking process. A smooth installation looks much better than a wrinkled one, and yes, you will feel like a professional gift-wrapper for windows.
The attic hatch is where many people discover the home’s secret escape route for warm air. If the hatch has no weatherstripping and no insulation, it can behave like a chimney for your heating budget. Adding foam board and a tight seal is not glamorous, but it is one of those upgrades that makes sense the second you do it. You may not show it off at parties, but your upstairs rooms may feel more stable afterward.
Pipe insulation is also worth doing before the first serious freeze, not during it. Crawling around a basement with foam sleeves may not sound exciting, but it beats standing in that same basement later, listening to water do something expensive. Labeling the main water shutoff valve is another small task that feels almost too easy. Still, in an emergency, a clear label can save precious minutes.
The best weekend winterization mindset is “small fixes, smart order.” Do the visible drafts first. Then handle pipes, filters, vents, alarms, and exterior water control. Keep a trash bag nearby, because old weatherstripping, leaves, packaging, and mystery basement debris will appear. Play music. Take breaks. Reward yourself with soup. By Sunday evening, your house may not be perfect, but it will be better prepared, more comfortable, and a lot less drafty. That is a winand unlike snow, it will not need shoveling.
Conclusion: Give Your Home a Winter Coat Before the Cold Arrives
Learning how to winterize your home in a weekend is really about working smarter, not harder. You start by finding drafts, then seal the easy leaks, improve window and door performance, protect exposed pipes, check insulation trouble spots, prepare heating equipment, clean up exterior water issues, and make sure your alarms and emergency supplies are ready.
A winter-ready home feels warmer, wastes less energy, and handles cold weather with fewer surprises. You do not need perfection. You need practical improvements done in the right order. By Sunday night, your home can be cozier, safer, and better prepared for whatever winter decides to throw at itsnow, sleet, wind, or that one mysterious cold spot by the couch that has been judging you since November.