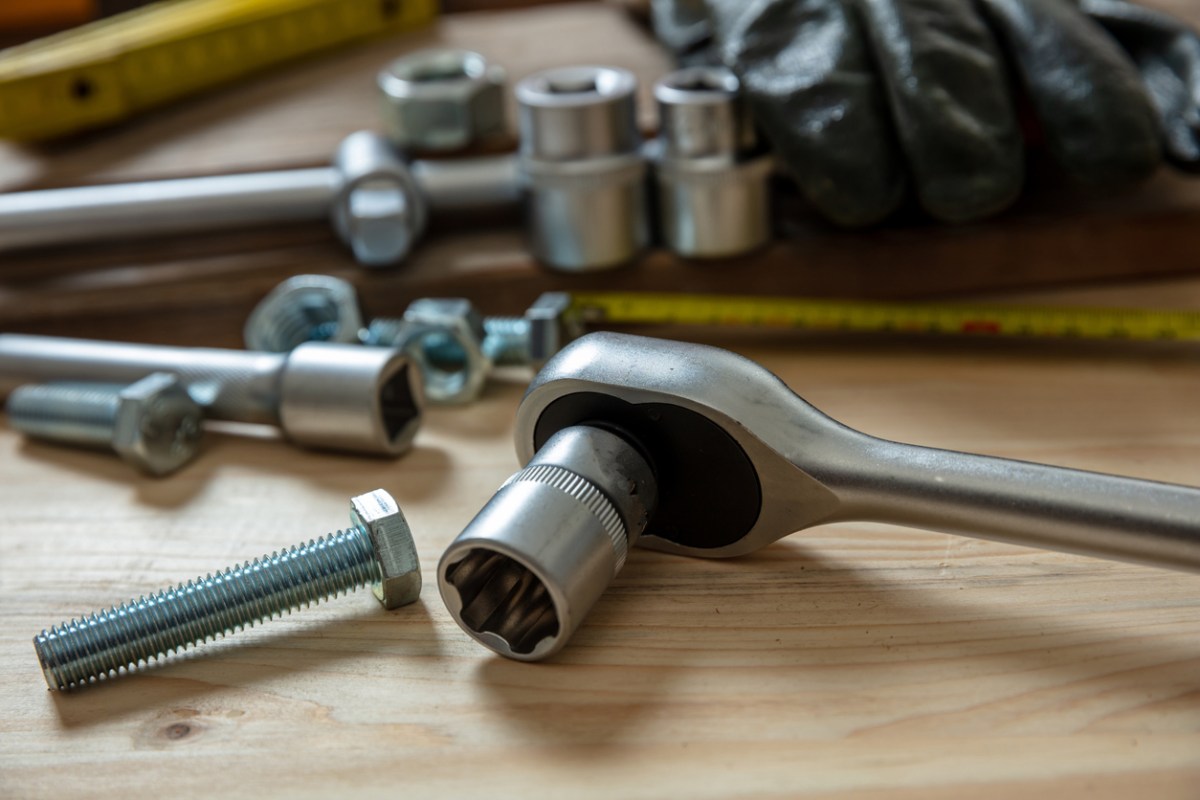
There are plenty of jobs around a car, bike, mower, or workshop where “tight enough” sounds like a perfectly reasonable plan. Until it is not. A loose wheel lug can become a very expensive roller skate, while an overtightened bolt can snap with all the drama of a tiny metal firecracker. That is where a torque wrench earns its keep.
A torque wrench is not simply a fancy ratchet that makes a satisfying click. It is a precision measuring tool designed to tighten a fastener to a specified amount of rotational force. Used correctly, it helps create the right clamping force without stripping threads, crushing delicate parts, warping components, or leaving bolts loose enough to wander off on their own adventure.
This guide explains how to use a torque wrench safely and accurately, how to choose the right style, where to find torque specifications, and which common mistakes can quietly turn a simple repair into a weekend-long apology to your vehicle.
What Is a Torque Wrench and Why Does It Matter?
Torque is twisting force. Think about opening a door: pushing near the hinge takes far more effort than pushing at the handle. A torque wrench measures that twisting force and helps you apply a precise amount to a nut, bolt, screw, or fastener.
Most torque specifications are listed in one of several units:
- Foot-pounds (ft-lb): Common for automotive work, especially wheel lug nuts, suspension parts, and larger engine fasteners.
- Inch-pounds (in-lb): Common for smaller fasteners, electronics, light machinery, motorcycles, and certain engine components.
- Newton-meters (Nm): Frequently used in vehicle manuals, bicycle specifications, imported tools, and international service guides.
The goal is not merely to make a bolt feel secure. A properly torqued fastener creates controlled clamping pressure. Too little torque can allow vibration, movement, leaks, or component failure. Too much torque can stretch a bolt, strip threads, damage bearings, distort brake rotors, crack aluminum parts, or break a fastener inside a place where no human hand was ever meant to reach.
That is why a torque wrench should be treated more like a measuring instrument than a brute-force tool. It belongs in the same mental category as a tape measure or level, not in the same category as a hammer that has seen things.
Types of Torque Wrenches
Before learning how to use a torque wrench, it helps to understand the most common styles. Each has a different personality, much like people at a hardware store on a Saturday morning.
Click-Type Torque Wrench
A click-type torque wrench is the most popular option for home garages and DIY projects. You set the desired torque value by turning the handle, lock the setting, and tighten the fastener until the wrench clicks or releases slightly.
The click is your stop sign. Once you hear or feel it, stop applying force immediately. Continuing to pull after the click adds more torque and defeats the entire purpose of using the tool.
Beam-Style Torque Wrench
A beam-style torque wrench uses a pointer and scale. As you apply pressure, the beam flexes and the pointer indicates the amount of torque being applied. It has no click, beep, or flashing lights, so the user must watch the scale carefully.
Beam wrenches are simple, durable, and often affordable. They can be useful for occasional automotive work, though they require a clear viewing angle and steady hands.
Digital Torque Wrench
A digital torque wrench displays the torque value electronically. Many models beep, vibrate, or illuminate when the target is reached. Some allow users to set tolerance ranges, save presets, and switch between ft-lb, in-lb, and Nm.
Digital models can be convenient, especially when working with multiple specifications. However, they need batteries and should still be handled with care. A digital display does not make a tool immune to drops, moisture, or questionable decisions.
Split-Beam Torque Wrench
Split-beam torque wrenches are popular among serious mechanics because they can be quick to set and often do not require the same storage adjustment as many spring-loaded click wrenches. They are durable and effective, though usually more expensive than entry-level click models.
Torque Drivers and Small Torque Tools
For bicycles, electronics, firearms, small engines, and delicate assemblies, a compact torque driver may be more appropriate than a large automotive wrench. These tools are commonly measured in inch-pounds or Newton-meters and help protect smaller bolts from accidental overtightening.
Choose the Right Torque Wrench for the Job
The best torque wrench is not necessarily the biggest, most expensive, or shiniest tool on the shelf. It is the wrench whose working range fits the fastener specification you need.
As a general rule, avoid using a torque wrench at the extreme low or high end of its rated range whenever possible. Accuracy is often strongest through the middle of a tool’s range. For example, if you regularly need to tighten bolts around 25 ft-lb, a wrench rated from 20 to 200 ft-lb may work, but a smaller-range wrench may provide better control.
Common drive sizes include:
- 1/4-inch drive: Best for small fasteners, bicycles, motorcycles, electronics, and engine accessories.
- 3/8-inch drive: A versatile middle option for brake work, engine jobs, suspension components, and general automotive repairs.
- 1/2-inch drive: Often used for wheel lug nuts, larger suspension bolts, axle hardware, and heavier automotive work.
Choose sockets that match the wrench drive size and are rated for the torque you plan to apply. A worn, cracked, loose, or poorly fitting socket can slip, round off a fastener, or create a very memorable knuckle injury.
Before Using a Torque Wrench
A few minutes of preparation can make the difference between a clean repair and a mystery problem that appears three weeks later.
Find the Exact Torque Specification
Always use the specification provided by the equipment manufacturer whenever possible. Check the owner’s manual, factory service manual, repair database, component label, or manufacturer documentation.
Do not guess based on what another vehicle uses. A torque value for one wheel, engine, bicycle stem, mower blade, or trailer component may be completely wrong for another. Even similar models can have different fasteners, wheel materials, bolt grades, and tightening procedures.
Confirm the Unit of Measurement
Make sure you are reading the right unit. A specification of 90 Nm is not the same as 90 ft-lb. A specification of 90 in-lb is definitely not 90 ft-lb unless you are hoping to meet a repair technician under unfortunate circumstances.
If conversion is necessary, use a reliable chart or calculator. Common conversions include:
- 1 ft-lb = 12 in-lb
- 1 ft-lb = approximately 1.356 Nm
- 1 Nm = approximately 0.738 ft-lb
Inspect the Fastener and Threads
Clean dirt, rust flakes, damaged thread sealant, or loose debris from the fastener before tightening. Dirty threads can create misleading torque readings because friction changes how the bolt turns.
Do not automatically apply grease, anti-seize compound, oil, or thread locker unless the manufacturer specifically calls for it. Lubricated threads can achieve greater clamping force at the same torque reading, which means using a dry-thread specification on lubricated hardware can overtighten the fastener.
Use the Right Tightening Sequence
When working with multiple fasteners on a wheel, cylinder head, valve cover, brake component, bicycle stem, or similar part, follow the recommended tightening pattern. A star pattern is commonly used for wheel lug nuts because it helps distribute clamping force evenly.
For a group of bolts, tighten in stages rather than taking one fastener to full torque immediately. Start with a light pass, then increase gradually until every fastener reaches the final specification.
How to Use a Click-Type Torque Wrench Step by Step
A click-type torque wrench is one of the easiest styles to use, provided that you respect the click. The wrench is not offering applause. It is telling you to stop.
Step 1: Hand-Thread the Fastener
Start the nut or bolt by hand whenever possible. This helps prevent cross-threading, which can damage the fastener and the threaded hole. If a bolt will not turn easily by hand, do not force it with a torque wrench.
Use a regular ratchet or hand wrench to bring the fastener close to snug. A torque wrench should generally be used for final tightening, not as the main tool for running hardware all the way down.
Step 2: Set the Desired Torque
Unlock the handle or adjustment collar. Turn the handle until the main scale and micrometer scale align with the required torque value. The exact adjustment method varies by manufacturer, so consult the wrench manual if the markings are unfamiliar.
For example, if the main scale is set at 50 ft-lb and the smaller handle scale adds 3 ft-lb, the wrench is set to 53 ft-lb. Once the setting is correct, lock the handle.
Step 3: Attach the Proper Socket
Choose a socket that fits the fastener snugly. Push it firmly onto the square drive of the torque wrench. Make sure the socket is not cracked, worn, or oversized.
Use extensions only when necessary. A straight extension usually does not change the torque setting, but an adapter or crowfoot wrench that changes the effective length of the tool can affect the applied torque. When in doubt, follow the adapter manufacturer’s instructions or place a crowfoot at a 90-degree angle to the wrench body when practical.
Step 4: Position Your Hand Correctly
Grip the handle where the manufacturer intended, usually near the center of the handle or at a marked grip line. Do not choke up on the shaft or hold the wrench close to the head. Torque wrenches are calibrated based on their intended handle length, so changing your hand position can change the force being applied.
Pull smoothly and steadily. Avoid jerking, bouncing, or yanking. Sudden movements can cause you to overshoot the target before the mechanism has time to signal that you reached the correct setting.
Step 5: Stop at the Click
Apply steady pressure until you hear or feel the click. Stop immediately.
Do not click the wrench repeatedly on the same stationary fastener. That familiar “click-click-click” habit is not confirmation; it is extra torque. One click is enough.
Step 6: Repeat in the Proper Pattern
For wheel lug nuts, move in a star pattern. For multi-bolt assemblies, follow the recommended sequence. Work in stages if needed, especially for components that need even pressure across a gasket, flange, wheel, or clamp.
How to Use a Beam-Style Torque Wrench
A beam-style torque wrench works differently because it does not click. Instead, you watch the pointer as the beam flexes.
- Place the correct socket on the fastener.
- Position your body so you can clearly read the scale without leaning at an angle.
- Apply slow, steady pressure on the handle.
- Watch the pointer as it moves across the scale.
- Stop immediately when the pointer reaches the target torque value.
The biggest challenge with a beam wrench is visibility. If you cannot see the scale straight on, you may misread the value. Good lighting and patient positioning matter more than trying to hurry through the job.
Common Torque Wrench Mistakes to Avoid
Using It as a Breaker Bar
Never use a torque wrench to loosen stubborn bolts. A seized fastener can require far more force than the wrench is designed to handle, potentially damaging the internal mechanism or knocking the tool out of calibration. Use a breaker bar, ratchet, or proper loosening tool instead.
Using a Cheater Bar
Do not slide a pipe over the handle to gain leverage. This is called a cheater bar because it cheats physics, the tool, and occasionally your budget. Extra leverage can damage the wrench, exceed its range, and cause serious injury if the socket slips.
Ignoring Thread Condition
Torque readings are influenced by friction. Dirty, rusty, oily, painted, or lubricated threads can change the amount of clamping force achieved at a given torque setting. Follow the manufacturer’s instructions regarding thread condition and lubrication.
Overlooking Tightening Patterns
Randomly tightening bolts in whatever order feels convenient can create uneven pressure. This can lead to warped brake rotors, distorted covers, leaking gaskets, uneven wheel seating, or damaged lightweight bicycle components.
Using the Wrong Torque Range
A large 1/2-inch drive torque wrench may be perfect for wheel lug nuts but awkward and inaccurate for a tiny bicycle stem bolt. Likewise, a delicate 1/4-inch torque driver is not the tool for a heavily loaded suspension fastener.
How to Store and Maintain a Torque Wrench
A quality torque wrench can last for years, but only if it is treated with a little respect. That means no tossing it into the bottom of a toolbox under a rusty chain, two sockets, and a receipt from 2017.
For many adjustable click-type torque wrenches, set the wrench back to its lowest recommended setting before storage. Do not force it below the minimum scale mark. Store the tool in its protective case in a clean, dry place away from extreme heat, moisture, and corrosive chemicals.
Inspect the wrench before use. Check for loose parts, damaged handles, worn square drives, cracked sockets, or signs that the tool was dropped. If a torque wrench falls onto a hard surface, consider having it checked or recalibrated before trusting it on critical work.
Calibration schedules vary by manufacturer and use level, but many professional recommendations suggest inspection or recalibration after approximately 5,000 cycles or about one year of service. Heavy-use tools may need attention sooner.
Real-World Torque Wrench Experiences and Lessons
Experience teaches torque wrench users a few lessons that are rarely obvious the first time they open the tool case. The first lesson is that the click can be surprisingly subtle. New users often expect a loud snapping sound, something closer to a mousetrap announcing its retirement. In reality, many click-type wrenches make a small physical release that can be felt more than heard. On a noisy driveway or in a garage with a radio playing, the click can be easy to miss.
That is why many experienced DIYers practice on a noncritical bolt before starting an important job. Setting the wrench to a moderate value and slowly tightening a test fastener helps users recognize the feel of the mechanism. It is a simple confidence-building move, especially for anyone using a torque wrench for the first time.
Another common lesson comes from wheel lug nuts. Many people remove wheels with an impact wrench and assume they can reinstall them the same way. An impact wrench is useful for quickly running lug nuts on and off, but it is not a substitute for final torque. Impacts can overtighten hardware, especially when air pressure, battery strength, socket condition, and trigger time vary. The safer routine is to hand-thread each lug nut, snug them evenly, then finish with a manual torque wrench in a star pattern.
Bicycle owners often learn a different version of the same lesson. A bolt that feels tiny may still control a critical component, such as a handlebar clamp, seatpost, brake caliper, or carbon-fiber part. On lightweight components, the difference between 4 Nm and 6 Nm can be significant. The temptation is to make the bolt “extra secure,” but extra secure can become cracked, crushed, or stripped far more quickly than expected.
Home mechanics also discover that torque is not magic. A torque wrench does not fix damaged threads, misaligned parts, or incorrect hardware. If a bolt feels gritty, binds before seating, turns too easily, or reaches torque without properly clamping the part, stop and inspect the situation. The tool is measuring twisting force, not verifying that every mechanical condition is healthy.
Another practical lesson is that extensions and adapters deserve attention. A normal straight extension is usually harmless for many jobs, but a crowfoot adapter or offset attachment can change the effective length of the wrench. That change can alter the actual torque delivered to the fastener. The safest approach is to use the adapter at 90 degrees when appropriate or follow the manufacturer’s torque-adjustment formula.
Finally, experienced users tend to develop one strong habit: they protect the torque wrench from being used as a general-purpose tool. It is not a hammer, pry bar, breaker bar, or emergency persuasion device. Once you treat it as a measuring instrument, it becomes more accurate, more reliable, and far less likely to surprise you during a job that was supposed to take only 20 minutes.
Final Thoughts
Learning how to use a torque wrench is one of the best upgrades a DIYer can make. The tool adds precision to work that might otherwise rely on guesswork, muscle memory, and a hopeful shrug.
Find the correct specification, use the right torque wrench range, prepare the fastener properly, tighten in the required sequence, apply smooth pressure, and stop when the tool signals that the target has been reached. With those habits in place, a torque wrench can help keep wheels secure, components intact, and small repairs from growing into large projects.
Note: Torque values, tightening patterns, thread conditions, lubrication instructions, and re-torque requirements vary by vehicle, appliance, bicycle, engine, and component. Always follow the manufacturer’s specific instructions for the item being serviced. This is independent educational content and is not affiliated with Bob Vila.