Leather gloves are like good jeans, cast-iron pans, and certain stubborn relatives: they improve with time, but only if you treat them properly. A great pair should feel snug without cutting off circulation, flexible without sagging, and shaped enough that your fingers do not look like they rented extra space. But what happens when your leather gloves are too loose, stretched out, or just a little baggy around the fingers and palm?
The good news: you can shrink leather gloves at home. The not-so-good news: leather is not a cotton T-shirt you can toss into hot water and hope for the best. Leather is skin, and skin reacts to water, heat, oils, pressure, and drying speed. Shrink it too aggressively and you may end up with stiff, cracked hand armor. Shrink it carefully and you can improve the fit while keeping the gloves soft, wearable, and attractive.
This step-by-step guide explains how to shrink leather gloves safely using controlled moisture, gentle shaping, patient drying, and proper conditioning. We will cover what to do, what to avoid, which glove types need extra caution, and how to rescue gloves that become too tight or stiff after shrinking.
Can You Really Shrink Leather Gloves?
Yes, leather gloves can shrink, but the results depend on the leather type, lining, construction, and how much the gloves have already stretched. Water relaxes leather fibers, and drying encourages those fibers to tighten. Heat can speed the process, but it also raises the risk of cracking, warping, discoloration, or making the gloves feel as pleasant as cardboard with opinions.
The safest approach is not to force dramatic shrinkage. Aim for a slight adjustment: tightening loose fingers, reducing extra palm room, or helping stretched gloves mold back to your hand. If the gloves are two sizes too big, shrinking probably will not turn them into a perfect fit. In that case, replacement or professional alteration may be smarter.
Before You Start: Know Your Leather
Not all leather gloves should be treated the same way. Smooth cowhide, goatskin, deerskin, and lambskin gloves may respond well to gentle water shaping. Work gloves and motorcycle gloves are often tougher, but they may include reinforced palms, armor, waterproof membranes, or textile panels that react differently from leather. Dress gloves are usually thinner and more delicate. Suede and nubuck require special caution because water can change the nap and leave marks.
Use extra care with these gloves
- Lambskin or fine dress gloves: They can shrink unevenly and lose softness if overheated.
- Suede or nubuck gloves: Water may flatten the surface texture or cause spotting.
- Lined winter gloves: The leather exterior may shrink while the lining does not, causing bunching.
- Motorcycle gloves: Armor, seams, touchscreen panels, and reinforced palms may distort.
- Expensive designer gloves: When in doubt, ask a leather specialist before experimenting.
If your gloves are rare, costly, sentimental, or made from exotic leather, do not make them your first leather-shrinking science project. Practice on a less valuable pair first.
Tools You Will Need
You do not need a workshop, a leather press, or a dramatic montage. Gather a few simple items:
- A clean bowl or sink
- Lukewarm water
- Clean towels
- A spray bottle for targeted shrinking
- Leather conditioner suitable for your glove type
- A soft cloth or sponge
- Optional: a hair dryer with a low or cool setting
Avoid boiling water, washing machines, dryers, radiators, ovens, direct sunlight, and high heat. Those methods may shrink leather, but they can also ruin it faster than you can say, “Maybe I should have read the care label.”
Step 1: Test a Hidden Area First
Before shrinking the entire glove, test a small, less visible area near the cuff. Lightly dampen it with lukewarm water and blot it dry. Wait until it dries to see whether the leather darkens, stiffens, spots, or loses finish. Some leathers are dyed or finished in ways that make them sensitive to moisture.
If the test area reacts badly, stop. Do not continue with a full soak. Instead, try wearing the gloves more often to reshape them naturally, or consult a professional leather cleaner.
Step 2: Clean Off Surface Dirt
Dirt, salt, sweat, and oils can settle into leather. If you wet dirty gloves, those particles may spread or stain. Wipe the gloves with a slightly damp cloth before shrinking. For stubborn grime, use a leather-safe cleaner according to the product instructions. Do not use harsh detergent, bleach, alcohol-heavy cleaners, or household sprays.
Let the gloves become only slightly damp from cleaning, not soaked. The goal is to start with clean leather so the shrinking process is more even.
Step 3: Choose the Right Shrinking Method
There are two practical home methods: the full-glove lukewarm water method and the targeted spray method. Choose based on how much adjustment you need.
Method A: Lukewarm Water for Overall Shrinking
This method works best when the entire glove feels slightly too loose. Fill a bowl or sink with lukewarm water. The water should feel comfortable to your hand, not hot. Submerge the gloves briefly, usually for a few minutes, just long enough for the leather to become evenly damp. You do not need to drown them like evidence in a detective show.
Remove the gloves and gently press out excess water. Do not twist or wring them. Twisting can stretch seams, distort fingers, and create wrinkles that dry into the leather. Roll each glove in a clean towel and press lightly to remove additional moisture.
Method B: Spray Bottle for Targeted Shrinking
If only the fingers, palm, or wrist area feels loose, use a spray bottle. Lightly mist the loose sections until damp, then massage the leather gently. This gives you more control and reduces the chance of over-shrinking the entire glove.
Targeted shrinking is especially useful for gloves that fit well in the palm but have long fingers, or gloves that have stretched around the knuckles from repeated wear.
Step 4: Wear the Gloves While They Dry Partway
Put the damp gloves on your hands while they are still flexible. This is one of the most important steps because it helps the leather mold to your actual hand shape instead of shrinking into a mysterious claw formation. Flex your fingers, make a loose fist, open your hand, and gently pinch the fingertips into place.
Wear the gloves for 10 to 20 minutes, or until they begin to feel shaped but not fully dry. If they are uncomfortable, remove them immediately. Leather should tighten gradually, not perform a hostile takeover of your fingers.
If the gloves are lined, do not keep them wet on your hands for too long. Lined gloves dry slowly, and trapped moisture can create odor or mildew problems. Shape them on your hands, then remove them and continue drying at room temperature.
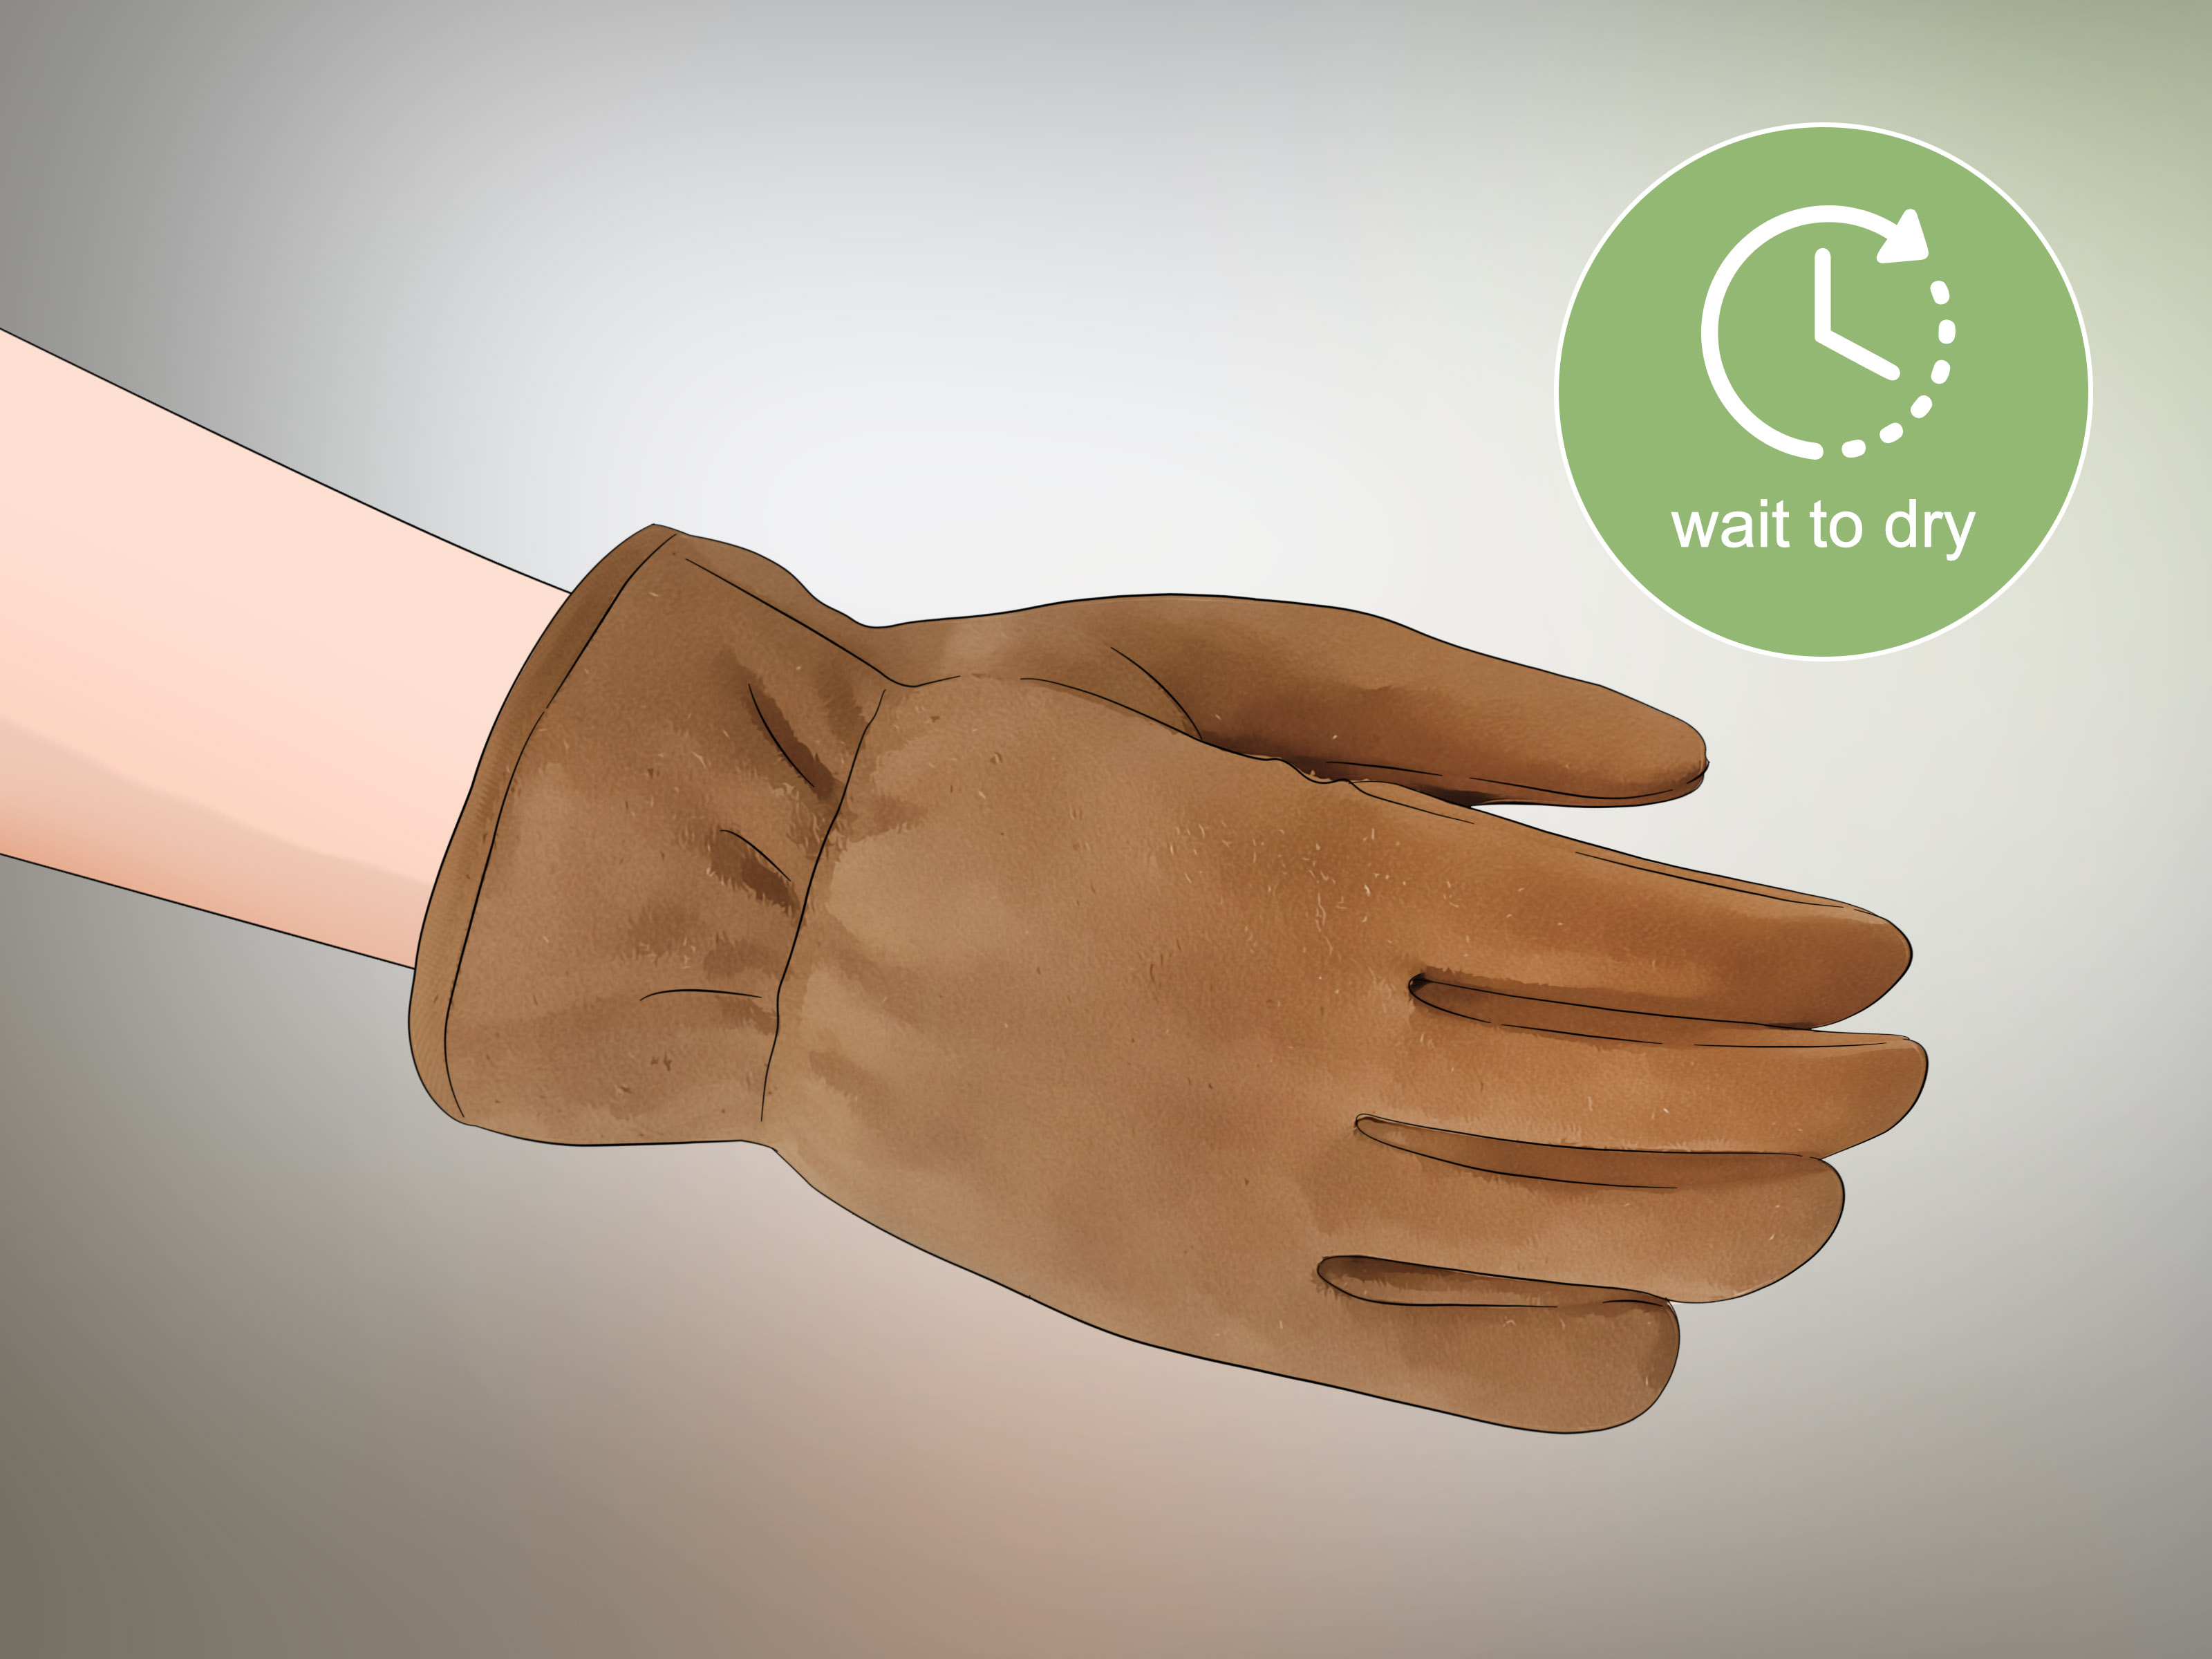
Step 5: Let the Gloves Dry Slowly at Room Temperature
Place the gloves flat on a clean towel in a cool, dry, well-ventilated area. Keep them away from heaters, fireplaces, tumble dryers, strong sunlight, and radiators. Slow drying helps preserve softness and reduces the risk of cracking.
As the gloves dry, put them back on every so often and flex your hands. This keeps the shape natural and prevents the leather from drying into stiff folds. If the fingers are shrinking unevenly, gently massage and smooth them while still slightly damp.
Step 6: Use Low Airflow Only If Needed
A hair dryer can be used only with extreme caution. Set it to cool or low warmth, keep it moving, and hold it far enough away that the leather never feels hot. Use short bursts, not a heat blast. The safest rule is simple: if the air feels too hot for your skin, it is too hot for your gloves.
Use airflow mainly for small areas that need a little more tightening, such as loose fingertips. Do not aim hot air at seams, elastic panels, touchscreen pads, or decorative stitching. Those areas can warp, loosen, or become brittle.
Step 7: Condition the Leather After Drying
Once the gloves are completely dry, apply a small amount of leather conditioner with a soft cloth. Use less than you think you need. Leather conditioner should restore flexibility, not turn your gloves into buttered toast.
Focus on high-flex areas: knuckles, fingers, palms, and seams. Let the conditioner absorb, then buff off any excess with a clean cloth. Some conditioners darken leather, so always test first. Avoid heavy oils on fine dress gloves unless the manufacturer recommends them.
How Much Can Leather Gloves Shrink?
Most leather gloves will shrink only modestly at home. Expect a small improvement, not a magical size conversion. You may be able to tighten gloves by a fraction of a size, reduce looseness around the palm, or improve finger fit. If gloves are dramatically oversized, shrinking may make them shorter or stiffer without making them truly comfortable.
The safest strategy is to shrink in stages. Damp, shape, dry, check the fit, then repeat only if necessary. Multiple gentle rounds are better than one aggressive attempt. Leather remembers abuse, and it holds grudges beautifully.
Common Mistakes to Avoid
Using hot water
Hot water can shrink leather too quickly, leading to stiffness, color loss, or uneven texture. Lukewarm water is safer and easier to control.
Putting gloves in the dryer
A dryer combines heat, tumbling, and chaos. It can shrink leather unevenly, damage linings, weaken seams, and create permanent wrinkles.
Skipping conditioner
Water can pull oils from leather. Conditioning after drying helps restore softness and reduces the chance of cracking.
Wringing the gloves
Twisting wet leather can stretch seams and distort finger shape. Press water out gently with towels instead.
Over-shrinking the fingers
Short fingers are difficult to fix. If the fingertips are only slightly loose, use targeted misting rather than soaking the whole glove.
How to Fix Gloves That Shrunk Too Much
If your leather gloves become too tight, lightly dampen them again and wear them for short periods while flexing your hands. Apply a small amount of leather conditioner after they dry. You can also insert your hand, gently stretch the palm and fingers, and repeat over several sessions.
Do not pull hard on the seams. Stretch slowly and evenly. If the gloves are painfully tight, stop wearing them until they relax. Leather can stretch with use, but forcing it may split stitches or tear delicate panels.
Special Tips for Different Types of Leather Gloves
Dress leather gloves
Use the spray method instead of soaking. Fine leather can react quickly to moisture. Shape by wearing briefly, then dry flat away from heat.
Work gloves
Work gloves usually tolerate more moisture, but they may dry stiff. Conditioner is especially important after shrinking. Expect them to feel firm at first and soften with use.
Motorcycle gloves
Be careful with armor, perforation, hard knuckle protection, and touchscreen panels. Do not use high heat. If the gloves contain multiple materials, shrink only the leather areas lightly.
Winter gloves
Lined gloves dry slowly. Avoid full soaking unless absolutely necessary. Use light misting and allow plenty of drying time to prevent odor or mildew.
Suede and nubuck gloves
Avoid soaking. If you must adjust the fit, use very light misting and a suede brush after drying to restore the nap. When possible, ask a professional cleaner for help.
Best Fit Check: How Leather Gloves Should Feel
After shrinking, your gloves should feel snug but flexible. Your fingertips should reach close to the end without pressing painfully. The palm should not bunch when you grip. The wrist should sit securely without cutting into your skin.
Try a practical movement test. Pick up keys, hold a steering wheel, open a door, or grip a handlebar. If the gloves restrict movement, they may be too tight. If the leather creases deeply across the palm or twists around your fingers, they may still be too loose or unevenly shaped.
My Real-World Experience With Shrinking Leather Gloves
The first thing I learned about shrinking leather gloves is that patience is not optional. Years ago, I had a pair of smooth leather driving gloves that looked great but fit like they were expecting my hands to grow into a second career. The fingers had extra room, the palm wrinkled when I gripped the steering wheel, and the wrist opening felt too relaxed. I thought about using hot water, but thankfully common sense arrived before disaster did.
I used lukewarm water, dampened the gloves evenly, pressed them in a towel, and wore them while flexing my hands. The difference was not dramatic at first. That was actually a good sign. Leather responds best when you persuade it, not when you bully it. After the first drying round, the gloves felt slightly closer through the palm but still loose at the fingertips. Instead of soaking them again, I used a spray bottle only on the fingers. That gave me more control and prevented the palm from becoming too tight.
The second lesson: drying is where most people get impatient. Damp leather can feel scary because it temporarily loses its familiar texture. The temptation is to grab a hair dryer and speed things up. I tried low airflow for a few seconds on one fingertip and immediately realized how quickly warmth can change the feel of leather. After that, I let the gloves dry naturally and put them on several times during the process. That kept the shape comfortable and prevented the fingers from drying flat.
The third lesson: conditioner is not decoration. After shrinking, the gloves looked fine but felt slightly dry around the knuckles. A tiny amount of conditioner brought back flexibility. The trick is to apply it sparingly. Too much conditioner can make gloves greasy, dark, or slippery, especially on the palm. For gloves used while driving, riding, working, or holding tools, grip matters. Nobody wants elegant gloves that make a coffee cup launch across the room.
I have also seen the opposite mistake with work gloves. A friend tried to shrink heavy leather work gloves by leaving them near a heater. They did shrink, technically, but they came back stiff, curled, and about as comfortable as shaking hands with a tree root. We softened them somewhat with conditioner and repeated wear, but they never fully recovered. That experience made one rule permanent: direct heat is a gamble, and the house usually wins.
The most successful shrinking jobs have been small corrections: tightening stretched palms, improving finger shape, or reducing looseness around the wrist. The least successful attempts were gloves that were simply the wrong size from the start. Shrinking cannot rebuild the pattern of a glove. It can fine-tune fit, but it cannot transform an oversized pair into custom tailoring.
My best advice is to treat leather gloves like a living material. Go slowly. Test first. Use moisture carefully. Shape with your hands. Dry naturally. Condition after drying. If the gloves improve by even half a size and still feel soft, that is a win. A snug, flexible glove beats a dramatically shrunken one every time.
Conclusion
Shrinking leather gloves is possible, but the safest method is controlled and gradual. Use lukewarm water or light misting, shape the gloves on your hands, let them dry naturally, and condition the leather afterward. Avoid hot water, dryers, radiators, and heavy heat because they can turn a useful pair of gloves into stiff little hand prisons.
For minor looseness, the spray method gives the best control. For overall looseness, a short lukewarm-water treatment can help. Always test first, shrink in stages, and respect the type of leather you are working with. Done carefully, you can bring stretched leather gloves closer to a comfortable, custom-feeling fit without sacrificing softness, appearance, or durability.