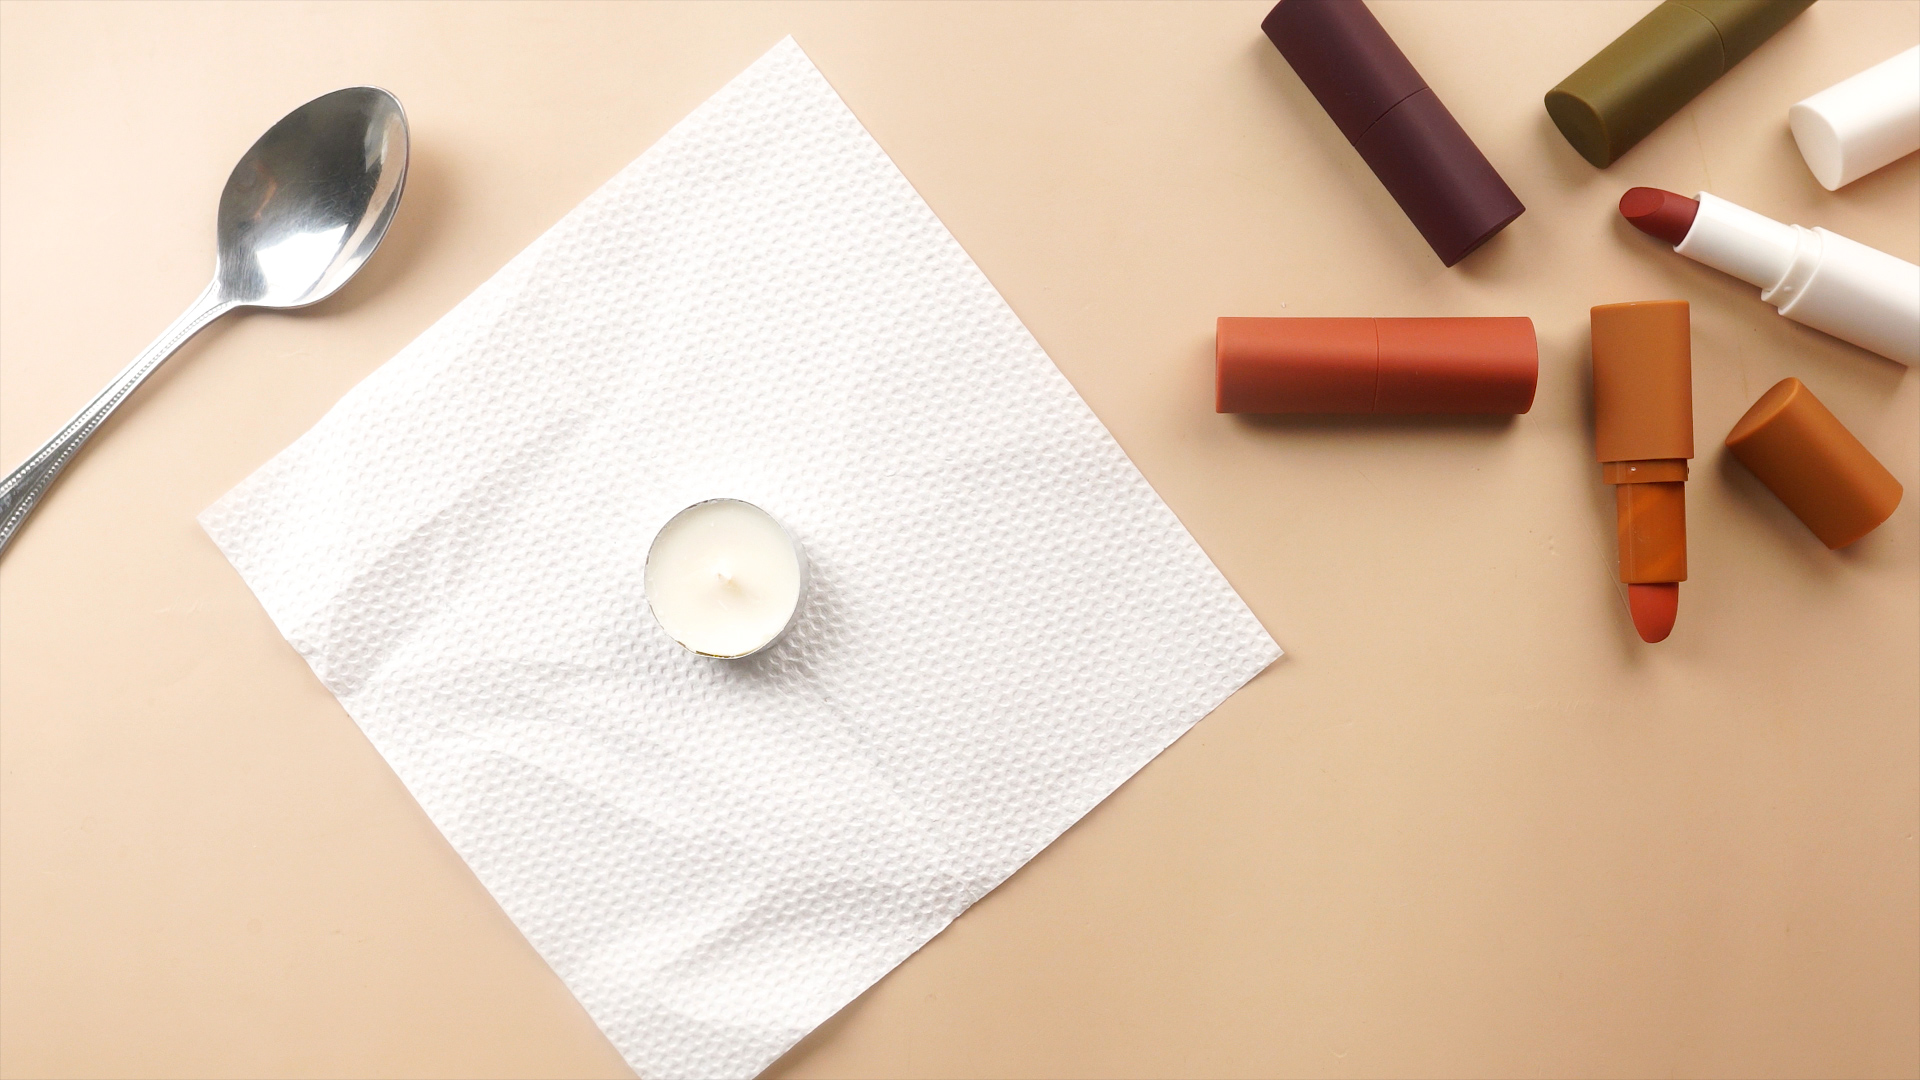
There are few tiny heartbreaks more dramatic than twisting up your favorite lipstick and watching it
wobble like a toddler on roller skatesthen snap. One second you’re serving “put-together,” the next
you’re holding a lipstick head in one hand and a lipstick body in the other, like a very glamorous
crime scene.
The good news: in most cases, you can repair a broken lipstick at home with a clean setup, gentle
heat, and a little patience. The better news: the fix is easier than learning winged liner. The best
news: you’ll save money, reduce waste, and keep your signature shade in rotation.
Below is an in-depth, practical, and hygienic 12-step guide to fix broken lipstickplus troubleshooting,
a “when to toss it” safety reality check, and real-world experiences that’ll make you feel less alone
in the Great Lipstick Snap of 2026 (or any year, honestly).
Quick reality check: Should you repair itor retire it?
Before we do lipstick surgery, do a quick safety scan. Repair is great when the product is still in good
shapemeaning it looks normal, smells normal, and hasn’t been contaminated.
Repair it if:
- The lipstick broke cleanly (a snap, not a gooey collapse).
- It still smells like itself (not “old crayons,” sour oil, or anything funky).
- You’re the only person using it (no sharingever).
- The texture hasn’t separated or turned grainy.
Toss it if:
- There’s a change in smell, color, or texture (that’s your cue to let it go).
- It’s been used while you were sick or it’s been shared (lip products are not a group project).
- You see mold (yes, cosmetics can do thatgross and not fixable).
- The tube is cracked, dirty inside, or won’t close properly.
If you’re not sure how old your lipstick is, check the packaging for the “PAO” symbol (it looks like a tiny
open jar with a number like 12M or 24M). If it’s well beyond that and acting suspicious, replacement is
often the safer move.
What you’ll need
You don’t need a lab coat (though you can absolutely wear one for the vibes). You do need a clean setup.
Here’s a practical kit list, with safer heat options that don’t involve open flames.
Tools and supplies
- Paper towels or clean tissues
- Cotton swabs (for cleanup)
- 70% isopropyl alcohol (for sanitizing tools and the lipstick surface)
- A small metal spoon or butter knife (metal cleans easier than plastic)
- A toothpick or small spatula (for smoothing seams)
- A small plate or piece of clean foil (as your work surface)
- Heat source (safer options): a mug of hot water, a hair dryer on low, or a spoon warmed in hot water
- Optional: lip brush (great if you decide to “depot” the lipstick into a small container)
Set yourself up for success
- Work on a stable surface with good lighting.
- Keep alcohol away from heat (it’s flammable).
- Wash hands first. Your lipstick doesn’t want your snack fingerprints.
The 12-step broken lipstick repair
Step 1: Identify the break type
Your repair strategy depends on where the lipstick snapped:
- Clean break in the middle: easiest fixreattach the top to the base.
- Break at the base (near the tube): still fixable, but needs extra care and a sturdier “weld.”
- Crumbled or mushy: repair might fail; consider depotting into a small pot for brush application.
The rest of these steps assume you have a broken “top” piece and a remaining “base” piece still in the tube.
Step 2: Chill the lipstick (yes, really)
Put the lipstick (cap on) in the refrigerator for about 10–15 minutes. Chilling firms up the waxes and oils
so the broken piece is easier to handle without smearing, bending, or turning your hands into a lipstick
swatch wall.
If it snapped because it was already soft (hot car, steamy bathroom, living in the sun like a houseplant),
this step is non-negotiable.
Step 3: Sanitize hands, tools, and the bullet
This step is the difference between “smart repair” and “bacteria arts and crafts.” Wash your hands, then
wipe your tools with isopropyl alcohol. Lightly mist or wipe the exposed lipstick surfaces and let them air
dry for a minute.
Keep the alcohol away from heat sources and let it fully evaporate before you warm anything.
Step 4: Protect the tube and clear debris
Twist the base up just enough to workdon’t crank it to full height like you’re auditioning for a drama.
Use a tissue or cotton swab to remove any loose crumbs around the break. If there are little jagged bits,
gently smooth them away. You want clean contact, not a bumpy handshake.
Pro move: wrap a tissue around the tube opening to catch smudges, so you don’t glue the cap shut later.
Step 5: Flatten both broken surfaces
A clean, flat join is stronger. Using a toothpick, a small spatula, or the edge of a clean metal tool,
gently level the broken surface on:
- The base (still in the tube)
- The broken top piece
You’re not shaving it down like a carpentry projectjust evening out ridges so the pieces meet evenly.
Step 6: Warm the base surface (gently)
You need a tiny bit of melting to act like “lipstick glue.” Skip open flames and choose one of these safer
methods:
- Warm spoon method: dip a metal spoon in hot water for 20–30 seconds, dry it, then lightly press it against the base surface for a few seconds.
- Hair dryer method: use low heat, hold it several inches away, and warm the base for 5–10 seconds.
The goal is a slightly tacky surfacenot a puddle. If it looks glossy and soft, you’re in the sweet spot.
Step 7: Warm the broken piece (gently)
Repeat the same warming method on the broken piece’s flat sidejust enough to soften it. If you melt both
sides slightly, they fuse better and the seam is less likely to snap again the first time you apply a little
pressure.
Tip: hold the broken piece with a tissue so your fingers don’t warm and smear it.
Step 8: Reattach and align
This is the “satisfying click” moment. Carefully place the broken piece on top of the base and align it so
the lipstick is straight (not leaning like it just heard a juicy secret).
- Press down gentlyfirm enough to bond, not so hard that it squishes out the sides.
- Hold it in place for 10–20 seconds.
- Rotate the tube slightly to check alignment from all sides.
If it slides off, don’t panic. Chill for 5 minutes and try again with less heat and a steadier hand.
Step 9: Seal the seam
To reinforce the join, lightly warm the outer seam area and smooth it with a clean tool (or a tissue-wrapped
fingertip). Think of it as spackling, but make it beauty.
Don’t overwork it. Too much heat makes the bullet soft and more likely to deform. A small, neat seam beats a
melted lipstick blob every time.
Step 10: Reshape the tip
If the tip got blunt or weirdly angled during the break, you can reshape it now:
- Use the warm spoon (heated in hot water, then dried) to gently press and smooth the surface.
- To recreate a classic slant, softly shape the top at a 45-degree-ish angle.
You’re not carving a statue. Aim for “applies comfortably,” not “museum-worthy.”
Step 11: Set it in the fridge
Cap it carefully (wipe the rim first if needed), then place the lipstick upright in the refrigerator for at
least 30 minutes. If the break was at the base, give it longer1–2 hours helps it firm up fully.
Avoid the freezer unless you’re in a rush and you can keep it brief. Extreme cold can sometimes make
lipstick more brittle, especially if you immediately apply pressure right after.
Step 12: Clean, sanitize again, and prevent a repeat
Once the lipstick is fully set:
- Wipe any smudges on the tube and cap with a tissue.
- Lightly mist the lipstick surface with isopropyl alcohol and let it dry.
- Twist it down before recapping (don’t let the cap “guillotine” the tip).
How to keep your lipstick from breaking again
- Be gentle on application: don’t press like you’re coloring in a brick wall.
- Warm it up naturally: if it’s very cold, let it sit at room temp a few minutes before use.
- Avoid heat extremes: hot cars and sunny windowsills are basically lipstick sabotage.
- Store upright if possible: it reduces side pressure inside a crowded makeup bag.
Alternative: When repair won’t hold, “depot” the lipstick
Sometimes lipstick doesn’t snap cleanlyit crumbles, collapses, or breaks so close to the base that every fix
attempt turns into a wobbly mess. That’s when depotting saves the day: you move the product into a small,
clean container and apply it with a lip brush.
Depotting option A: Pop and press (no melting)
- Chill the lipstick for 10–15 minutes.
- Use a clean tool to remove the remaining product and place it into a small container.
- Press it down firmly to remove air pockets and smooth the surface.
- Use a lip brush for application for a clean, controlled finish.
Depotting option B: Gentle melt for a smoother pot
- Place the lipstick pieces on a clean metal spoon or heat-safe surface.
- Warm gradually with a hair dryer on low until the product softens enough to settle smoothly.
- Transfer into a small container and tap it to release air bubbles.
- Cool, cap, and label the shade (future you will appreciate the organization).
Depotting is also a great “end-of-tube” strategy when your lipstick is down to a tiny nub that refuses to
cooperate in bullet form.
Troubleshooting: Common repair problems (and quick fixes)
Problem: It broke again the first time you used it
- Likely cause: not enough bonding (surfaces weren’t warmed evenly) or you applied too much pressure.
- Fix: redo steps 5–11 and give it more fridge time. Consider depotting if it’s a repeat offender.
Problem: The bullet looks lumpy or has a visible “ring”
- Likely cause: uneven seam smoothing.
- Fix: lightly warm the outer edge with the warm spoon method and smooth with a clean tool.
Problem: The lipstick feels softer than before
- Likely cause: too much heat during the repair.
- Fix: let it rest upright in a cool area for a day. Store away from heat and apply gently.
Problem: The cap won’t go on (or it smears the tip)
- Likely cause: lipstick wasn’t twisted down enough or the tip is too tall after reshaping.
- Fix: twist down further, reshape the tip slightly, and clean the rim before recapping.
FAQ
Can I fix broken lipstick without heat?
If the break is clean and snug, you can sometimes press the pieces together after chillingthen apply with a
very light hand. But the bond is usually weaker without gentle warming. If you want zero heat, depotting into a
pot is the most reliable option.
Is rubbing alcohol safe on lipstick?
Lightly misting or wiping the surface with isopropyl alcohol is a common sanitation approach in beauty routines.
Use a small amount, let it fully air dry, and keep it away from any heat source because it’s flammable.
What if my lipstick broke because it melted in the car?
Heat-related breaks are common. Chill it first, then either repair it carefully or depot it. If it repeatedly
turns mushy in warm conditions, store it somewhere cooler and avoid leaving it in bags or cars.
Will the repaired lipstick apply the same?
Usually, yes. The texture may feel slightly different right at the seam for the first few swipes. If you want a
perfectly smooth application every time, depotting (brush application) is the “pro finish” move.
Conclusion: Your lipstick deserves a second chance
Repairing a broken lipstick is part practical life skill, part tiny self-care ritual. With a clean setup, gentle
warming, careful alignment, and proper chilling time, you can usually bring a snapped lipstick back to life in
under an hour (most of which is just letting it set).
And if the bullet refuses to behave? Depotting turns the “broken” lipstick into a cream lip pot that can look
even more polishedespecially with a brush.
Consider this your permission slip to save the shade you love, reduce waste, and avoid the tragedy of replacing
a discontinued color. (We all have that one lipstick that’s basically family.)
Real-world experiences: what people learn after fixing broken lipstick
If you’ve ever snapped a lipstick and felt personally attacked by gravity, you’re in very crowded company.
Broken lipstick stories are surprisingly universallike losing a sock in the dryer, but more expensive and
somehow more emotional.
One common experience: the “panic twist.” Someone drops their makeup bag, hears a soft clunk, then immediately
opens their lipstick like it’s a medical emergency. The bullet is cracked, and in a moment of denial, they twist
it up higher to “see the damage,” whichplot twistmakes it worse. The fix? People who’ve been through it tend to
learn a simple rule: keep the bullet low while you work. Lipstick is sturdier when it’s supported by the tube.
Another classic: the summer meltdown. A lipstick rides around in a car cupholder (also known as the
“portable oven of regret”) and returns home softer than a stick of butter. In that situation, many people try to
repair it immediately, but the bullet is so warm it smears and deforms. The lesson that comes up again and again
is that chilling first isn’t optional. Ten minutes in the fridge can turn a messy rescue attempt into a neat,
successful repair.
Then there’s the “I fixed it… and it snapped again” experience. This usually happens when the broken surfaces
weren’t leveled or warmed evenly. People often discover that lipstick doesn’t need a lot of heatit needs a
little bit of softness on both sides so the pieces actually fuse. Too much heat creates a weak, slumpy seam; too
little heat creates a brittle join that breaks on first contact. The sweet spot is that barely glossy, slightly
tacky surface where the lipstick behaves like it wants to cooperate.
Many makeup lovers also discover depotting for the first time after a break. At first it can feel like defeat:
“I wanted a lipstick, not a tiny pot!” But the experience often flips into a win. A depotted lipstick applied
with a brush can look cleaner at the edges, wear more evenly, and feel surprisingly professionalespecially for
bold colors or darker shades that need precision. People who are prone to lipstick breaks (or have softer creamy
formulas) sometimes end up preferring the pot version.
There’s also the hygiene awakening. A broken lipstick moment can lead to a “Wait… should I be sanitizing this?”
realization. Folks who start spraying tools, cleaning the tube rim, and keeping products capped tightly often
notice their makeup lasts better and behaves more consistently. It’s less about being obsessive and more about
treating cosmetics like what they are: products that touch your skin and deserve basic cleanliness.
Finally, people learn prevention the hard way: lipsticks don’t love extremes. Over-twisting, aggressive pressure
on application, leaving products in heat, and tossing them loose in a crowded bag all increase the odds of a snap.
The experience of fixing one broken lipstick tends to create a new habit: twist up only what you need, cap it
carefully, and store it like it’s fragilebecause, well, it kind of is.
In short, broken lipstick repairs teach a funny little life lesson: most messes are fixable, patience is a
superpower, and sometimes your favorite shade just needs a bit of gentle supportdon’t we all?