A beach ball party arch is the kind of decoration that instantly tells your guests, “Yes, this party plans to have fun, and no, we are not pretending to be subtle about it.” It is bright, playful, summer-ready, and surprisingly doable even if your crafting resume currently includes only one crooked birthday banner and a hot glue incident you do not wish to revisit.
The easiest way to make this look work is to think of it as a balloon arch with beach ball flair. In other words, your beach balls are the stars, but the latex balloons do most of the heavy lifting. That gives you the airy, oversized, splashy look you want without turning the project into an inflatable engineering problem.
This guide walks you through 11 clear steps, plus practical setup advice, styling ideas, and a longer experience section at the end so your final arch looks party-professional instead of “my decorations lost a fight with the wind.”
What You’ll Need Before You Start
- Beach balls in 2 to 3 sizes
- Latex balloons in coordinating colors and mixed sizes
- Balloon strip, fishing line, or strong twine
- Balloon glue dots
- Balloon hand pump or electric air pump
- Rubber bands or string for attaching larger accent pieces
- Command-style hooks, wall-safe hanging supplies, or a freestanding arch frame
- Optional extras: ribbon, faux tropical leaves, tissue fans, tinsel, paper suns, or pool-party signs
The keyword here is air-filled. A proper beach ball arch is not a helium project unless you want your budget floating away while your design drifts into a tree.
Step 1: Pick the Right Spot
Before you inflate a single thing, decide where your arch will live. This sounds boring, but it is the step that saves you from building a gorgeous display that is two feet too wide for the patio gate or too tall for the living room ceiling fan. Ceiling fans and balloons are not soulmates.
Good placement options include:
- Over a dessert table
- Around a pool-party backdrop
- At the front entry for a welcome moment
- Behind a gift table or photo booth
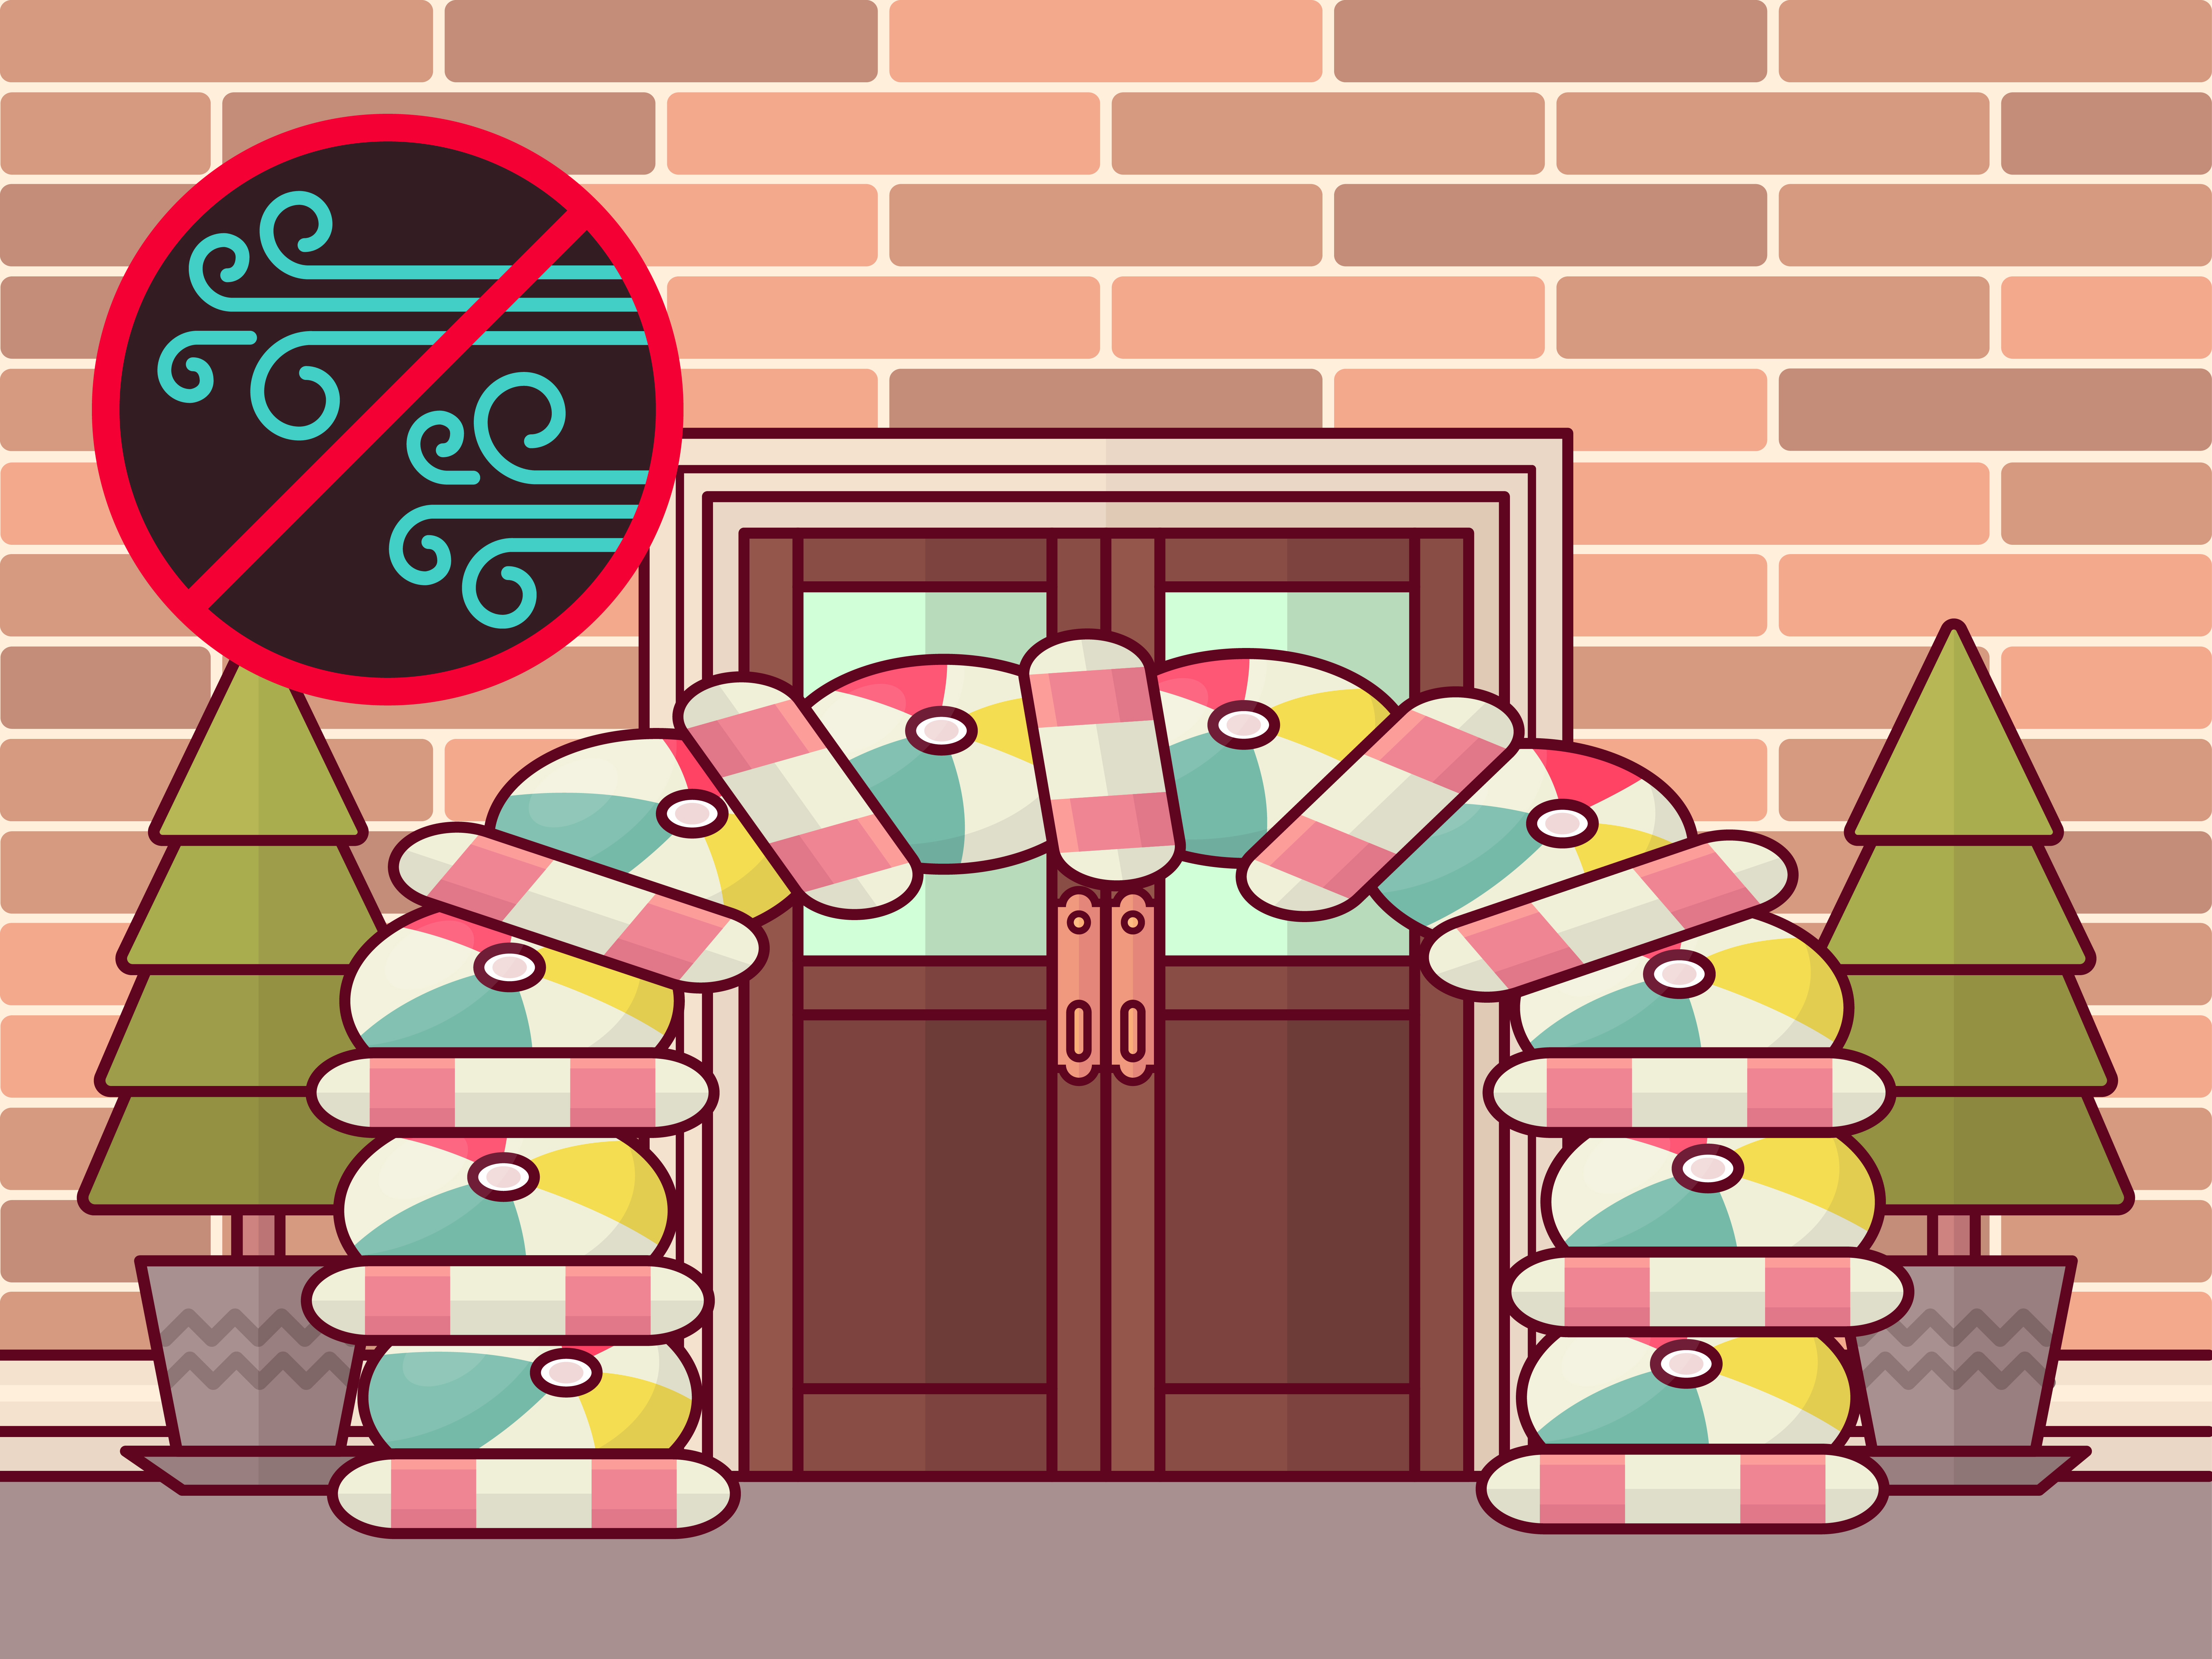
Measure the width and height of the space. For a dramatic but manageable setup, aim for an arch that frames the area rather than swallowing it whole. If your party is outdoors, choose a spot with some shelter from strong wind and direct afternoon heat. Balloons are festive. Balloons baking in full sun are less festive.
Step 2: Choose Your Color Story
A beach ball party arch works best when the colors look intentional, not like the clearance aisle exploded. Classic beach ball shades are red, yellow, blue, green, and white, but you can absolutely refine the palette for your event.
Easy color ideas
- Classic beach theme: red, blue, yellow, white
- Tropical pool party: aqua, coral, lime, sunny yellow
- Retro summer: orange, hot pink, turquoise, cream
- Kid birthday vibe: rainbow with oversized beach balls
Try using beach balls that echo your balloon colors instead of introducing ten extra shades. Your arch should look lively, not visually caffeinated.
Step 3: Gather More Balloons Than You Think You Need
This is not me encouraging chaos. This is me encouraging wisdom.
When people make a DIY balloon arch, they often underestimate how much volume they need. Beach balls create big visual moments, but they also leave gaps if you do not surround them with smaller balloons. A full arch usually looks better when it mixes large, medium, and small balloons so the shape feels organic and lush.
A simple formula is:
- Large balloons for structure and fullness
- Medium balloons for smooth transitions
- Small balloons for filling awkward empty pockets
- Beach balls for focal points
If you are buying a kit, add an extra pack of coordinating balloons anyway. Running out at the end is the party-decor equivalent of discovering there is no more tape halfway through wrapping presents.
Step 4: Inflate the Beach Balls First
Inflate your beach balls before your latex balloons. Why? Because the beach balls are the least flexible part of the design. Once you know how many you have, how large they look, and where their valves sit, it becomes much easier to plan the layout.
Use a mix of sizes if possible. A few larger beach balls create strong anchor points, while smaller ones make the design feel layered and playful. Do not overinflate them until they are drum-tight. You want them full and round, but not stressed. No one wants a dramatic pop during setup unless the party theme is “minor heart attacks.”
Set them aside in the order you think you might use them: one for each side, one near the top curve, and one or two around the base. This gives your arch a balanced, intentional look.
Step 5: Inflate the Latex Balloons in Mixed Sizes
Now inflate your latex balloons. Variety matters here. If every balloon is the same size, the arch can look flat and store-bought in the least charming way. A mix of sizes creates that modern garland effect people love.
Helpful size strategy
- Large balloons for the backbone
- Medium balloons for body and softness
- Small balloons for depth and gap-filling
Keep the inflation fairly consistent within each size group. You do not need perfection, but wild size swings can make the arch feel messy. If you are working with a friend, assign one person to inflating and one person to tying. This reduces confusion and lowers the odds of somebody sitting on a beach ball by accident.
Step 6: Build the Main Garland Base
This is the skeleton of your beach ball party arch. Use a balloon strip or a line of twine or fishing line, then begin attaching your larger latex balloons first. If you are using a balloon strip, pull tied balloon knots through the holes. If you are using line, tie balloons in clusters and secure them tightly.
Do not try to make the whole thing perfectly symmetrical from the start. A slightly organic arrangement looks fuller and more stylish. Work in sections:
- Add large balloons first
- Distribute colors evenly
- Leave planned openings where beach balls will sit
As your base grows, lift it every so often to check the curve and density. It is easier to correct shape issues halfway through than at the end when you are standing on a chair whispering threats to an arch made of rubber.
Step 7: Fill Gaps with Medium and Small Balloons
Once the structure is in place, the magic happens in the fill work. Add medium and small balloons with glue dots, fishing line, or tied mini-clusters. This is what takes the arch from “good start” to “where did you order that?”
Focus on empty spaces, especially around the curve and near the base. Rotate colors so one area does not end up too heavy in blue or too shy on yellow. This is also the stage where you can make the arch look more dimensional by clustering balloons forward and backward rather than keeping everything on one flat plane.
Think fluffy, not frantic. Add enough to create fullness, but stop before the arch loses its shape.
Step 8: Attach the Beach Balls as Statement Accents
Now for the part that makes the whole design feel unmistakably beachy. Nestle the beach balls into the arch in the spaces you intentionally left open. Use rubber bands, fishing line, or sturdy ties around their valve area or around the arch structure so they stay in place.
Do not line all the beach balls up like soldiers. Stagger them. One near the bottom left, one near the upper curve, another toward the right side. That scattered placement looks more playful and keeps the eye moving around the design.
Beach ball placement tips
- Use odd numbers for a more natural look
- Place the largest ball near a high-impact area
- Balance visual weight on both sides
- Leave some balloons visible around each ball so it looks integrated, not glued on as an afterthought
If a beach ball keeps slipping, secure it from two points instead of one. Inflatable decor is adorable, but it is also a tiny rebel.
Step 9: Hang or Mount the Arch Securely
At this point, your arch exists. Congratulations. Now it needs to remain existing.
For indoor walls, removable hooks or wall-safe hardware may be enough. For outdoor parties or larger displays, a freestanding metal arch frame is often easier and more reliable. You can also attach the garland to a backdrop stand, fence, pergola, or sturdy railing if the location makes sense.
Secure the top first, then adjust the sides. Stand back and check the curve before you tighten everything. If you want an asymmetrical party arch, let one side cascade lower than the other. If you want a classic arch shape, keep both sides visually balanced.
Always test the stability before guests arrive. Kids, wind, and enthusiastic photo sessions all have a mysterious talent for discovering weak spots.
Step 10: Add Finishing Touches
Your arch is already doing the job, but details are what turn it into the centerpiece. Add a few finishing touches that support the beach theme without burying it.
Easy add-ons that work
- Faux palm leaves or monstera leaves
- Ribbon tails in bright summer shades
- Tinsel for sparkle
- Paper suns, flip-flops, or tropical flowers
- A party sign with the guest of honor’s name
Use restraint. A beach ball arch should feel cheerful and punchy, not like a craft store challenged another craft store to a duel.
Step 11: Style the Area Around It
The arch will look even better if the surrounding space supports it. Add a simple table runner, striped towels, colorful cups, or a snack station nearby. A few smart choices around the base can make the whole setup feel designed instead of random.
For example, if your arch is framing a dessert table, carry the same colors into cake toppers, plates, and drink dispensers. If it is a photo-booth moment, place a basket of sunglasses, leis, or inflatable props nearby. Suddenly you are not just hosting a party. You are producing an event.
Take photos as soon as the setup is done and before guests begin “helping.” Decorations have a short window where they are pristine, dignified, and not wearing frosting.
Common Mistakes to Avoid
- Using only one balloon size: The arch ends up flat and less polished.
- Overcrowding with beach balls: They are accents, not the entire structure.
- Ignoring heat or wind: Outdoor conditions can ruin a setup fast.
- Building too early: Same-day setup or near-same-day setup usually looks fresher.
- Skipping the test hang: Always check support before party time.
Why This Style Works So Well
A beach ball party arch is successful because it combines two things people love: oversized playful shapes and strong color contrast. It instantly reads as summer, celebration, and photo-op. It also works for birthdays, pool parties, end-of-school bashes, baby showers, beach-themed brunches, and backyard cookouts.
Best of all, it does not require floral-design skills or a professional event crew. Once you understand the basic balloon-garland method, the beach ball version is just a themed upgrade with more personality and, frankly, better vibes.
Real-Life Experience and Extra Tips From Making One Yourself
The first time you make a beach ball party arch, you learn very quickly that the glamorous photos online leave out several important truths. First, inflating balloons takes longer than you think. Second, beach balls have a way of rolling exactly where you do not want them. Third, if you do this with a friend, one of you will become “the design person” and the other will become “the person chasing escaped balloons across the yard.” This is normal. This is the process.
One of the biggest lessons from experience is that the arch almost always looks underwhelming halfway through. That is not failure. That is simply the awkward middle stage. You will have a string of balloons that looks more like a colorful caterpillar than a party masterpiece. Keep going. Once the smaller balloons go in and the beach balls are attached, the whole thing transforms. This is why patience matters. Balloon decor rewards commitment.
Another helpful lesson is to stage your supplies in zones. Keep inflated beach balls in one corner, grouped balloons in another, and your hanging tools somewhere you can actually reach. Otherwise you spend half your setup time asking, “Where did I put the glue dots?” while holding six balloons under one arm like a very stressed octopus.
If you are decorating outdoors, build as much of the garland as possible indoors or in the shade first. Direct sun and hot surfaces can make balloons temperamental. Even a beautiful setup can lose its fresh, round look faster than expected in rough conditions. Shade is your friend. So is a calm weather backup plan.
It also helps to remember that perfection is not the goal. A beach ball party arch should look abundant, happy, and slightly whimsical. Tiny imperfections actually make it feel more custom. If one section is puffier than another, or one beach ball sits a little higher, chances are guests will read it as lively rather than flawed. The only people who notice every detail are the host and that one relative who comments on everything. Decorate for the first group, not the second.
Finally, take down the pressure. This project is supposed to be fun. Put on music. Recruit help. Give yourself extra time. Once the arch is up and people start taking photos under it, you will realize that no one is inspecting knot placement or counting balloon sizes. They are reacting to the energy of the display. And that is the real win: a beach ball party arch does not just decorate the room, it sets the tone. It says the party is cheerful, a little extra, and ready for summer-level fun. Honestly, that is exactly what good party decor should do.
Conclusion
If you want a decoration that is bright, memorable, and much easier to make than it looks, a beach ball party arch is a fantastic choice. Start with a strong balloon-garland base, use beach balls as playful accents, secure everything well, and let color do the heavy lifting. Whether you build a full entry arch or a one-sided photo backdrop, the result feels festive, fresh, and tailor-made for warm-weather celebrations.
In short: inflate smart, style boldly, and do not underestimate the power of a giant beach ball to make adults grin like they are ten years old again.