Photoshop is already packed with enough tools to keep a creative person happily clicking for yearg tool, a specialized color-grading panel, an automated retouching assistant, or a filter that turns ordinary lettering into something resembling polished chrome from a 1980s album cover.
That is where Photoshop plugins come in. These add-ons expand the program without requiring you to replace your favorite image editor or learn an entirely new workflow. The only mildly confusing part is installation, because modern UXP plugins, classic filters, extension panels, and standalone applications do not always use the same method.
Fortunately, most users only need to understand two approaches: installing through Adobe Creative Cloud or installing directly from a downloaded package. This guide explains both methods, shows you where to find the plugin afterward, and covers the most common reasons a Photoshop plugin refuses to appear.
What Is a Photoshop Plugin?
A Photoshop plugin is an additional software component that gives Adobe Photoshop new features or connects it to another service. Depending on the product, a plugin may add filters, editing panels, file-format support, automation commands, export tools, artificial intelligence features, or integrations with other creative platforms.
Not every add-on behaves the same way. A modern UXP plugin commonly appears under the Plugins menu. A traditional image-processing plugin may appear under Filter. Other extensions can appear under Window, File > Automate, or a vendor-specific menu. In other words, an installation can succeed perfectly while the plugin plays hide-and-seek in a menu you did not expect.
Common Photoshop plugin formats
- Marketplace plugins: Installed and managed through the Creative Cloud desktop application.
- CCX packages: Modern UXP plugin files that can usually be opened directly with Creative Cloud.
- Vendor installers: Windows or macOS installation programs supplied by companies such as photography and design-software developers.
- Legacy plugin files: Older filter or file-format modules that may need to be placed in an Adobe plugin directory.
Adobe has used its Plugin Marketplace to manage UXP plugins and classic extension panels since Photoshop 22.0, while directly distributed UXP plugins are commonly packaged as CCX files.
Before You Install a Photoshop Plugin
Five minutes of preparation can prevent an hour of staring suspiciously at the Filter menu. Complete these checks before installing anything.
Confirm Photoshop compatibility
Check the developer’s compatibility information for your exact version of Photoshop and operating system. “Compatible with Photoshop” is not always specific enough. A plugin built for a much older 32-bit release may not work in a current 64-bit version, and Adobe states that current Photoshop releases do not support 32-bit plugins. eck whether the plugin supports your processor. This is particularly important on Macs with Apple silicon and on Windows computers using ARM processors. A modern UXP plugin may run natively, while an older extension may require a compatibility mode or may not run at all.
Update Photoshop and Creative Cloud
Open the Creative Cloud desktop app and check for available updates. Developers generally test current plugin releases against recent Photoshop versions, so pairing a brand-new plugin with a prehistoric Photoshop installation is an excellent recipe for digital grumbling.
Download from a trusted source
Use Adobe’s Marketplace or the developer’s official website. Avoid mystery download pages, “unlocked” bundles, and installers shared by strangers with usernames such as TotallySafeFile247. Plugins can access files, network services, or Photoshop documents, so their source matters.
Close Photoshop when required
Marketplace installations may work while Photoshop is open, although restarting the application afterward is sensible. For vendor installers and manually copied files, close Photoshop first. This allows the installer to update the correct folders without colliding with files Photoshop is already using.
Save your work
Installing a reputable plugin should not affect an open document, but restarting Photoshop is often necessary. Save active projects before beginning so that an unsaved masterpiece does not become an expensive lesson in optimism.
Way 1: Install Photoshop Plugins Through Creative Cloud
For plugins listed in Adobe’s Marketplace, Creative Cloud is the easiest and safest installation method. It handles downloading, installation, entitlement checks, and many future updates automatically.
Method A: Start inside Photoshop
- Launch Adobe Photoshop.
- Open the Plugins menu.
- Select Browse Plugins. You may also open the Plugins panel and choose its browsing option.
- Photoshop will direct you to the plugin area in Creative Cloud.
- Search for the plugin by name, category, or developer.
- Open the listing and review its supported Photoshop versions, system requirements, pricing, permissions, and user information.
- Select Get, Install, or the displayed purchase button.
- Follow any sign-in, payment, or permission prompts.
- Restart Photoshop if the plugin does not appear immediately.
Method B: Start in the Creative Cloud desktop app
- Open the Adobe Creative Cloud desktop application.
- Sign in with the Adobe account used for Photoshop.
- Choose Stock & Marketplace.
- Open the Plugins section.
- Search for the Photoshop plugin you want.
- Select Get or open the listing for additional details.
- Complete the on-screen installation process.
- Launch or restart Photoshop.
Adobe’s current instructions state that selecting Get or purchasing a Marketplace plugin begins installation, after which the associated Creative Cloud application can be opened to use it. Adobe also notes that the Stock & Marketplace tab may be unavailable on some Windows ARM systems. to find a Marketplace plugin
Begin with Plugins > Plugins Panel or look for the plugin’s name directly under Plugins. If it is an older extension, check Window > Extensions or Window > Extensions (Legacy). Filter-based products commonly appear under Filter.
Some plugins also require you to create a separate account with the developer. In that case, installation is only the first act of the play. Open the plugin panel, sign in, activate the license, and download any additional models, presets, or supporting files it requests.
Why Creative Cloud is the preferred method
Creative Cloud reduces the risk of placing files in the wrong folder, provides compatibility information before installation, and keeps purchases connected to your Adobe account. It also makes removal straightforward: find the installed plugin in Creative Cloud, open its options, and choose the uninstall command.
Way 2: Install a Photoshop Plugin Manually
Not every plugin is distributed through Adobe’s Marketplace. Professional filter suites, specialty tools, private company extensions, and independently developed plugins may arrive as a CCX file or a conventional software installer.
Option 1: Install a CCX plugin package
A CCX file is a packaged UXP plugin. It is commonly used when a developer distributes a plugin directly instead of publishing it through the Marketplace.
- Download the CCX file from the official developer or another source you trust.
- Close Photoshop or save all open documents.
- Double-click the .ccx file.
- The Creative Cloud desktop app should open automatically.
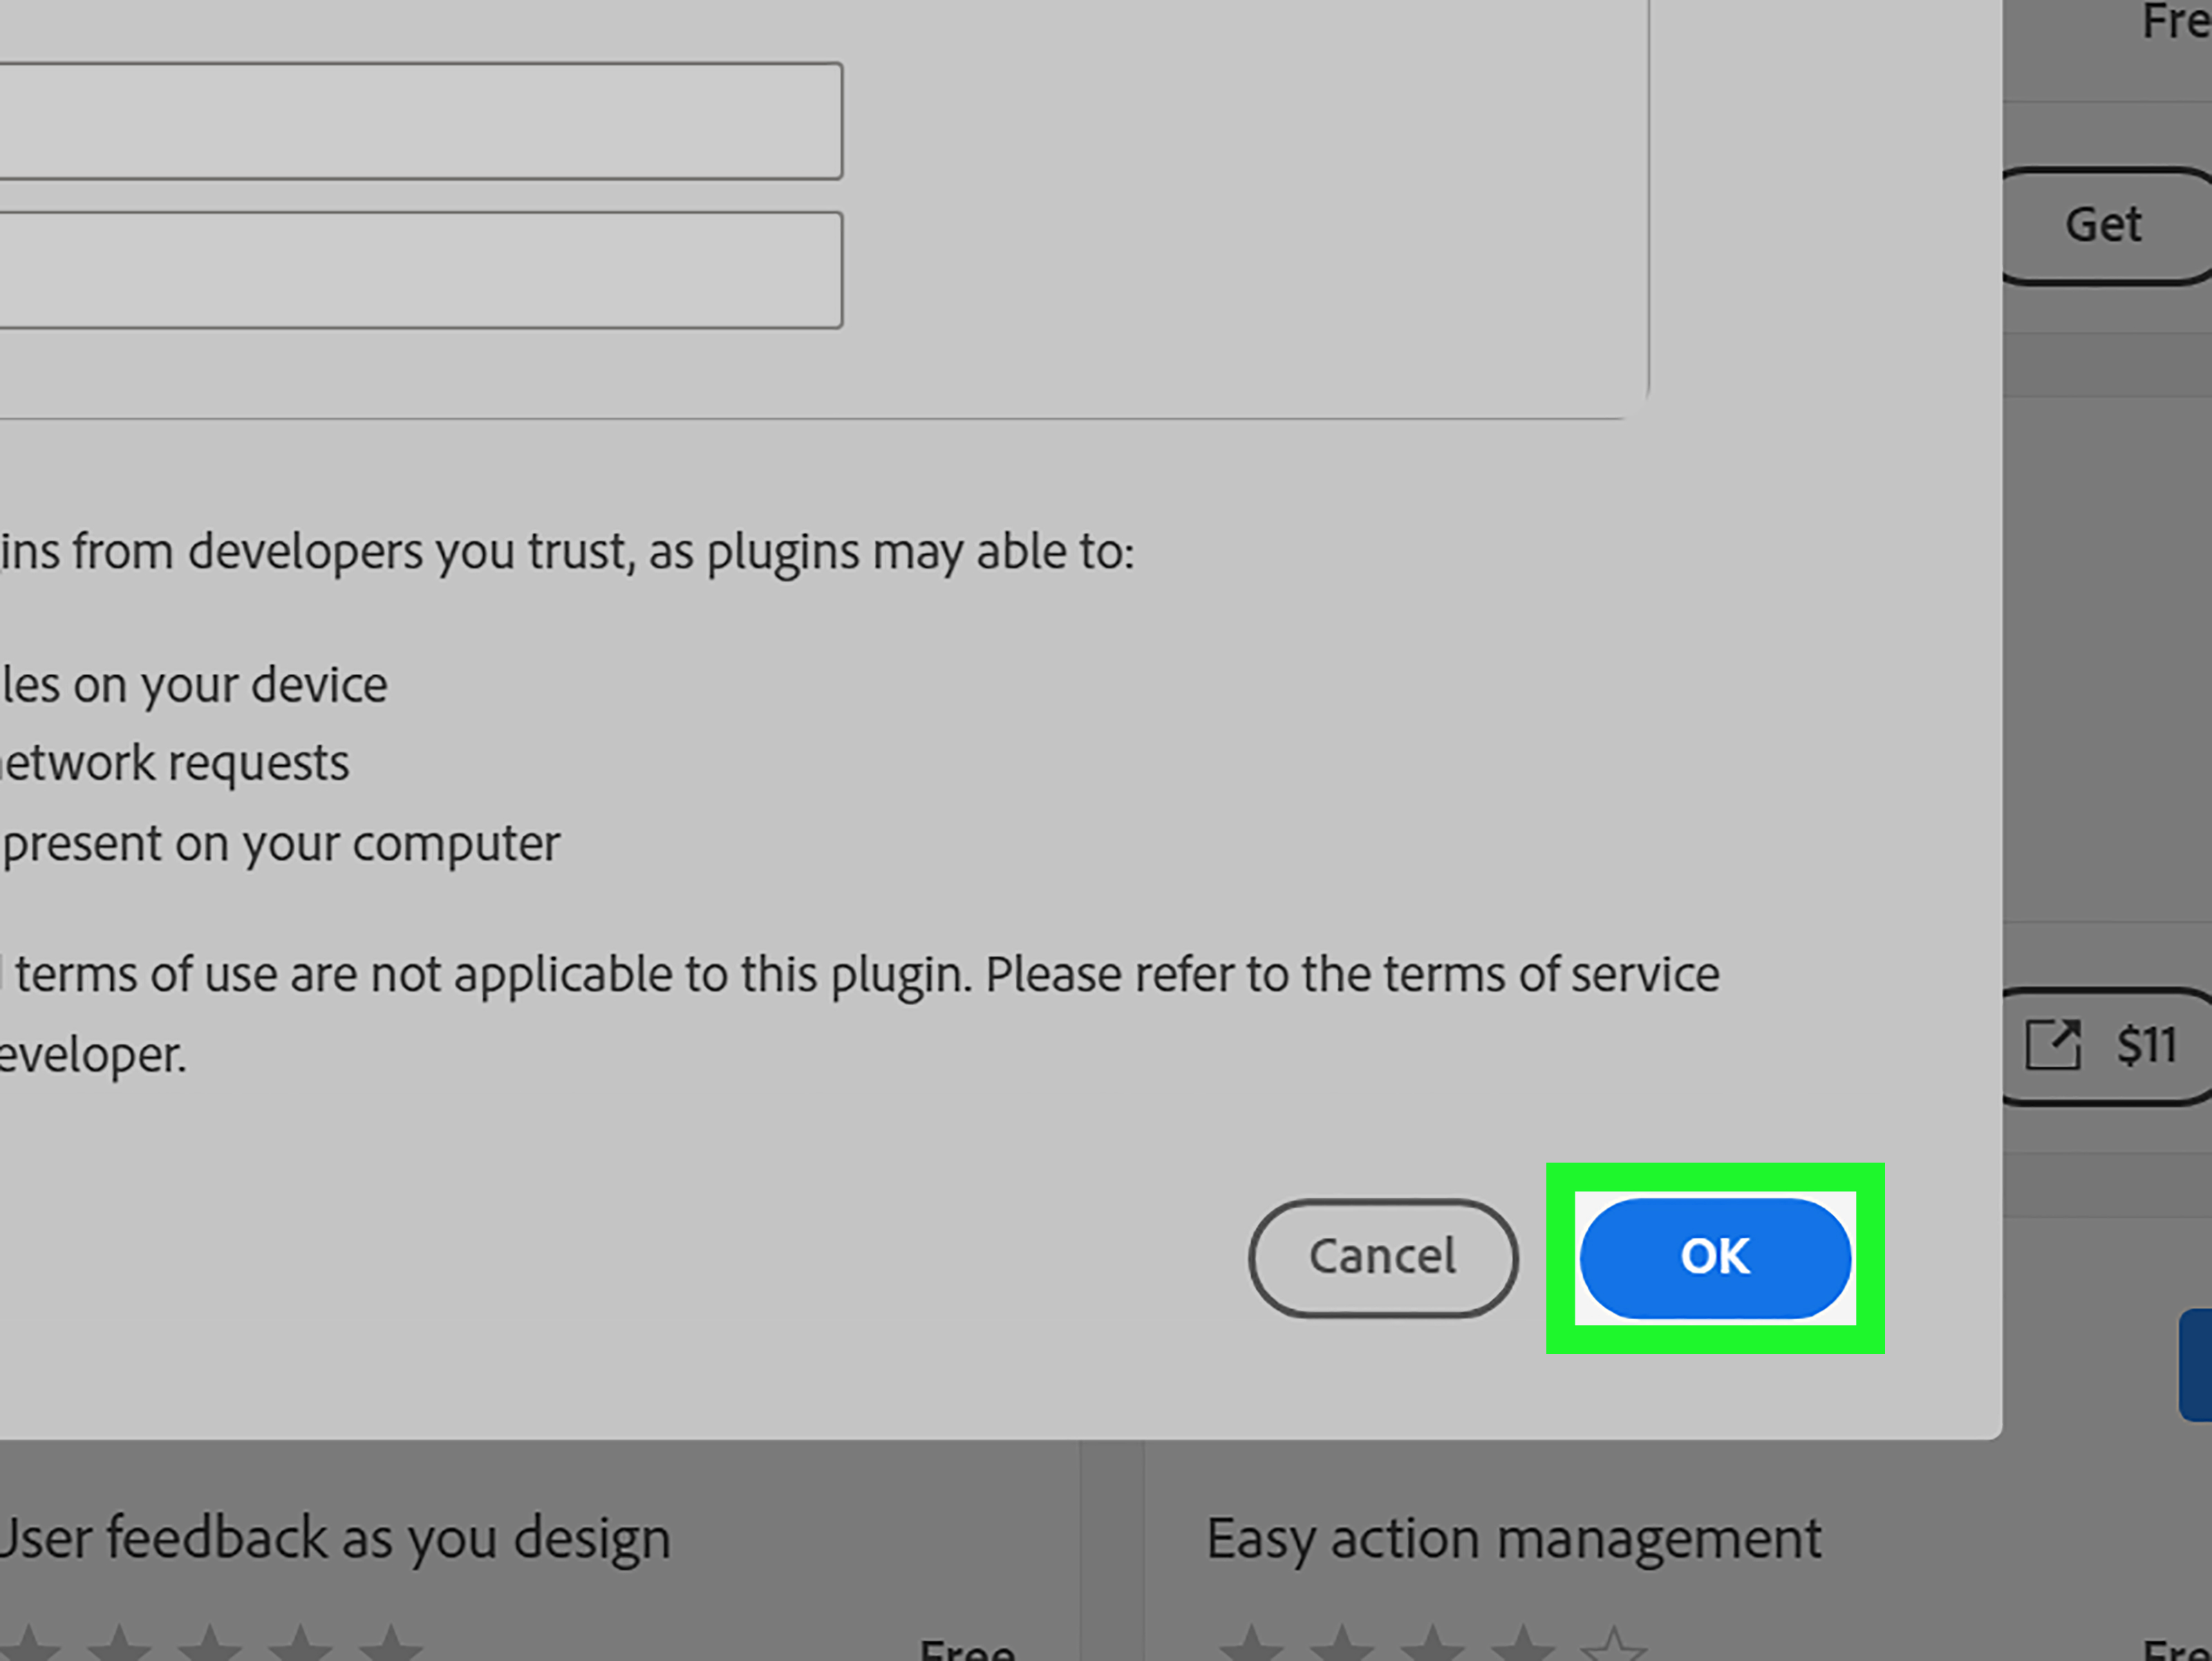
- Review the warning explaining that the plugin was obtained outside the Marketplace.
- Confirm that you trust the developer and choose the installation option.
- Grant requested permissions only after reviewing them.
- Open Photoshop and look under the Plugins menu.
Adobe’s UXP documentation confirms that double-clicking a CCX package opens Creative Cloud and starts the local installation process. Directly distributed packages may trigger additional trust warnings because Adobe Marketplace has not verified that particular download. n 2: Use the developer’s installer
Larger products frequently include their own installer. On Windows, the download may be an EXE or MSI file. On macOS, it may be a PKG installer or an application contained in a DMG disk image.
- Download the correct installer for Windows or macOS.
- Confirm that you selected the version matching your processor and Photoshop release.
- Quit Photoshop and any related Adobe applications.
- Open the installer.
- Accept the license agreement after reviewing it.
- Select Photoshop as the host application if a host-selection screen appears.
- Choose the current Photoshop version rather than an old copy you no longer use.
- Complete the installation and restart Photoshop.
- Activate the plugin using your license key or developer account if necessary.
Using the manufacturer’s installer is usually better than manually moving files because the installer can place filters, panels, presets, support libraries, and licensing components in their correct locations. Plugin vendors commonly recommend closing all Photoshop applications before running their installers. n 3: Copy a legacy plugin file
Only use this approach when the developer specifically instructs you to do so. After extracting the download, copy the complete plugin foldernot one lonely file that looks importantto the recommended Photoshop plugin directory.
Common shared locations include:
- Windows:
C:\Program Files\Common Files\Adobe\Plug-Ins\CC - macOS:
/Library/Application Support/Adobe/Plug-Ins/CC
A version-specific plugin folder may also exist inside the installed Adobe Photoshop application directory. The shared Creative Cloud location is useful when a compatible classic plugin should load in multiple Photoshop versions, whereas a version-specific location limits it to one installation. Adobe documents both approaches for optional Photoshop plugins. opying the files, reopen Photoshop. Do not rename internal files, reorganize the plugin’s folders, or drop the entire compressed ZIP archive into the plugin directory. Photoshop is talented, but it does not unpack your downloads through sheer artistic intuition.
How to Verify That the Plugin Installed Correctly
Create or open a small test image, then search the most likely menu:
- Plugins: Modern UXP panels and commands.
- Filter: Image effects, sharpening tools, noise reduction, stylization, and traditional filter plugins.
- Window > Extensions: Older panels and CEP extensions.
- File > Automate: Workflow and automation products.
- File > Export: Exporting, publishing, and delivery tools.
Run a harmless test on a duplicate layer. Confirm that the interface opens, the preview works, and Photoshop receives the processed result. Testing on a duplicate layer protects the original image and reveals whether the plugin supports Smart Objects, masks, selections, transparency, 16-bit files, or CMYK documents.
What to Do When a Photoshop Plugin Does Not Appear
Restart Photoshop and Creative Cloud
Photoshop generally scans plugin locations during startup. Close Photoshop completely and reopen it. If the installation was handled through Creative Cloud, restart Creative Cloud as well.
Check the right menu
A plugin called “Super Amazing Filter” may appear under Plugins rather than Filter. Read the developer’s launch instructions before declaring the installation haunted.
Confirm account ownership
Make sure Creative Cloud and Adobe Exchange use the same Adobe account. A Marketplace purchase or free entitlement connected to a different email address may not appear in your installed list.
Check version and processor compatibility
Compatibility errors can occur when the plugin does not support your installed Photoshop release. Adobe identifies incompatible host versions as a common reason a Marketplace plugin fails to install or disappears after an application update. e silicon, Adobe says UXP plugins run natively, while some legacy plugins may require Photoshop to run through Rosetta. Using Rosetta should be treated as a compatibility workaround, not an automatic requirement for every plugin. tall using the official installer
Delete random copied files only when the vendor’s instructions tell you exactly what to remove. The cleaner solution is often to uninstall the product properly, download the latest installer, close Photoshop, and install it again.
Check permissions and disk space
Installation can fail when Creative Cloud lacks permission to write to Adobe folders or when the system drive is nearly full. On macOS, some errors may require permission changes in System Settings > Privacy & Security. On managed office computers, an administrator may need to approve the installation.
Test for plugin conflicts
When Photoshop crashes during startup, close it, hold Shift while launching, and choose the option to skip optional and third-party plugins for that session. If Photoshop opens normally, one of the plugins may be outdated or damaged. Adobe recommends removing suspected plugins one at a time to identify the troublemaker.
How to Uninstall or Update Photoshop Plugins
For Marketplace plugins, open Creative Cloud, return to Stock & Marketplace > Plugins, locate the installed item, and use its management menu to remove or update it.
For manually installed products, use the developer’s uninstaller whenever one is provided. On Windows, it may appear under Settings > Apps > Installed Apps. On macOS, the vendor may include an uninstaller in the Applications folder or inside the original installer package.
For a simple legacy plugin that was installed by copying files, close Photoshop and move the plugin’s complete folder outside every Photoshop plugin directory. Keeping it temporarily in a desktop backup folder is safer than deleting it immediately.
Avoid copying plugin folders from an old Photoshop installation into a new one after every major update. Reinstalling the newest compatible release prevents duplicated files, missing support components, and ancient code from wandering into a modern Photoshop version wearing a fake mustache.
Practical Experience: Lessons From Real Photoshop Plugin Installations
The smoothest plugin installations usually begin with one simple habit: reading the compatibility page before downloading. It is tempting to see a dramatic before-and-after image, click Buy, and assume that every computer created since the invention of electricity will support the product. In practice, the Photoshop version, operating system, processor architecture, and available memory can all matter.
Marketplace plugins tend to cause the fewest installation problems. The Creative Cloud route is especially convenient when setting up a second computer because the plugin remains connected to the Adobe account. Instead of searching old email receipts and wondering whether “FinalInstaller_NEW_ReallyFinal.zip” is trustworthy, the user can open Creative Cloud and reinstall the plugin from the managed list.
Direct CCX installation is nearly as easy, but the trust warning deserves attention. That warning does not automatically mean the plugin is dangerous; it means the file was installed outside Adobe’s Marketplace verification path. The practical response is not panic or blind clicking. Confirm the developer, check the download source, inspect the requested permissions, and then proceed only when the details make sense.
Vendor installers require more concentration because they may detect several Adobe applications. A computer can contain Photoshop, Photoshop Beta, Photoshop Elements, and an older Photoshop release at the same time. Selecting the wrong host is a common reason a plugin seems to vanish. The installer performed its job beautifullyit simply installed the product into an application the user never opens.
Another useful lesson is to test new plugins on a duplicate layer or Smart Object. Some filters return edits as a new layer, others alter the active layer, and a few depend on a particular color mode or bit depth. A quick test reveals the behavior before the plugin becomes part of an important client workflow.
Major Photoshop updates also deserve caution. Most modern plugins survive routine updates, but a newly released Photoshop version can temporarily outrun a developer’s compatibility testing. Professional users often keep the previous Photoshop release installed until essential plugins are confirmed to work. This is less glamorous than immediately installing every update, but so is explaining to a client that a deadline was missed because the favorite noise-reduction filter decided to retire without notice.
Finally, keep plugin installers, license details, and receipts organized in one folder or password manager. Record the developer’s website, the purchased version, and the account used for activation. This small administrative habit turns future computer migrations from an archaeological expedition into a short checklist.
Conclusion
Learning how to install plugins in Adobe Photoshop is easier once you identify the package type. For Marketplace add-ons, use Photoshop’s Plugins > Browse Plugins command or the Stock & Marketplace > Plugins area in Creative Cloud. For plugins downloaded elsewhere, open the CCX package or run the developer’s official installer.
Manual copying should be reserved for compatible legacy plugins whose developers explicitly provide folder instructions. Whichever method you use, check compatibility first, download from a trusted source, restart Photoshop, and remember that the finished plugin may appear under Plugins, Filter, Window, or File rather than where you first expected it.
Once the installation mystery is solved, the dangerous part begins: discovering how many clever Photoshop add-ons you suddenly believe you absolutely need.