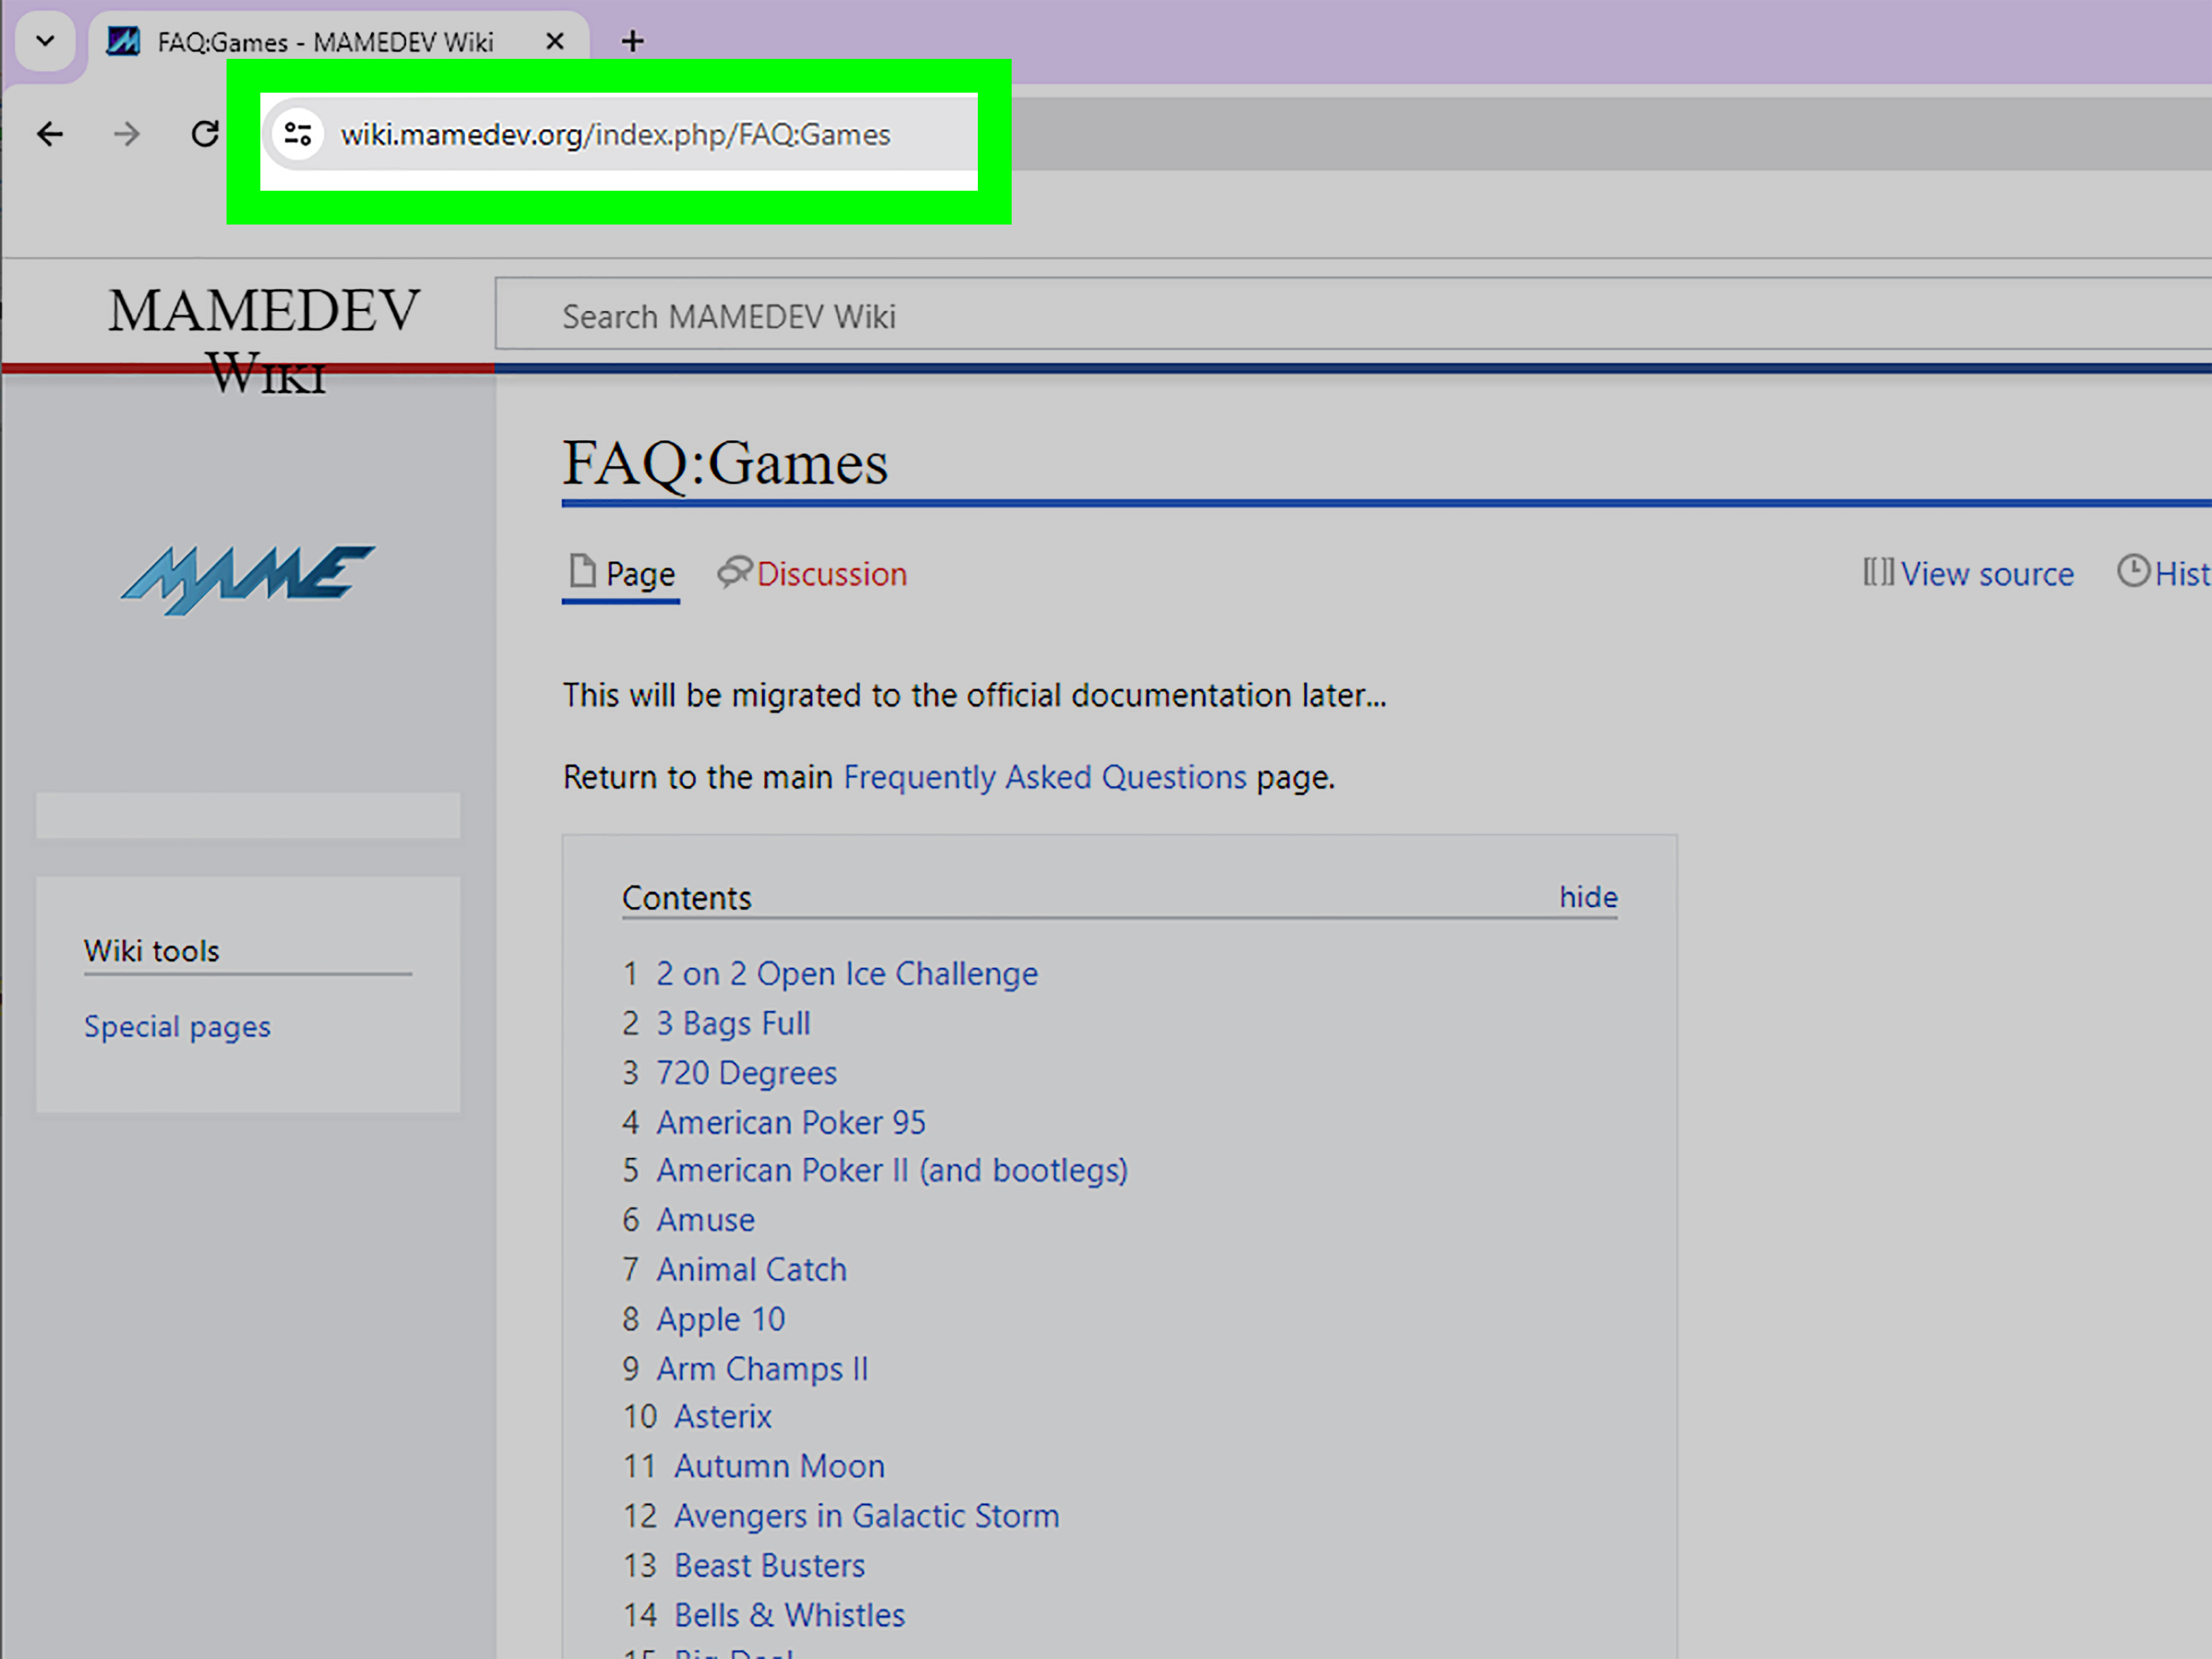
Note: This guide explains how to install the official MAME emulator on Windows, organize your folders, launch MAME for the first time, configure basic settings, and avoid the most common beginner mistakes. It does not provide copyrighted ROM downloads or encourage piracy.
Introduction: Your Arcade Time Machine Starts Here
Installing MAME on Windows sounds scary at first, especially if your brain sees words like “ROM set,” “CHD,” “command line,” and immediately tries to leave the building. The good news is that MAME itself is surprisingly simple to install. In fact, the “installation” is mostly just downloading the official Windows package, extracting it into a folder, and running mame.exe. No wizard. No thirty checkboxes. No mysterious toolbar from 2007 trying to move into your browser.
MAME, formerly known as the Multiple Arcade Machine Emulator, is a powerful preservation project designed to document and emulate arcade machines, consoles, computers, calculators, chess computers, and many other electronic systems. For beginners, that means one practical thing: MAME lets a modern Windows PC behave like old hardware, provided you have the correct files for the systems you want to run.
This complete beginner guide walks you through how to install MAME on Windows, where to place files, how to launch the emulator, how to use the built-in interface, and how to troubleshoot common problems. By the end, you should understand not only what to click, but why each step matters.
What You Need Before Installing MAME on Windows
Before downloading anything, make sure your PC is ready. Modern MAME builds are designed for 64-bit Windows systems and need a reasonably modern processor, enough memory, and graphics hardware capable of basic 3D acceleration. You do not need a monster gaming rig for many classic arcade titles, but a computer from this decade will usually be more comfortable than a dusty laptop that wheezes when opening File Explorer.
Basic requirements
- A 64-bit version of Windows
- A modern Intel, AMD, or ARM processor supported by current MAME builds
- At least 4 GB of RAM, though more is better
- A Direct3D or OpenGL-capable graphics card or integrated GPU
- Enough storage space for MAME, configuration files, screenshots, save states, and legally obtained software files
MAME itself is not huge, but your storage needs can grow depending on what systems you emulate. Some classic arcade ROM sets are tiny. Some systems use CHD files, which can be much larger because they represent hard drives, CD-ROMs, DVDs, or LaserDisc data. In other words, “just one more game” can turn into “why is my SSD blinking nervously?” faster than expected.
Step 1: Download the Official MAME Windows Package
The safest way to install MAME on Windows is to get it from the official MAME website. Search for the official MAME release page, choose the latest Windows binary package, and download the correct version for your computer. Most Windows users should choose the x64 package. If you are using a Windows on ARM device, choose the ARM64 package when available.
Avoid random “all-in-one emulator packs” from unknown websites. They may be outdated, modified, bundled with questionable extras, or packaged with files you do not legally have permission to use. MAME updates regularly, and using the official build gives you the cleanest starting point.
Which file should beginners download?
For most users, the right choice is the official Windows x64 binary package. This package includes the main executable, support files, artwork folders, configuration folders, plugins, language files, and documentation-related files. Beginners do not need to compile MAME from source. Compiling is useful for developers and advanced users, but if your goal is simply to run MAME on Windows, the official binary is the practical choice.
Step 2: Create a Dedicated MAME Folder
After downloading the package, create a clean folder for MAME. A simple location such as C:\MAME works well. You can also use a folder inside your user directory, such as C:\Users\YourName\Emulators\MAME. The important thing is to avoid burying MAME ten folders deep in a place you will forget by tomorrow morning.
A dedicated folder keeps everything organized. MAME stores configuration files, screenshots, save states, NVRAM, input settings, and other supporting files in folders near the main program. If you scatter files across your Downloads folder, Desktop, and three suspiciously named “New Folder” directories, troubleshooting becomes much harder.
Recommended beginner folder structure
You do not need to manually create every folder right away. MAME includes many folders and can create or update configuration files as needed. Still, knowing the basic layout helps you understand where things go.
Step 3: Extract the MAME Package
The official Windows package is commonly distributed as a self-extracting archive. Run it or extract it into your dedicated MAME folder. If Windows asks whether you trust the file, make sure it came from the official MAME release page before continuing. If you use 7-Zip, download it only from the official 7-Zip website, not from lookalike domains or random software mirrors.
Once extraction is complete, open your MAME folder. You should see mame.exe along with folders and support files. That file is the main program. Unlike many Windows apps, MAME does not need a traditional installer. The program runs from the folder where you extracted it.
Step 4: Launch MAME for the First Time
To launch MAME, double-click mame.exe. Modern MAME includes a built-in graphical interface, so beginners do not have to start with the command line. The first screen shows a system selection menu. You can browse systems, search by name, open configuration menus, and view information panels.
If nothing appears, check whether your antivirus or Windows security settings blocked the executable. If MAME opens and shows a long list of systems, congratulations: you installed MAME on Windows. The machine has awakened. It may not dispense arcade tokens, but emotionally, it is trying.
Useful first-run keys
- Arrow keys: Move through menus.
- Enter: Select an item.
- Tab: Open the in-emulator configuration menu while a system is running.
- Escape: Go back, cancel, or exit.
- Alt + Enter: Toggle fullscreen mode.
- F11: Show speed percentage and performance information.
Step 5: Understand ROMs, Sets, BIOS Files, and CHDs
This is where many beginners get confused. MAME does not include commercial arcade games or console software in the main package. Many systems require ROM images, which are copies of data from original chips. Some systems also require BIOS files or device ROMs. Some larger systems require CHD files, which represent disk-based media.
The legal side matters. MAME is legal software, but the files you run with it may be copyrighted. You should only use ROMs, BIOS files, software, and CHDs that you legally own or have permission to use. MAME’s official site offers some software that has been cleared for redistribution, but most commercial games are not included.
What is a ROM set?
A ROM set is a group of files needed for a specific arcade machine or system. Some games require only one ZIP file. Others need a parent set, clone set, BIOS set, or device set. For example, a clone version of a game may rely on files from the parent version. If the parent file is missing, MAME may show an error explaining which files it could not find.
Should you unzip ROM files?
Usually, no. MAME can read ROM sets directly from ZIP and 7z archives. For most arcade ROM sets, place the ZIP file inside the roms folder and leave it zipped. Do not put one ZIP file inside another ZIP file. Nested archives are a classic beginner mistake and a great way to make MAME look at you with digital disappointment.
Where do CHD files go?
CHD files should generally be stored in folders, not inside ZIP archives. A common layout looks like this:
The exact folder name depends on the system’s short name. MAME uses short names to identify systems and files, so matching names matters.
Step 6: Put Your Files in the Correct Folder
By default, MAME looks for media files in the roms folder inside the MAME directory. If your MAME folder is C:\MAME, the default ROM path is usually C:\MAME\roms. Place your legally obtained ROM sets there.
For beginners, keep the default path at first. You can add extra folders later, but the default folder removes guesswork. When something fails, you will know where MAME looked.
Example: a simple arcade setup
Then open MAME, search for the system, and try launching it. If files are missing, MAME will usually tell you what it expected and what it could not find.
Step 7: Create a MAME Configuration File
MAME can run without much configuration, but creating a configuration file gives you more control. Open Command Prompt, move into your MAME folder, and run:
This creates a file named mame.ini. You can open it with Notepad. The file contains settings for paths, video, audio, input, artwork, plugins, and more. Beginners do not need to edit everything. In fact, please do not treat mame.ini like a mysterious treasure map where every line must be changed. Start simple.
Useful settings beginners may edit later
rompath: Adds or changes folders where MAME searches for ROMs and media.window: Controls whether MAME starts in a window.video: Changes video output options.sound: Controls audio behavior.skip_gameinfo: Skips some informational screens after you understand the warnings.
Step 8: Run a Game or System from the Interface
The easiest way to use MAME on Windows is to open mame.exe, search for a system, and select it from the built-in menu. If MAME detects the necessary files, it will launch. If files are missing, the emulator will show an error.
Do not panic when an error appears. MAME is usually being specific, not rude. Read the missing file list carefully. It may indicate that you have the wrong ROM version, a missing parent set, a missing BIOS, or a CHD in the wrong place.
Run MAME from Command Prompt
You can also launch a system by using its short name:
This tells MAME to run the system with the short name pacman, assuming the required files are available. Command-line launching is especially useful if you later use front-end software or create shortcuts.
Step 9: Configure Keyboard, Controller, and Arcade Stick Inputs
Once a system is running, press Tab to open MAME’s internal menu. Choose input settings to configure controls. You can change controls for all systems or only for the current system. For beginners, start with “Input Settings” for the current machine so you do not accidentally remap everything and turn Player 1 Jump into “open calculator.”
MAME supports keyboards, gamepads, joysticks, arcade sticks, trackballs, mice, and many specialized controls depending on the system. Windows-compatible USB arcade sticks often work well, but you may need to map buttons manually.
Beginner control tips
- Map one player first before configuring multiplayer.
- Write down your button layout if using an arcade stick.
- Use per-game settings for games with unusual controls.
- Keep the Escape key available so you can exit quickly.
- Do not remap every global control until you know what each one does.
Step 10: Improve Video and Audio Settings
MAME focuses on accuracy, not fake “HD remasters.” That is part of its charm. Still, you can improve the look and feel on modern displays. Try fullscreen mode with Alt + Enter, or adjust video settings in mame.ini. Some users enjoy CRT-style effects, but these can increase GPU load. If performance drops, keep the settings simple.
For audio, most users can leave default settings alone. If you hear crackling, stuttering, or lag, check performance with F11. If the speed percentage is below 100%, your PC or settings may be struggling. Try disabling heavy visual filters, closing background apps, or testing a less demanding system.
Common MAME Installation Problems and Fixes
MAME opens, but no games work
This usually means the required ROM sets, BIOS files, device files, or CHDs are missing or mismatched. Make sure files are in the roms folder and match the MAME version you are using. ROM sets can change over time as preservation improves, so very old sets may not work correctly with current MAME.
Windows blocked the download
Confirm the file came from the official MAME website. If it did, you may need to allow it through Windows security prompts. If you downloaded it from somewhere else, delete it and get the official package instead.
My controller is detected but buttons are wrong
Launch a system, press Tab, open input settings, and remap buttons. For arcade sticks, test one game first before building your perfect cabinet-style layout.
The game runs too slowly
Press F11 to check speed. If it is below 100%, reduce video effects, close background programs, and try a less demanding system. Remember that some emulated systems are difficult to run at full speed because MAME prioritizes accurate hardware behavior.
CHD games do not launch
Check that the CHD file is inside a folder named for the system short name. Do not keep CHDs inside ZIP files. MAME may need the ROM set ZIP and the CHD folder together.
Should Beginners Use a MAME Front-End?
MAME includes a built-in interface, so a front-end is optional. A front-end is a separate program that gives you a prettier library view, screenshots, cabinet art, filters, favorites, and easier browsing. It can be helpful if you build a living-room setup or arcade cabinet.
However, beginners should learn basic MAME first. If you add a front-end before understanding ROM paths and system short names, you may create a second layer of confusion. First make MAME work by itself. Then add the fancy menu system. Frosting is more fun when the cake exists.
Best Practices for a Clean MAME Setup
- Download MAME only from the official project website.
- Keep MAME in a simple folder such as
C:\MAME. - Leave arcade ROM sets zipped unless documentation says otherwise.
- Store CHD files in folders, not compressed archives.
- Create
mame.inionly after your first successful launch. - Back up your
cfg,ini,nvram, andstafolders if you customize controls heavily. - Read error messages carefully; they usually tell you what is missing.
- Respect copyright and only use files you are allowed to use.
Beginner-Friendly Example Setup
Imagine you have installed MAME into C:\MAME. Your main program is here:
Your legally obtained ROM set goes here:
You open Command Prompt and type:
If the files are correct, MAME launches the system. If something is missing, MAME tells you. That feedback is your troubleshooting map. The more you use MAME, the more you will understand its logic: short names, parent sets, BIOS files, device files, media folders, and configuration paths.
Conclusion: Installing MAME on Windows Is Easier Than It Looks
Learning how to install MAME on Windows is mostly about starting clean. Download the official Windows binary, extract it into a dedicated folder, run mame.exe, keep your legally obtained files in the right place, and use the built-in interface before adding advanced tools. The actual installation is easy; the real learning curve is understanding how MAME organizes systems and media.
Once you understand ROM paths, zipped sets, CHD folders, configuration files, and input mapping, MAME becomes far less intimidating. It turns from a mysterious emulator with stern error messages into a reliable preservation tool that rewards patience. Treat it like a workshop, not a one-click toy box. Keep your files organized, read the messages on screen, and make changes one step at a time.
Personal Experience: What Installing MAME on Windows Feels Like for Beginners
The first time many beginners install MAME on Windows, they expect a normal app experience: download, install, open, play. MAME is a little different. It feels more like setting up a tiny digital museum in your computer. At first, that can be confusing. You open the folder and see mame.exe, a pile of folders, and no friendly “Start Here” button wearing a cheerful hat. But after a few minutes, the logic begins to make sense.
The biggest beginner surprise is that MAME itself is not the hard part. The emulator runs quickly after extraction. The real puzzle is file organization. A new user might place a ZIP file on the Desktop, double-click MAME, and wonder why nothing works. Then they learn that MAME is looking inside its configured roms folder. That small realization changes everything. Suddenly the emulator is not broken; it is simply very literal. It looks where it was told to look, like a librarian with zero interest in guessing.
Another common experience is meeting the missing-files message for the first time. It can look alarming, but it is often helpful. MAME may be telling you that a parent set is missing, a BIOS file is required, or a CHD is in the wrong location. Beginners who slow down and read the message usually solve problems faster than users who immediately download random replacement files from questionable corners of the internet. The calm approach wins.
Controller setup is also a memorable moment. Pressing Tab during emulation and discovering the input menu feels like finding the control room behind the arcade cabinet. Mapping an arcade stick or gamepad can take trial and error, especially when Windows labels buttons in a way only a motherboard could love. But once Player 1 movement, start, coin, and action buttons are mapped correctly, the setup feels personal and satisfying.
Performance tuning teaches another lesson: newer is not always easier to emulate. Some old-looking systems are surprisingly demanding because MAME tries to reproduce hardware behavior accurately. A beginner may assume that anything from the 1980s should run on a toaster, but emulation accuracy is more complicated than age. Watching the speed display with F11 helps connect settings to real performance.
The best experience comes from building the setup slowly. Install MAME first. Launch it. Create the configuration file. Add one legally obtained system. Test it. Map controls. Then add more. This method avoids the giant “nothing works and I changed everything” disaster. MAME rewards patience, organization, and curiosity. Once the basics click, installing MAME on Windows feels less like technical homework and more like opening a carefully labeled door into gaming history.