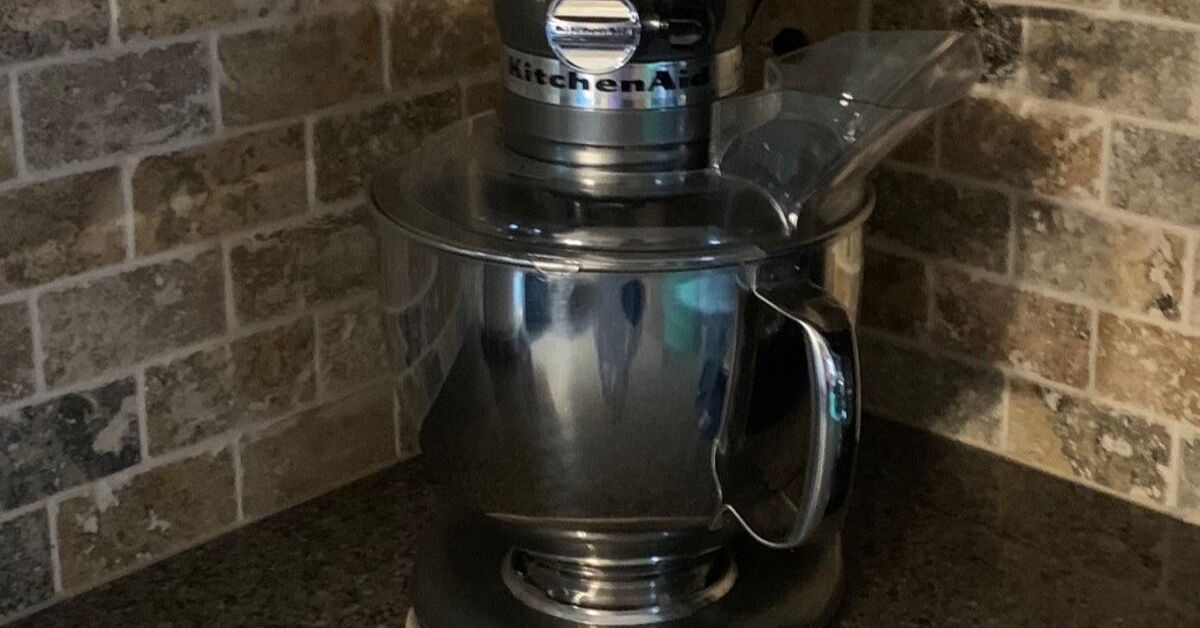
A clean kitchen counter is a tiny miracle. One minute it looks like a magazine spread; the next, it is hosting a toaster, blender, air fryer, coffee grinder, stand mixer, rice cooker, charging cable, and one mysterious lid that belongs to absolutely nothing. If your countertop has started looking like a small-appliance traffic jam, a DIY appliance garage may be the practical, good-looking solution your kitchen has been begging for.
An appliance garage is a cabinet-style storage zone designed to hide small kitchen appliances while keeping them easy to reach. Instead of hauling your coffee maker from a pantry every morning or letting your toaster live permanently beside the sink like it pays rent, you create a dedicated “parking spot” behind doors, a tambour roll-up front, a lift-up panel, or a simple cabinet enclosure. The result is a clutter-free kitchen that still works hard.
This guide explains how to hide appliances, plan a DIY appliance garage, choose the right door style, build or modify a cabinet, and avoid the common mistakes that make good storage ideas turn into daily annoyances.
What Is an Appliance Garage?
An appliance garage is a small storage cabinet, usually placed on the countertop, inside a pantry, in a tall cabinet, or under an upper cabinet, where small appliances can be tucked away when not in use. Think of it as a tiny garage for the tools that make breakfast possible.
The classic version used a roll-up tambour door, common in older kitchens. Today’s appliance garages are more flexible and much better looking. Modern designs may include pocket doors, bi-fold cabinet doors, lift-up doors, sliding shelves, pull-out trays, hidden outlets, interior lighting, and matching cabinet fronts. Some are built into a full-height pantry cabinet; others are simple countertop boxes that blend with existing cabinetry.
Why Hide Kitchen Appliances?
1. You Get Counter Space Back
Counter space is prime kitchen real estate. When every inch is covered by gadgets, meal prep becomes a balancing act. Hiding appliances clears the surface so you can chop vegetables, roll dough, pack lunches, or simply enjoy the rare luxury of seeing your countertop.
2. The Kitchen Looks Calmer
Small appliances create visual noise. Even attractive appliances can make a kitchen feel busy when too many are on display. An appliance garage gives the room cleaner lines and helps cabinets, backsplash, and countertops become the stars instead of the blender’s power cord.
3. Appliances Stay Easy to Use
The goal is not to bury your coffee maker in a cabinet so deep you need a rescue mission before breakfast. A smart appliance garage keeps everyday items accessible. You open the door, slide out the shelf, use the appliance safely, clean up, and close everything away.
4. It Helps Control Cord Clutter
Cords have a special talent for making even a clean kitchen look unfinished. A garage can include a cord pass-through, a nearby outlet, or a safe electrical setup installed by a licensed electrician. The key is to keep cords organized without overloading outlets or using power strips for high-wattage appliances.
Best Appliances to Store in an Appliance Garage
The best candidates are appliances you use often enough to keep nearby but not so constantly that they must remain fully exposed. Good examples include:
- Coffee maker or espresso machine
- Toaster or toaster oven
- Blender or smoothie maker
- Food processor
- Stand mixer
- Electric kettle
- Rice cooker
- Air fryer
- Hand mixer and accessories
- Juicer or mini chopper
Before choosing what to store, be honest about your routine. If you use the coffee maker every morning, it deserves the easiest spot. If your pasta maker appears once a year and mainly makes you feel ambitious, it can go higher, lower, or somewhere less premium.
Where to Put a DIY Appliance Garage
On the Counter Beneath Upper Cabinets
This is the most common layout. The garage sits directly on the countertop and fills the gap between the counter and upper cabinet. It is excellent for coffee stations, toaster storage, and compact appliances. Make sure the door style does not block your prep area when open.
Inside a Tall Pantry Cabinet
If you have a pantry wall or full-height cabinet, you can build an appliance station inside it. This works especially well for coffee bars, baking zones, or breakfast stations. Add pull-out shelves so heavier appliances do not have to be lifted in and out.
In a Corner
Corners often become wasted space or clutter caves. A corner appliance garage can turn that awkward area into useful storage. A tambour door or bi-fold door can work well here because standard swinging doors may bump into nearby cabinets.
Under an Island
An island appliance garage is useful for mixers, food processors, and baking tools. Pair it with a lift-up appliance shelf or pull-out tray to reduce lifting. This is especially helpful for heavy stand mixers, which seem to be made from equal parts metal and commitment.
Door Styles for Appliance Garages
Tambour Roll-Up Door
A tambour door rolls upward like a tiny garage door. It saves space because it does not swing outward. It is a classic choice and still works well in tight kitchens. The downside is that the track can collect crumbs and dust, so occasional cleaning is needed.
Lift-Up Door
A lift-up door swings upward and stays open while you use the appliance. It looks sleek and modern, especially with flat-panel cabinets. It is great when you want a clean cabinet face, but you need enough clearance above the door for the hardware to work properly.
Pocket Doors
Pocket doors open and slide back into the cabinet sides. They are beautiful and highly functional for larger appliance garages, especially pantry-style stations. They cost more and require careful installation, but the payoff is a high-end look.
Bi-Fold Doors
Bi-fold doors fold in half as they open, taking up less swing space than regular doors. They are a good middle ground for DIYers who want cabinet-style doors without complicated pocket hardware.
Simple Cabinet Doors
Standard hinged doors are the easiest option. They are affordable, familiar, and simple to install. The trade-off is that open doors can get in the way, especially in narrow kitchens.
DIY Appliance Garage Planning Checklist
Measure the Appliances First
Do not build based on guesses. Measure the width, height, and depth of each appliance, including handles, knobs, lids, water tanks, and cords. Add extra room for airflow and hand clearance. A toaster that technically fits but can only be removed by performing cabinet yoga is not a design win.
Decide Whether Appliances Will Be Used Inside or Pulled Out
This is one of the most important planning decisions. Many heat-producing appliances, such as toasters, toaster ovens, and air fryers, should be pulled out into an open, ventilated area before use. A coffee maker or blender may be more practical inside an open garage, depending on clearance and ventilation. Always follow the appliance manufacturer’s instructions.
Plan Safe Power Access
If you want an outlet inside or near the garage, hire a licensed electrician. Avoid running high-wattage appliances from power strips or extension cords. Coffee makers, toaster ovens, and air fryers can draw significant power, so they should be plugged directly into properly installed outlets. For extra safety, some homeowners use interlock-style outlets that shut off power when the cabinet door closes.
Think About Ventilation
Heat and steam need somewhere to go. Leave space behind and above appliances when appropriate, and do not close the garage while a hot appliance is cooling down. If your garage holds a coffee maker, consider moisture from steam. If it holds a toaster, crumbs and heat are the concerns. If it holds an air fryer, remember that “tiny countertop oven tornado” is basically its personality.
Choose Easy-to-Clean Materials
Use cabinet-grade plywood, finished wood, melamine, laminate, or painted MDF with a durable coating. Inside surfaces should wipe clean easily. Appliances create crumbs, coffee dust, oil residue, and the occasional smoothie incident that looks like a fruit crime scene.
How to Build a Simple DIY Appliance Garage
Tools and Materials
- Tape measure
- Level
- Drill and driver bits
- Circular saw or table saw
- Cabinet-grade plywood or MDF
- Wood screws
- Wood glue
- Edge banding or trim
- Hinges, tambour kit, lift-up hardware, or pocket-door hardware
- Paint, stain, or cabinet finish
- Pull-out tray or drawer slides, optional
- Cord grommet, optional
Step 1: Choose the Location
Pick a spot near the appliances’ natural workflow. Coffee gear belongs near mugs, filters, water, and the trash. Baking appliances belong near flour, mixing bowls, and measuring cups. A toaster works best near plates and breakfast supplies. Good storage follows behavior, not fantasy. Build for the kitchen you actually use.
Step 2: Measure the Opening
Measure the width, height, and depth of the space. If the garage will sit under an upper cabinet, check the distance from countertop to cabinet bottom. Standard small appliances vary widely, so measure the exact items you own. Leave room for door hardware and airflow.
Step 3: Build the Cabinet Box
Cut two side panels, a top panel, and a back or partial back panel. A partial back can allow easier cord management and airflow, but it must still be sturdy. Assemble the box with wood glue and screws, checking for square corners as you go. If your existing cabinets are not perfectly square, congratulations: your kitchen has character. Adjust carefully rather than forcing the new box into place.
Step 4: Add the Door System
For a beginner-friendly project, install standard hinged or bi-fold cabinet doors. For a more custom look, use a tambour door kit or lift-up hardware. Follow the hardware manufacturer’s instructions closely. Door alignment matters because a beautiful appliance garage with a crooked door will bother you every single morning.
Step 5: Install a Pull-Out Shelf
A pull-out shelf is one of the best upgrades for a DIY appliance garage. It lets you slide a toaster, mixer, or coffee maker forward for use and cleaning. Use heavy-duty drawer slides rated for the appliance weight. For a stand mixer, choose strong slides and consider a lower cabinet location to avoid lifting.
Step 6: Finish the Surfaces
Sand edges, apply edge banding or trim, then paint or stain the garage to match your cabinets. For a built-in look, match cabinet color, door profile, and hardware. For a design accent, choose a contrasting interior finish, such as warm wood inside white cabinets.
Step 7: Organize the Interior
Add small bins for coffee pods, filters, attachments, blender cups, or mixer tools. Use hooks for measuring spoons or a small shelf for mugs. Keep the interior simple. The goal is not to create a tiny appliance junk drawer with doors.
Smart Design Ideas for a Clutter-Free Kitchen
Create a Breakfast Station
Group the toaster, coffee maker, mugs, tea, filters, honey, and breakfast plates in one zone. This keeps morning traffic contained and prevents the whole kitchen from waking up cranky.
Build a Baking Garage
Store a stand mixer, hand mixer, measuring cups, baking sheets, and dry ingredients nearby. A pull-out shelf makes the mixer easier to use without dragging it across the counter.
Use a Tall Cabinet for Multiple Appliances
If you own many gadgets, use vertical storage. Place frequent-use appliances at waist to chest height, heavier items below, and rarely used accessories higher up. Adjustable shelves help the garage adapt when your appliance collection changes.
Add Interior Lighting
Battery-powered or hardwired LED lighting can make the garage easier to use. Choose low-heat lighting and place it where it does not interfere with door hardware or appliances.
Use Matching Panels for a Built-In Look
If your kitchen style is minimalist, match the appliance garage doors to the surrounding cabinets. Hidden storage looks most intentional when it disappears into the design.
Common Appliance Garage Mistakes to Avoid
Mistake 1: Forgetting the Door Swing
A door that blocks the coffee maker, bumps another cabinet, or steals prep space will annoy you daily. Before installing hardware, tape out the door movement and test it.
Mistake 2: Building Too Small
Appliances need breathing room. A garage that fits only your current toaster may become useless when you upgrade. Add flexibility whenever possible.
Mistake 3: Ignoring Heat
Never trap heat inside a closed cabinet. Pull out heat-producing appliances before use when needed, let them cool before closing the door, and follow all manufacturer safety instructions.
Mistake 4: Hiding Appliances You Use Constantly
If you open and close the garage twenty times a day, the design may become more annoying than helpful. Hide items that benefit from concealment but still fit your routine.
Mistake 5: Skipping Cleaning Access
Toasters shed crumbs. Coffee makers drip. Blenders splash. Make sure shelves slide out or surfaces are easy to wipe. A clutter-free kitchen should not require spelunking with a sponge.
Budget-Friendly Ways to Hide Appliances Without a Full Remodel
You do not need a luxury renovation to hide small appliances. Try these simpler options:
- Convert an existing cabinet into an appliance station.
- Add a pull-out shelf to a base cabinet.
- Use a freestanding hutch or pantry cabinet.
- Install a countertop cabinet with matching paint.
- Use a rolling cart that can slide into a pantry or closet.
- Store occasional-use appliances in deep drawers.
- Create a hidden coffee bar behind cabinet doors.
The best solution depends on your kitchen size, budget, appliance habits, and DIY comfort level. A small upgrade done thoughtfully often works better than an expensive feature that ignores how you actually cook.
Real-Life Experience Notes: What Actually Works When Hiding Appliances
After working through appliance garage ideas, the biggest lesson is that hiding appliances is less about being fancy and more about being honest. Many people start with the dream of a perfectly empty countertop, but the best kitchen is not necessarily the emptiest one. It is the one that supports daily life without looking like a gadget convention.
For example, a coffee station appliance garage can be a game changer if it is placed near water, mugs, and the trash. If the coffee maker is hidden across the room from everything coffee-related, the garage becomes a cabinet-shaped obstacle. The same applies to a toaster. If your family makes toast every morning, store bread, plates, butter knives, and napkins nearby. Otherwise, you have hidden the toaster but created a breakfast scavenger hunt.
Another practical experience: pull-out shelves are worth serious consideration. They make the difference between “I love this storage” and “Why did I trap my blender in a wooden cave?” Even a lightweight appliance becomes irritating when you have to drag it forward, dodge the cord, use it, clean behind it, and push it back. A sliding shelf keeps movement controlled and protects the countertop from scratches.
Heavy appliances need special planning. A stand mixer looks gorgeous in an appliance garage, but lifting it from an upper shelf is not fun unless your hobby is surprise arm day. Store heavy items lower, ideally on a pull-out shelf or mixer lift. Your future self will thank you, probably while making cookies.
Ventilation is another real-world issue that people underestimate. A garage may look neat in photos, but appliances create heat, steam, crumbs, and moisture. A toaster should not be operated inside a closed cabinet. An air fryer needs open space around it. A coffee maker may release steam that can affect cabinet finishes over time. The safest habit is simple: open the garage fully, pull out hot appliances when needed, let everything cool, wipe moisture, then close the door.
One more experience-based tip: do not overfill the garage. The temptation is strong. Once you have a hidden cabinet, every appliance wants to move in. Suddenly the toaster is sharing space with the blender, waffle maker, immersion blender, coffee grinder, and a lonely instruction manual from 2018. Keep the garage focused. A breakfast garage, coffee garage, or baking garage works better than a random appliance warehouse.
Finally, remember that a clutter-free kitchen is a maintenance habit, not just a cabinet project. The appliance garage helps, but it cannot make decisions for you. If you never use the juicer, donate it. If you own three coffee gadgets but only use one, choose the favorite. The fewer things you store, the more luxurious your storage feels. A good appliance garage does not just hide appliances; it makes your kitchen easier to live in.
Conclusion
A DIY appliance garage is one of the smartest ways to hide appliances and create a clutter-free kitchen without sacrificing convenience. Whether you build a countertop cabinet, convert a pantry section, add a pull-out shelf, or install sleek pocket doors, the best design starts with your real habits. Measure carefully, plan safe power access, allow ventilation, and choose materials that are easy to clean.
The secret is balance. You want appliances close enough to use, hidden enough to calm the kitchen, and organized enough that opening the cabinet does not reveal a small mechanical landslide. Done well, an appliance garage turns countertop chaos into a smooth, functional storage zoneand gives your kitchen the peaceful, polished look it deserves.
Note: This article was written for web publishing and synthesizes practical kitchen design, cabinet storage, DIY organization, electrical safety, and small-appliance storage guidance from reputable U.S. home improvement and design resources.