Sometimes you need more storage, but your wall says, “Absolutely not.” Maybe you rent. Maybe you hate patching drywall. Maybe your toolbox contains exactly one lonely screwdriver and a coupon you forgot to use. Whatever the reason, learning how to hang shelves without nails can save your walls, your security deposit, and your weekend mood.
The good news is that no-drill shelving is possible. The less-fun news is that not every shelf belongs on every wall. A lightweight display ledge for candles or a tiny plant? Very doable. A long shelf loaded with cookbooks, ceramic bowls, and your emotional baggage? That is how shelves become gravity demonstrations.
The trick is choosing the right method for the surface, the weight, and how permanent you want the setup to be. Below, you’ll find three practical non-drilling methods that actually make sense in real homes, along with the mistakes that cause most no-drill shelf projects to fail.
Before You Stick Anything to the Wall, Read This
If you want a shelf to stay up, the wall surface matters just as much as the shelf itself. In general, drill-free shelf methods work best on smooth, clean, dry, flat surfaces. Think painted drywall in good condition, tile, glass, metal, mirror, laminate, and some finished wood surfaces.
These surfaces are usually your friends
- Painted drywall in good shape
- Glass and mirrors
- Tile and smooth backsplashes
- Metal surfaces
- Finished wood or laminate
These surfaces are usually troublemakers
- Textured walls
- Brick and rough concrete
- Wallpaper
- Flaking paint
- Dusty, greasy, or damp surfaces
Also, be brutally honest about shelf weight. The shelf’s own weight counts. So do the items you put on it. So does that “temporary” stack of books that somehow becomes a permanent tower by Thursday.
Method 1: Use Removable Adhesive Strips for Ultra-Light Shelves
This is the most renter-friendly option and the least intimidating place to start. If your goal is a small display shelf for lightweight decor, removable adhesive strips can work beautifully. Think mini ledges, acrylic shelves, shallow spice ledges, or slim picture shelves holding items that are more “cute” than “dense.”
Best for
- Small decorative shelves
- Acrylic or very lightweight ledges
- Entryway catchalls for light items
- Kids’ room display shelves for tiny books or soft decor
- Renters who want the easiest removal later
How to do it
- Choose a shelf that is specifically lightweight. This method is not for thick wood floating shelves.
- Clean the wall gently and let it dry fully. Skip spray cleaners that leave residue.
- Mark your shelf placement with painter’s tape and use a level.
- Apply the removable strips evenly so the weight is distributed across the back of the shelf.
- Press firmly for the recommended time.
- Wait before loading the shelf. Patience is part of the installation, not an optional side quest.
Why this method works
Removable strips are designed for lighter loads and cleaner removal. That makes them a smart choice for painted walls when you want less risk than permanent mounting tape. If you’re decorating a dorm, apartment, nursery, or home office, this is often the sweetest spot between function and wall safety.
What not to put on this kind of shelf
- Heavy books
- Ceramic planters filled with wet soil
- Large glass containers
- Anything breakable and expensive
- Anything that would make you cry if it fell at 2 a.m.
Pro tip: If you’re using removable strips on painted drywall, smaller shelves with shallow depth usually perform better than longer or deeper shelves. A narrow ledge creates less leverage, which means less stress on the adhesive.
Method 2: Use Heavy-Duty Adhesive Shelf Kits or Mounting Tape on Smooth, Hard Surfaces
If Method 1 is the light-and-temporary option, this method is the grown-up cousin. Adhesive shelf kits and heavy-duty mounting tapes can handle more than removable strips, but they also demand better surfaces and smarter planning. These systems shine on tile, glass, mirror, smooth metal, and finished surfaces in kitchens and bathrooms.
This is the best approach for no-drill bathroom shelves, shower caddies, small spice shelves, and compact kitchen organizers. Many purpose-built adhesive shelf products are designed specifically for humid environments and smooth surfaces where suction cups often give up halfway through the week.
Best for
- Tile backsplashes
- Shower walls
- Bathroom storage shelves
- Small kitchen organizer shelves
- Metal or glass walls and panels
How to do it
- Pick a shelf or caddy made for adhesive installation, not a regular bracket shelf you’re trying to outsmart.
- Clean the surface thoroughly and let it dry completely.
- Test-fit the shelf before removing any backing.
- Apply the adhesive exactly as directed, with even pressure.
- Give the adhesive time to bond before loading the shelf.
- Start with light items first, then add weight gradually.
Why this method works
Purpose-built adhesive shelves are engineered for specific surfaces and weight ranges. In bathrooms, especially, adhesive systems often outperform traditional suction cups because they create a more stable bond instead of relying on vacuum pressure alone. That makes them far better for shampoo bottles, soap, skincare, and small daily-use storage.
Where people mess this up
- Using permanent tape on textured paint and hoping for the best
- Skipping surface prep
- Mounting on dusty grout lines instead of smooth tile
- Loading the shelf immediately
- Assuming “heavy-duty” means “bookshelf”
Important reality check: Heavy-duty mounting tape can be incredibly strong, but it is not always removable in a renter-friendly way. If preserving paint matters, use this method more carefully on drywall and more confidently on hard, nonporous surfaces like tile or glass.
Method 3: Use Tool-Free Drywall Shelf Systems for More Strength Without Drilling
If you want a shelf that looks more like a real shelf and less like a clever adhesive hack, tool-free drywall shelf systems are worth a look. These products are designed to install into drywall without a drill, and they can often support more weight than adhesive-only methods.
Now for the fine print: this method is non-drilling, but not always completely hole-free. Some systems use built-in mounting hardware that presses or taps into drywall. So if your definition of “without nails” means “nothing sharp ever touches the wall,” this may not be your favorite. If your real goal is “no drill, no complicated installation, and no giant wall damage,” this is a strong option.
Best for
- Drywall only
- Entryway shelves
- Bedroom and living room display shelves
- Moderate-weight decor
- People who want a more polished floating-shelf look
How to do it
- Confirm the shelf is rated for drywall and check the weight limit.
- Mark the location carefully with a level.
- Install the mounting hardware according to the product instructions.
- Seat the shelf securely.
- Load it conservatively and distribute items evenly.
Why this method works
Unlike adhesive-only solutions, tool-free drywall shelves use mechanical support. That means they’re often more stable for medium-weight display use. They can be ideal when you want the look of floating shelves but don’t want to deal with anchors, studs, drills, dust, and that one mysterious screw you always lose under the couch.
When to choose this over adhesive
Choose a tool-free drywall shelf when you want something sturdier than removable strips, but still want a fast installation. It’s especially useful for decorative wall styling in bedrooms, hallways, and offices where the shelf needs to look substantial but won’t be carrying library-level weight.
How to Choose the Right No-Drill Shelf Method
Still deciding? Here’s the easiest way to think about it:
Choose removable strips if…
- You’re renting
- Your shelf is very light
- You may want to move it later
- You’re working on painted drywall
Choose adhesive shelf kits or mounting tape if…
- You have tile, glass, mirror, or metal
- You want bathroom or kitchen storage
- You need a cleaner look than hooks and baskets
- You can accept a more permanent bond
Choose tool-free drywall shelves if…
- You want a more shelf-like shelf
- You need moderate strength
- You’re okay with minimal wall marks but no drilling
- You’re installing on drywall, not tile or brick
Common Mistakes That Make No-Drill Shelves Fail
Most no-drill shelf disasters are not caused by bad luck. They’re caused by one of these classic DIY plot twists:
- Ignoring the wall texture: Adhesives hate rough surfaces.
- Skipping surface prep: Dust and grease are silent shelf assassins.
- Overloading the shelf: A weight limit is not a suggestion.
- Using the wrong adhesive for the room: Bathrooms need moisture-friendly solutions.
- Not waiting for cure time: Fresh adhesive is not fully committed yet.
- Creating too much leverage: Deep shelves pull harder on the wall than shallow ledges.
Can You Put Books on a Shelf Without Nails?
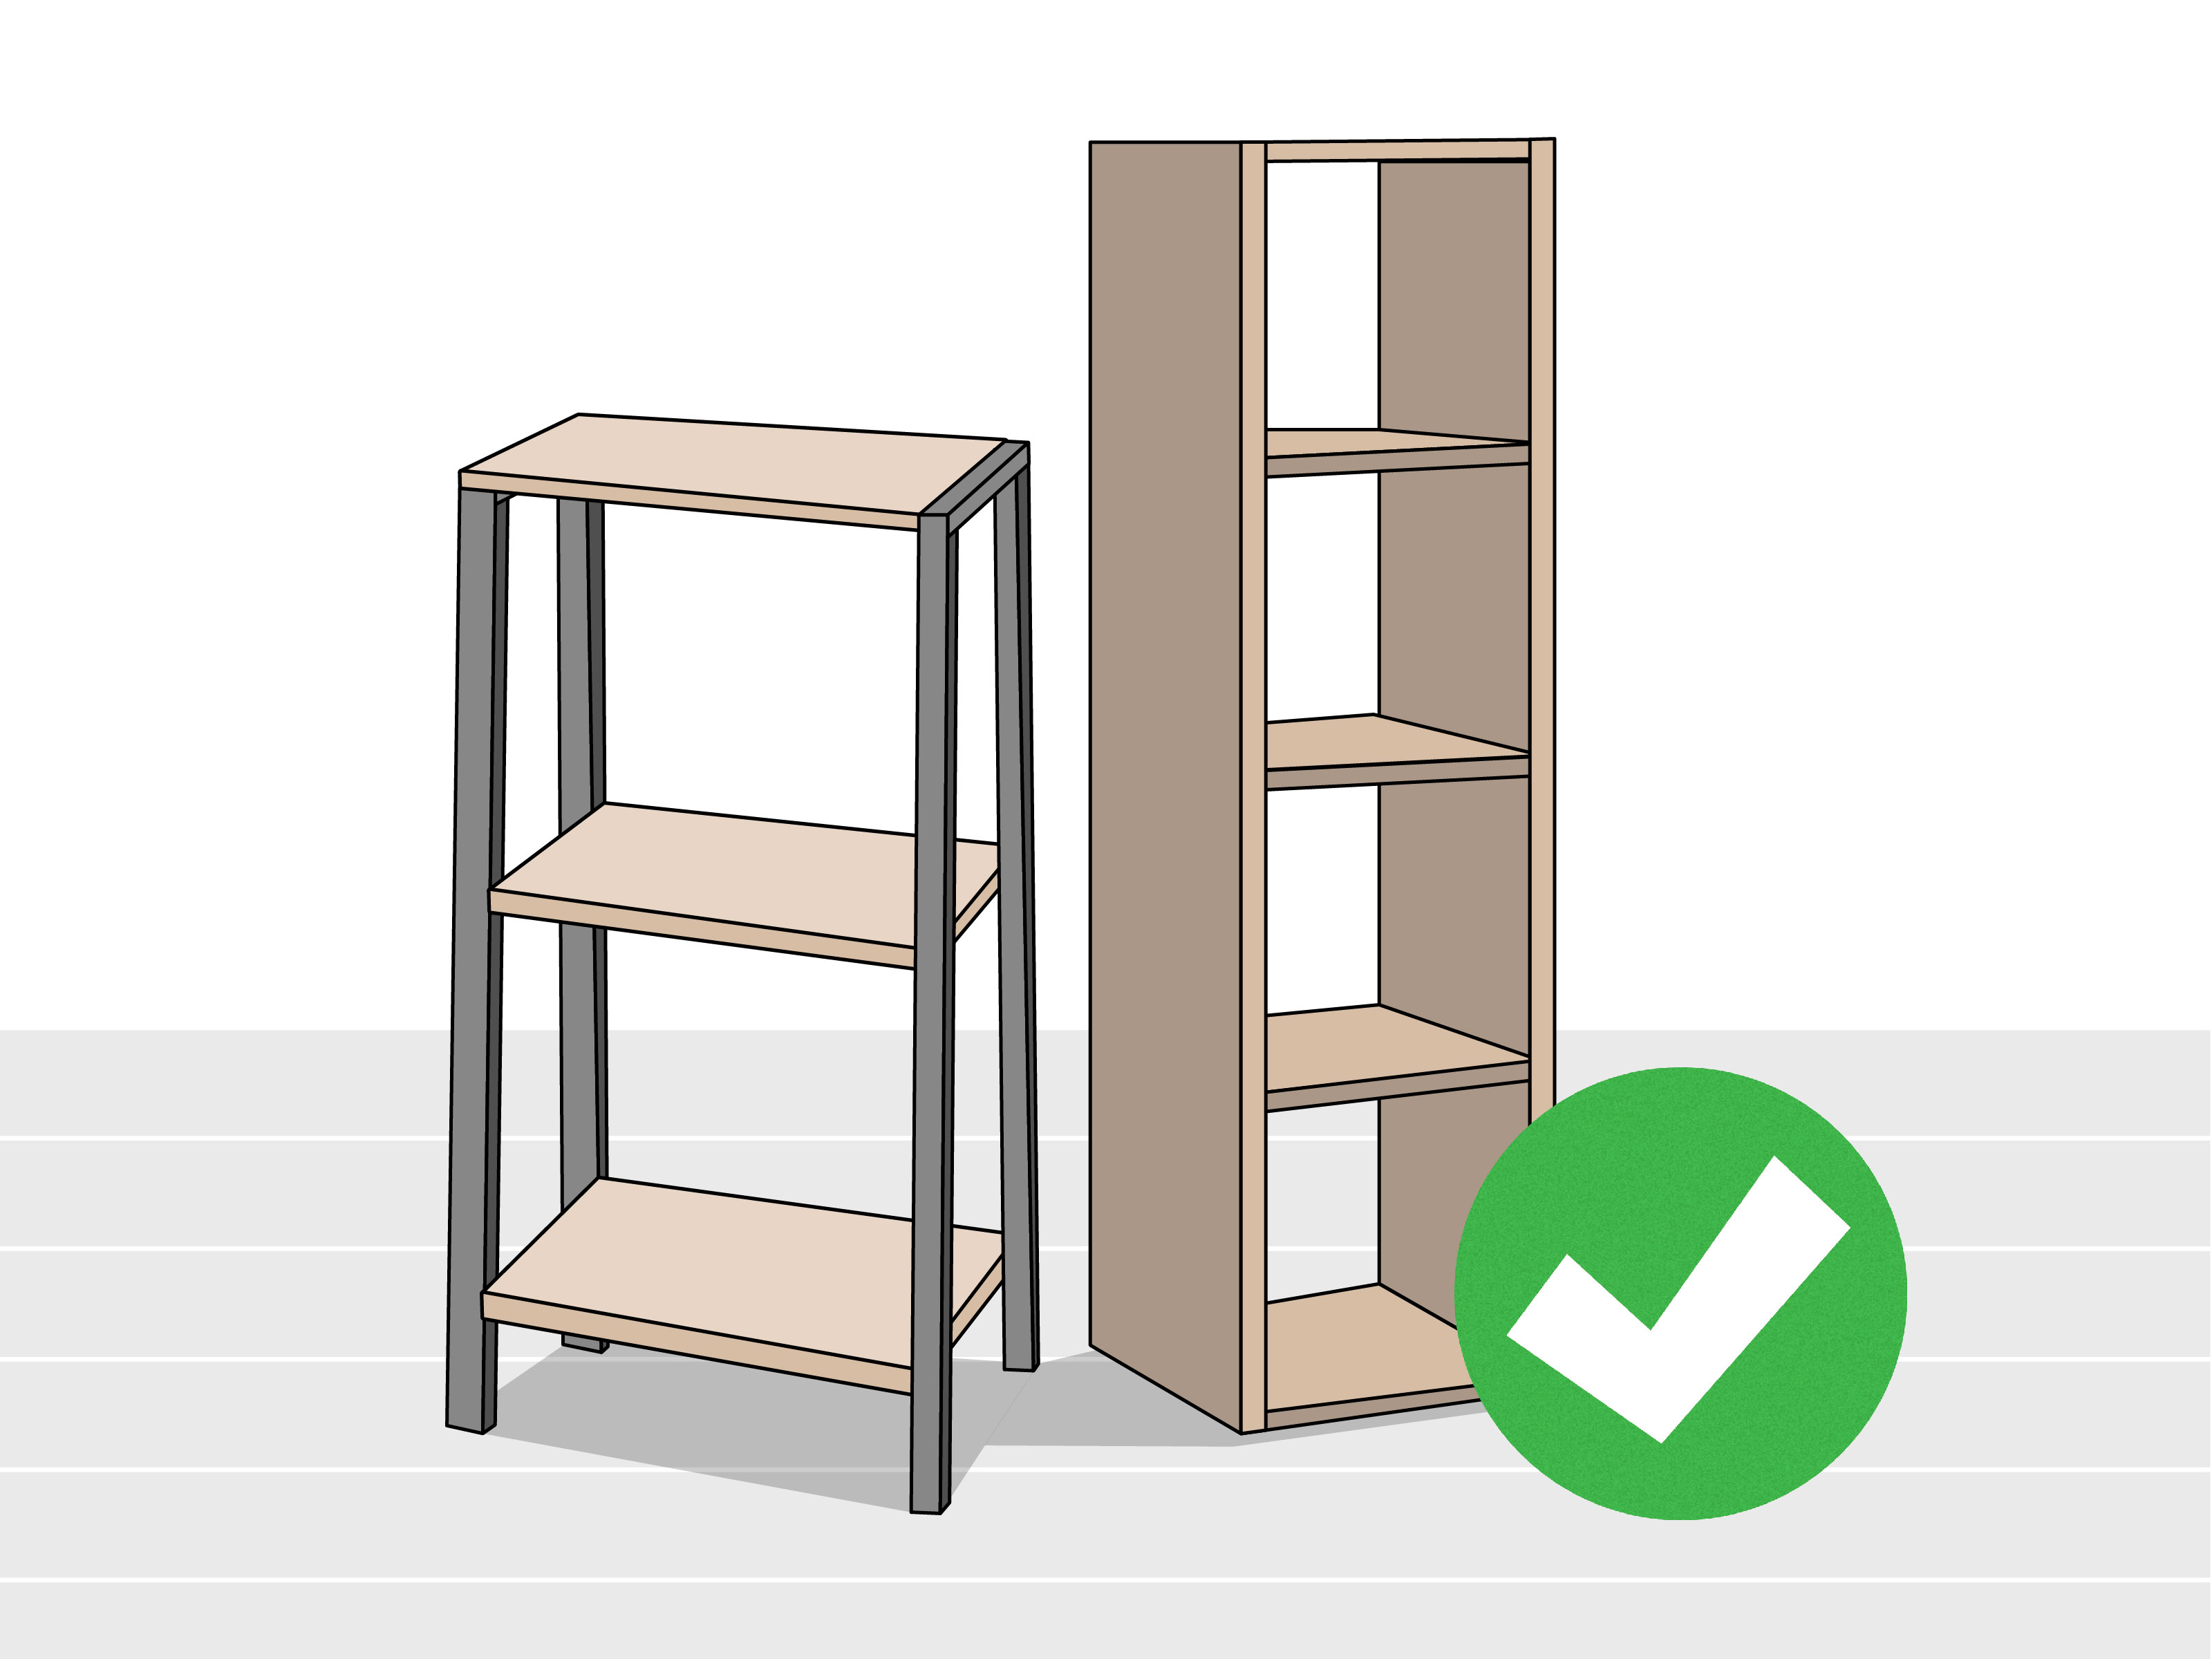
Usually, not safely unless the shelf system is specifically designed for that load. Heavy books create more downward force and more forward pull than most non-drilling shelf methods are meant to handle. If you need serious storage, a freestanding bookshelf, wall-mounted system installed into studs, or a robust drywall shelf system is the better answer.
For drill-free shelves, think light and practical: spices, skincare, framed photos, small decor, remote controls, sunglasses, or tiny plants. In other words, style shelves, not survival shelves.
Real-World Experiences With No-Drill Shelves
In real homes, no-drill shelf projects usually fall into two categories: the ones that feel surprisingly easy, and the ones that become a master class in why instructions exist. The easiest wins tend to happen in bathrooms and kitchens with smooth tile, glass, or metal surfaces. That’s where adhesive shelf kits really shine. People add a shower shelf for shampoo, a small ledge for skincare near a vanity, or a spice shelf on a backsplash, and the result feels almost suspiciously simple. Clean the wall, line it up, press it on, wait, and suddenly that dead space becomes useful. It’s the kind of project that makes you feel wildly competent for the rest of the day.
Painted drywall is where the drama starts. Not always bad drama, but definitely “read the package twice” drama. A lot of people assume that if an adhesive can hold a frame, it can hold a shelf full of objects. That is where optimism turns into cleanup. Lightweight ledges can absolutely work on painted walls, especially when they’re shallow and used for small decor. But the experience tends to be best when the shelf is treated like a display feature, not a storage powerhouse. A framed photo, a candle, a tiny air plant, and a small clock? Lovely. Three hardcover cookbooks and a ceramic vase? That’s a future floor event.
Tool-free drywall shelves tend to create the most pleasant surprise. People often expect them to feel flimsy because there’s no drill involved, but many of these shelves look far more substantial once installed. The big lesson from user experience is simple: when the product is designed specifically for drywall and installed exactly as directed, it often performs much better than improvised adhesive hacks. The shelf feels more stable, the finished look is cleaner, and the project takes a lot less time than a traditional install. The only catch is that this method is better for people who are okay with a little honesty about the wall. It may be drill-free, but it is not magic. Some minimal wall marking can still happen.
Another common experience is discovering that location matters almost as much as weight. A no-drill shelf near a steamy shower, a sunny window, or a frequently slammed door has a harder life than one in a calm bedroom corner. Heat, moisture, vibration, and daily bumps can all stress the bond over time. That’s why the smartest setups are usually boring in the best possible way: a stable wall, a suitable surface, a shelf that isn’t overloaded, and a person who actually waited the recommended cure time instead of saying, “Eh, it’s probably fine.”
The most successful no-drill shelf users are not the most fearless. They’re the most realistic. They match the method to the wall, they choose lighter items, and they resist the urge to turn one tiny floating ledge into a full-service storage center. Do that, and no-drill shelves can look clean, useful, and impressively intentional. Ignore that, and your shelf may become a very brief art installation followed by a loud noise.
Final Thoughts
If you’re wondering how to hang shelves without nails, the answer is not one-size-fits-all. The best method depends on your wall type, your weight needs, and how reversible you want the project to be. Removable adhesive strips are best for ultra-light shelves on painted walls. Adhesive shelf kits and heavy-duty tape work best on smooth, hard surfaces like tile and glass. Tool-free drywall shelf systems are the strongest non-drilling option when you want something more substantial.
Choose the shelf honestly, prep the surface carefully, and keep the load reasonable. Do that, and you can absolutely add storage without turning your wall into Swiss cheese.