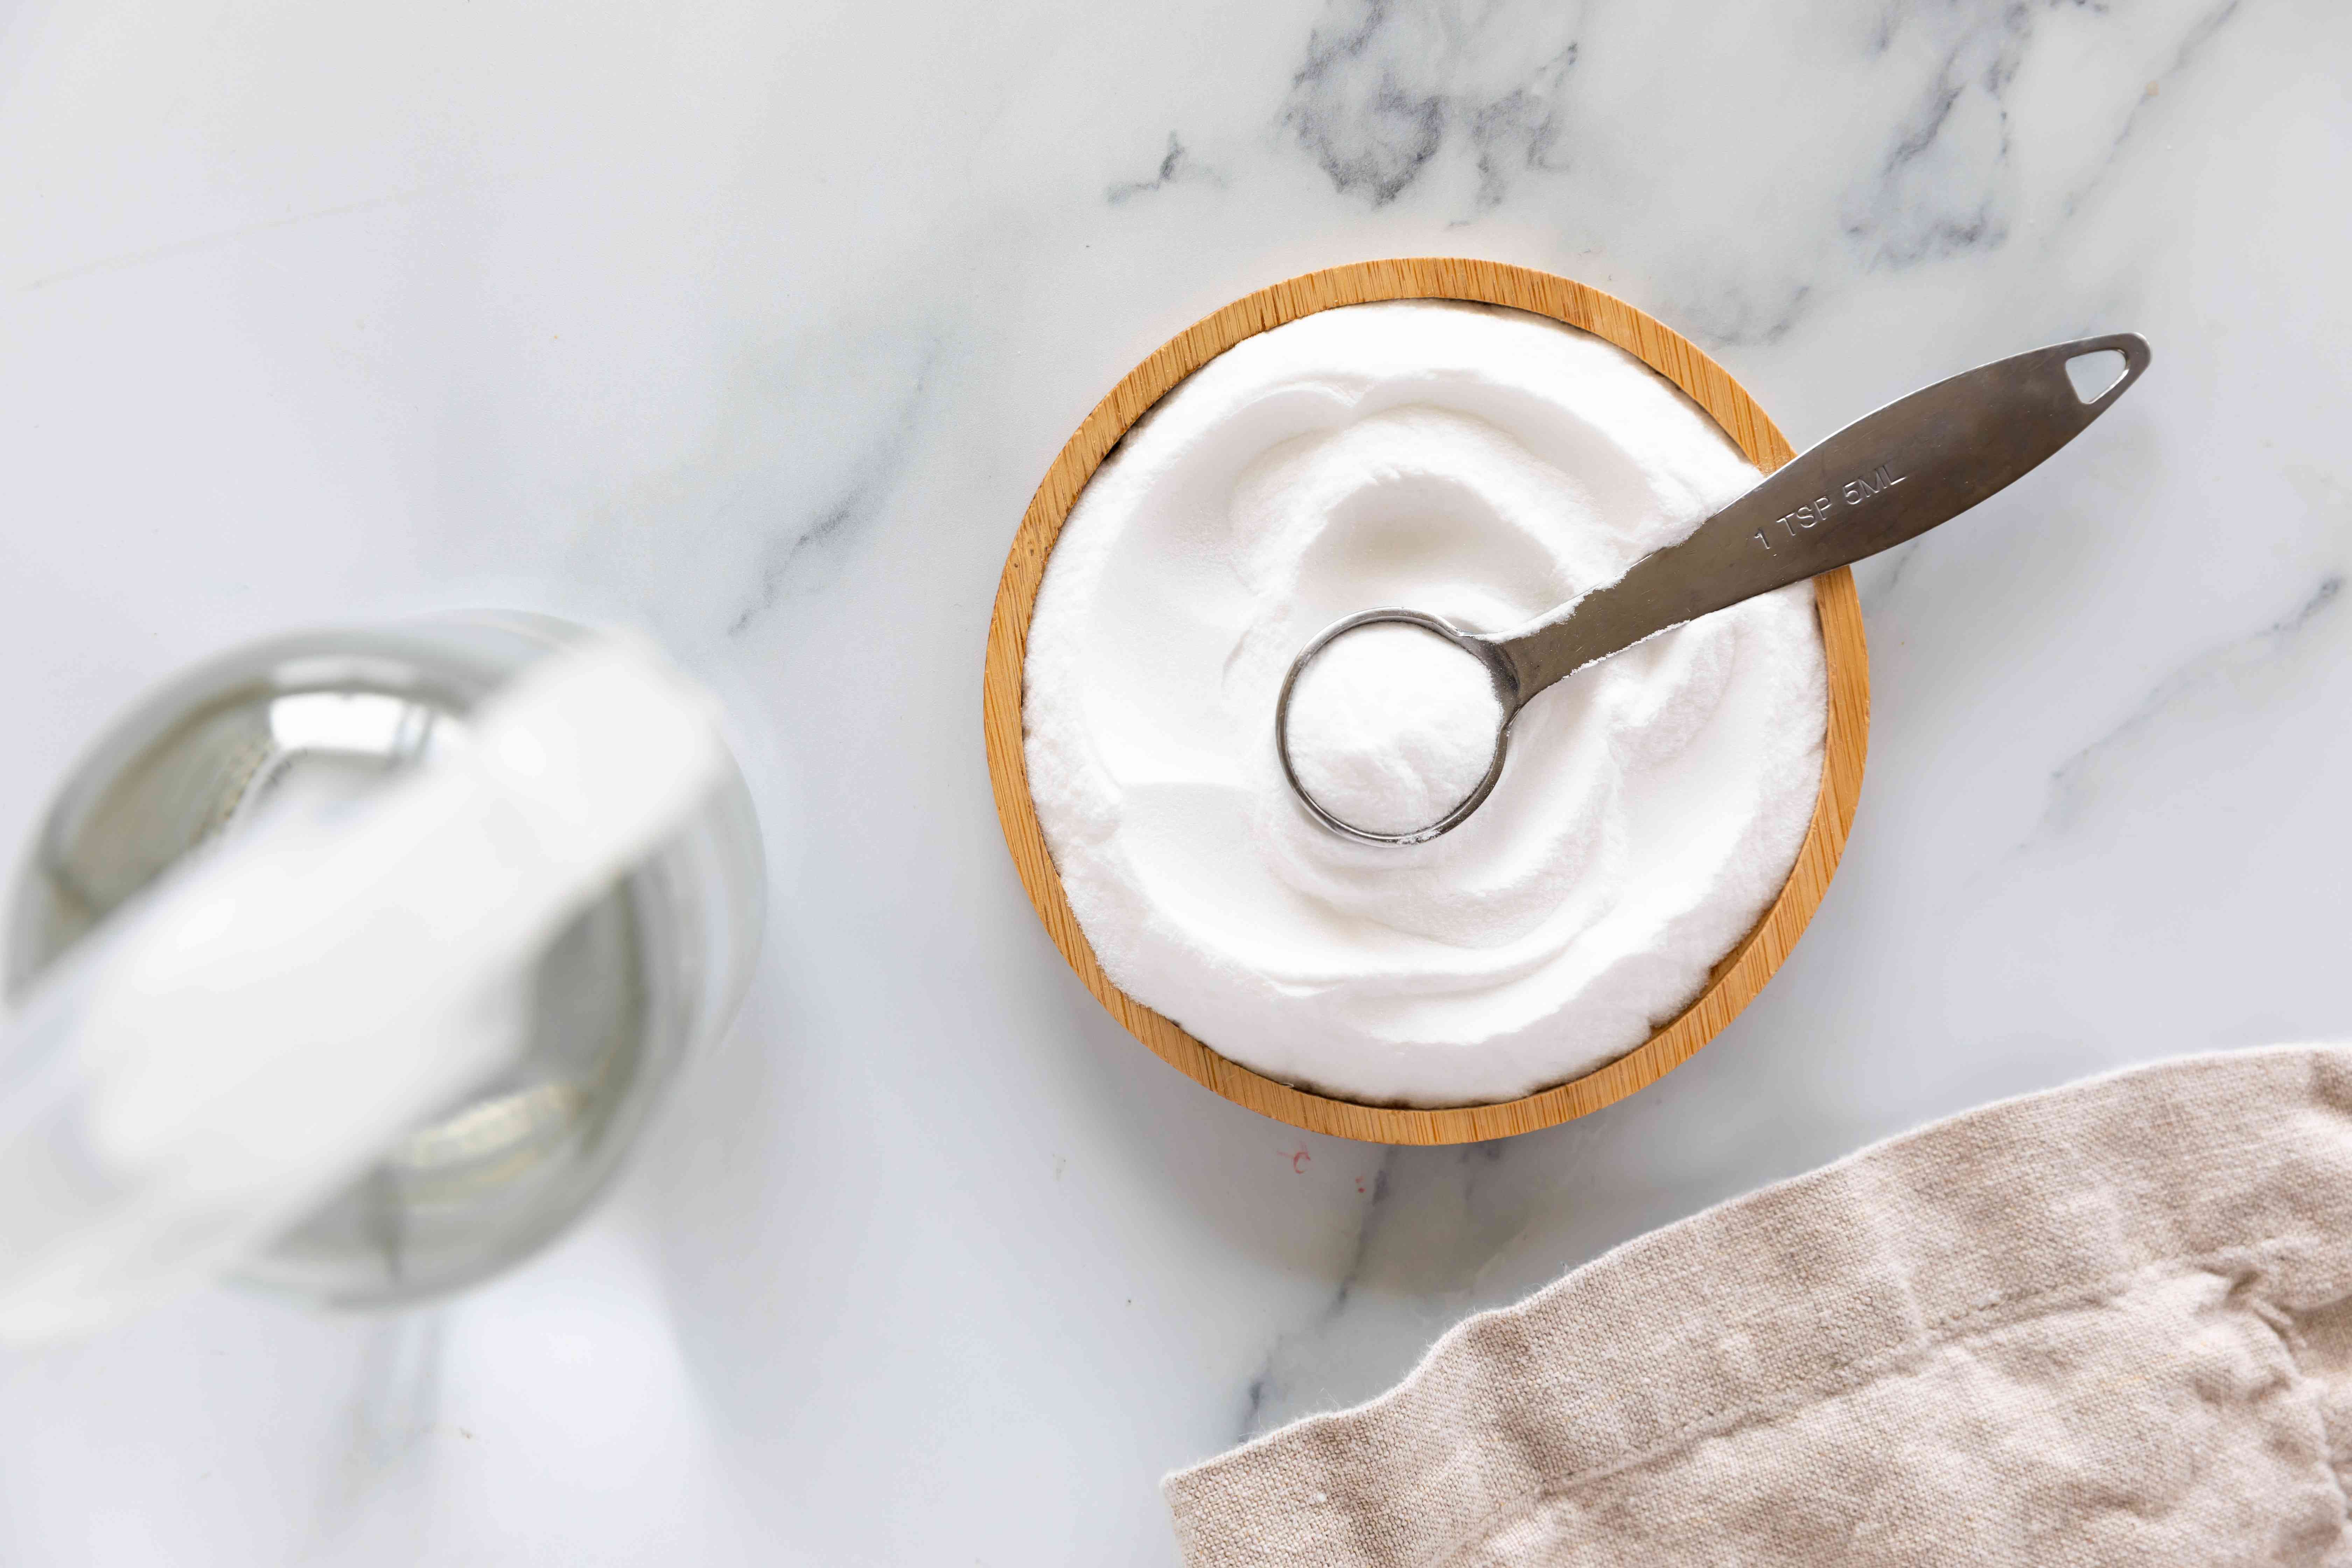
If your kitchen could talk, it would probably ask for two things: a nap and a deep clean. Luckily, you don’t need a cabinet full of mystery sprays with labels that read like a chemistry exam. According to cleaning pros, one of the most versatile, budget-friendly tools is already sitting in your pantry: baking soda.
It’s not “magic dust.” It’s better: it’s predictable. Baking soda is a gentle abrasive (think “polite scrub”), it’s alkaline (helpful against greasy grime), and it’s great at absorbing odors. Used the right way, it can handle everything from a funky fridge to a sad, splattered stovetopwithout turning your kitchen into a perfume aisle.
Why Pros Reach for Baking Soda
Professional cleaners like baking soda because it does three jobs at once:
- Degreases with a boost: Its alkaline nature can help loosen greasy residue so you’re not “scrubbing for cardio.”
- Scrubs gently: It adds grit without (usually) damaging surfacesif you use the right cloth and pressure.
- Deodorizes: It helps neutralize smells instead of masking them with “Ocean Breeze Mountain Rain.”
One important truth, though: baking soda is a cleanernot a disinfectant. If you’re cleaning after raw meat prep, illness, or anything that needs true sanitation, follow up with an appropriate disinfectant according to the product label.
Before You Start: 5-Minute Setup (Pros Swear by This Part)
Gather your tools
- Baking soda (obviously)
- Microfiber cloths (at least 3)
- Non-scratch sponge
- Soft-bristled toothbrush (for crevices and hardware)
- Dish soap (grease’s sworn enemy)
- Spray bottle (optional)
- A small bowl for mixing paste
- Warm water
Make the “pro-approved” baking soda forms
- Dry sprinkle: Best for sinks, quick scrubs, and deodorizing.
- Spreadable paste: Mix baking soda with a little water until it’s like frosting (but please don’t taste it).
- Countertop paste ratio (great for spot stains): 3 parts baking soda to 1 part water for a gentle scrubby paste.
- All-purpose wipe solution (optional): Add a small amount of baking soda to warm water in a spray bottle for light cleaning. (This is for wiping, not heavy scrubbing.)
Do a quick “what NOT to clean” check
Pros also know when not to use baking soda. Skip it (or be extremely cautious) on:
- Natural stone and some sealed stone surfaces (like marble, granite, and sometimes quartz): baking soda can dull finishes or damage sealants.
- Glass and mirrors: it can cause fine scratches over time.
- Stainless steel appliance exteriors: it can scratch or dull if you scrub too hard (a sink is often sturdier than a fridge door finish).
- Aluminum cookware: it can discolor/oxidize.
- Anything with a delicate coating: when in doubt, spot-test in a hidden area first.
Also: never mix baking soda with bleach (or any harsh chemicals). Keep it simple and safe.
The Pro Order: Clean Your Kitchen With Baking Soda (Without Backtracking)
Professionals tend to clean top-to-bottom and dry-to-wet. That keeps dust and crumbs from reappearing like they pay rent.
Step 1: Fridge First (Because Odors Shouldn’t Be a Surprise)
Deep clean spills and sticky shelves
- Remove food and shelves/drawers if possible.
- Wipe out crumbs and dried gunk with a damp cloth.
- Use a baking soda paste on sticky spots and shelf rings. Gently scrub with a soft sponge or cloth.
- Wipe with clean water until there’s no residue (baking soda likes to leave a little “dust souvenir” if you rush).
- Dry everything before restocking.
Deodorize like a grown-up (not like a scented candle)
Place an open box or small container of baking soda on a shelf to help absorb odors. If the smell is strong, pros recommend removing the source first (expired food, spills), then letting baking soda do the “freshening” work over the next few days.
Pro tip: If your fridge smells like “mystery leftovers,” don’t just deodorizeclean the crisper drawer, the shelf edges, and the door bins. Odors cling to tiny, overlooked spills.
Step 2: Cabinets & Hardware (The Fingerprint Hall of Fame)
Hardware: quick shine, minimal drama
- Make a thin baking soda paste.
- Apply to knobs/pulls.
- Scrub gently with a toothbrush, focusing on edges and decorative grooves.
- Wipe clean with a damp microfiber cloth, then dry.
Cabinet fronts
Greasy spots near the stove are common. Pros often recommend using a light paste and a microfiber cloth, then wiping thoroughly with clean water so your cabinets don’t look “chalky” in certain lighting (the kitchen equivalent of flashback in photos).
Step 3: Countertops & Backsplash (Stains, Meet Your Match)
For many common countertop materials (like laminate and some solid surfaces), a baking soda paste can be a great spot cleanerespecially for dried spills, coffee rings, and mystery splatters.
For safe surfaces: use the 3:1 paste method
- Mix 3 parts baking soda with 1 part water to form a spreadable paste.
- Apply to stains or sticky areas.
- Gently scrub with a non-scratch sponge.
- Wipe with a damp microfiber cloth until residue is gone.
If you have stone counters
If your countertops are marble, granite, or quartz, be cautious. Many pros advise using a stone-safe, pH-neutral cleaner instead of baking soda to avoid dulling the finish or damaging sealants. When you’re unsure, check the countertop manufacturer’s care guidelines or spot-test in an inconspicuous place.
Step 4: Sink & Faucet (Where Baking Soda Truly Shines)
Pros commonly use baking soda for sinks because it scrubs without the harshness of heavy abrasives.
Stainless steel sink
- Wet the sink.
- Sprinkle baking soda generously.
- Scrub with a damp microfiber cloth or non-scratch sponge, following the grain if visible.
- Rinse with cool water and wipe dry for a cleaner finish.
Faucet and fixtures
Put baking soda on a damp cloth and gently buff. Then rinse/wipe with clean water and dry. The “dry” step is what makes it look polished instead of spotted.
Step 5: Stovetop & Range (The Grease Zone)
Daily-ish stovetop wipe
- Remove loose crumbs.
- Use a damp cloth with a little dish soap for general grease.
- For stuck-on bits, use a baking soda paste and let it sit 5–10 minutes before gently scrubbing.
- Wipe with clean water to remove residue.
Burned-on spots and drip pans
Cleaning pros often use baking soda to help lift stubborn cooked-on grime. For really gnarly bits, allow paste time to work before scrubbing. Time is the secret ingredient people skip because it’s not sold in a spray bottle.
Step 6: Oven (The Baking Soda “Spa Day” Method)
If your oven has ever smoked when you turned it on, this section is for you.
Option A: Steam + paste (pro favorite for heavy grime)
- Remove racks, liners, and thermometer (if you use one).
- Place an oven-safe dish with water inside, heat the oven (then turn it off) to create steam that softens grime.
- Let the oven cool completely.
- Mix a spreadable paste: 1 cup baking soda + about 2 tablespoons water. (Add a tiny bit of dish soap if you want more grease-cutting power.)
- Spread paste over the interior (avoid heating elements).
- Let it sit at least 1 hour, or overnight for serious buildup.
- Wipe out with a damp cloth, rinsing and repeating until residue is gone.
Option B: Overnight paste (simple and effective)
Another widely recommended pro method is the classic: coat the oven with baking soda paste, leave it overnight, then wipe clean the next day. It’s low-effort, high-rewardlike meal prep, but for your oven.
Oven racks
Clean racks separately with baking soda and warm water. If you choose to use vinegar in your routine, keep it separate from baking soda applications so you don’t end up with a foamy mess that doesn’t clean as well as you hoped.
Step 7: Microwave (Small Box, Big Crimes)
- Start with steam: microwave a bowl of water for a couple minutes to loosen splatters.
- Dip a damp cloth in baking soda (or use a light paste) and wipe the interior.
- Rinse with a clean damp cloth, then dry.
For the turntable, a gentle baking soda paste can help remove stuck-on bits. Just rinse thoroughly so you’re not reheating yesterday’s pasta with today’s baking soda dust.
Step 8: Dishwasher (Yes, the “Cleaning Machine” Needs Cleaning)
Pros often recommend a simple two-cycle routine to remove residue and odorswithout mixing ingredients into a science-fair volcano.
Pro method: two separate cycles
- Clean the filter: Remove it (check your manual), wash in warm soapy water, and scrub gently with baking soda if needed.
- Wipe the interior: Use a damp cloth with a sprinkle of baking soda for the walls and door edges.
- Cycle 1 (vinegar): Place a cup/bowl of distilled white vinegar on the top rack and run a hot cycle to help break down greasy residue.
- Cycle 2 (baking soda): After the vinegar cycle ends, sprinkle about 1 cup baking soda on the bottom and run a short hot cycle to neutralize odors.
The key: don’t use vinegar and baking soda in the same cycle. Pros warn it can create a foamy situation that’s more “bubble party” than “deep clean.”
Step 9: Sink Drain & Garbage Disposal (Out of Sight, Not Out of Smell)
For routine freshening (not a serious clog)
- Sprinkle baking soda into the drain.
- Let it sit briefly.
- Flush with hot water.
If you’re dealing with odors, many pros use baking soda as the gentle first step, followed by a thorough hot-water flush. For persistent issues or real clogs, consider a drain snake or professional help rather than relying on fizzy hacks.
A quick note on the baking soda + vinegar “myth”
Chemists point out that baking soda (a base) and vinegar (an acid) largely cancel each other out when mixedso the fizz looks impressive, but the end result isn’t a super-cleaner. If you use both, professionals typically recommend using them separately and strategically (for example, one after the other with a rinse in between), rather than expecting the bubbling to do all the work.
Step 10: Trash Can (The Final Boss)
Trash cans don’t just smellover time, they can become sticky, splattered, and weirdly dramatic for an object that literally exists to hold banana peels.
Fast deodorize between deep cleans
Sprinkle a small amount of baking soda in the bottom of the can (under the liner) to absorb odors.
Deep clean with baking soda
- Take the can outside or to a tub/shower if it fits.
- Rinse out debris.
- Scrub with a baking soda paste, focusing on the bottom edges and lid underside.
- Rinse thoroughly and dry completely before adding a new bag.
Pros love “dry completely” because trapped moisture is basically an open invitation for odors.
Bonus: Quick “Baking Soda Kitchen Checklist” You Can Repeat Weekly
- Sink: sprinkle, scrub, rinse, dry (2–3 minutes).
- Fridge: wipe visible spills; keep an open box/container for odors.
- Stovetop: paste for stuck-on bits; wipe residue thoroughly.
- Trash can: sprinkle a little baking soda under the liner.
- Dishwasher: quick wipe + check the filter.
500+ Words of “Experience”: What Pros See in Real Kitchens (And What Actually Works)
Professional cleaners don’t walk into picture-perfect kitchens. They walk into life: toddler handprints at eye level, coffee drips that somehow travel uphill, and a stovetop that looks like it hosted a tiny salsa festival. Over and over, pros say the biggest difference between “baking soda worked!” and “baking soda did nothing!” is techniquenot the ingredient.
One common real-world scenario: the stainless steel sink that has gone from shiny to cloudy. Many homeowners assume they need a stronger chemical, but pros often start with the simplest movebaking soda sprinkled on a damp microfiber clothbecause it removes buildup without turning the sink into a scratch-off ticket. The “experience” lesson here is pressure control: light pressure plus patience beats aggressive scrubbing. Pros notice that when people complain baking soda “scratched,” it’s usually because they used a too-rough pad, pushed too hard, or scrubbed an appliance finish that’s more delicate than a sink basin.
Another frequent one: the oven that’s been “meaning to be cleaned” since a holiday three seasons ago. Pros often describe oven cleaning as a waiting game. People want instant results, but baked-on grease is basically a fossil. Baking soda paste works best when it has time to soften and lift grime. In real homes, pros will apply paste and leave it overnight, because that’s when baking soda does its best work: slowly loosening the mess so it wipes out instead of requiring a full-body workout. And yespros also experience the moment of truth when someone wipes too early, sees “nothing happening,” and declares defeat. The overnight wait is the quiet hero.
Refrigerators bring a different type of experience: odor mysteries. Pros often say that baking soda is excellent at absorbing and neutralizing mild odors, but it cannot defeat a forgotten container of leftovers by vibes alone. In practical terms, they treat baking soda like the finishing move, not the opening act. They’ll remove old food, clean the sticky shelf edges (where spills hide), and then place an open box/container to keep smells from returning. In real kitchens, this is how it plays out: clean first, deodorize second, and don’t expect a “fresh fridge” if a spill is still living behind the crisper drawer.
Dishwashers also teach a classic lesson: the machine that cleans dishes still collects food bits and film. Pros commonly see performance issues that aren’t “broken dishwasher” problemsthey’re “filter is packed with yesterday’s pasta” problems. Baking soda helps with deodorizing and scrubbing, but the experienced pro move is maintenance: remove and rinse the filter, wipe the door gasket, and run a baking-soda cycle after addressing greasy residue (often with a separate vinegar cycle). The practical takeaway is that baking soda shines when you use it as part of a system: remove debris, run hot water, and keep steps separate so they actually do their job.
Finally, there’s the trash can: the underappreciated odor engine. Pros often say the simplest “experience-based” fix is also the least glamorousdrying. People rinse a can, toss in a liner, and trap moisture at the bottom, which turns into funk. Baking soda helps deodorize, but the real win is rinsing, scrubbing the corners with paste, and letting the can dry fully before relining. If pros could put one slogan on a cleaning caddy, it might be: “Don’t trap moisture.”
So if you want to clean like a pro, the “experience” isn’t about secret ingredients. It’s about small habits: gentle tools, enough dwell time, thorough rinsing, and using baking soda where it’s strongscrubbing and deodorizingwhile respecting where it can cause damage (stone, glass, delicate finishes). In other words: baking soda is powerful, but it’s not a bulldozer. It’s a smart multitooluse it like one.
Conclusion: Your Kitchen, But Cleaner (And Without a Chemical Cocktail)
Baking soda is one of the most pro-approved, pantry-friendly ways to clean a kitchen because it’s flexible: sprinkle for scrubbing, paste for stuck-on grime, and a simple open box/container for odors. The key is using it thoughtfullyon the right surfaces, with gentle tools, and with enough time to work.
If you take just one pro habit from this guide, make it this: slow down for the “dwell time.” Let the paste sit. Let the deodorizing work. Then wipe, rinse, and dry like you mean it. Your future self (and your nose) will thank you.