Building your own chemistry lab sounds like the opening scene of either a Nobel Prize biography or a very expensive insurance claim. The difference is planning. A good home chemistry lab is not a secret cave full of mysterious bubbling liquids; it is a clean, organized, safety-first learning space where curiosity wears goggles, labels its containers, and does not pretend the kitchen sink is a waste-disposal department.
This guide explains how to build your own chemistry lab for education, observation, and beginner-friendly science projects. The focus is on safe home chemistry, not professional research, chemical synthesis, hazardous reagents, or anything that belongs in a licensed facility. Think of this as creating a small science studio: part workspace, part classroom, part “please do not knock over that beaker” zone.
Whether you are a student, parent, teacher, hobby learner, or lifelong science fan, the goal is simple: create a home lab that helps you learn chemistry without turning your home into a safety case study.
What a Home Chemistry Lab Should Be
A home chemistry lab should be a dedicated area for safe experiments, careful observation, recordkeeping, and basic scientific thinking. It does not need to be dramatic. In fact, the best beginner lab is almost boring in the best possible way: stable table, good lighting, labeled materials, safety gear, ventilation, a notebook, and a strict rule that experiments end with cleanupnot with “I’ll deal with it tomorrow.”
A safe home chemistry setup should focus on low-risk activities such as testing pH with natural indicators, comparing solubility, studying crystallization, observing density, exploring mixtures and solutions, and learning proper lab technique. These activities teach real chemistry concepts without requiring dangerous chemicals or advanced equipment.
Start With the Right Mindset: Safety Is the Main Equipment
Before buying anything, build your safety system. Professional labs rely on hazard assessment, personal protective equipment, clear procedures, emergency planning, and proper storage. A home lab should borrow that mindset, even if the actual experiments are simple.
Use the RAMP Approach
A useful safety framework is RAMP: Recognize hazards, Assess risks, Minimize risks, and Prepare for emergencies. In plain English: know what could go wrong, decide whether the activity is worth doing, make it safer before starting, and know what to do if something spills, breaks, splashes, or surprises you.
For example, even a simple vinegar-and-baking-soda demonstration can become messy if done in a tiny container. A color-change activity can stain surfaces if performed on Grandma’s antique dining table. A harmless-looking powder can irritate eyes if handled carelessly. Chemistry is not scary, but it is very good at punishing overconfidence.
Choose the Best Location for Your Chemistry Lab
The best place for a home chemistry lab is a low-traffic, well-lit, well-ventilated area that can be cleaned easily. A garage workbench, laundry-room counter, covered utility table, or spare-room desk can work well. A kitchen counter is less ideal because food and experiments should never share the same workspace. Chemistry and sandwiches are both wonderful; together, they are a bad committee.
Look for These Features
Choose a space with a sturdy table, access to water nearby, washable flooring, bright lighting, and enough room to keep materials separated. Avoid carpet, crowded shelves, open flames, pets, younger siblings, and any location where people might bump into the setup. If minors are using the lab, adult supervision should be part of the plan, not a decorative suggestion.
Ventilation matters. For a beginner home lab, that means fresh air, open space, and avoiding activities that create fumes. A normal home setup is not a substitute for a professional fume hood. If an experiment requires a fume hood, specialized ventilation, respirators, strong acids, strong bases, volatile solvents, or reactive materials, it does not belong in a basic home chemistry lab.
Build a Safe Work Surface
Your work surface should be stable, flat, and easy to clean. Cover it with a washable lab mat, plastic tray, or chemical-resistant work liner designed for classroom use. For beginner activities using household-safe materials, a large plastic tray with raised edges can prevent small spills from becoming floor events. Science is more fun when it stays on the table.
Keep the setup uncluttered. Only bring out the materials needed for the activity you are doing. A crowded bench leads to tipped containers, mislabeled samples, and the classic “where did I put the dropper?” dance. Good lab organization reduces mistakes before they happen.
Essential Safety Gear for a Home Chemistry Lab
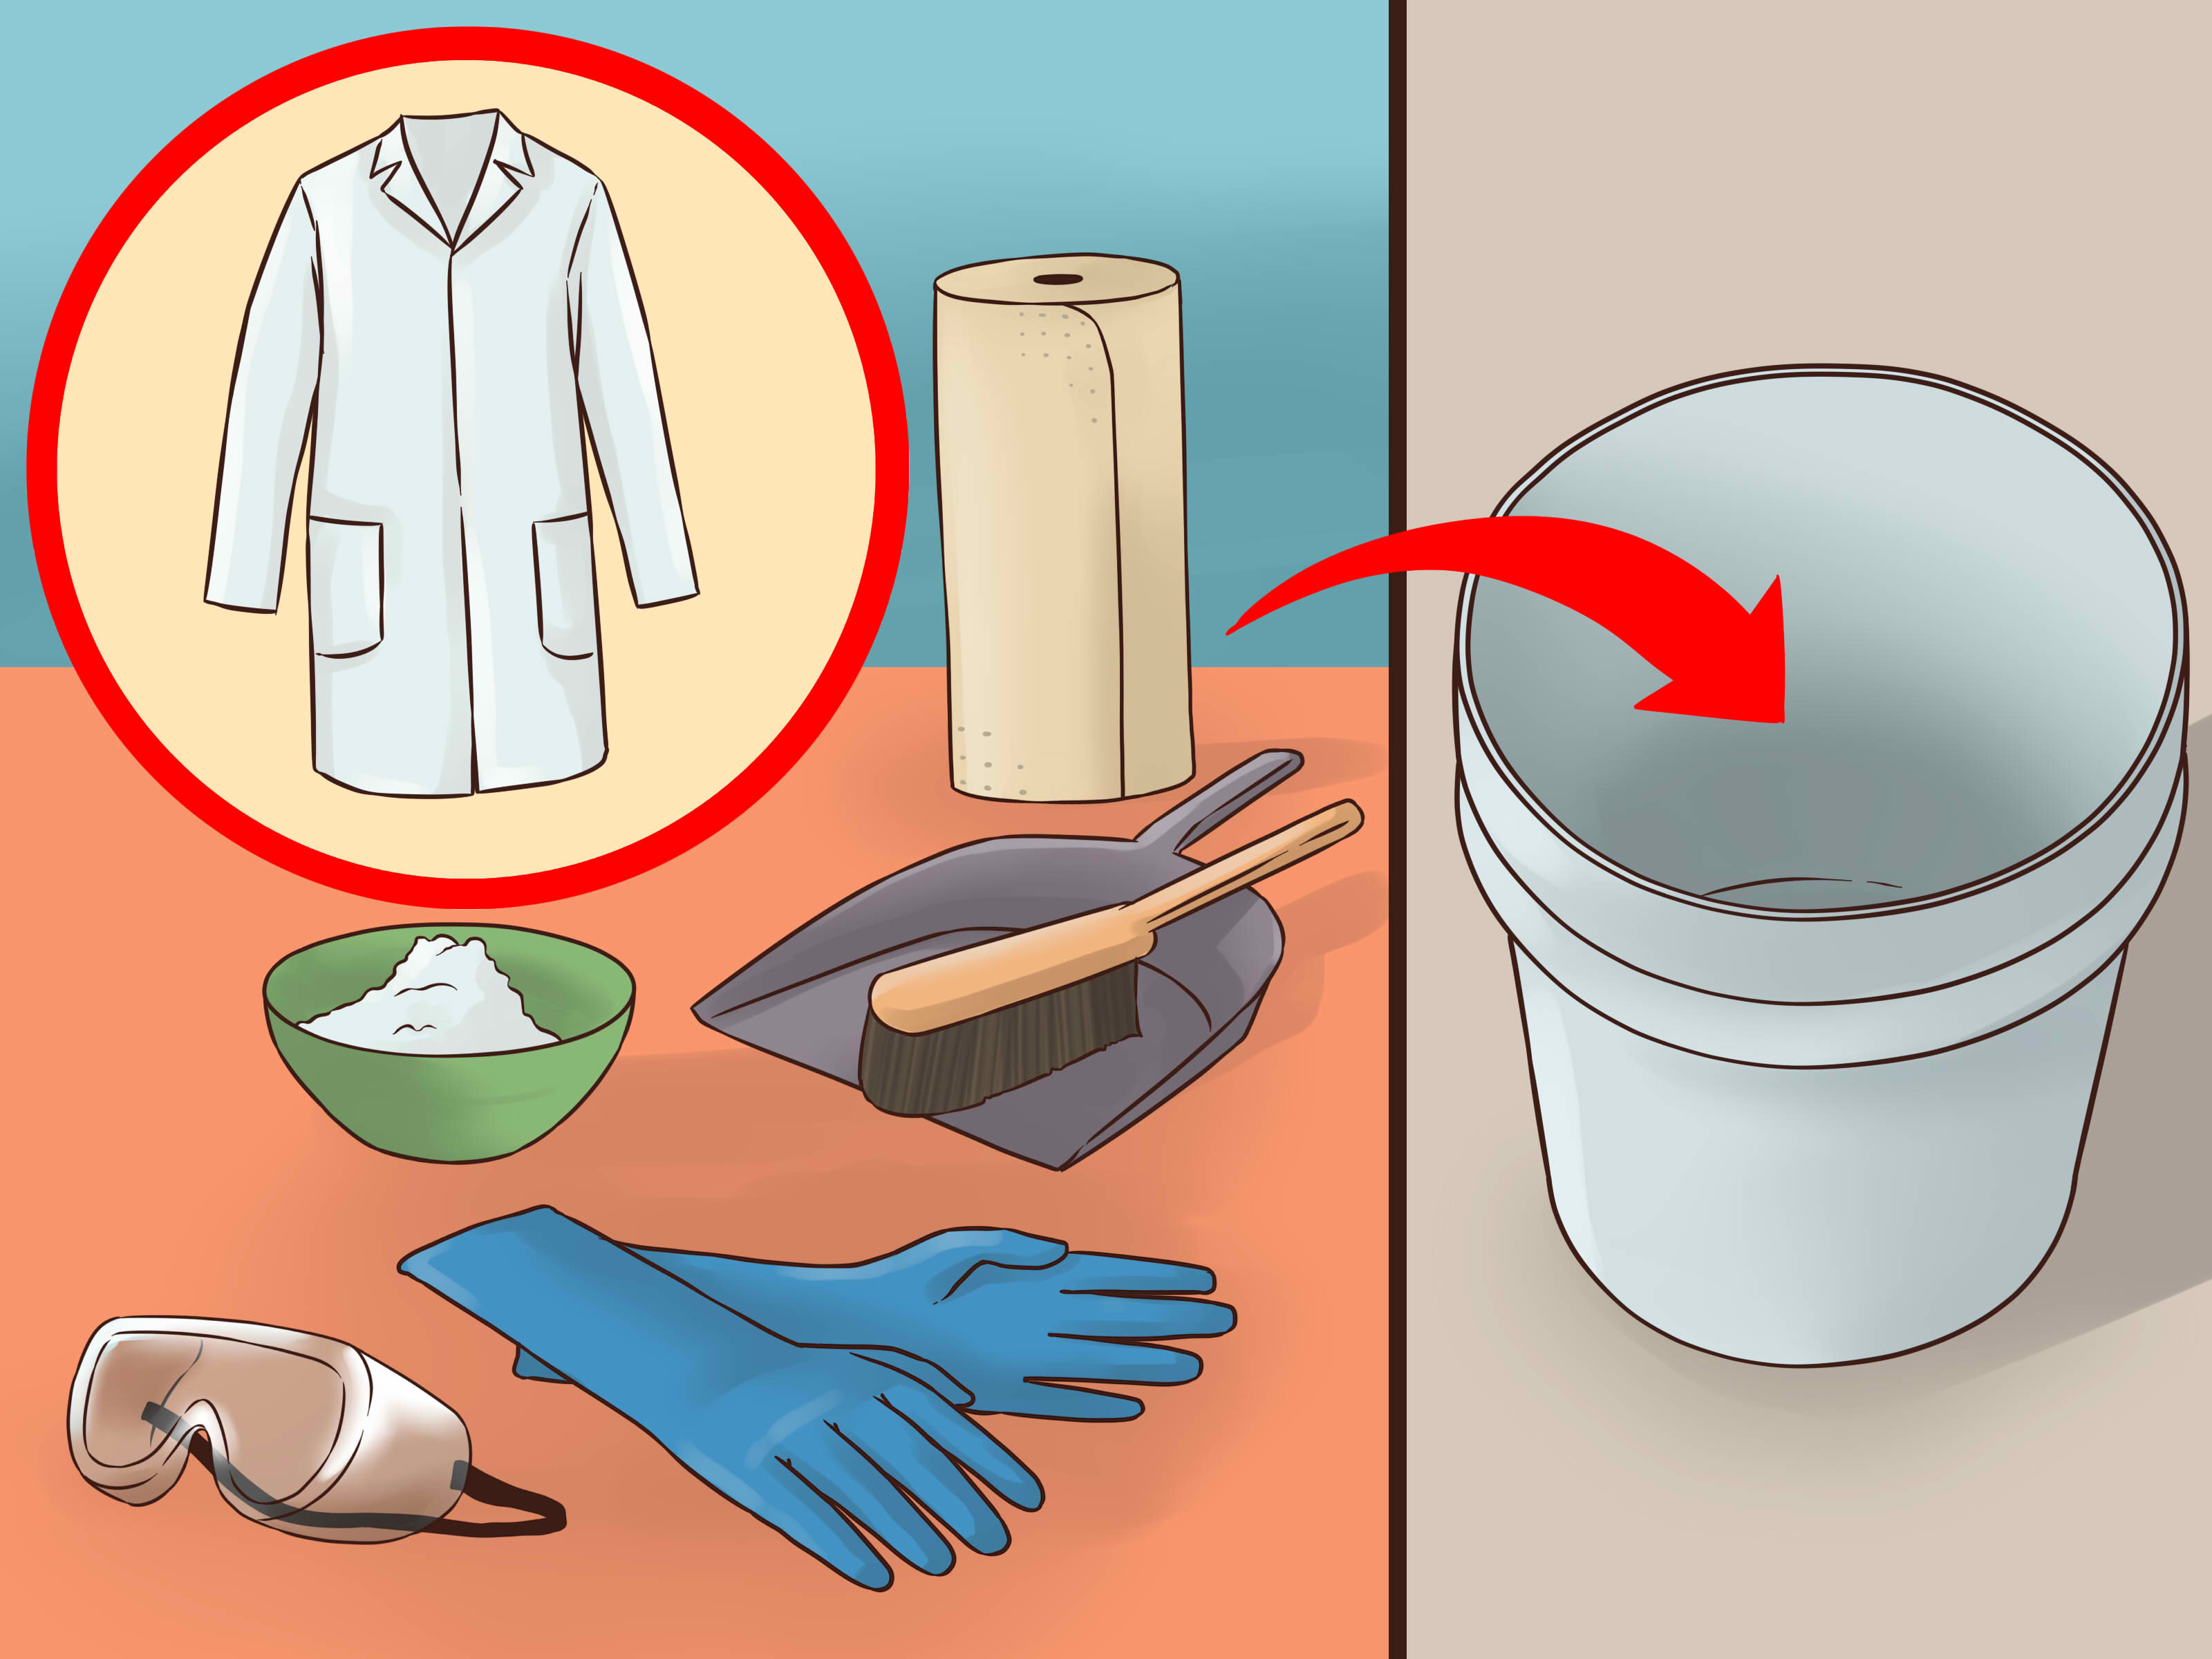
Safety gear is not optional. At minimum, a home chemistry lab should include splash-rated safety goggles, disposable nitrile gloves when appropriate, a lab apron or lab coat, closed-toe shoes, paper towels, a spill tray, hand soap, and a first-aid kit nearby. Long hair should be tied back, loose sleeves should be avoided, and snacks should stay out of the lab area.
Eye Protection Comes First
Ordinary glasses are not the same as chemical splash goggles. Safety glasses protect mainly from impact; splash goggles give better coverage against droplets. For chemistry activities involving liquids, goggles should fit securely and be worn before materials are opened. Nobody has ever looked less intelligent because they protected their eyes. The opposite, however, is historically easy to prove.
Gloves Are Useful, But Not Magic
Gloves help reduce contact with irritating materials, but they do not make unsafe work safe. Choose gloves suitable for the materials being handled, change them if they become contaminated, and never touch your face, phone, keyboard, or snacks while wearing them. Gloves are tools, not superhero armor.
Basic Equipment for a Beginner Chemistry Lab
A beginner home chemistry lab does not need expensive professional gear. Start simple and upgrade only when your skills and safety habits improve. Good beginner equipment includes measuring spoons, plastic pipettes, small clear cups, labeled jars, a digital kitchen scale, coffee filters, pH paper, a thermometer, stirring rods, funnels, plastic trays, a notebook, tape, markers, and sealable storage bins.
If you use glassware, choose sturdy borosilicate glass from reputable educational suppliers and handle it carefully. However, many beginner activities can be done with plastic containers, which are cheaper, lighter, and less dramatic when gravity decides to join the experiment.
Recommended Starter Setup
A practical starter setup might include one large work tray, one small storage bin for clean tools, one separate bin for activity materials, splash goggles, gloves, apron, pH strips, measuring tools, droppers, filters, labels, and a dedicated lab notebook. This setup supports many safe activities without creating a storage problem or a “what is this unlabeled mystery powder?” problem.
What Materials Should You Use?
For a safe home chemistry lab, focus on household or food-grade materials used in small amounts and according to label instructions. Examples include water, table salt, sugar, baking soda, vinegar, cornstarch, food coloring, cabbage indicator, vegetable oil, coffee filters, and ice. These materials can demonstrate solutions, mixtures, acids and bases, density, diffusion, filtration, crystallization, and physical changes.
Avoid storing or experimenting with hazardous chemicals at home. Do not use strong acids, strong bases, concentrated oxidizers, volatile solvents, reactive metals, unknown powders, pressurized gases, or anything that requires special disposal. Also avoid experiments involving open flames, sealed heating, toxic fumes, explosive reactions, or homemade synthesis. If an activity sounds like it needs a warning siren, it probably needs a real laboratory instead.
Chemical Storage: Small, Labeled, and Boring
Good storage is one of the most important parts of building your own chemistry lab. Keep materials in original containers whenever possible. If you transfer a safe material to a smaller container, label it clearly with the name, date, and basic caution notes. Never store anything in drink bottles or food containers. That rule exists because humans are distractible creatures with thumbs.
Store only small quantities. Keep materials away from heat, sunlight, pets, children, and food. Separate cleaning products from science materials. Never mix household cleaners. Many common cleaners are safe only when used as directed and can become dangerous when combined.
Create an inventory list. It can be as simple as a sheet of paper or a spreadsheet with columns for material name, date opened, storage location, and disposal notes. The point is not to look fancy; the point is to know what you have and prevent mystery containers from forming their own civilization.
Waste Disposal: Plan Before You Pour
Every experiment should begin with one question: “What waste will this create, and how will I dispose of it?” For safe household-material activities, disposal may be as simple as throwing away a used coffee filter or washing a small amount of food-safe residue with plenty of water. But never assume. Read product labels and local waste guidance.
Do not pour hazardous, unknown, oily, reactive, corrosive, or toxic substances down the drain, onto the ground, or into storm drains. If you accidentally create or inherit questionable materials, contact your local household hazardous waste program for guidance. Responsible disposal is part of chemistry. Dumping mystery liquid into the sink is not “being efficient”; it is outsourcing the problem to plumbing.
Documentation: The Lab Notebook Is Your Science Brain
A lab notebook turns activities into learning. Record the date, purpose, materials, observations, measurements, sketches, questions, and cleanup notes. You do not need Shakespearean prose. A clear note like “solution turned purple after adding cabbage indicator” is more useful than “the liquid achieved a majestic grape mood,” although both are emotionally valid.
Good documentation helps you repeat experiments, spot mistakes, compare results, and build scientific habits. It also teaches one of the most important lessons in chemistry: memory is unreliable, but a notebook with coffee stains is forever.
Safe Beginner Activities for a Home Chemistry Lab
Begin with activities that teach concepts without dangerous materials. A red cabbage indicator can show how acids and bases change color. Salt or sugar crystals can demonstrate evaporation and crystallization. Paper chromatography can separate pigments in washable markers. Density columns can compare how liquids layer. Filtration can separate mixtures. Cornstarch and water can introduce non-Newtonian behavior without requiring anything more terrifying than cleanup.
These projects are simple, but they are not childish. They introduce real chemistry vocabulary: solution, solvent, solute, mixture, indicator, concentration, density, polarity, phase change, and reaction rate. The magic is not in using dangerous chemicals. The magic is learning to observe carefully.
Rules That Keep Your Home Lab Safe
Every home chemistry lab should have written rules. Keep them visible. A good rule list might include: wear goggles, no food or drinks, label everything, use small quantities, work on a tray, never mix unknown materials, clean up immediately, wash hands afterward, and stop if something smells strong, heats unexpectedly, splashes, cracks, smokes, or behaves in a way you did not plan.
One especially useful rule is the pause rule: if you are unsure, stop. Do not improvise. Do not “just try a little.” Do not trust random internet comments over recognized safety guidance. Chemistry rewards patience and punishes dramatic confidence.
Budgeting for Your Home Chemistry Lab
You can build a beginner chemistry lab affordably. Spend money first on safety gear, organization, and durable tools. Goggles, trays, labels, storage bins, and a notebook matter more than fancy glassware. A neat $50 setup can teach more than a chaotic $500 setup with no safety plan.
Upgrade slowly. Add tools only when you know why you need them. A digital scale is useful for measurement practice. pH paper expands acid-base activities. A thermometer helps with temperature observations. Funnels and filters support separation experiments. A magnifying glass can make crystal growth more interesting. The best lab grows with your skills, not with your shopping cart.
Common Mistakes to Avoid
The first mistake is trying to copy professional labs without professional controls. A home lab does not need a fume hood substitute, improvised heating system, chemical stockpile, or dramatic “advanced” reactions. The second mistake is poor labeling. If a container is unlabeled, treat it as a problem, not a surprise gift from Past You.
The third mistake is ignoring cleanup. A lab activity is not finished when the observation is finished. It is finished when materials are stored, waste is handled, surfaces are cleaned, hands are washed, and the notebook is updated. Chemistry has an after-party, and it is called responsibility.
How to Make the Lab More Educational
To make your chemistry lab more valuable, connect each activity to a question. Instead of “let’s mix this,” ask “how does temperature affect dissolving?” Instead of “let’s make colors,” ask “how can an indicator reveal acidity?” Instead of “look, crystals,” ask “what conditions change crystal size?” Questions turn demonstrations into investigations.
Use controls and comparisons. Test one variable at a time. Measure when possible. Repeat activities to see whether results are consistent. These habits build real scientific thinking and make even simple experiments feel more meaningful.
Experience Notes: What Building a Home Chemistry Lab Really Teaches You
The most surprising thing about building your own chemistry lab is that the equipment is not the heart of it. The habit is. A beginner often imagines shelves of glassware, dramatic color changes, and equipment with names that sound like minor planets. But after a few weeks, the real value becomes obvious: the lab teaches patience, order, observation, and respect for small details.
A simple pH activity, for example, can teach more than expected. At first, it looks like a color trick. Add an indicator, watch the liquid change, feel briefly like a wizard with a recycling bin. But then questions appear. Why does one sample turn pink and another blue-green? Why are some changes stronger? What happens if the solution is diluted? How can the result be recorded more clearly? Suddenly, the activity is not a trick. It is a doorway into acids, bases, concentration, molecular structure, and measurement.
Another useful lesson is that organization saves experiments. When tools are clean, labels are clear, and the notebook is open before the activity starts, the work feels calm. When the table is cluttered, three droppers look identical, and the only note says “blue stuff happened,” learning becomes harder. A home lab quickly proves that science is not just discovery. It is also housekeeping with better vocabulary.
There is also humility. Some experiments will not work the first time. Crystals may grow poorly. A chromatography strip may smear. A density layer may mix because it was poured too quickly. These are not failures; they are data wearing casual clothes. The best response is not frustration. It is a better question: what changed, what was uncontrolled, and what should be adjusted next time?
Over time, the safest home chemistry lab becomes a place where curiosity slows down enough to become skill. You learn to read labels, prepare before starting, use smaller quantities, clean immediately, and write observations clearly. You learn that “safe” does not mean “boring.” It means the experiment can be repeated, explained, and enjoyed without creating unnecessary risk.
Perhaps the biggest experience-based lesson is this: a great home lab does not try to imitate a movie laboratory. It imitates a good scientist. It is careful, honest, skeptical, tidy, and curious. It asks better questions. It respects limits. It knows when an activity belongs in a classroom, a university lab, or nowhere at all. And yes, it wears goggles, because even genius looks better with both eyes protected.
Conclusion
Learning how to build your own chemistry lab is really about building a safe system for curiosity. Start with a clean location, basic safety gear, good storage, careful labeling, simple tools, and low-risk materials. Focus on observation, measurement, and documentation before attempting anything complex. The best home chemistry lab is not the flashiest one; it is the one that helps you learn consistently, safely, and responsibly.
Keep it simple. Keep it labeled. Keep it clean. And remember: in chemistry, “just a little chaos” is still chaos wearing a lab coat.
Note: This article is intended for educational, beginner-safe chemistry learning. Activities that require hazardous chemicals, specialized ventilation, advanced equipment, or regulated disposal should be performed only in properly supervised and equipped laboratories.