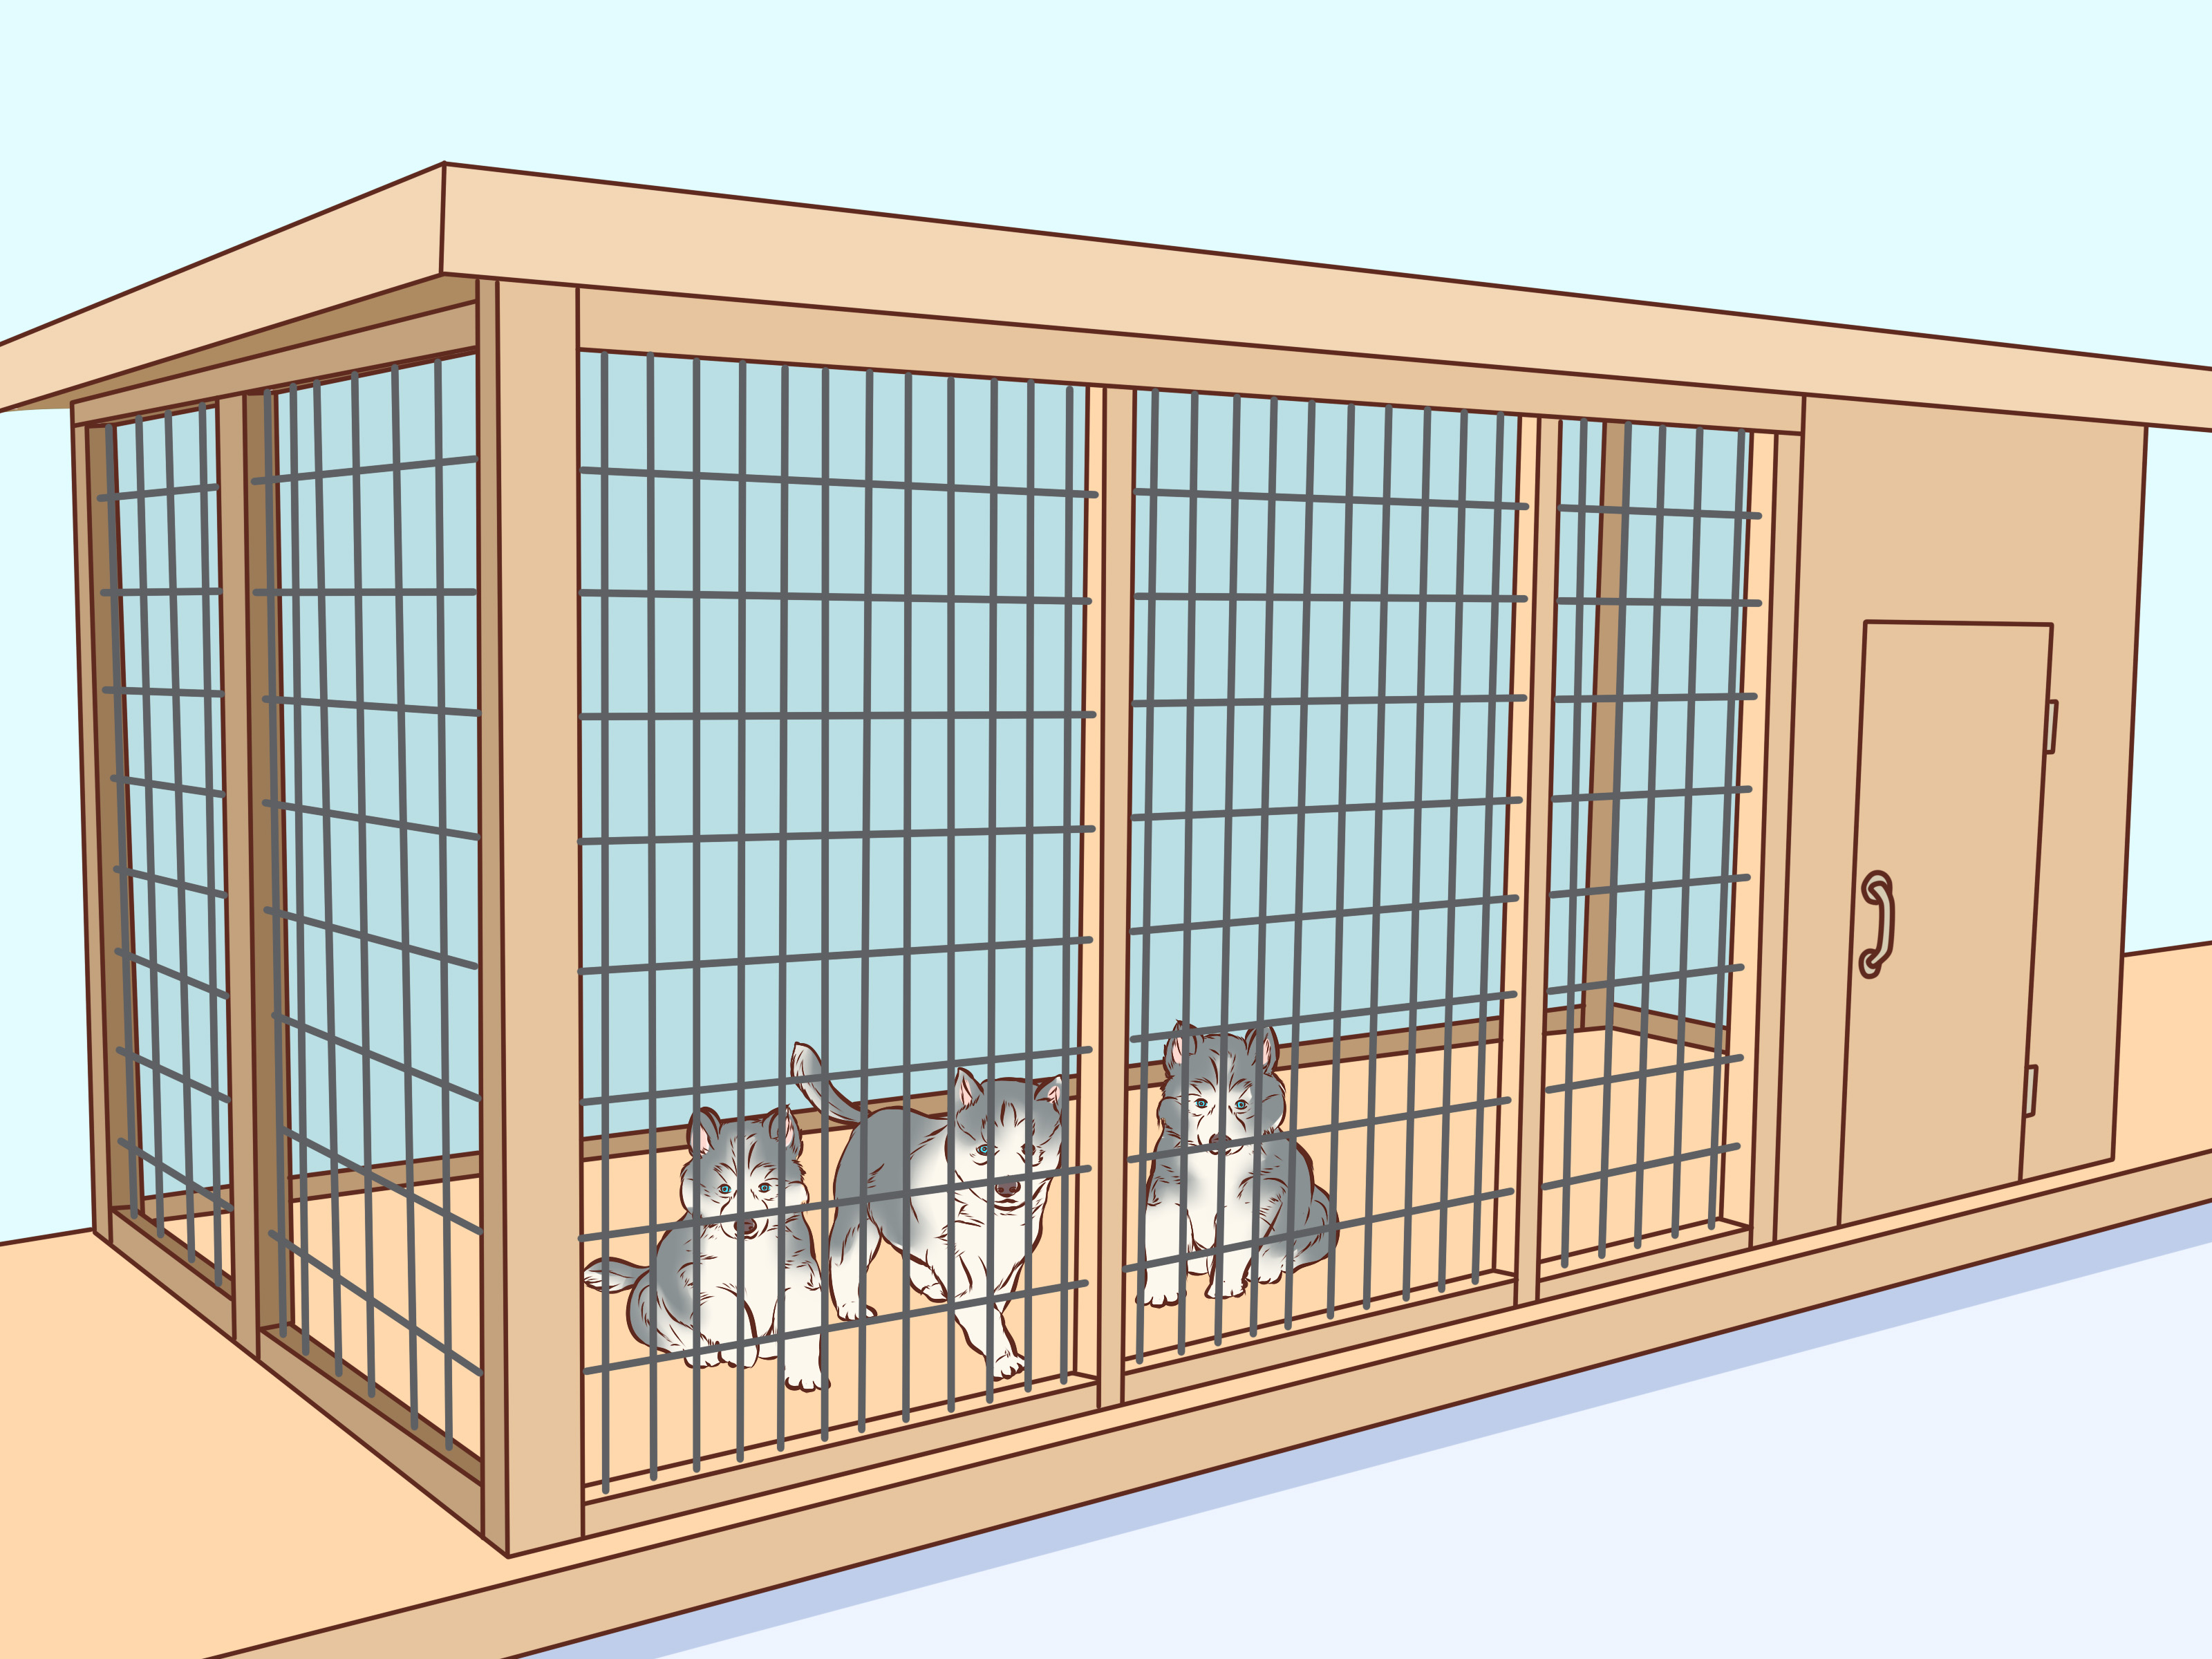
If you’ve ever watched a very pregnant dog “nest,” you’ve seen the ancient wolf-brain kick in: Find a safe den. Make it cozy. Guard it with your whole soul.
Your job is to give her a den that’s safe for newborn puppies, easy for you to clean, and sturdy enough to survive the inevitable
“I just stepped in something warm and squishy” moment without you questioning every life choice that led here.
This guide walks you through building a DIY whelping box (also called a dog whelping box) with the features breeders and veterinarians recommend most:
correct sizing, puppy-safe surfaces, and pig rails (also called puppy rails) to help prevent pups from getting trapped against the wall.
You’ll get a cut list, assembly steps, setup tips, and real-world lessons at the end.
What a Whelping Box Does (And Why a Cardboard Box Isn’t the Hero Here)
A proper whelping box is a controlled “puppy nursery” that:
- Keeps puppies contained (because newborns can wiggle like tiny seal-shaped escape artists).
- Gives mom room to stretch out and nurse comfortably.
- Creates a safer perimeter with pig rails so puppies have an “escape lane” if mom lies near the wall.
- Makes cleanup fast (you’ll be cleaning a lot, and we’ll keep this family-friendly).
- Helps you manage temperature and drafts during those critical early weeks.
Plan First: Size, Location, and Materials
Step 0: Choose the Right Size (The “1.5× Mom” Rule)
The most reliable sizing rule is simple: your whelping box interior should be about 1.5 to 2 times the dam’s length
(nose to base of tail), so she can lie fully stretched out with space to spare. You also want enough room that she can reposition without
steamrolling a puppy.
| Dam Length (nose to base of tail) | Suggested Inside Box Length/Width | Wall Height |
|---|---|---|
| 24 inches (small breed) | 36–40 inches square | 14–16 inches |
| 32 inches (medium) | 48–54 inches square | 16–18 inches |
| 40 inches (large) | 60–72 inches square | 18–24 inches |
Example: If your Labrador measures ~40 inches, aim for a 60″ x 60″ interior.
If your French Bulldog is ~24 inches, a 36″ x 36″ interior works nicely.
Pick a Calm Location (Because Mom Wants a “No-Drama Zone”)
Put the whelping box in a quiet, protected room away from other dogs and heavy foot traffic.
Many breeders set up the box in a bedroom for the first few weeks so mom feels secure and you can monitor easily.
Avoid garages, drafty laundry rooms, and the living room if your household treats “inside voice” as a myth.
Materials That Make Life Easier (and Safer)
- Plywood: 1/2″ is workable; 3/4″ is sturdier and lasts longer.
- Framing/rails: 2×2 or 2×4 boards for pig rails and bracing.
- Fasteners: Wood screws (preferred over nails for strength and fewer sharp surprises).
- Floor liner: Sheet vinyl, a removable waterproof mat, or a fitted “tarp-style” liner you can swap out.
- Finish: Water-based, low-odor sealant is easiest. Let it cure fully before mom moves in.
Avoid pressure-treated wood for indoor whelping boxes. It’s made for outdoor durability, not puppy nurseries.
Stick with untreated pine, birch plywood, or similar interior-safe materials.
DIY Whelping Box Tools & Supply List
Tools
- Circular saw or table saw (a hardware store can also cut panels for you)
- Drill/driver + drill bits
- Measuring tape + square
- Sandpaper or orbital sander
- Clamps (helpful, not mandatory)
Supplies
- 1 sheet plywood (4′ x 8′) for many small/medium builds; larger boxes may need more
- 2×2 or 2×4 lumber (for rails and corner supports)
- 1 1/4″ to 2″ wood screws
- Non-toxic wood filler (optional)
- Water-based sealant (optional but strongly recommended)
- Vinyl or waterproof liner
How to Build a Whelping Box (Step-by-Step)
This build is a classic square box with one low-entry doorway and interior pig rails.
You can scale the measurements up or down using the sizing table above.
Step 1: Decide Your Dimensions and Make a Cut List
Example build (medium dog): 48″ x 48″ inside, 18″ walls.
- Floor: 48″ x 48″ (1 piece)
- Walls: 48″ x 18″ (2 pieces) and 49.5″ x 18″ (2 pieces) if you’re overlapping corners (adjust based on your assembly style)
- Corner supports: 2×2 or 2×4 cut to ~18″ (4 pieces)
- Pig rails: 2×2 or ripped 2×4 (4 pieces, length to match interior walls)
Pro tip: Overlap corners (like a simple “box frame”) for strength.
If you prefer cleaner edges, butt joints work toojust add corner supports.
Step 2: Cut and Sand Everything (Yes, Before Assembly)
Cut your plywood panels and rails. Then sand all edges, corners, and surfaces.
Newborn puppies have zero respect for splinters, and mom’s belly will rub these surfaces constantly.
Round over sharp corners where you can.
Step 3: Build the Base + Attach Corner Supports
- Lay the floor panel flat.
- Position corner supports upright at each corner of the base.
- Pre-drill and screw the supports into the base (pre-drilling reduces splitting).
Step 4: Attach the Walls (Strong, Smooth, and Escape-Proof)
- Stand the first wall panel against two corner supports.
- Pre-drill and screw the wall into the supports and into the base edge.
- Repeat for the remaining three sides.
Check for wobble. If the box rocks, shim now (or your future self will “discover” it at 2 a.m.).
Step 5: Cut the Entry Door (Mom In, Puppies Not Out)
On one wall, mark a doorway. Typical doorway heights:
- Small breeds: 4–6 inches
- Medium breeds: 6–8 inches
- Large breeds: 8–10 inches
Make the opening wide enough for mom to step through comfortably (often 10–14 inches),
but not so wide that puppies spill out like popcorn.
Optional upgrade: Make a removable “door board” that slides in to raise the threshold as puppies grow.
In week one, low entry helps mom. By week three, you may want a higher barrier to keep explorers contained.
Step 6: Install Pig Rails (Puppy Rails) Inside the Box
Pig rails are interior rails mounted a few inches above the floor around the inside perimeter.
They create a small safety gap so a puppy can scoot under the rail rather than being pinned against the wall.
- Height: 3–4 inches off the floor is a common starting point.
- Offset: Mount rails 3–4 inches in from the walls (enough space for a puppy to fit).
- Material: 2×2 is usually sufficient; 2×4 ripped down works too.
Screw the rails into the walls (and/or into small blocks you attach to the walls) so the bottom edge sits at the correct height.
Sand rail edges smooth. If you want extra comfort, wrap rails with a removable, washable sleeve later.
Step 7: Seal the Wood (Optional, But Your Nose Will Thank You)
A sealed surface is far easier to disinfect and less likely to absorb fluids and odors.
If you seal, choose a low-odor, water-based product and let it cure completely before use.
“Dry to the touch” is not the same as “safe to marinate newborn puppies next to.”
Step 8: Add a Removable Waterproof Floor Liner
The easiest cleaning setup is:
- Waterproof liner on the floor (vinyl sheet, tarp-style liner, or custom mat)
- Absorbent layer on top (paper-based layers early on, then traction-friendly bedding as pups grow)
Step 9: Do a “Puppy Safety Inspection”
- Run your hand along every edge: if it scratches you, it’ll scratch puppies.
- Confirm all screws are countersunk or flush.
- Check that rails are sturdy and can’t twist loose.
- Make sure the doorway has no sharp corners.
- Wiggle the entire box. If it moves, reinforce it.
Setting Up the Whelping Box: Heat, Bedding, and Traction
Temperature Basics (Warm, Not Tropical)
Newborn puppies can’t regulate body temperature well, so the whelping area needs to be warm and draft-free.
Many recommendations cluster around the mid-80s °F early on, then gradually decreasing as puppies mature.
Simple temperature cheat sheet:
- Week 1: ~85°F (often 84–89°F range)
- Weeks 2–3: around 80°F
- Week 4: around 70–75°F
Important: Always provide a slightly cooler area inside the pen so puppies can move away from the heat source if needed.
Overheating is a real risk because tiny pups can’t crawl far or fast when they’re brand new.
Heating Options (and What to Avoid)
- Overhead heat lamp: Works well when positioned safely above and to one side/corner.
- Heating pad: Use extreme caution; choose veterinary-safe designs and ensure puppies can move off it.
- Microwavable heat discs: Useful for short bursts, but still monitor temperature.
A cheap indoor thermometer placed at “puppy level” (right on the floor area) is worth its weight in sanity.
Adjust heat based on puppy behavior: constant crying and piling tightly can mean cold; pups sprawled away from each other can mean too warm.
Bedding: Clean, Safe, and Not a Puppy Trap
For the first days, many caretakers use layered paper-based bedding over a flat towel or base layer so it’s easy to swap quickly.
Avoid loose bedding that can wrap around pups or allow them to burrow underneath where they can’t breathe.
As puppies get stronger, traction becomes a bigger deal. Slippery surfaces can make crawling and standing harder,
so use bedding that provides grip and stays relatively flat.
Cleaning and Maintenance (Because This Is Basically a Tiny Laundry Factory)
- Design for swap-outs: Removable liner + replaceable top layers = faster cleanup.
- Wipeable surfaces: Smooth sealed wood and vinyl liners disinfect more easily.
- Daily routine: Replace soiled top layers multiple times daily at first. Keep spare sets ready.
- Deep clean plan: When mom takes a break, remove bedding, wipe down surfaces, dry fully, re-layer.
Common DIY Whelping Box Mistakes (and How to Avoid Them)
1) Making it too small
If mom can’t fully stretch out, puppies end up underneath her more oftenexactly what you don’t want.
Use the 1.5–2× length guideline and err slightly bigger if you’re unsure.
2) Skipping pig rails
Pig rails aren’t decorative. They’re a safety feature that gives puppies space when mom lies near the wall.
3) Using slippery bedding
If pups can’t get traction, they struggle to nurse and move.
Choose bedding that stays flat and offers grip.
4) Heating the entire box evenly
Puppies need a warm area and a cooler area. If everything is hot, they can’t self-adjust.
Always create a heat gradient.
5) Building a cleaning nightmare
If you can’t remove the liner quickly, you’ll dread cleanupand the box will stay dirty longer.
Make the “mess layers” easy to swap.
Quick FAQ
Can I use a kiddie pool instead of building a box?
For some small to medium dogs, a sturdy plastic kiddie pool can work as a temporary whelping area.
You may still need a non-slip surface and a way to create safe edges and warmth control.
A custom wooden box offers better size control, pig rails, and stability.
When should I introduce my dog to the whelping box?
Ideally several days before the due date so she can investigate and “approve” the den.
Add familiar blankets outside the box (not loose inside early on) to help her feel comfortable.
How tall should the walls be?
Tall enough to keep puppies contained as they grow, but low enough that mom can step in and out easily.
Most builds land in the 14–24 inch range depending on breed and athleticism.
Conclusion
Building a DIY whelping box isn’t about woodworking perfectionit’s about safety, cleanliness, and comfort.
Size it correctly, add pig rails, choose easy-to-clean materials, and plan for warmth with a cooler escape zone.
Do those things, and you’ll have a whelping setup that supports mom’s instincts and keeps puppies safer during their most fragile weeks.
Real-World Experiences: Lessons Breeders Learn the Hard Way (So You Don’t Have To)
The best whelping box plans on paper can still get humbled by real lifeusually at night, usually when you’re wearing socks you love.
Here are common “experience-based” lessons shared by breeders, foster caregivers, and people who thought they were overprepared
until the first puppy arrived and rewrote the household schedule.
1) The box is only half the systemthe routine is the other half
Many first-timers focus on building the box (fair), then realize the real challenge is keeping the environment consistently clean and calm.
People who have done this before often say the winning strategy is to pre-stage supplies like you’re setting up a pit crew:
a laundry basket of fresh towels/pads, a trash bag ready to go, disinfecting wipes, and a spare liner folded like a fire blanket.
When mess happens, you want a fast swapnot a scavenger hunt through the linen closet while mom stares at you like,
“So… this is your plan?”
2) Puppies are tiny, but the mess is… ambitious
One repeated theme: everyone underestimates how often bedding needs changing in the early days.
The whelping box may look spotless at 10:00 p.m., and by 10:07 p.m. it can look like a science fair project titled
“The Many Forms of Fluid.” Breeders often recommend using layered bedding earlyso you can peel off the top layer and replace it quickly
instead of trying to wash and reassemble everything each time. If you’re thinking, “That sounds like a lot,” yes. Welcome. You’re in.
3) The “perfect” bedding is whatever stays flat and gives traction
A common complaint with fluffy bedding: puppies can burrow under it (not ideal), and it can bunch up into ridges that make crawling harder.
Experienced folks often rotate materials as puppies grow: flatter layers early, then traction-friendly options once puppies start pushing up
on their legs. The goal is a surface that helps them move without letting them disappear underneath folds like tiny magic tricks.
4) Heat is not “set it and forget it”
People who’ve whelped litters often talk about learning puppy behavior cues:
cold puppies cry constantly and pile up; too warm puppies sprawl apart and avoid the hot spot.
Most experienced setups aim for a warm corner and a cooler corner so puppies can self-regulate.
Someone almost always says they wished they bought a second thermometerone for the warm zone, one for the cool zone
because “room temperature” is not the same thing as “puppy-level temperature.”
5) The door height trick is a sanity saver
A neat upgrade many people swear by: a removable door board.
In the first week, mom appreciates easy entry. By week three, puppies develop the confidence of teenagers and the coordination of toddlers,
and they will try to exit the box for no reason other than vibes.
Having a board you can add to raise the threshold (without rebuilding the whole wall) is one of those small things that feels genius
when you’re trying to keep a litter contained while also cleaning and feeding.
6) Expect mom to redecorate
Even with the best DIY whelping box, many dams will dig, paw, rearrange bedding, and “nest” like an interior designer who works exclusively in chaos.
People who’ve done this more than once often recommend securing liners so mom can’t bunch them into a corner, and using materials
that can survive digging without shredding into strings. If you’ve ever watched a dog fluff a bed for 12 minutes and then lie down
one inch to the left of where she started, you know this is not a bugit’s a feature.
7) The “human comfort” factor matters more than you think
Real talk: you will spend time near the whelping area. A lot of it.
Many experienced breeders choose a location where they can sit comfortably, keep lighting low, and still observe.
This isn’t just for your comfortit supports calmer monitoring, quicker response if a puppy struggles, and less stress for mom.
Think of it as building a nursery you can actually manage without becoming a sleep-deprived gremlin.
Bottom line: build the box, yesbut also build the workflow around it.
The best whelping setups are the ones that make the “repeat tasks” (cleaning, temperature checks, quick swaps, quiet monitoring)
easier than the “once tasks” (cutting plywood). That’s how you protect puppies and keep yourself functioning like a person.