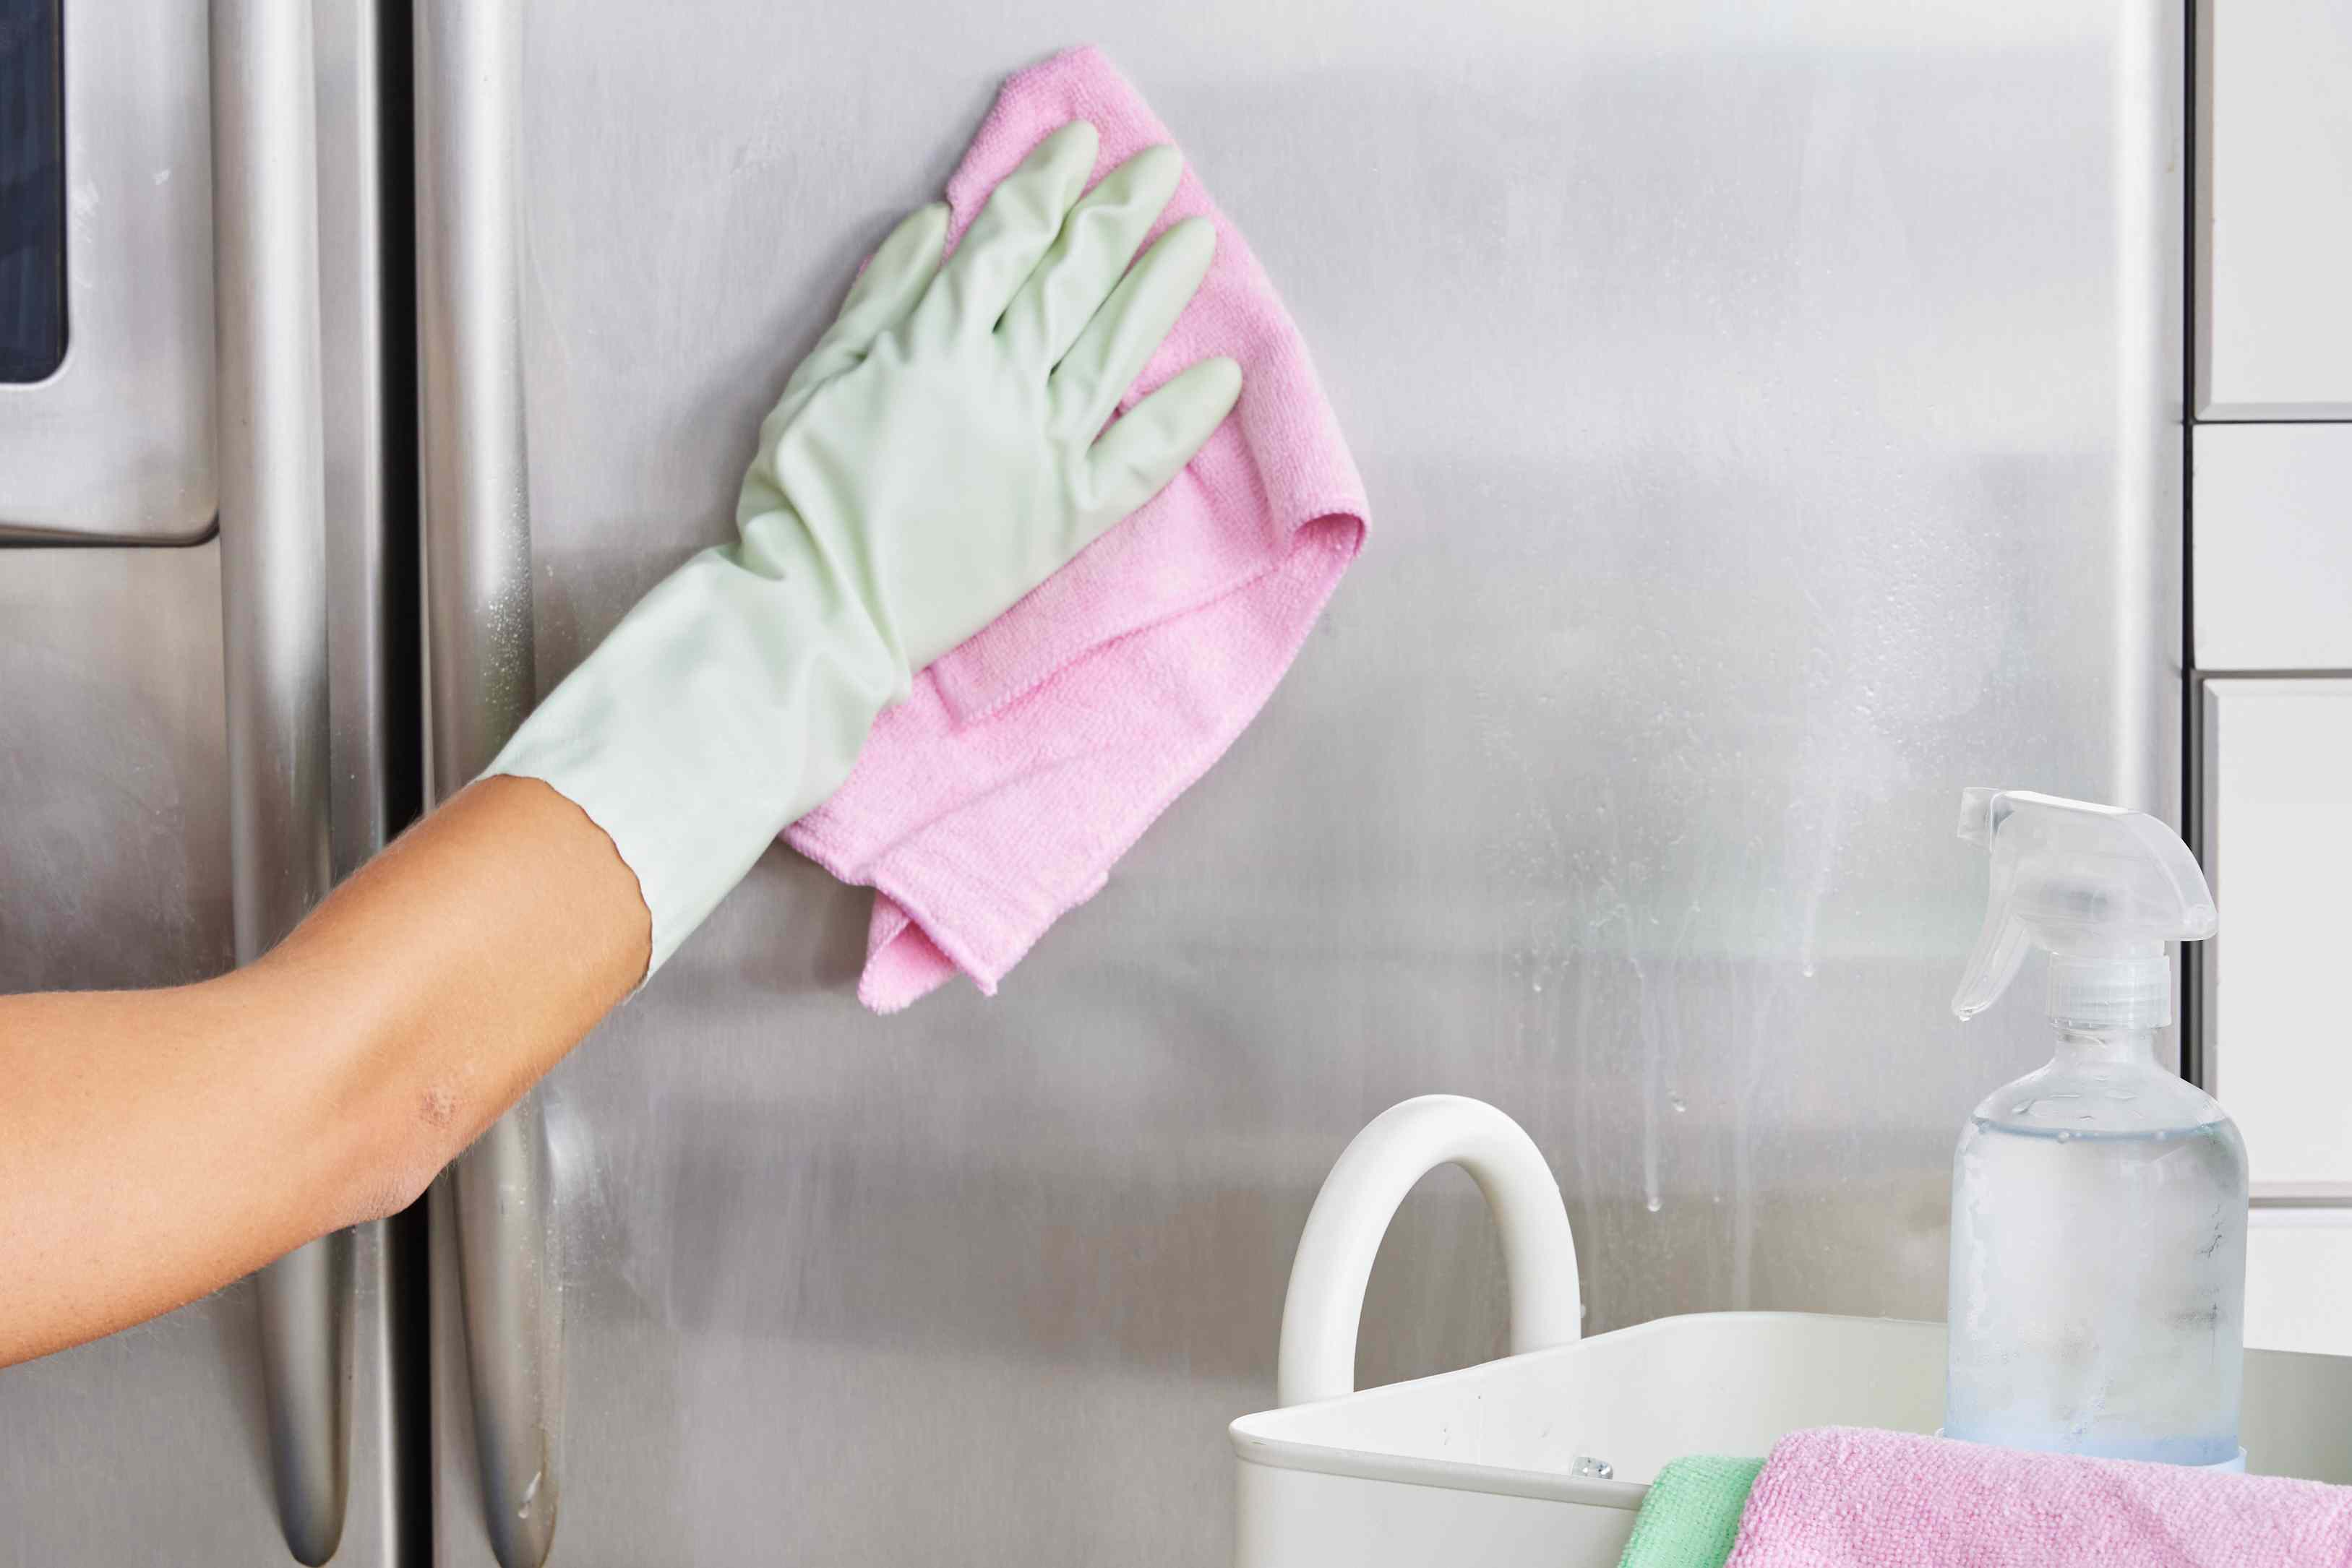
Note: Before using any cleaner, test it on a small hidden spot and check your appliance’s care guide, especially if the finish is fingerprint-resistant, black stainless, or factory-coated.
Stainless steel has a funny way of looking both luxurious and suspicious at the same time. One minute your fridge is giving “sleek modern kitchen,” and the next it looks like it survived a bacon festival, a toddler parade, and three mysterious handprints from a person who definitely ate peanut butter straight from the jar. Grease, smudges, water spots, and streaks show up fast on stainless steel, which is why so many people clean it… and somehow make it look worse.
Professional cleaners take a different approach. They do not usually begin with the strongest product in the cabinet, and they definitely do not attack a stainless-steel surface like it insulted their family. Instead, they work in layers: loosen the oily film, lift it gently, rinse away residue, dry thoroughly, and only then polish if the surface needs extra shine. That method is why pro-cleaned stainless steel looks crisp, smooth, and almost suspiciously expensive.
If you have been wondering how pro cleaners degrease stainless steel and make it look new again, the answer is less about fancy magic and more about the right order, the right cloth, and the right amount of restraint. Here is how the pros do it, what they avoid, and how to get that clean, reflective finish without turning your kitchen into a chemistry experiment.
Why Stainless Steel Gets So Greasy So Fast
Stainless steel is durable, attractive, and popular for a reason. It handles daily wear well, works with just about any kitchen style, and gives appliances a polished, professional look. But it also has one major personality flaw: it loves to show everything. Grease mist from cooking lands on nearby surfaces. Finger oils cling to doors and handles. Water evaporates and leaves spots behind. And when the wrong cleaner is used, it can leave a cloudy film that makes the whole surface look dull.
That greasy layer often builds slowly. It might start near the stove, then creep onto the microwave, dishwasher, fridge doors, and even the range hood. Because the buildup is thin, many people wipe it with a damp cloth and assume it is gone. Then the light hits the surface from the side and suddenly the streaks return like uninvited guests.
Pro cleaners know that stainless steel usually needs two things: a cleaner that can cut oily residue and a final dry buff that removes leftover moisture. Skip either one, and your “clean” surface can still look smeary.
What Pro Cleaners Reach for First
1. A soft microfiber cloth
This is the MVP. Microfiber grabs grease, dust, and fingerprints without scratching the finish. It also absorbs better than many paper towels, which can leave lint or drag product around instead of actually removing it.
2. Warm water and a little dish soap
This is the pro favorite for a reason. A small amount of grease-cutting dish soap mixed with warm water breaks down oily film without being overly harsh. On many stainless steel appliances, this is enough for daily or weekly cleaning.
3. A second clean cloth for rinsing
Professionals rarely use one rag for the whole job. One cloth loosens and lifts the grime. Another damp cloth removes residue. That second step matters because leftover soap is one of the biggest causes of streaks.
4. A dry cloth for buffing
If you remember only one thing from this article, make it this: dry the surface. Stainless steel can look blotchy if water sits on it, and a dry microfiber cloth is what takes the finish from “better” to “wow, did you buy a new fridge?”
5. An optional specialty cleaner for stubborn issues
When grease is baked on, heat discoloration shows up, or the finish still looks tired after a regular wash, pros may reach for a stainless-steel-specific cleaner or brightener. But they usually save that for the final stage, not as the first move.
How Pro Cleaners Degrease Stainless Steel Step by Step
Step 1: Start with a dry wipe
Before adding moisture, pros often remove loose dust, crumbs, and dry debris with a clean microfiber cloth. This prevents grit from being dragged across the metal and helps the cleaning solution focus on the actual grease instead of random kitchen confetti.
Step 2: Wash with warm, soapy water
Mix a small amount of dish soap into warm water. Dip a microfiber cloth into the solution, wring it out well, and wipe the surface in the direction of the grain. Stainless steel has a visible grain, like tiny lines running horizontally or vertically. Following that grain is one of the biggest secrets to a cleaner-looking finish because it reduces streaks and helps prevent scratches.
Pros do not usually soak the appliance. They use a damp cloth, not a dripping one. On doors, handles, and broad panels, they work from top to bottom so dirty drips do not run over areas they already cleaned. On range hoods and surfaces near the stove, they may need a second pass to break through cooking grease.
Step 3: Tackle stubborn grease strategically
If warm soapy water does not fully cut through the grime, professionals do not automatically escalate to the harshest chemical in the house. They go targeted.
For sticky grease, they may let the soapy cloth sit on the area briefly to soften buildup before wiping again. For heavier residue, a gentle paste made from baking soda and water can help loosen the film. The key word is gentle. This is not the time to scrub like you are sanding a deck.
Some cleaners also use diluted vinegar on traditional stainless steel to cut residue or hard-water spotting. But here is the important nuance: not every manufacturer recommends acidic cleaners for every stainless finish. Fingerprint-resistant surfaces, coated finishes, and certain appliance exteriors may react differently. That is why pros check the care instructions first and use vinegar as a careful option, not a universal rule.
Step 4: Rinse away residue
Once the grease is loosened, pros wipe the area again with a separate cloth dampened with plain water. This step removes dish soap, baking soda, or any cleaner residue that could dry into a haze. If you ever cleaned stainless steel and then wondered why it looked cloudy fifteen minutes later, this is probably the step that got skipped.
Step 5: Dry immediately
This is where the magic happens. A dry microfiber cloth is used to buff the surface thoroughly, again following the grain. Professionals do not leave stainless steel to “air dry.” Water spots, streaking, and dullness love that idea. Drying right away makes the surface look clearer and brighter almost instantly.
Step 6: Polish only if it needs it
If the appliance still looks flat after cleaning, pros may finish with a stainless-steel polish or cleaner designed for the material. Used correctly, these products can add shine and help reduce the appearance of fingerprints. But they are not always necessary. Many stainless surfaces look great after a simple wash-rinse-dry routine.
The Big Mistakes Pros Avoid
Using abrasive tools
Steel wool, harsh scrub pads, and gritty powders can scratch stainless steel and make it harder to keep clean over time. Even if the scratches seem small, they can dull the finish and create more places for grime to cling.
Cleaning against the grain
It sounds minor, but it makes a visible difference. Wiping across or against the grain can leave the finish looking messy, especially in bright light.
Leaving cleaner residue behind
Soap, spray products, and homemade solutions can all leave a film if they are not properly rinsed or buffed off.
Using the wrong chemicals
Bleach, ammonia-based products, oven cleaner, and some acidic or citrus-heavy cleaners can damage certain finishes. Pros read labels and appliance instructions before trying anything aggressive.
Spraying carelessly
Many cleaners prefer spraying a cloth instead of spraying the surface directly, especially around control panels, seams, or dispenser areas. That keeps drips from sneaking into places they do not belong.
How Pros Handle Different Stainless Steel Surfaces
Stainless steel refrigerators and dishwashers
These collect fingerprints faster than gossip spreads in a group chat. Pros focus heavily on handles, edges, and the area around the water dispenser. A light soapy wash followed by a thorough dry buff usually handles everyday grime well.
Stainless steel microwaves and ovens
These often pick up a mix of food splatter, hand oils, and mystery dots that no one remembers creating. Cleaners usually spot-treat the greasy areas first, then wash the full exterior so the finish looks even.
Range hoods and areas near the stove
This is where grease gets serious. Because warm cooking oils travel through the air, these surfaces may need repeated passes with soapy water or a gentle baking soda treatment. Professionals are patient here. They loosen, wipe, rinse, and repeat rather than attacking the finish all at once.
Stainless steel sinks
Sinks deal with grease, soap scum, food residue, and water spots all in the same zip code. Pros often use baking soda for the basin, scrub with the grain, rinse well, and dry thoroughly. A sink can be technically clean but still look dull if it is left wet.
When a Store-Bought Stainless Steel Cleaner Makes Sense
Professional cleaners are not anti-product. They are anti-overkill. A specialty stainless steel cleaner can make sense when you are dealing with stubborn fingerprints, lingering haze, or a finish that needs a little extra gloss. Some are especially useful for heat discoloration, yellowing, or older appliances that have lost their shine.
The trick is to use the right product for the right surface. Not every stainless-steel cleaner is intended for every finish, and not every shiny-looking product is helpful. Some leave an oily coating that looks good for five minutes and then attracts dust like it is on payroll. A good pro uses a light hand, buffs well, and does not let product build up.
A Simple Pro-Level Routine for Weekly Maintenance
- Wipe with a dry microfiber cloth to remove dust and loose debris.
- Clean with a damp microfiber cloth and warm water mixed with a few drops of dish soap.
- Work with the grain of the stainless steel.
- Use a second cloth with plain water to remove residue.
- Dry and buff immediately with a clean microfiber cloth.
- Spot-treat stubborn grease only where needed.
That routine is simple, inexpensive, and surprisingly effective. It is also why professional cleaners can walk into a kitchen, spend a reasonable amount of time on stainless steel, and leave it looking refreshed instead of streaky.
Real-World Experiences: What Actually Works in Busy Kitchens
One of the most common experiences people have with stainless steel is assuming the mess is worse than it is. A refrigerator door may look permanently dull, but often the problem is not damage at all. It is a layer cake of fingerprints, old cleaner residue, and a few lazy wipe-downs with the same overworked sponge. The first time you clean it the way a pro would, using separate cloths for washing, rinsing, and drying, the difference can be almost ridiculous. Suddenly the appliance reflects light again, and you realize the “aging” was mostly grime wearing a disguise.
Another very real experience happens around the stove. People clean the cooktop, step back proudly, and forget the stainless steel trim, control panel edges, and range hood that have been catching grease mist all week. Then sunlight hits the surface at just the right angle and reveals a shiny, sticky film worthy of a crime lab. Pro cleaners know this area needs patience. They usually do not win with one dramatic swipe. They win by loosening the grease first, wiping with the grain, rinsing, and repeating until the cloth stops picking up yellowish residue.
There is also the classic handle problem. Fridge handles, microwave pulls, and dishwasher bars are tiny museums of hand oil. If you have kids, houseguests, or one family member who somehow cooks with both hands and both elbows, those handles collect buildup fast. A pro cleaner usually gives handles special attention because they hold more grease than the wide panels. It is one of those small details that makes a whole kitchen look cleaner, even when nothing else changed.
Then there is the experience of using the wrong product and learning a lesson the annoying way. Plenty of homeowners have tried glass cleaner, bleach sprays, or rough scrubbing pads because those products worked elsewhere. Stainless steel responds with streaks, haze, or micro-scratches that catch the light every single day afterward, like a petty grudge in appliance form. Professionals avoid that trap because they know stainless steel usually responds better to gentle methods used correctly than harsh methods used dramatically.
Older stainless steel appliances tell another interesting story. People often assume an older fridge or dishwasher cannot look good again because it has “just gotten old.” In many cases, that is only partly true. Age matters, but accumulated residue matters more than most people think. Years of greasy fingers, cooking vapor, and inconsistent product use can leave a surface flat and tired-looking. When that buildup is removed carefully and the metal is properly dried and buffed, the finish often looks brighter, clearer, and noticeably more modern. Not brand-new, maybe, but absolutely less “why does my kitchen look exhausted?”
One more common experience: the sink that looks dirty right after cleaning. This happens when the basin is scrubbed and rinsed but not dried. Stainless steel sinks are especially good at showing water marks, leftover droplets, and random mineral streaks. Professionals know that the final wipe is not an optional flourish. It is the part that makes the sink look finished. Without it, the whole effort can feel weirdly incomplete.
What all these experiences have in common is simple: stainless steel responds best to calm, consistent care. The people who get the best results are rarely the ones using the strongest product. They are the ones who clean in the right order, use soft tools, follow the grain, and do not skip the dry buff at the end. That is the quiet pro move that makes stainless steel look less like a grease magnet and more like the sleek, expensive surface it was trying to be all along.
Conclusion
If you want stainless steel to look new again, think like a professional cleaner. Start gentle. Use warm water, a little dish soap, and a microfiber cloth. Wipe with the grain. Rinse away residue. Dry thoroughly. Then, and only then, decide whether the surface needs a specialty polish or a more targeted grease treatment.
The reason this works so well is that it respects the material. Stainless steel does not usually need brute force. It needs the right sequence. Once you follow that system, greasy appliances become much easier to manage, and the finish stays cleaner-looking longer. In other words, less scrubbing, fewer streaks, and a kitchen that looks like it has its life together even if the junk drawer absolutely does not.