Enabling IP routing on Cisco gear sounds simple enoughuntil you discover that one device is already routing, another needs a single global command, and a third is a Layer 2 switch wearing a Layer 3 Halloween costume. Welcome to networking, where one missing command can turn your clean design into a very expensive paperweight. The good news is that once you understand the difference between a Cisco router, a multilayer switch, and a plain old Layer 2 switch, the process becomes much easier.
This guide walks through what IP routing actually does, when you need it, how to enable it on a Cisco router or switch, how to verify that it works, and which mistakes trip people up most often. Along the way, you will also see practical Cisco IOS and IOS XE examples you can adapt to real networks.
What IP Routing Actually Means on Cisco Devices
IP routing is the feature that allows a device to move packets between different IP networks or subnets. In practical terms, it is what lets devices in VLAN 10 talk to devices in VLAN 20, or lets an internal network reach an upstream firewall, WAN router, or internet edge. Without routing, traffic stays trapped inside its own subnet like a tourist who missed the last bus.
On Cisco equipment, the phrase enable IP routing usually matters most on a Layer 3 switch. That is because a multilayer switch can route traffic between VLANs and subnets, but it often does not do so until you explicitly enable that behavior with the global configuration command ip routing.
A traditional Cisco router is different. Routers are built to route by design, so in many deployments the real job is not “turn routing on,” but rather configure interfaces, add static or dynamic routes, and make sure the router knows where to send traffic next. A Layer 2 switch is different again: it can usually have a management IP address, but it does not become a real inter-VLAN routing device just because you gave it one.
Router vs. Layer 3 Switch vs. Layer 2 Switch
Here is the clean version:
- Cisco router: Typically routes by default. You mainly configure interface IP addresses and routes.
- Cisco Layer 3 switch: Can route, but often requires
ip routingbefore it starts acting like a routing device. - Cisco Layer 2 switch: Does not perform full inter-VLAN routing. It usually needs
ip default-gatewayfor management access when routing is disabled.
That distinction is the heart of the whole topic. Get that part right, and the rest is just CLI and coffee.
When You Need to Enable IP Routing
You usually need to enable IP routing on a Cisco switch when the switch is going to do one or more of the following:
- Route traffic between VLANs using SVIs
- Act as the default gateway for multiple user or server subnets
- Use routed uplinks to another switch, firewall, or router
- Participate in static routing or dynamic routing, depending on the platform
You usually do not need to enable IP routing on a simple access switch that only provides Layer 2 connectivity. In that case, you give the switch a management IP address on a VLAN interface and point it to a default gateway with ip default-gateway so you can reach it remotely.
In other words, ask one simple question before you touch the CLI: Will this device route traffic between subnets, or does it just need to be managed from another subnet? If it will route, think ip routing. If it only needs remote management and is staying Layer 2, think ip default-gateway.
How to Enable IP Routing on a Cisco Router
On a Cisco router, IP routing is generally part of normal operation. So the workflow is usually less about enabling routing and more about making sure the router has Layer 3 interfaces and usable routes.
A basic router setup often looks like this:
In that example, the router is already doing what routers are supposed to do: connect networks and forward traffic. The static default route tells it where to send packets for destinations it does not already know.
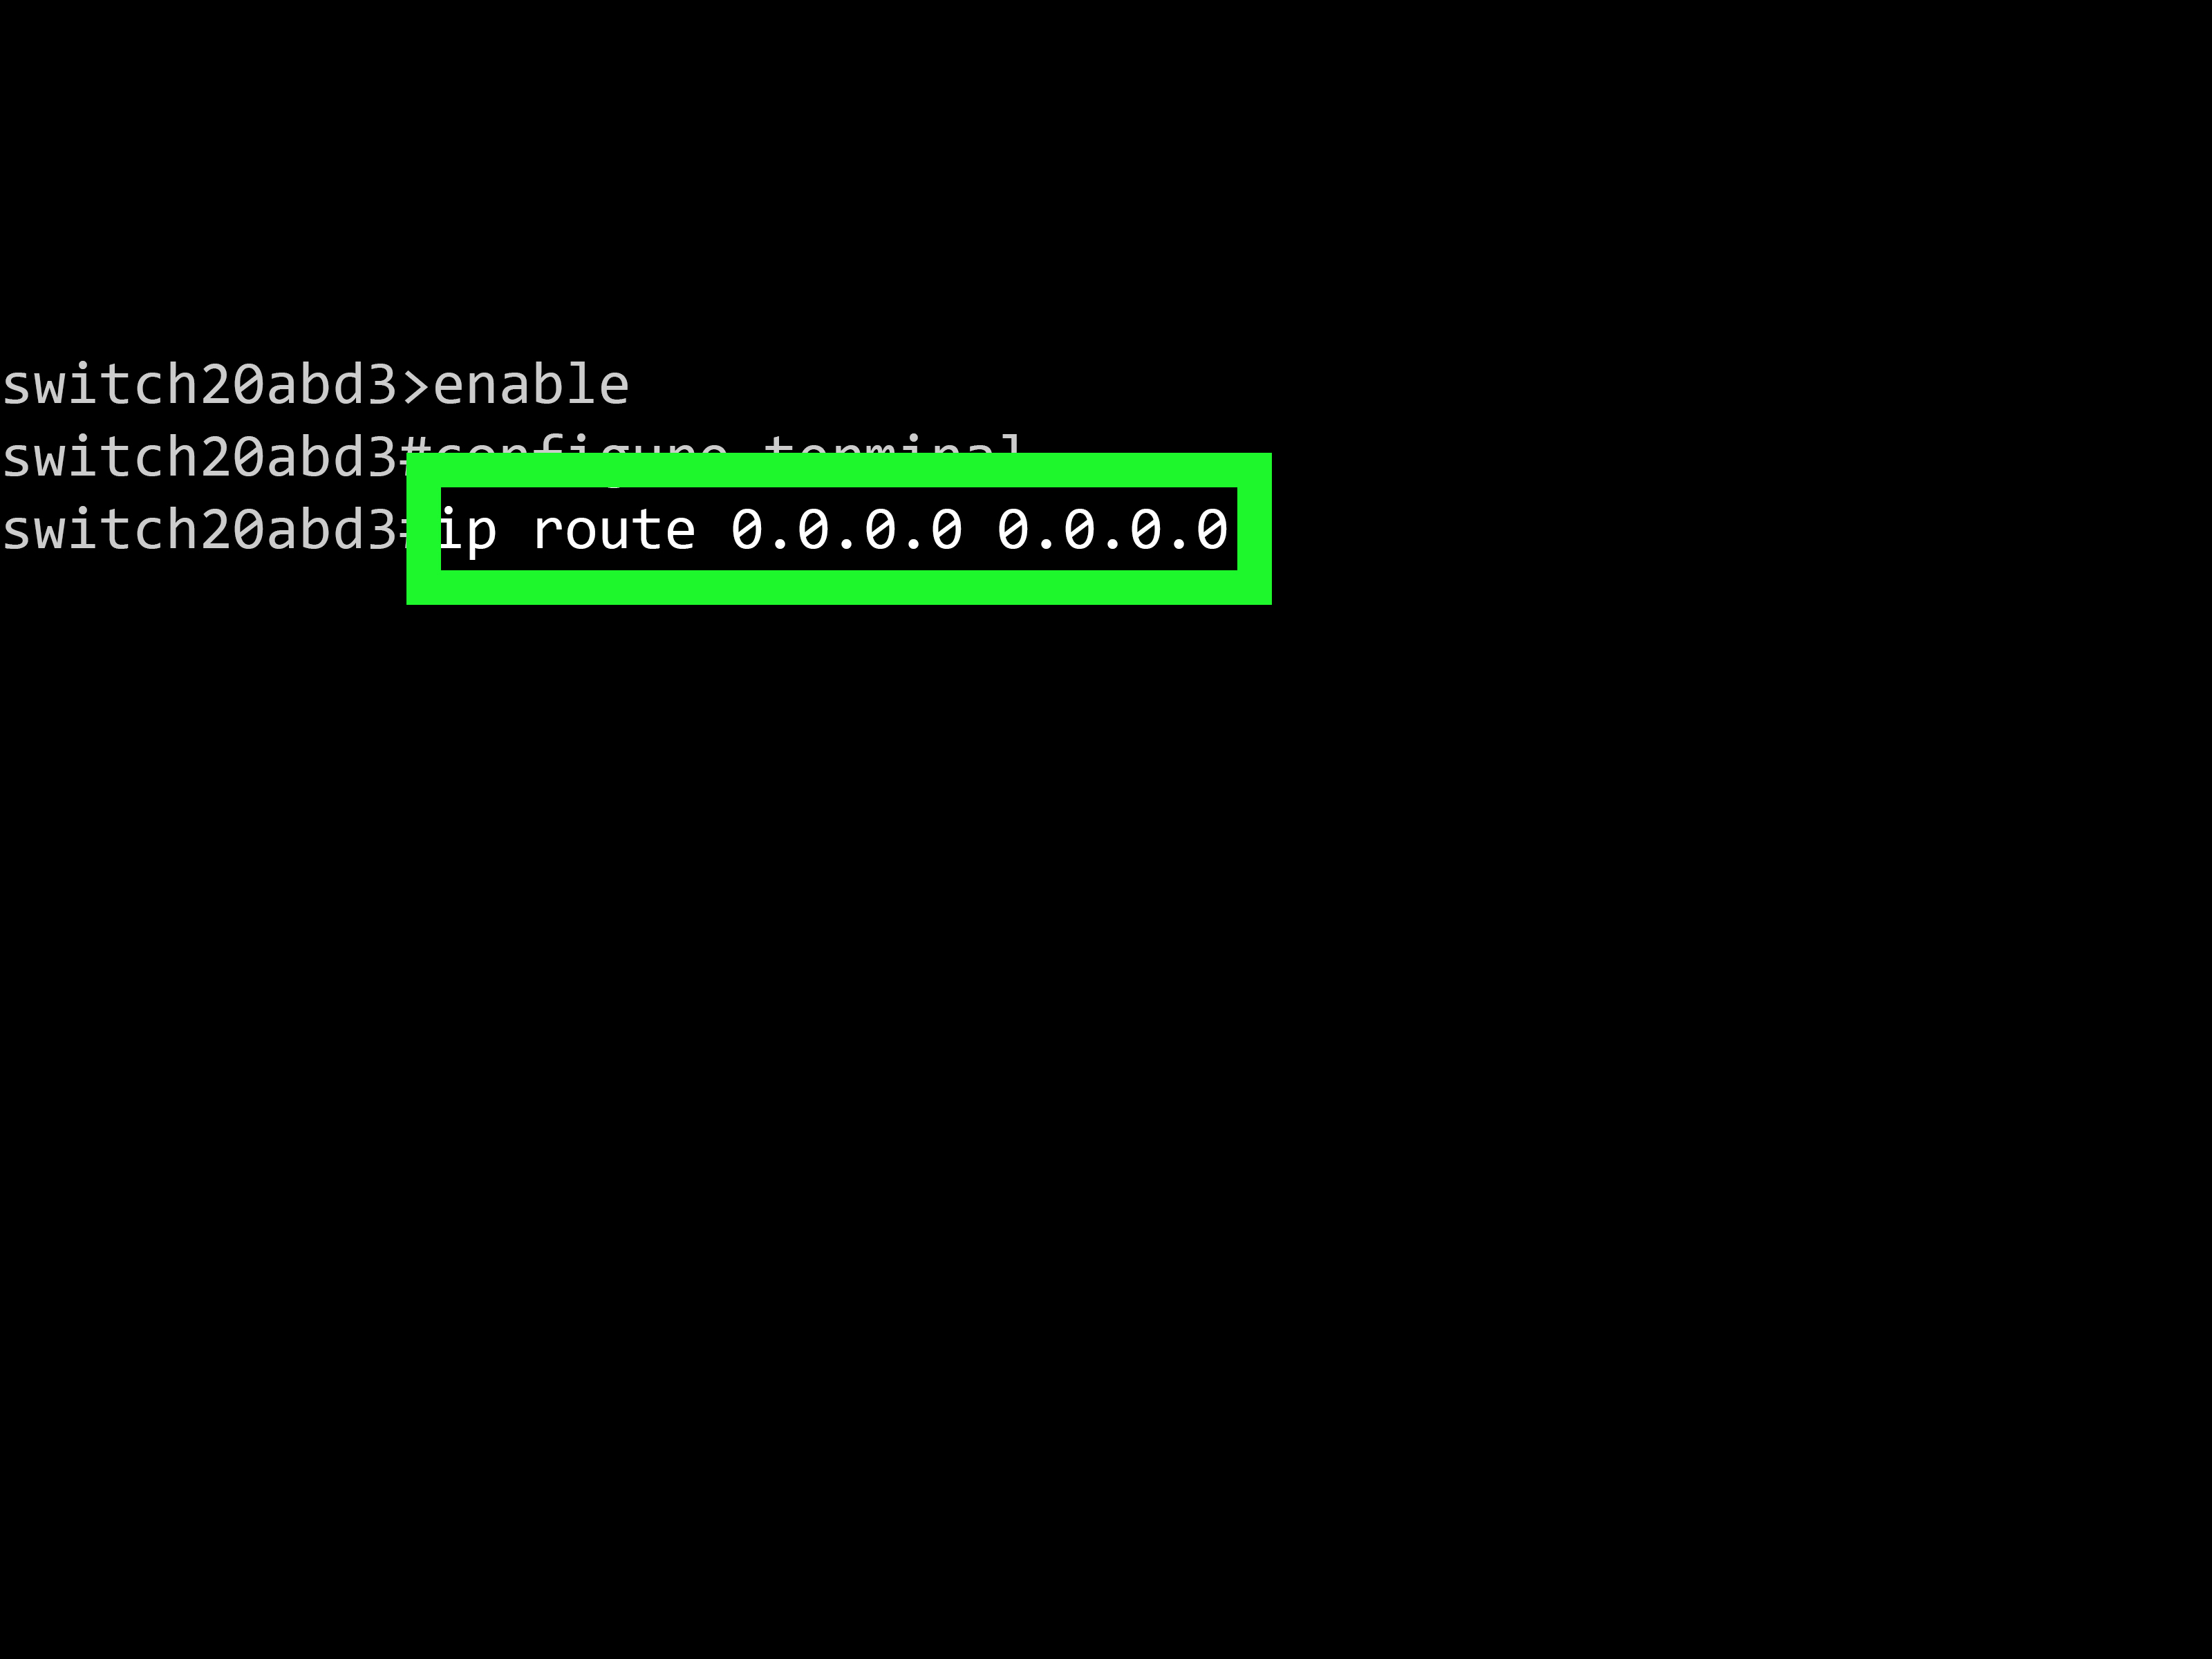
If you are working on a platform or configuration where IP routing has been disabled, you can re-enable it in global configuration mode with:
That said, on many Cisco router deployments, the more important check is not “Did I enable IP routing?” but “Do my interfaces have valid IP addresses, and do I have the correct static or dynamic routes?” A router with no routes is like a taxi driver with a steering wheel and no idea where the airport is.
How to Enable IP Routing on a Cisco Layer 3 Switch
This is where the command matters most. On a Cisco multilayer switch, enabling IP routing is usually a one-line global command:
That command tells the switch to start behaving like a Layer 3 device for IP traffic. But the command by itself is not enough. You still need Layer 3 interfaces with IP addresses, and you need the right VLAN and uplink design behind them.
Method 1: Use SVIs for Inter-VLAN Routing
The most common design is to use switch virtual interfaces, or SVIs. Each VLAN gets a virtual Layer 3 interface, and the switch becomes the default gateway for hosts in that VLAN.
Example:
With that configuration, devices in VLAN 10 can use 192.168.10.1 as their gateway, devices in VLAN 20 can use 192.168.20.1, and the switch can route traffic between the two VLANs locally. The default route points unknown traffic upstream to the next Layer 3 device, such as a firewall or core router.
Method 2: Use a Routed Port
Some Cisco switches also support physical routed ports. In that design, you convert a switch port from Layer 2 mode to Layer 3 mode with no switchport.
This is common on uplinks between distribution and core devices, or between a multilayer switch and a firewall. It keeps the link simple, point-to-point, and easy to troubleshoot.
What to Do on a Layer 2 Cisco Switch Instead
If the switch is Layer 2 only, stop right there before typing ip routing like it is a magic spell. A Layer 2 switch may let you configure a management IP on a VLAN interface, but that does not make it a full routing platform.
In that case, use a management SVI and set a default gateway:
This setup allows you to SSH, Telnet, or otherwise manage the switch from another network, assuming the rest of the network allows it. But the switch itself is still not routing user traffic between multiple VLANs.
If you need inter-VLAN routing and the switch is Layer 2 only, use one of these options:
- Move the routing function to a router
- Use router-on-a-stick with 802.1Q subinterfaces
- Replace or upgrade to a multilayer switch that supports Layer 3 routing
How to Verify That IP Routing Is Working
Never trust configuration alone. In networking, “I typed the command” is not the same as “the network works.” Verification matters.
Start with these commands:
Here is what each one helps confirm:
show running-configconfirms thatip routing, interface addresses, and routes are presentshow ip interface briefshows whether interfaces are up or administratively downshow ip routeconfirms the routing table contains connected, static, or learned routesshow vlan briefverifies VLAN existence and access-port assignmentsshow interfaces trunkconfirms trunks are carrying the right VLANspingchecks reachabilitytracerouteshows where packets start getting lost
If you enable IP routing and still cannot pass traffic between VLANs, the problem is often not the routing command itself. It is more likely an SVI that is down, a VLAN that is missing, a trunk that is not carrying the VLAN, an incorrect subnet mask, or a host using the wrong default gateway.
Common Mistakes That Break Routing
1. Forgetting the Upstream Route
Enabling IP routing lets the switch route what it knows. It does not magically invent a path to the internet or a remote site. If the switch needs to reach destinations beyond directly connected networks, it also needs a default route or dynamic routing configuration.
2. Assigning the Wrong Default Gateway to Hosts
Hosts must use the SVI IP address of their own VLAN as the default gateway when the multilayer switch is doing inter-VLAN routing. If clients in VLAN 10 point to some other gateway, your pings will become interpretive dance.
3. Bringing Up an SVI Without an Active VLAN
An SVI often depends on the VLAN being present and active. If VLAN 20 does not exist, or if nothing operational is associated with it, the interface may stay down and routing will fail.
4. Mixing Layer 2 and Layer 3 Logic
One of the most common mistakes is trying to use both ip default-gateway and routed behavior as if they mean the same thing. They do not. A device that is routing uses routes. A device with routing disabled uses a default gateway for its own management traffic.
5. Ignoring Platform Limits
Not every Cisco switch supports full Layer 3 features. Some models support only static routing, some support only SVIs, and some need the right image, feature set, or license before advanced routing comes alive. Always confirm what your exact model can do before planning the network around it.
A Practical Example: Inter-VLAN Routing on a Cisco Switch
Imagine a small office with a user VLAN and a voice VLAN, plus an uplink to a firewall. You want the switch to route locally between the user and voice subnets, but send all other traffic upstream.
In this design, local traffic between VLAN 10 and VLAN 30 never needs to leave the switch. That reduces unnecessary hops and improves performance. Traffic heading elsewhere goes out the routed uplink toward the firewall. Clean, efficient, and much less dramatic than a looped broadcast storm.
Troubleshooting Checklist
If routing still refuses to cooperate, work through this checklist in order:
- Confirm the device actually supports Layer 3 routing
- Verify
ip routingis present where needed - Check that each SVI or routed port has the correct IP address and subnet mask
- Make sure interfaces are up and not administratively shut down
- Confirm VLANs exist and trunks allow them
- Check that hosts use the correct default gateway
- Verify a default route or dynamic route exists for remote destinations
- Test with
pingand validate the path withtraceroute
That order matters. Too many admins jump straight to blaming spanning tree, DHCP, DNS, Mercury in retrograde, or “the firewall team.” Start with the basics. Nine times out of ten, the issue is something gloriously ordinary.
Field Experience and Real-World Lessons From Enabling IP Routing
In real networks, the command ip routing is rarely the whole story. What teams remember later is the chain reaction around it. One common experience is enabling routing on a distribution switch during an office refresh and then realizing that every client was still using the old router as its default gateway. The switch was ready, the SVIs were up, the routing table looked great, and users still could not reach the right resources consistently. The problem was not Cisco being weird; it was the gateway plan not being updated all the way to the endpoint side.
Another common lesson shows up during VLAN migrations. An engineer creates a shiny new SVI, assigns the right subnet, and enables IP routing, but the VLAN itself is missing on part of the trunk path. The result is frustrating because the switch configuration appears correct in isolation. This is why experienced admins do not stop at show ip route. They also check show vlan brief and show interfaces trunk. Routing can be configured perfectly and still fail because Layer 2 never delivered the traffic to the Layer 3 gateway in the first place.
There is also the classic “Layer 2 switch with ambitions” problem. Many admins, especially early in their Cisco journey, see a VLAN interface with an IP address and assume the switch must be able to route between all VLANs. Then they learn the hard way that a management SVI on a Layer 2 switch is not the same as a multilayer switch acting as a default gateway. That lesson tends to stick because it usually arrives right after a maintenance window got longer than planned.
Platform assumptions cause pain too. One Cisco switch family might support routed ports and dynamic routing, while another supports only static routes on SVIs. On paper they all look like “Cisco switches.” In production, those feature differences matter a lot. Seasoned engineers always check the exact model, software image, and license before promising a design. That habit saves change windows, credibility, and the emotional well-being of everyone on the conference bridge.
Finally, the best operational experience comes from treating routing changes as both a Layer 2 and Layer 3 event. Before enabling IP routing, strong teams document the VLANs, host gateways, trunk paths, upstream routes, and rollback steps. After enabling it, they verify local subnet reachability, remote path reachability, and endpoint behavior. The technical command may take one second to type, but the surrounding preparation is what makes the change succeed. That is the real experience behind Cisco routing work: the CLI is short, but the thinking around it is where the job actually happens.
Conclusion
Enabling IP routing on a Cisco device is straightforward once you identify what the device really is. A router usually already lives in Layer 3 land, so your focus is interface addressing and routing information. A multilayer switch often needs the global ip routing command before it can route between VLANs or use routed uplinks. A Layer 2 switch, meanwhile, usually needs a management IP and ip default-gateway, not full routing behavior.
If you remember nothing else, remember this: routing is not just one command. It is the combination of the right platform, the right interfaces, the right IP addresses, the right gateways, and the right verification steps. Get those pieces aligned, and your Cisco device will do exactly what it was hired to domove packets like a professional and not like a confused office intern with a stack of envelopes.