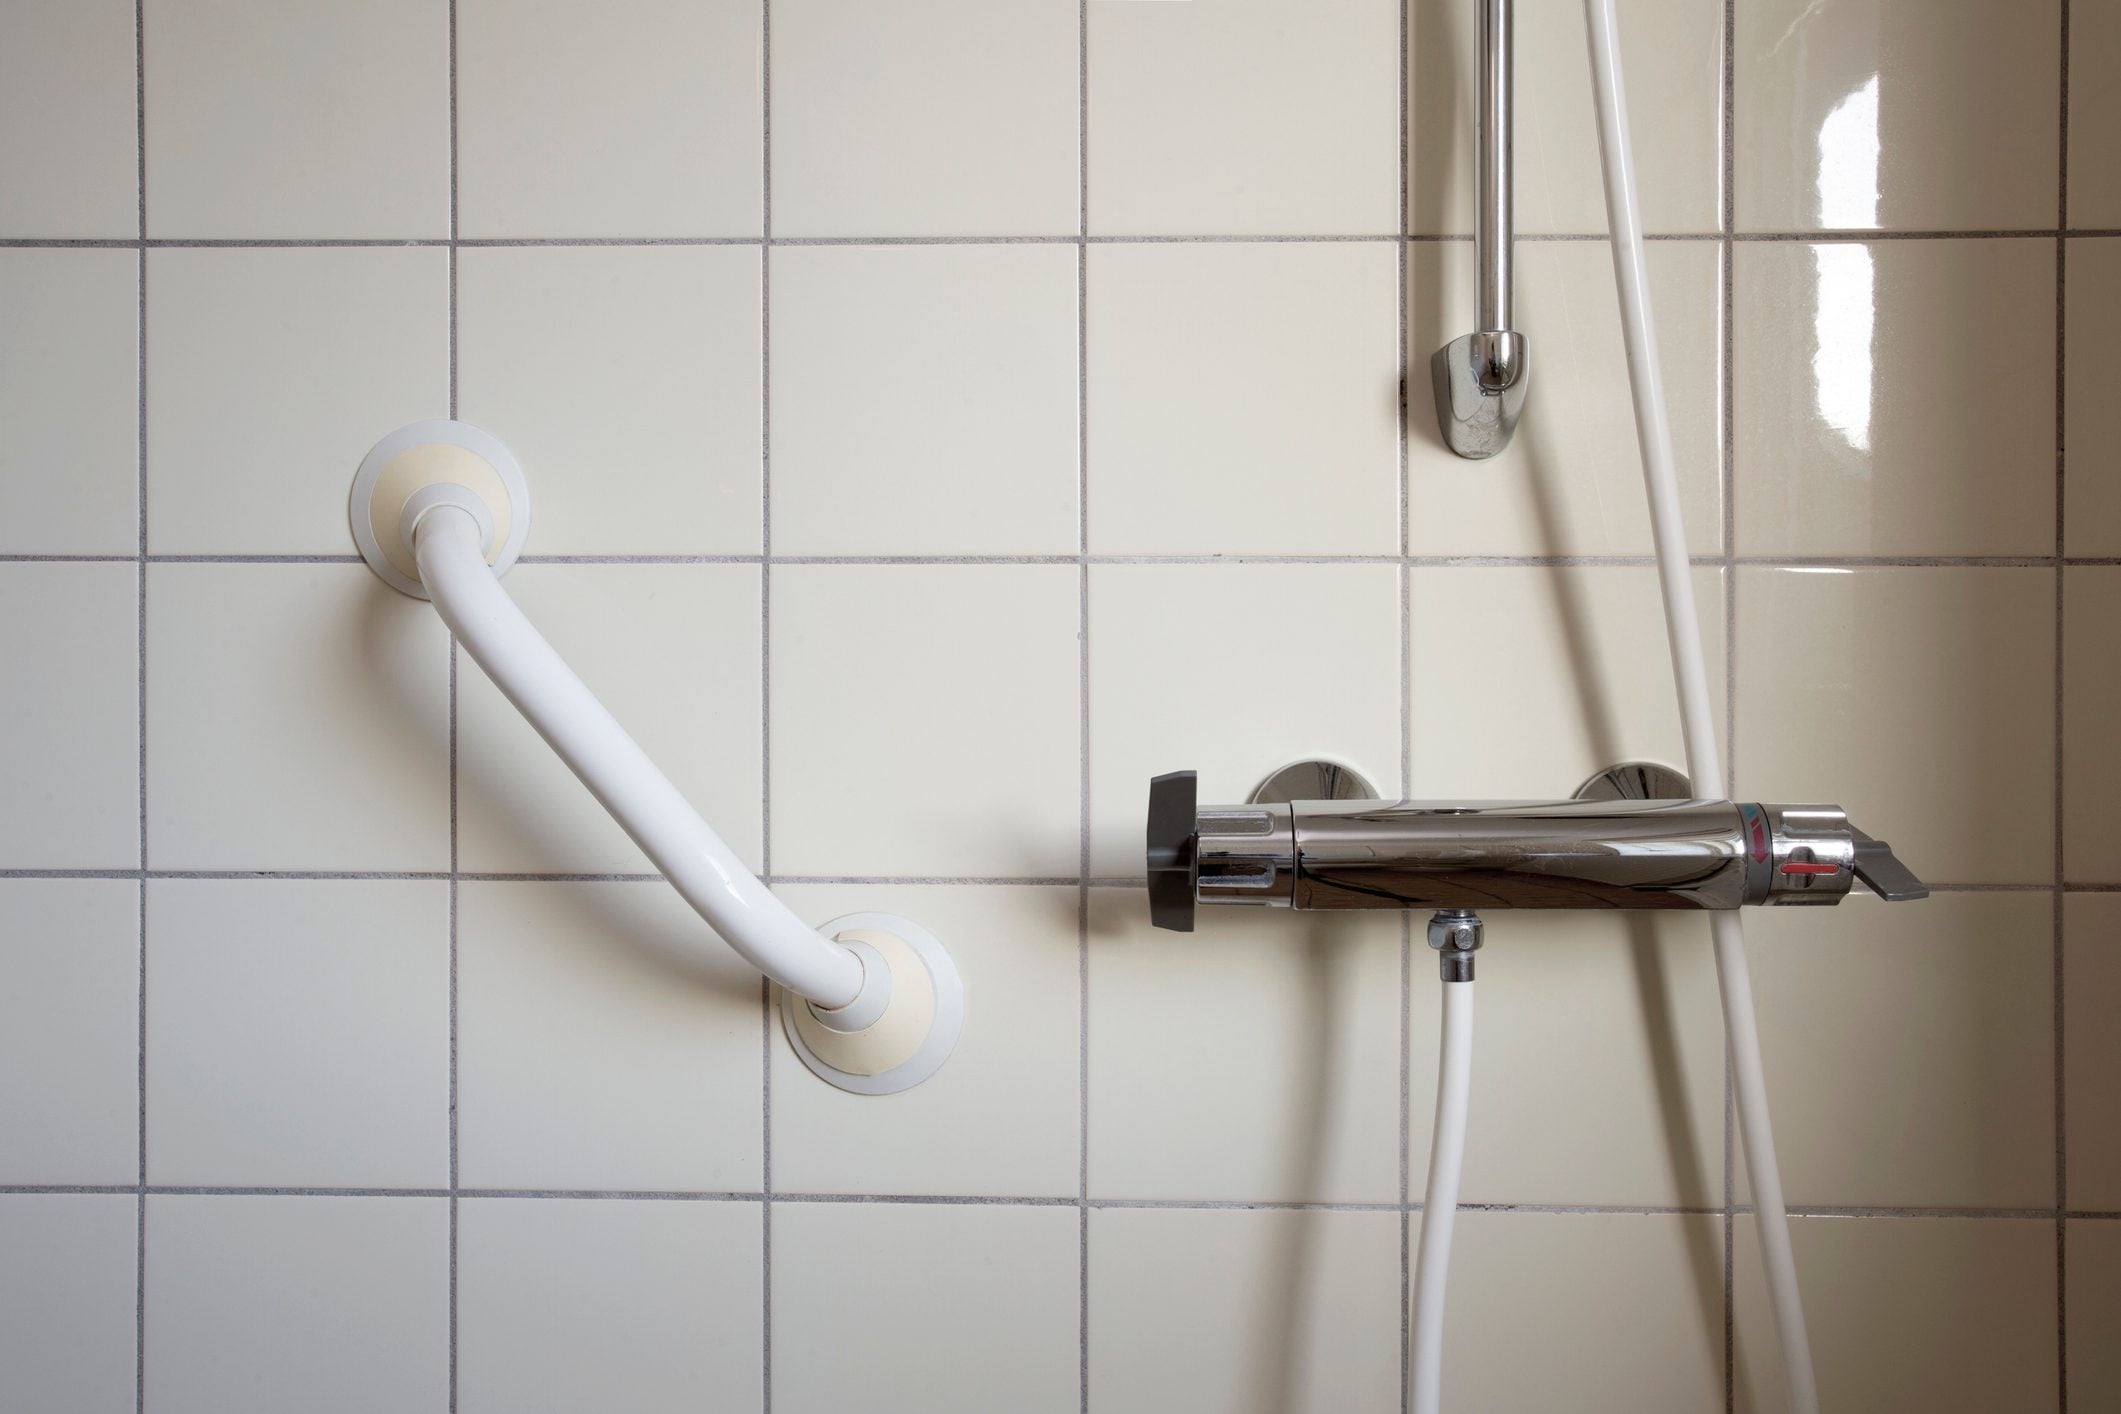
An accessible bathroom should not feel like a plumbing showroom collided with a rulebook. When planned correctly, it feels spacious, intuitive, safe, and comfortable for people with different mobility, balance, vision, strength, and dexterity needs.
Designing an ADA-compliant bathroom requires more than ordering a toilet labeled “ADA height” and attaching a grab bar wherever the wall looks empty. Compliance depends on the complete installation: room dimensions, fixture placement, clear floor areas, turning space, door movement, hardware, reach ranges, and even the location of the toilet paper dispenser.
The goal is not simply to pass an inspection. It is to create a bathroom that people can enter, navigate, and use independently without encountering an obstacle course made of trash cans, open cabinet doors, poorly placed accessories, and decorative furniture.
Begin by Identifying Which Accessibility Rules Apply
The Americans with Disabilities Act is a federal civil rights law, but the 2010 ADA Standards for Accessible Design primarily govern state and local government facilities, public accommodations, and commercial facilities. Restaurants, offices, hotels, medical facilities, stores, schools, and government buildings may therefore have ADA obligations when bathrooms are newly constructed or altered.
A privately owned single-family home is generally not regulated by the ADA in the same way as a public restroom. However, multifamily housing may be subject to the Fair Housing Act, Section 504 requirements, state accessibility laws, building codes, or local housing regulations. The Fair Housing Act, for example, includes requirements concerning usable bathrooms, accessible routes, sufficiently wide doors, and bathroom wall reinforcement in certain covered multifamily buildings.
Before drawing the floor plan, identify the facility type, project scope, construction date, jurisdiction, and locally adopted code edition. A building may need to satisfy the federal ADA Standards, an adopted version of the International Building Code, ICC A117.1, plumbing codes, fire and life-safety requirements, and local amendments simultaneously.
Do not confuse minimum compliance with universal design
ADA dimensions establish enforceable minimums for covered facilities. Universal design goes further by making environments comfortable for the widest practical range of people, including children, older adults, caregivers, people using walkers, and individuals with temporary injuries.
A room can technically meet minimum measurements and still feel difficult to use. Whenever the project allows, provide additional maneuvering room, better lighting, easier controls, and more flexible storage rather than designing every element to barely clear the required line.
Plan the Accessible Route Before Choosing Fixtures
An accessible bathroom begins outside the bathroom. A compliant room is not especially useful when it can be reached only by stairs, a narrow corridor, or a doorway blocked by furniture.
Trace the entire route from an accessible entrance, elevator, guest room, work area, or public space to the bathroom. Look for abrupt level changes, thick rugs, narrow turns, protruding objects, heavy doors, and temporary obstacles such as cleaning carts.
Provide a usable doorway
ADA-covered doors generally need at least 32 inches of clear opening width when the door is open 90 degrees. The measurement is taken between the face of the open door and the opposite stop, not from one side of the decorative trim to the other. Door thresholds in new construction are generally limited to one-half inch and must be properly beveled when required.
Door maneuvering clearance matters just as much as opening width. Someone using a wheelchair must have enough room to approach the door, reach the hardware, pull or push the door, and move through without becoming trapped between the door and a wall.
Lever handles, push plates, and other hardware that can be operated without tight grasping, pinching, or twisting are usually better choices than small round knobs. A sliding door may save floor area, but its hardware, opening force, clear width, and maneuvering space must still be evaluated.
Think carefully about the door swing
A door that swings into the room can consume critical transfer and turning space. In certain single-user toilet rooms, the door may swing into fixture clearances only when an unobstructed wheelchair space is provided beyond the door’s arc. An outward-swinging door can simplify the interior layout, but it must not create a hazard in the corridor or conflict with other code requirements.
Allow Enough Turning and Clear Floor Space
The 2010 ADA Standards generally permit a 60-inch-diameter circular turning space or a compliant T-shaped turning space. Parts of some fixtures may overlap the turning area when the applicable knee and toe clearance requirements are satisfied, but door maneuvering clearances must remain unobstructed.
Do not assume that every jurisdiction uses the same turning dimension. Some newer editions of ICC A117.1 establish larger turning spaces for new construction than the federal ADA minimum. This is one reason copying a generic bathroom diagram from the internet can produce an expensive surprise at plan review.
A practical design usually includes more open area than the mathematical minimum. Extra space helps people using larger power wheelchairs, scooters, walkers, service animals, or caregiver assistance. It also makes maintenance easier, which is a pleasant bonus for the employee trying to mop around the toilet at closing time.
Position the Toilet for Safe Transfers
In a typical adult ADA layout, the toilet centerline is positioned 16 to 18 inches from the adjacent side wall. The required water-closet clearance is generally at least 60 inches wide and 56 inches deep for a wall-mounted toilet configuration. The seat height is typically 17 to 19 inches above the finished floor, measured to the top of the seat.
The open side of the toilet must remain available for wheelchair positioning and transfer. Avoid placing a vanity, trash container, decorative planter, diaper pail, or portable storage cabinet in that area. A beautiful wicker basket becomes considerably less charming when it blocks the exact space someone needs to transfer safely.
Keep flush controls accessible
Manual flush controls should be on the open side of the toilet and operable without tight grasping, pinching, or twisting. Automatic flush valves can reduce physical effort, although they should be adjusted so they do not activate every time a user shifts position.
Install the toilet paper dispenser correctly
The dispenser must be within reach from the toilet and must not obstruct the grab bars. Oversized dispensers frequently create problems because the fixture itself may technically fit on the wall while its bulk interferes with gripping or transfer space. Recessed dispensers can provide a cleaner, more accessible installation when coordinated with wall construction.
Treat Grab Bars as Structural Equipment
Grab bars are not towel rails wearing a serious expression. They are structural safety components designed to support a person during transfers, standing, sitting, and balance recovery.
At an accessible toilet, a rear grab bar is generally at least 36 inches long, while the side grab bar is generally at least 42 inches long. The top of the gripping surface is normally installed 33 to 36 inches above the finished floor. ADA-compliant grab bars, fasteners, mounting devices, and supporting structures must withstand a 250-pound force applied at any point.
The space around the gripping surface must remain clear. Soap dispensers, shelves, toilet accessories, decorative trim, and exposed plumbing cannot be allowed to interfere with a user’s hand or forearm.
Add blocking before closing the walls
Wall reinforcement should be planned during framing, not after the tile installer has finished. Continuous plywood backing or appropriately positioned structural blocking offers flexibility for current and future grab-bar locations. Residential aging-in-place guidance also recommends preparing shower, tub, and toilet walls for secure grab-bar installation before wall finishes are applied.
Suction-mounted handles are not substitutes for code-required grab bars. They may be useful as temporary visual or balance cues in limited situations, but they are not reliable structural supports.
Design an Accessible Lavatory, Not Just a Low Counter
An accessible lavatory typically needs a forward approach with clear floor space at least 30 inches wide and 48 inches deep. The rim or counter surface is generally no more than 34 inches above the finished floor. Required knee and toe space must extend beneath the bowl, faucet controls, and other operable parts.
Plumbing pipes and other exposed surfaces must be configured or protected to prevent contact injuries. A shallow sink with a rear drain can make it easier to preserve knee clearance and keep traps and supply lines away from the user.
Cabinetry beneath the sink is one of the most common trouble spots. In some residential applications, removable cabinets may be permitted when the finished floor continues underneath and the surrounding walls are completed. In public bathrooms, however, a conventional permanent vanity can eliminate the required approach space.
Choose faucets for limited dexterity
Faucets should be usable with one hand without tight grasping, pinching, or wrist twisting. Lever handles, touch controls, and well-calibrated sensors can work well. Place soap and towel dispensers within an accessible reach range and where users do not have to roll across the room with wet hands.
If a mirror is installed above a lavatory or counter, the bottom edge of its reflecting surface is generally limited to 40 inches above the finished floor. A larger mirror mounted lower on the wall often works for both seated and standing users and avoids the “tiny compliance mirror floating in space” look.
Select the Right Shower or Bathtub Configuration
Accessible bathing areas may use a transfer shower, standard roll-in shower, alternate roll-in shower, or compliant bathtub configuration. The best choice depends on the facility, expected users, available floor area, structural conditions, and local code.
Transfer showers
A transfer shower is specifically sized to support movement from a wheelchair onto a shower seat. It has precise interior dimensions, a seat, strategically located controls, grab bars, and a required clear floor area outside the shower. The external clearance must align with the seat so the user can position a wheelchair for a side transfer.
Roll-in showers
A roll-in shower allows a wheelchair or rolling shower chair to enter the compartment. Thresholds are tightly limited, and the slope must drain water without creating a steep transition. Controls, handheld spray units, seats, and grab bars must be reachable without forcing the user to cross a wet floor.
A curbless shower can be attractive and practical, but “curbless” does not automatically mean compliant. Drainage, waterproofing, compartment dimensions, transfer clearances, control placement, grab bars, and shower-door interference all matter. Shower doors must not block controls or prevent transfer to a seat.
Use stable seating and handheld sprays
A properly specified folding or fixed shower seat can support people who cannot stand safely for long periods. A handheld showerhead with an accessible control and hose makes bathing easier from a seated position. Controls should be reachable before the user enters the water stream, preventing the familiar and deeply unpleasant surprise of an icy shower.
Reduce Slip, Trip, and Fall Hazards
Accessibility and fall prevention overlap, especially in bathrooms where water, hard surfaces, and frequent changes in body position occur in a compact area.
Choose flooring that remains slip-resistant when wet. Avoid unsecured rugs, thick bathmats, high transitions, polished surfaces, and decorative grooves that catch cane tips or wheelchair casters. Floor drains and shower slopes should manage water without creating uncomfortable cross-slopes.
Federal health guidance recommends secure grab bars near toilets and bathing fixtures, nonskid materials on wet surfaces, and night lighting for safer bathroom access.
Use layered, low-glare lighting
Provide even ambient lighting, focused illumination at the sink and mirror, and a low-level night-light option. Strong contrast can help users distinguish the toilet, grab bars, controls, floor edges, and door hardware. Avoid intense glare reflected from glossy white tile, polished metal, or large mirrors.
Motion-activated lighting can be useful, but controls should not plunge the room into darkness while someone is sitting still. Manual switches should remain easy to locate and operate.
Coordinate Accessories, Storage, and Maintenance
Many bathrooms fail after construction because accessories are added without reviewing the accessibility plan. Trash receptacles, sanitary-product bins, baby-changing stations, shelves, air fresheners, and cleaning equipment may reduce required clearances.
Operable parts should remain within accessible reach ranges and should not require excessive force. Baby-changing tables must be evaluated in both open and closed positions. When folded, a table cannot improperly project into a circulation path or occupy required fixture clearance. When open, users need appropriate approach space.
Provide reachable storage for personal items without placing shelves where users might strike their heads or shoulders. Open shelves, pull-out drawers, and shallow cabinets are often easier to use than deep upper cabinets.
Remember that operations can destroy compliance
A compliant bathroom can become inaccessible when staff store supplies in the transfer area, place a trash can under the sink, lock the accessible stall, or use the room as an unofficial mop closet. Include accessibility requirements in cleaning procedures, staff training, and facility inspections.
Balance Accessibility With Water Efficiency
Accessibility and sustainability do not need to compete. Water-efficient toilets and faucets can be selected while preserving compliant heights, clearances, controls, and reach ranges.
The EPA WaterSense label identifies qualifying products that meet efficiency and performance criteria and use at least 20 percent less water than standard models. Product documentation should still be reviewed carefully because a water-efficient fixture is not automatically accessible, and an “ADA-compliant” fixture is only compliant when installed as part of a compliant layout.
Common ADA Bathroom Design Mistakes
- Measuring the door slab instead of the actual clear opening.
- Allowing the door to block required fixture or maneuvering space.
- Installing the toilet too far from the side wall.
- Buying a comfort-height toilet without checking the finished seat height.
- Mounting grab bars into tile and drywall without structural backing.
- Placing dispensers where they obstruct grab bars.
- Installing a decorative vanity that eliminates knee clearance.
- Using a shower curb that prevents rolling entry.
- Locating controls where they cannot be reached from the shower seat.
- Adding trash cans and furniture after inspection that block required floor space.
- Relying on a manufacturer’s product label instead of verifying the entire installation.
- Following federal ADA dimensions while ignoring stricter state or locally adopted standards.
Experiences and Lessons From Real-World Accessible Bathroom Projects
The most valuable lesson from accessible bathroom projects is that small coordination mistakes become large construction problems. A toilet rough-in that is off by two inches may require moving plumbing, reframing a wall, replacing tile, or requesting an alternative design review. On paper, two inches looks harmless. On a job site, it can arrive wearing a hard hat and carrying a very expensive change order.
One recurring problem occurs when different trades work from different reference points. The architect may dimension the toilet from the finished wall, while the plumber measures from framing before backer board and tile are installed. Once the finishes are complete, the toilet centerline may fall outside the permitted range. Successful projects clearly identify finished dimensions and require field verification before fixtures are permanently connected.
Grab-bar blocking creates similar headaches. A general note saying “provide blocking as required” is rarely enough. The framing crew needs exact locations and sufficient reinforcement. Continuous backing is often more forgiving than isolated blocks because it accommodates installation tolerances and future changes. Photographs taken before the walls are closed also become useful records for installers and facility managers.
Another lesson is to test the room as a sequence rather than as a collection of objects. A sink may have correct knee clearance, and a toilet may have correct grab bars, yet the path between them may be blocked by the door. Designers should mentallyor physicallywalk through entering, closing the door, turning, approaching each fixture, transferring, washing, drying, and exiting.
Full-scale mockups can reveal conflicts that are difficult to notice on a small drawing. Tape the required clearances onto the floor, place cardboard fixtures in position, and invite wheelchair users, people who use walkers, caregivers, and maintenance staff to test the layout. A simple mockup may show that a soap dispenser is unreachable, a shelf creates a head hazard, or the shower control is awkward from the seat.
Real-world projects also demonstrate why designing beyond the minimum can be worthwhile. Minimum clearances may work for a manual wheelchair but feel tight for a power chair, scooter, caregiver-assisted transfer, or person accompanied by a service animal. A few extra inches can dramatically improve comfort without significantly increasing the project budget, especially when the space is planned correctly from the beginning.
Maintenance teams should be included before the design is finalized. They understand where trash accumulates, which dispensers need frequent refilling, where water escapes from showers, and how cleaning equipment is stored. Their input can prevent a compliant floor area from becoming the permanent parking place for a rolling supply cart.
Finally, accessibility should be reviewed after installation, not merely approved on drawings. Finished-floor heights, tile thickness, trim, mirror frames, dispensers, door closers, and fixture models can all change field conditions. A final dimensional inspection helps confirm that the built bathroom matches the approved intent.
The best accessible bathrooms are not memorable because they look institutional. They are memorable because nothing is awkward. The door opens easily, the fixtures are where users expect them, the floor feels secure, and every control can be reached without a gymnastics routine. That quiet ease is the real measure of successful inclusive design.
Conclusion
Designing an ADA-compliant bathroom requires coordinated attention to law, building codes, circulation, fixture clearances, transfer space, hardware, structural support, lighting, flooring, and everyday facility operations. No single product can make the room compliant by itself.
Begin by confirming the applicable standards with the local authority having jurisdiction. Develop the layout around accessible movement rather than squeezing accessibility into leftover space. Then verify every dimension at the drawing, rough-in, installation, and final-inspection stages.
When accessibility is treated as a central design objective instead of a last-minute checklist, the result serves more people, reduces renovation risk, and produces a bathroom that feels safer and more welcoming to everyone.