A vacuum thermosflask is one of those everyday heroes that asks for very little. It keeps coffee hot, tea cozy, soup civilized, and iced drinks cold enough to make your teeth reconsider their career choices. But then, one day, you peek inside and see it: a mysterious brown ring, gray film, or dark stain sitting at the bottom like it signed a long-term lease.
The good news? Most bottom stains in a stainless steel vacuum flask are not permanent. Coffee and tea leave tannins, mineral-rich water leaves cloudy deposits, and sugary drinks can leave residue that clings to corners. With the right cleaning method, a stained thermos can usually return to sparkling service without harsh scrubbing, strange chemicals, or the dramatic feeling that you are cleaning a tiny stainless-steel cave.
This guide explains three practical ways to clean a vacuum thermosflask that has stains at the bottom: a baking soda soak, a vinegar rinse, and a cleaning-tablet or rice-shake method. These methods are based on common care guidance from major drinkware brands and cleaning experts, including Thermos, Stanley, Hydro Flask, YETI, Consumer Reports, Good Housekeeping, The Spruce, Real Simple, Better Homes & Gardens, and other reputable home-care resources. The main rule is simple: be gentle, rinse well, and let the bottle dry completely before closing it again. Your thermos is tough, but it is not asking to be sandblasted.
Why Vacuum Thermosflasks Get Stains at the Bottom
Before attacking the stain like it insulted your favorite mug, it helps to understand what you are dealing with. Bottom stains usually form because liquid sits in the deepest part of the flask longest. Even if you rinse the thermos, the bottom can keep a thin layer of coffee, tea, minerals, or smoothie residue. Over time, that residue dries, darkens, and becomes harder to remove.
Coffee and Tea Tannins
Coffee and tea are the most common culprits. They contain natural compounds called tannins, which create those brownish stains inside cups, mugs, and stainless steel bottles. If your thermos spends every morning carrying coffee like it is commuting to work with you, a stain at the bottom is not surprising. It is basically the thermos version of a coffee mustache.
Hard Water Deposits
If the stain looks cloudy, chalky, or pale, hard water may be the problem. Water that contains minerals such as calcium and magnesium can leave deposits when it evaporates. These deposits can trap other stains, making the bottom of the flask look dull or dirty even after a regular wash.
Odor, Biofilm, and Leftover Residue
If the thermos smells sour, musty, or like yesterday’s protein shake is still filing paperwork inside, residue may have built up. Moist environments encourage bacteria and biofilm, especially around lids, seals, straws, and tiny grooves. A quick rinse may remove visible liquid, but it does not always remove the film that causes odor and discoloration.
Before You Start: Safety and Care Rules
Most vacuum thermosflasks have a stainless steel interior, but the lid may include rubber gaskets, silicone seals, plastic parts, or small drinking mechanisms. Always check the manufacturer’s care instructions first. Some bottles are dishwasher safe, while others are best washed by hand to protect insulation, coating, or seals.
Avoid chlorine bleach unless your specific product instructions say it is safe. Many stainless steel bottle brands warn that bleach or chlorine-based cleaners may damage stainless steel, rubber parts, or finishes. Also avoid steel wool, abrasive powders, and aggressive scouring pads. They may remove the stain, but they can scratch the surface and make future stains cling even more enthusiastically.
One more important rule: never tightly seal a bottle when baking soda and vinegar are reacting inside it. The fizz can build pressure. Leave the lid off during fizzy cleaning methods, and keep your face away from the opening. Cleaning a thermos should not turn into a science-fair volcano with personal consequences.
Method 1: Clean Bottom Stains with Baking Soda
Baking soda is the friendly neighborhood cleaner of the kitchen world. It is mildly abrasive, deodorizing, inexpensive, and gentle enough for many stainless steel interiors when used properly. It works especially well for coffee stains, tea marks, and general discoloration at the bottom of a thermosflask.
What You Need
- 1 to 2 tablespoons of baking soda
- Warm water
- A long bottle brush or soft sponge brush
- Mild dish soap
- A drying rack or clean towel
Step-by-Step Instructions
First, rinse the thermos with warm water to loosen any fresh residue. Add 1 to 2 tablespoons of baking soda directly into the flask. Pour in warm water until the bottle is about half to three-quarters full. Do not use boiling water unless the manufacturer says it is safe. Warm water is usually enough to help the baking soda dissolve and lift stains.
Let the mixture sit for 30 minutes. For heavier coffee or tea stains, you can let it soak longer, but avoid leaving metal lids, rubber seals, or complicated cap parts soaking for excessive periods. After soaking, use a bottle brush to scrub the bottom in gentle circular motions. The goal is to lift the stain, not punish the thermos for its life choices.
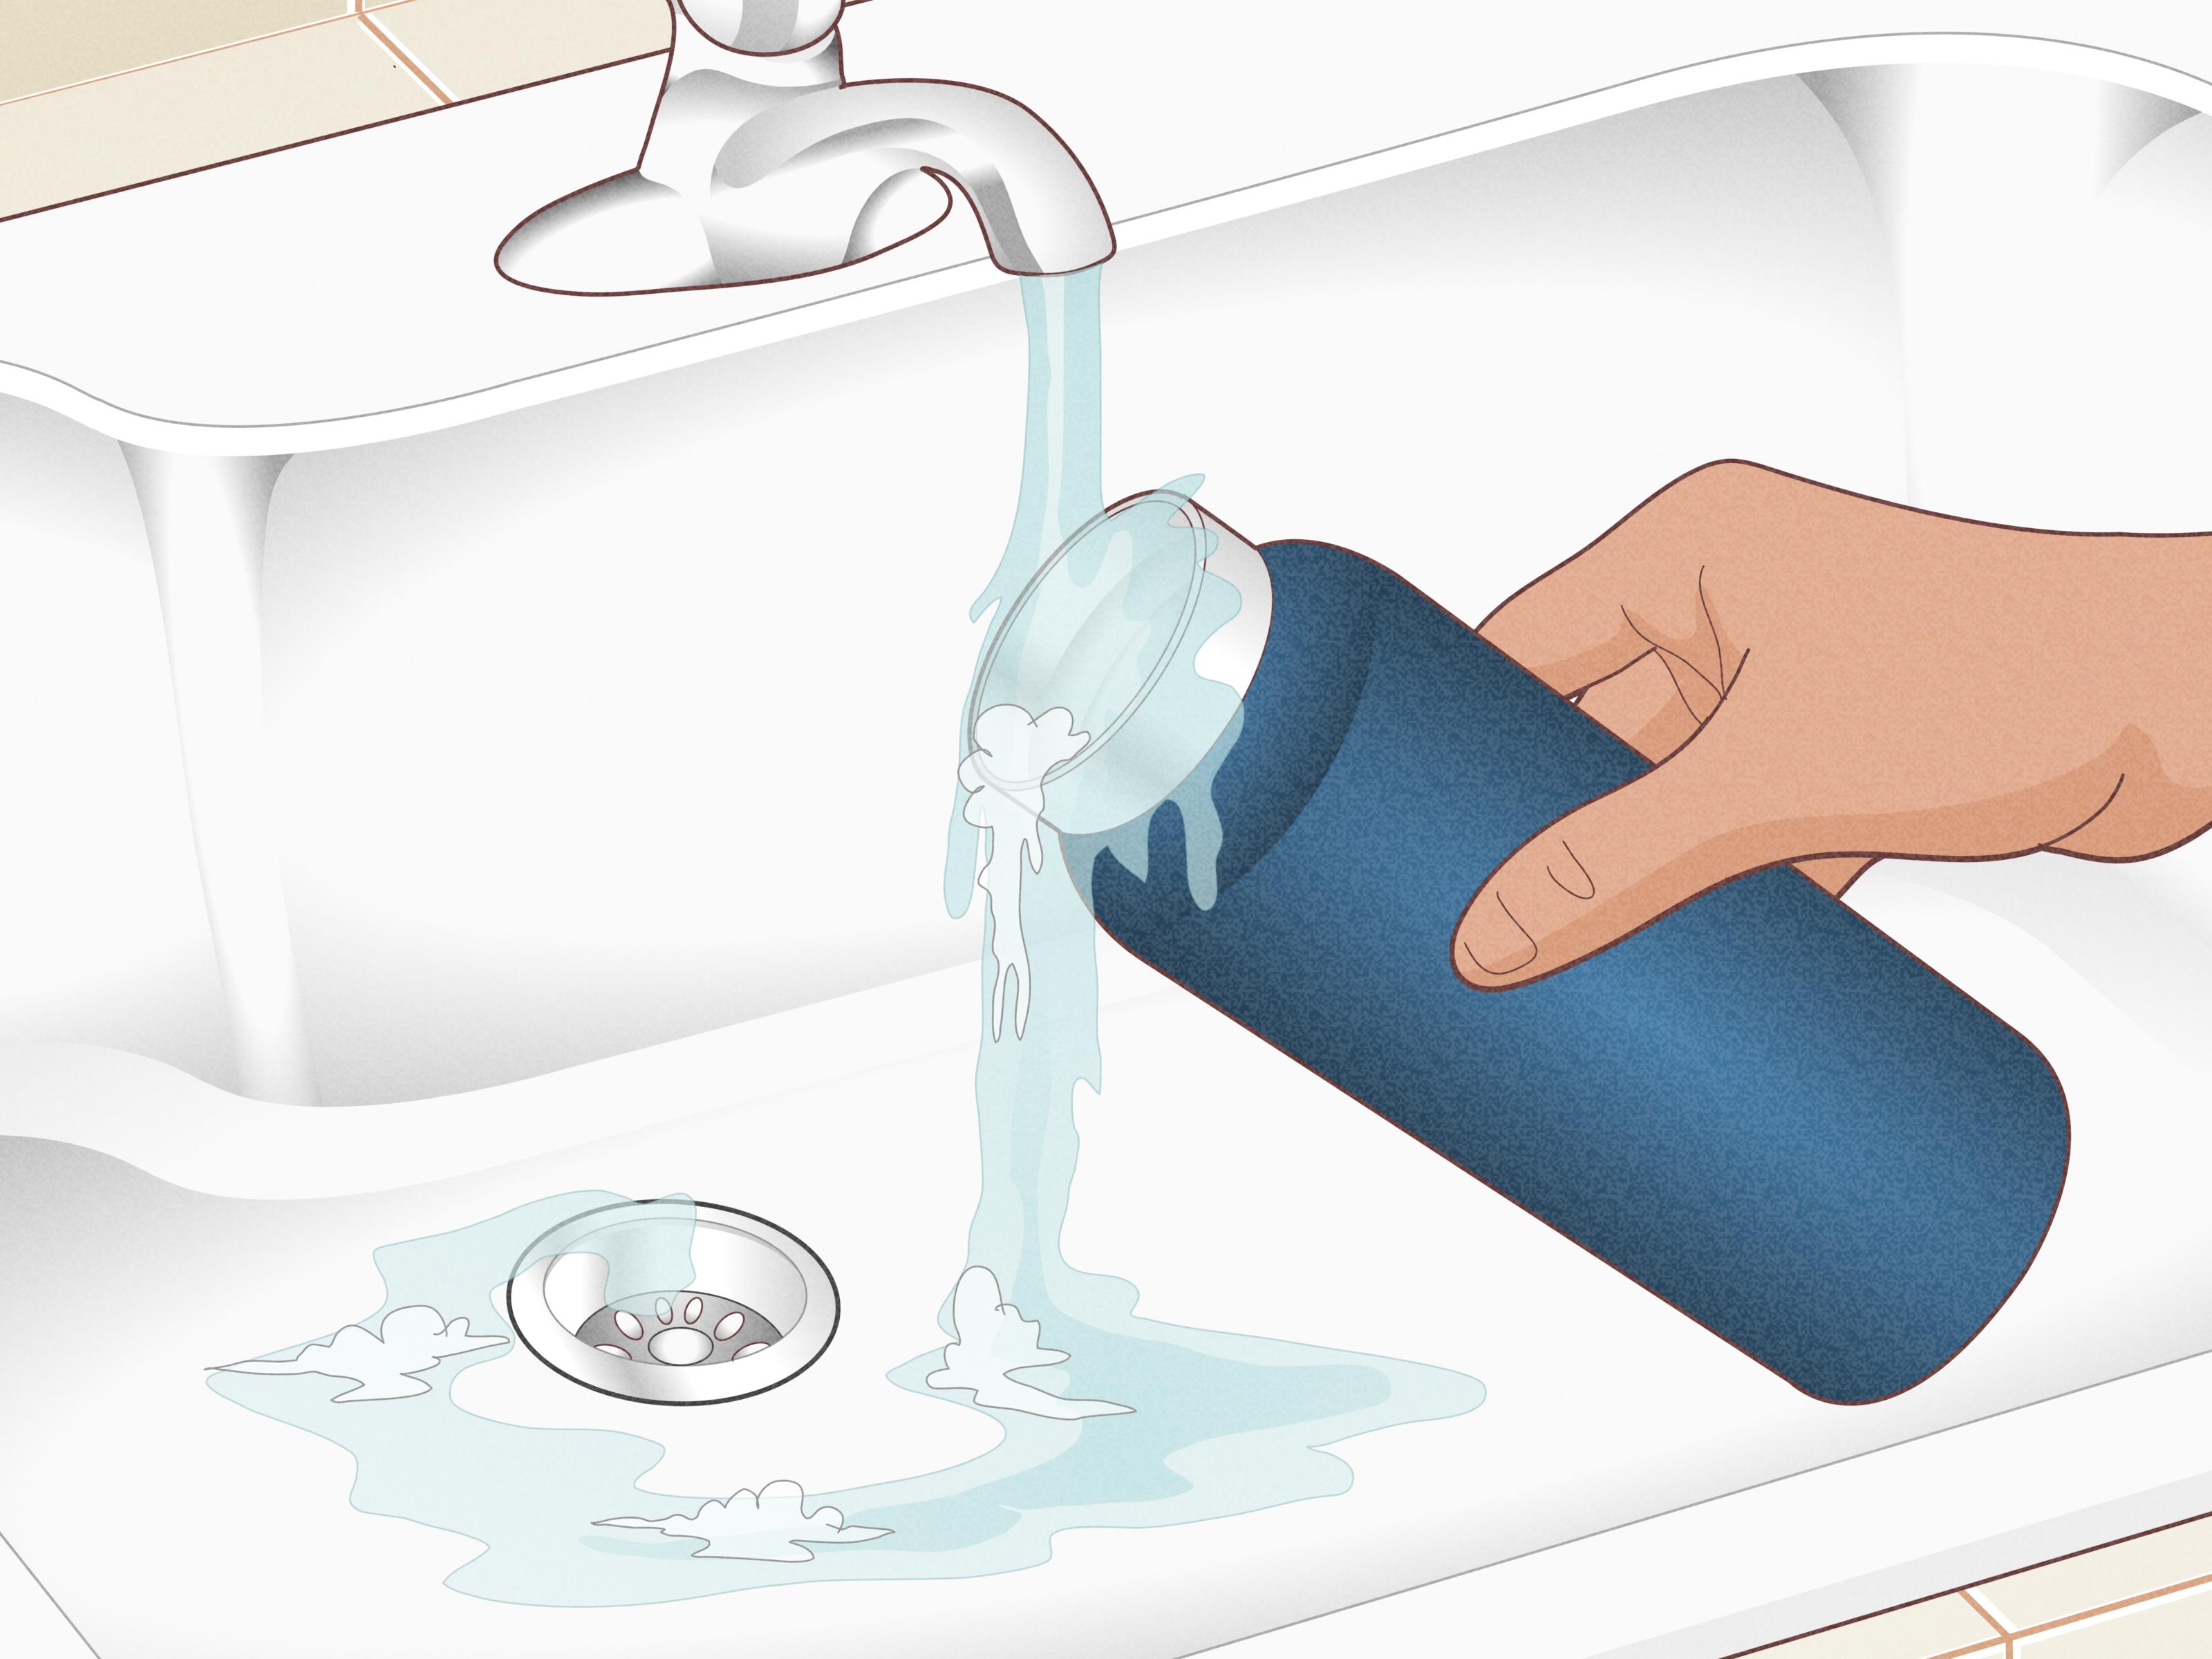
Pour out the mixture, wash the flask with mild dish soap, and rinse thoroughly several times. Hold the bottle up to the light and check the bottom. If a faint stain remains, repeat the process or make a thicker paste with baking soda and a small amount of water. Apply the paste to the stained bottom using the bottle brush, let it sit for 10 to 15 minutes, scrub gently, and rinse again.
When Baking Soda Works Best
This method is ideal for everyday stains, mild odors, and thermosflasks used for coffee, tea, or hot cocoa. It is also useful when you want a low-odor cleaner. Vinegar can be effective, but not everyone wants their bottle smelling like a salad dressing audition. Baking soda is quieter, softer, and less dramatic.
Method 2: Remove Mineral Marks and Odors with White Vinegar
Distilled white vinegar is a strong choice when the bottom of your vacuum thermosflask has cloudy mineral stains, sour odors, or stubborn residue. Vinegar contains acetic acid, which helps dissolve mineral deposits and loosen buildup. It is especially helpful if your tap water leaves white or gray marks in kettles, sinks, or bottles.
What You Need
- Distilled white vinegar
- Warm water
- A bottle brush
- Mild dish soap
- Clean water for rinsing
Step-by-Step Instructions
Pour about 1/4 cup to 1/2 cup of distilled white vinegar into the thermos. Add warm water until the stained area is fully covered. If the stain reaches higher up the sides, fill the bottle halfway. Let the mixture sit for 15 to 30 minutes for light stains. For stronger mineral deposits or lingering odors, allow it to sit longer, but keep the lid off.
After soaking, scrub the bottom with a bottle brush. Pay attention to the curved edge where the wall meets the base. That little corner is where residue loves to hide, probably because it has no rent to pay. Pour out the vinegar solution, wash with mild dish soap, and rinse thoroughly until the vinegar smell is gone.
If your thermos still smells like vinegar, fill it with clean warm water, let it sit for a few minutes, empty it, and rinse again. Then air-dry the flask upside down at an angle so airflow can reach the inside. Do not close the lid while the bottle is damp. Trapped moisture is one of the fastest ways to invite odor back for a reunion tour.
When Vinegar Works Best
Use vinegar when you see white spots, cloudy film, or mineral rings. It is also useful for flasks that smell stale even after washing. However, vinegar is not magic. If the stain is mostly coffee or tea tannin, baking soda or cleaning tablets may work faster.
Method 3: Use Cleaning Tablets or the Rice-Shake Trick for Stubborn Bottom Stains
Sometimes the stain at the bottom of a thermos is stubborn enough to deserve a more active method. Two useful options are bottle-cleaning tablets and the rice-shake trick. Cleaning tablets are convenient and designed to remove stains and odor from bottles, mugs, and hydration containers. The rice method uses uncooked rice as a gentle scrubber that reaches the bottom without requiring superhero-level wrist flexibility.
Option A: Bottle-Cleaning Tablets
Cleaning tablets are popular for stainless steel bottles because they do much of the work while you do something more enjoyable, like not scrubbing a cylinder. Many brands recommend their own tablets for deep cleaning coffee and tea stains. Always follow the tablet package directions, because soaking time and water temperature can vary.
In general, fill the thermos with warm water, drop in the cleaning tablet, and let it fizz with the lid off. Once the recommended time has passed, pour out the solution and rinse very thoroughly. Then wash with mild dish soap, rinse again, and air-dry completely.
This method is especially helpful for narrow-mouth thermosflasks where a brush cannot easily reach the bottom. It is also a good choice when the stain is dark, old, or spread across the base like a tiny coffee-colored floor mat.
Option B: The Rice-Shake Trick
The rice-shake method is a classic for bottles with narrow openings. Add 2 to 4 tablespoons of uncooked rice to the flask. Pour in a small amount of warm water and a splash of distilled white vinegar, or use warm water with a few drops of dish soap. Put the lid on securely for this shaking step only if you are not using a fizzing baking soda reaction. Shake the thermos for 30 to 60 seconds so the rice gently scrubs the bottom.
Empty the rice into the trash or compost, not the sink. Rice can clog drains, and nobody wants to explain to a plumber that the thermos cleaning project became a plumbing side quest. Rinse the bottle well, scrub with a brush if needed, then wash and dry as usual.
When This Method Works Best
Use cleaning tablets for deep stains, old coffee marks, or narrow bottles. Use rice when you want a simple physical scrubbing method that reaches the bottom. The rice trick is especially helpful when the stain is sitting right in the center of the base where your brush keeps missing it by half an inch, just to be annoying.
How to Clean the Lid, Gasket, and Mouthpiece
The bottom stain may be the star of the show, but the lid is often where odor begins. Many thermos lids have silicone rings, push-button parts, sipping channels, or threads that trap liquid. If the bottle smells bad even after the inside looks clean, the lid is probably raising its hand quietly.
Disassemble the lid according to the manufacturer’s instructions. Remove silicone gaskets only if they are designed to come out. Wash each part with warm soapy water. Use a small brush, straw brush, or clean toothbrush to scrub grooves and corners. Rinse well and let every piece dry completely before reassembling.
If the gasket smells, soak it in a solution of warm water and a small amount of white vinegar for 15 minutes, then wash with dish soap and rinse. Do not stretch, boil, or aggressively scrub silicone parts unless the manufacturer allows it. A damaged gasket can lead to leaks, and a leaking thermos is just a beverage with escape plans.
What Not to Use on a Vacuum Thermosflask
Do not use steel wool inside the flask. It can scratch stainless steel and create tiny grooves where stains return faster. Avoid abrasive cleaners unless your product manual specifically approves them. Skip harsh chemical mixtures, especially combinations involving bleach, vinegar, ammonia, or alcohol. Mixing cleaning chemicals can create dangerous fumes.
Do not put every vacuum flask in the dishwasher automatically. Some brands make dishwasher-safe bottles, but others recommend handwashing to preserve finish, insulation, or lid parts. If the bottom of the bottle says “hand wash only,” believe it. The thermos is not being dramatic; it is trying to survive.
How to Prevent Bottom Stains from Coming Back
The easiest stain to clean is the one that never becomes a stain in the first place. After using your thermos for coffee, tea, soup, juice, or anything sweet, rinse it as soon as possible. If you cannot wash it immediately, at least empty it and add warm water so residue does not dry at the bottom.
Wash the thermos daily when used for beverages other than water. For plain water, regular washing is still important because your mouth, hands, and environment can introduce germs. Use a bottle brush that actually reaches the base. A sponge that stops halfway down is not cleaning the bottom; it is sending moral support.
After washing, dry the flask with the lid off. Place it upside down at a slight angle so air can circulate. Store the lid separately or loosely placed on top. Closing a damp thermos traps moisture and encourages odor. A clean, dry bottle stays fresher longer and makes every drink taste the way it should.
Quick Cleaning Schedule for a Stain-Free Thermos
After Each Use
Empty the thermos, rinse it with warm water, and leave it open if you cannot wash it right away. This quick habit prevents coffee, tea, and soup residue from drying into stubborn bottom stains.
Daily or Every Few Uses
Wash with warm water, mild dish soap, and a bottle brush. Clean the lid and gasket, not just the bottle body. Rinse thoroughly and air-dry completely.
Weekly or When Stains Appear
Use a baking soda soak, vinegar soak, cleaning tablet, or rice-shake method depending on the stain. Deep cleaning once a week is a smart routine for anyone who uses a thermos daily for coffee, tea, or flavored drinks.
Real-Life Experience: What Actually Works When the Bottom Looks Hopeless
Here is the honest truth from real kitchen life: the stain at the bottom of a vacuum thermosflask usually looks worse than it is. The first time you shine a flashlight into a stainless steel bottle and see a dark circle at the base, it can feel like you have discovered an ancient cave painting. But most of the time, it is just coffee residue, tea tannins, or mineral buildup that has settled in a place your regular sponge never reaches.
One of the most useful experiences is learning that soaking matters more than muscle. Many people start by scrubbing harder, which feels productive but often does very little. A long-handled brush helps, of course, but the real breakthrough comes when you let baking soda or vinegar loosen the stain first. After a 30-minute soak, the same stain that seemed permanent may wipe away with surprisingly little effort. It is the cleaning equivalent of letting someone else soften the jar lid before you take credit for opening it.
Another practical lesson: coffee stains and mineral stains behave differently. Coffee stains usually respond better to baking soda or cleaning tablets, while cloudy hard-water stains often respond better to vinegar. If one method does not work, it does not mean the thermos is ruined. It may simply mean you are using the wrong tool for the stain. Think of it like laundry: ketchup and ink do not care about the same strategy.
The rice-shake trick is especially useful for narrow thermosflasks. Some bottle brushes are too short, too soft, or shaped like they were designed by someone who has never met the bottom of a bottle. Rice adds gentle friction and moves into corners that brushes miss. It is not fancy, but it is satisfying. You shake the bottle, hear the rice rattling around, and feel like you are giving the stain a tiny percussion concert it did not request.
The most common mistake is forgetting the lid. A spotless stainless steel interior will not help much if the lid still smells like old coffee and mystery. Silicone gaskets hold odor, and small drinking channels can trap residue. Cleaning the lid separately often makes the entire thermos feel fresher. If your bottle still smells after cleaning the inside, inspect the lid before blaming the flask.
Another experience-based tip is to rinse more than you think you need to. Baking soda can leave a powdery taste if not rinsed well. Vinegar can leave a sharp smell. Cleaning tablets can leave residue if you rush. After deep cleaning, rinse several times, then fill the bottle with clean water, shake it, and pour it out. If the water smells neutral, you are done.
Drying is the final boss. Many stains and odors return because the bottle is closed while still damp. Leave the thermos open overnight after deep cleaning. If possible, dry the lid pieces separately on a towel. This one habit can prevent a surprising amount of odor and buildup.
In short, cleaning a stained vacuum thermosflask is less about heroic scrubbing and more about patience, the right mild cleaner, and better drying habits. Treat the bottle well, and it will keep your drinks hot, cold, and free from that suspicious “bottom of the flask” flavor nobody ordered.
Conclusion
A stained bottom does not mean your vacuum thermosflask is finished. In most cases, baking soda, distilled white vinegar, bottle-cleaning tablets, or a simple rice-shake method can remove stains safely and effectively. The key is matching the method to the stain: baking soda for coffee and tea discoloration, vinegar for mineral buildup and odor, and tablets or rice for stubborn residue in hard-to-reach areas.
For the best long-term results, clean the thermos regularly, scrub the lid and gasket, rinse thoroughly, and let every part dry before reassembly. Your flask works hard. Give it a little cleaning routine, and it will stop looking like it has a secret swamp at the bottom.
Note: This article synthesizes current bottle-care and cleaning guidance from reputable brand and home-care sources, including Thermos, Stanley, Hydro Flask, YETI, Consumer Reports, Good Housekeeping, The Spruce, Real Simple, Better Homes & Gardens, Martha Stewart, The Cleaning Authority, and university extension cleaning guidance. Key safety points include avoiding harsh abrasives, checking dishwasher-safe labels, rinsing thoroughly, and not sealing a bottle during fizzy cleaning reactions.