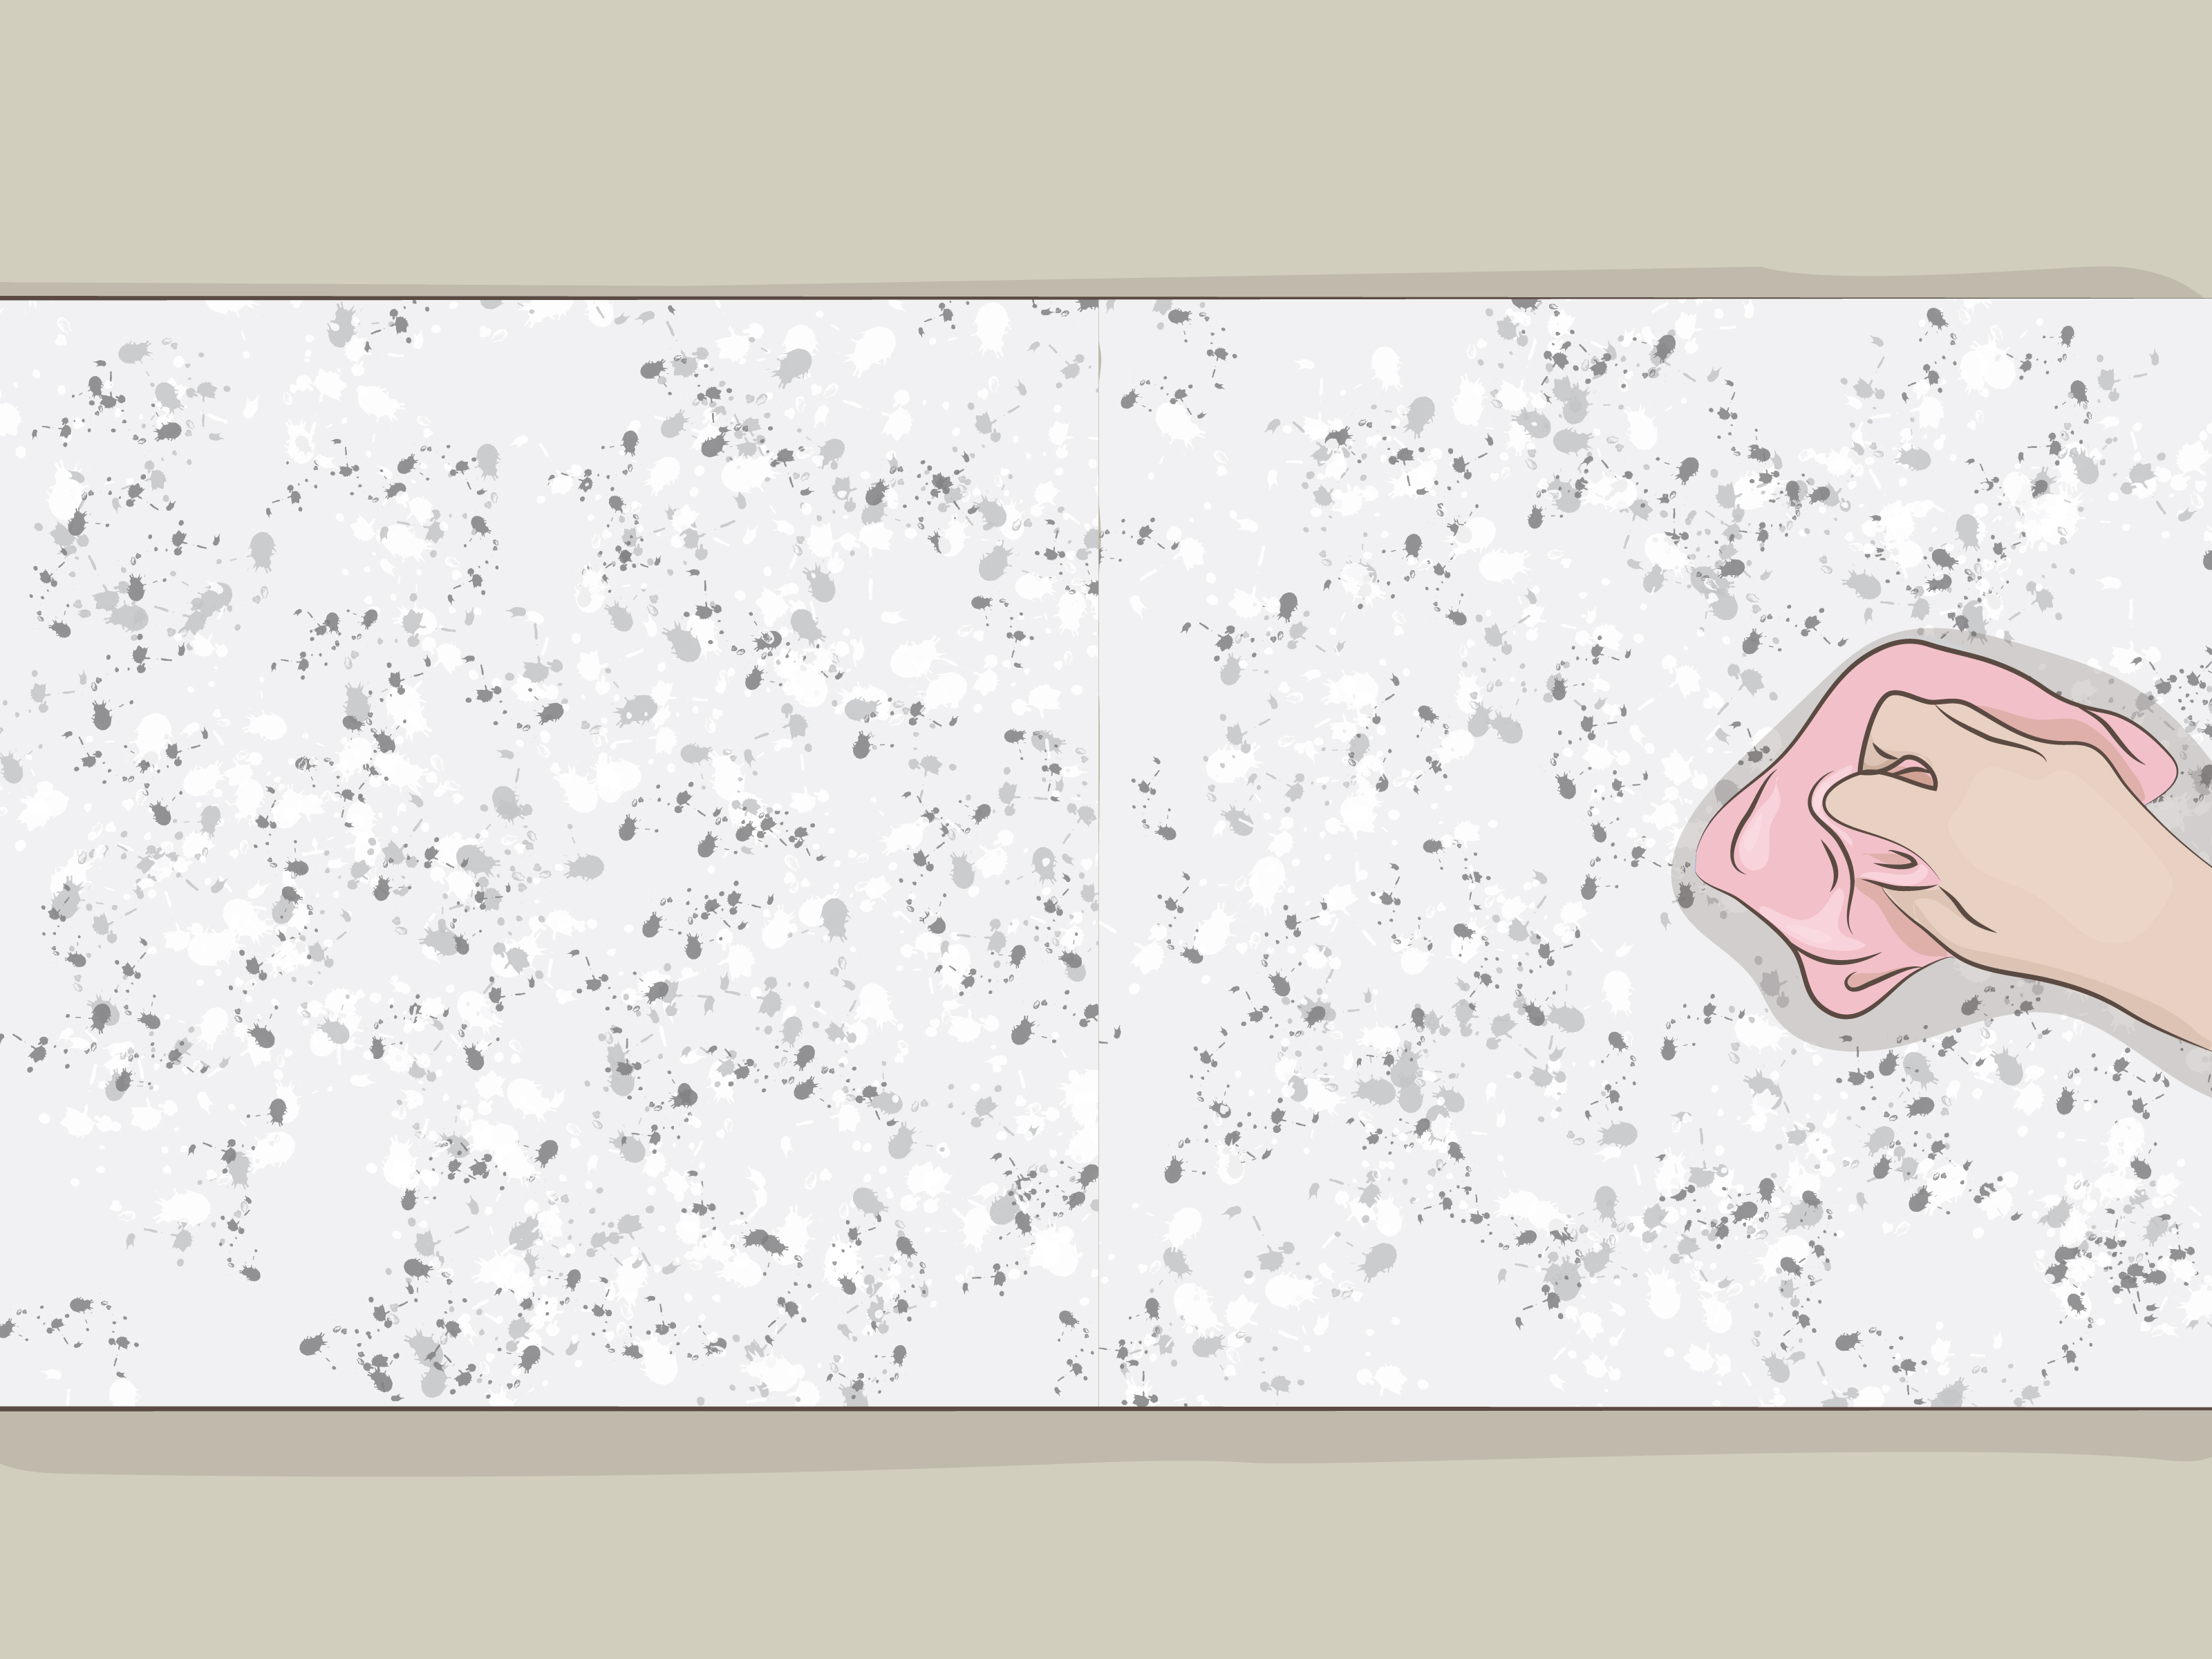
Note: This guide explains the process behind seaming granite countertops for educational, beginner-friendly use. Granite slabs are heavy, brittle at unsupported edges, and expensive when mistakes happen. For full countertop installation, long seams, sink cutouts, waterfall edges, or structural concerns, hire a professional stone fabricator. Your back, your cabinets, and your wallet may all send thank-you cards.
Introduction: The Tiny Line That Makes or Breaks a Granite Countertop
A granite countertop seam is a little like a haircut part: when it is clean, aligned, and intentional, nobody talks about it. When it is crooked, raised, wide, or the wrong color, suddenly it becomes the star of the kitchenand not in a good way. Learning how to seam granite is really learning how to make two stone sections behave like one continuous surface.
Granite is a natural stone, so every slab has its own color movement, mineral flecks, veining, thickness variation, and personality. That personality is exactly why homeowners love it. It is also why granite countertop seams are never completely invisible. A skilled installer can make a seam tight, smooth, durable, and well blended, but natural stone patterns may still shift slightly from one piece to the next. The goal is not magic. The goal is craftsmanship.
In this beginner’s guide, we will walk through what a granite seam is, what tools and materials are used, how color-matched epoxy works, how seam setters help, and what mistakes to avoid. Whether you are repairing a small granite seam, trying to understand your installer’s process, or preparing for a cautious DIY project, this guide will help you approach the job with confidence instead of panic-cleaning the kitchen while whispering, “Please don’t crack.”
What Is a Granite Seam?
A granite seam is the joint where two separate pieces of granite meet. Countertops often need seams because granite slabs come in limited sizes, kitchens have long runs, islands can be oversized, and layouts may include corners, sinks, cooktops, and unusual cabinet shapes. Rather than forcing one giant slab into a space where it does not belong, fabricators cut and join sections together.
A good seam should be narrow, level, well supported, and filled with an adhesive that blends with the stone. Most granite seams are bonded with a two-part epoxy, polyester resin, or stone adhesive that may be tinted with pigments or stone dust. Once cured, the adhesive helps hold the two pieces together and prevents crumbs, water, and mystery kitchen particles from settling into the gap.
Can a Granite Seam Be Truly Invisible?
Not usually. Granite is natural, and natural materials do not repeat like printed wallpaper. A dark, speckled granite can hide a seam beautifully because the pattern is busy. A light granite with long veins may show the seam more clearly because the eye follows the movement across the surface. The best fabricators reduce seam visibility by planning placement carefully, matching slab sections, using tight cuts, leveling the pieces, and choosing the right adhesive color.
When Should You Seam Granite Yourself?
Beginner DIY granite seaming is best limited to small, manageable projects such as a short vanity top, a small bar top, a detached remnant, or a minor seam repair where the slabs are already supported and mostly aligned. A full kitchen countertop installation is different. Large granite pieces can weigh hundreds of pounds, and one wrong lift can chip an edge, damage cabinets, or turn an exciting home project into a very expensive geology lesson.
Consider hiring a pro if the seam is long, near a sink or cooktop cutout, located on an overhang, visibly uneven, cracked, poorly supported, or part of a new countertop installation. Professionals use specialized seam setters, suction cups, leveling tools, color systems, polishers, and years of “I have seen this before” judgment.
Tools and Materials for Seaming Granite
The right tools make granite seaming cleaner, safer, and less dramatic. You do not need a truck full of stone-fabrication equipment for every small repair, but you do need precision. Granite does not respond well to “close enough.” It prefers “measured twice, dry-fitted three times, and emotionally respected.”
Basic Tools
- Granite seam setter or suction-cup seam puller
- Two-part stone epoxy or polyester resin
- Color pigments or stone dust for tinting
- Plastic mixing board or disposable mixing cups
- Putty knife, razor blade, or plastic scraper
- Painter’s tape or masking tape
- Denatured alcohol or stone-safe cleaner
- Soft cloths or lint-free rags
- Level or straightedge
- Shims for cabinet or slab adjustment
- Nitrile gloves and eye protection
- Dust mask or respirator if sanding or polishing
What Is a Seam Setter?
A seam setter is a specialized tool that attaches to each granite slab with suction cups and pulls the pieces together while also helping level the surfaces. Manual seam setters use knobs or levers. Vacuum seam setters use a pump for stronger holding power. The tool helps prevent lippage, which is the annoying raised edge you feel when one slab sits higher than the other. Lippage is the countertop version of a sidewalk trip hazard, only with more coffee mugs involved.
Step-by-Step: How to Seam Granite
Step 1: Plan the Seam Location
If you are installing new granite, seam planning starts before adhesive ever enters the conversation. The best seam locations are supported by cabinets or substrate, away from weak narrow strips, and placed where the pattern transition will be least noticeable. Avoid placing seams directly through sink cutouts when possible, because cutouts already weaken the stone. A seam near a heavy appliance, unsupported overhang, or tight inside corner needs extra attention.
For existing countertops, evaluate the seam before touching it. Is it only discolored? Is the adhesive failing? Are the slabs moving? Is one side higher? If the stone has shifted, the issue may be cabinet movement or poor supportnot just bad glue.
Step 2: Dry-Fit the Granite Pieces
Before mixing epoxy, dry-fit the pieces. Bring the slabs together and check the joint from above and from the front edge. Use a straightedge to check whether the surfaces are flush. Look for gaps, chips, uneven cuts, or rocking. If the pieces do not meet well when dry, adhesive will not magically fix the problem. Epoxy is strong, but it is not a tiny construction wizard.
Make adjustments with shims under the stone or cabinets as needed. The countertop should be fully supported, level, and stable. Granite should not be forced into position with excessive clamp pressure because too much stress can cause cracks later.
Step 3: Clean the Seam Edges
Clean bonding surfaces are critical. Dust, old adhesive, grease, sealer residue, and countertop cleaner film can weaken the bond. Use a stone-safe cleaner or denatured alcohol on the seam edges, then allow the area to dry completely. Avoid oily cleaners or acidic products. Acidic cleaners can damage natural stone surfaces, and oil can interfere with adhesion.
If you are repairing an old seam, carefully remove loose filler with a razor blade or scraper. Do not gouge the stone. If the old adhesive is deeply embedded and the seam is failing structurally, call a professional.
Step 4: Tape Both Sides of the Seam
Apply painter’s tape along both sides of the seam, leaving only a narrow channel exposed. Tape protects the polished granite from epoxy smears and makes cleanup much easier. This is one of those small steps beginners are tempted to skip. Do not skip it. Future you, holding a razor blade and muttering at dried epoxy, will not be pleased.
Step 5: Mix and Color-Match the Adhesive
Most granite seams are filled with a two-part adhesive. Follow the manufacturer’s instructions exactly for mixing ratio, working time, cure time, and ventilation. Mix only what you can apply within the open working time. Some adhesives set quickly, and granite does not pause while you reconsider your life choices.
Color matching is part science and part art. Start by identifying the dominant background color of the granite, not every single fleck or vein. For black granite, a dark pigment may blend best. For beige granite, a tan or warm gray may work. For white or light stone, the color match must be more precise because yellow or overly dark adhesive can stand out. Test a small batch on a scrap piece if possible, and remember that adhesive may dry slightly different from how it looks when wet.
Step 6: Apply the Epoxy to the Seam
Spread the mixed epoxy evenly along the seam edge. Use enough adhesive to fill the joint fully, but not so much that it creates a mountain range across your countertop. The goal is full contact and slight squeeze-out when the pieces are pulled together. That squeeze-out tells you the seam is filled.
For new installations, some fabricators lightly roughen or groove the bonding edges to create better adhesive grip. This should be done carefully and usually before the countertop reaches the kitchen. Beginners should avoid aggressive grinding on finished granite unless they know exactly what they are doing.
Step 7: Pull the Seam Together
Attach the seam setter suction cups to clean, flat areas on both granite pieces. Slowly tighten the tool to bring the pieces together. Make small adjustments rather than cranking hard. Watch the seam width, the front edge alignment, and the top surface all at once. If one side rises, use the leveling controls or shims to correct it.
A good seam should feel flush when you slide a straightedge across it. Tiny adjustments matter. A seam that is tight but uneven will catch light, crumbs, and fingertips. A seam that is level but wide will look like the countertop is wearing a belt. Aim for both tight and flat.
Step 8: Remove Excess Adhesive
Once the seam is pulled together and adhesive squeezes out, remove most of the excess while it is still workable. Use a putty knife or scraper held low and flat. Do not smear epoxy across the surrounding stone. After the adhesive begins to firm up, a razor blade can be used carefully to shave the seam flush. Keep the blade clean and avoid digging into the stone or adhesive line.
Remove painter’s tape before the adhesive fully hardens unless the product instructions say otherwise. Pull the tape back at a low angle for a cleaner edge.
Step 9: Allow Full Cure Time
Do not rush the cure. Leave seam setters or clamps in place for the recommended time, and avoid using the countertop until the adhesive has cured properly. Cure time varies by adhesive type, temperature, humidity, and product formula. Cold rooms can slow curing. Hot conditions can shorten working time. Basically, epoxy has moods.
Step 10: Finish, Clean, and Seal if Needed
After curing, inspect the seam. If there is a small ridge of adhesive, carefully shave it flush with a razor blade. For minor dull spots, use stone-safe polishing products designed for granite. Avoid aggressive sanding or polishing unless you have the right pads and experience, because polished granite can be surprisingly easy to make worse when you are trying to make it better.
Granite is porous to varying degrees, so many countertops need periodic sealing. A properly sealed surface helps reduce staining around seams and makes daily cleaning easier. Use a granite-safe sealer according to product directions, and clean with mild soap, warm water, or a stone-safe cleaner. Avoid vinegar, lemon juice, bleach, and abrasive powders.
Common Granite Seaming Mistakes
Using the Wrong Adhesive Color
A seam can be structurally sound and still look terrible if the adhesive color is wrong. The most common beginner mistake is matching the wet epoxy instead of the cured color. Always test when possible. If the granite has multiple tones, match the background color that surrounds the seam area.
Forcing Misaligned Slabs Together
Clamps and seam setters are for controlled alignment, not brute force. If pieces do not fit, find the reason. Cabinets may be out of level, the stone may have an uneven cut, or the seam edge may need professional dressing.
Skipping Surface Prep
Dusty or greasy edges weaken adhesion. Clean both seam faces thoroughly and let them dry. The adhesive needs direct contact with stone, not yesterday’s cooking oil or a cloud of fabrication dust.
Removing Clamps Too Early
If you remove the seam setter before the adhesive has cured enough, the slabs may shift. That movement can create a wider seam, uneven surface, or weak bond. Patience is cheaper than a repair call.
Ignoring Support Under the Seam
A seam should not float in midair. Cabinet frames, plywood decking, support strips, or other structural support should help carry the stone. Unsupported seams are more likely to crack, separate, or fail over time.
How to Hide a Granite Seam Better
You cannot erase a seam entirely, but you can make it behave. Choose seam locations where natural pattern movement is less obvious. Use sections from the same slab when possible. Keep the seam tight and level. Match the adhesive color carefully. On busy granite, the eye may barely notice the joint. On dramatic veined granite, the seam may be visible no matter what, but good layout can make it feel intentional instead of accidental.
Lighting matters, too. Under-cabinet lights can reveal ridges and color mismatches. Check the seam in daylight, overhead light, and task lighting before calling the job finished. A seam that looks perfect at 10 p.m. under one bulb may have opinions at noon.
Granite Seam Repair: When the Countertop Is Already Installed
If your existing granite seam is dirty, slightly open, or missing filler, you may be able to clean and refill it. First, determine whether the slabs are still stable. If the two pieces move independently, the repair is more than cosmetic. If the seam is simply stained or shallow, remove loose debris, clean the joint, tape the edges, apply color-matched epoxy, scrape it flush, and let it cure.
For seams that are uneven, cracked, or separated by more than a small gap, call a stone professional. They may need to loosen the slabs, reset the seam, correct support problems, or re-polish the surface. Trying to fix a structural seam with a tube of random hardware-store filler is like putting a sticker on a check-engine light. It may look better for a moment, but the problem is still waving from underneath.
Safety Tips for Beginners
Granite is beautiful, but it is not forgiving. Wear gloves to protect your hands from sharp edges and adhesive. Use eye protection when scraping, trimming, or working near stone chips. Ventilate the area when using epoxy or resin. Keep children and pets away from the work zone. Never lift large granite sections alone. Support the slab evenly, especially near sink cutouts, narrow strips, and corners.
If you need to grind, sand, or polish granite, use proper dust control and respiratory protection. Stone dust is not something you want in your lungs. Wet methods, dust extraction, and professional-grade protection are important when fabrication work goes beyond simple seam filling.
Beginner Field Notes: Real-World Experiences With Granite Seaming
The first thing most beginners learn about seaming granite is that the job looks easier in videos than it feels in a real kitchen. On camera, the installer slides two perfect stone pieces together, wipes the seam, and smiles. In real life, the cabinet might be a little out of level, the wall might not be straight, the epoxy clock is ticking, and one tiny crumb under the slab can make the surface rock like a restaurant table with one short leg.
One practical experience worth remembering is to dry-fit more than once. Many first-timers place the pieces together, see that they “basically” fit, and move straight to adhesive. That is risky. A better approach is to dry-fit, check level, pull the pieces apart, clean, dry-fit again, and mark any reference points with tape. Those extra few minutes can prevent a crooked seam. Granite rewards the person who seems slightly too careful.
Another real-world lesson is that color matching takes patience. Beginners often choose adhesive that looks perfect in the cup. Then it cures lighter, darker, yellower, or shinier than expected. If you have a scrap piece of the same granite, use it. Apply a tiny test line, let it cure, scrape it flat, and look at it under different lighting. Kitchen lighting can be sneaky. Warm bulbs make beige seams disappear. Bright daylight may reveal them like a detective with a flashlight.
Cleaning habits also matter more than people expect. A polished granite surface may look clean, but seam edges can hide dust from cutting, old filler, cooking grease, or sealer residue. Adhesive bonds best to clean, dry stone. When a seam fails later, the cause is often not “bad epoxy” but poor preparation, movement, or lack of support.
Beginners should also respect the front edge. The front edge is where eyes and hands go first. Even if the top seam looks decent, a misaligned front profile can make the whole job look amateur. Before the adhesive cures, crouch down and inspect the edge from the front. Make sure the profiles meet neatly. This is where a seam setter and careful hand pressure can make a big difference.
Finally, know when to stop. There is a dangerous moment in every DIY project when “I will just touch this up a little” becomes “Why is there now a dull patch the size of a pancake?” If the seam is bonded, level, clean, and reasonably blended, do not overwork it. Granite polishing and top-dressing require skill. Sometimes the most professional move a beginner can make is to step back, admire the work, and not poke it again.
Conclusion
Learning how to seam granite starts with understanding the purpose of the seam: joining two stone sections so they are stable, level, clean, and visually blended. The basic process includes planning the seam location, dry-fitting the pieces, cleaning the edges, taping the surface, mixing color-matched epoxy, pulling the slabs together with a seam setter, removing excess adhesive, allowing full cure time, and finishing the surface carefully.
For small repairs or educational projects, a careful beginner can understand and sometimes handle the basics. For full granite countertop installation, major seam separation, uneven slabs, or seams near cutouts, a professional fabricator is the smarter choice. Granite is durable once installed, but during installation it demands respect. Treat it like the luxury rock it is, and your countertop seam can stay quiet, clean, and nicely out of the spotlight.