Repotting a plant sounds simple enough: remove green friend from old pot, place green friend in new pot, pretend you are a botanical genius. But if you have ever pulled a houseplant from its container and discovered a dramatic spaghetti bowl of roots, compacted soil, and one suspiciously crunchy leaf, you know repotting deserves a little more respect.
The good news? Learning how to repot a plant is not difficult. It is part science, part timing, and part gentle plant therapy. Done correctly, repotting gives your plant fresh potting mix, more room for healthy root growth, better drainage, and a renewed chance to thrive. Done incorrectly, it can leave your plant sulking in the corner like it just read a bad review about itself.
This step-by-step guide explains when to repot, how to choose the right container, what potting mix to use, and how to help your plant recover afterward. Whether you are repotting a pothos, snake plant, peace lily, monstera, succulent, herb, or patio container plant, these 14 practical steps will help you move your plant safely into its new home.
Why Repotting Matters
Plants in containers live in a limited world. Unlike outdoor plants, their roots cannot wander off in search of more water, air, or nutrients. Over time, potting mix breaks down, drainage may slow, roots may circle the container, and the plant may struggle even when you water and fertilize regularly.
Repotting solves several problems at once. It refreshes the growing medium, creates space for roots, removes compacted or depleted mix, and gives you a chance to inspect the root system. Think of it as changing the oil in a car, except the car has leaves and sometimes judges your watering habits.
How to Know When a Plant Needs Repotting
Not every plant needs a bigger pot just because you found a cute ceramic planter on sale. Many houseplants prefer to be slightly snug in their containers. Repotting too often can stress roots, while moving a plant into a much larger pot can leave too much wet soil around the root ball, increasing the chance of root rot.
Common signs your plant is ready
Your plant may need repotting if roots are growing through the drainage holes, circling tightly around the root ball, or appearing on the surface of the potting mix. Other clues include water running straight through the pot, soil drying out unusually fast, slowed growth during the growing season, a top-heavy plant that tips easily, or potting mix that has become dense and hard.
Spring and early summer are usually the best times to repot most houseplants because plants are entering active growth. However, if a plant is severely root-bound, has poor drainage, or is sitting in unhealthy soil, you may need to act sooner.
How to Repot a Plant: 14 Steps
Step 1: Choose the right time
The best time to repot most indoor plants is when they are actively growing, often in spring. During this period, roots recover faster and new growth can adjust to the fresh potting mix. Avoid repotting during extreme stress, such as right after bringing a plant home, during very cold weather, or when the plant is flowering heavily, unless the plant clearly needs urgent help.
Step 2: Check whether the plant truly needs repotting
Before reaching for a new container, inspect the plant. Look at the drainage holes, gently slide the plant partway out of the pot if possible, and check the root ball. If the roots are only lightly visible, the plant may not need repotting yet. If roots are densely wrapped, the soil has almost disappeared, or water barely absorbs, it is time for a change.
Step 3: Pick a pot only one size larger
One of the most common repotting mistakes is choosing a pot that is too large. A bigger pot may look generous, but plants do not always appreciate mansion living. Extra soil holds extra moisture, and wet soil without enough roots can lead to oxygen-starved roots and rot. As a general rule, move up one pot size, usually 1 to 2 inches wider in diameter for small to medium houseplants.
Step 4: Make sure the container has drainage
A drainage hole is not optional unless you are using a self-watering system designed for that purpose. Without drainage, excess water collects at the bottom of the container and can damage roots. If you love a decorative pot with no hole, use it as a cachepot. Place the plant in a smaller nursery pot with drainage, then set that pot inside the decorative container. Beauty and root health can be friends.
Step 5: Select the correct potting mix
Use fresh, high-quality potting mix suited to your plant type. Most tropical houseplants do well in a loose indoor potting mix that holds some moisture but drains well. Succulents and cacti need a faster-draining mix. Orchids often require bark-based media rather than standard potting soil. Avoid heavy garden soil in indoor containers because it can compact, drain poorly, and make roots very unhappy.
Step 6: Gather your tools
Before you start, collect everything you need: the new pot, fresh potting mix, gloves, pruning shears, a small trowel, newspaper or a tray for cleanup, and water. If you are reusing a pot, wash it first. A clean container reduces the chance of carrying over pests, disease, or old salt buildup from fertilizer.
Step 7: Water the plant before repotting
Water the plant several hours before repotting or the day before. Slightly moist roots are usually more flexible and easier to work with than bone-dry roots. The plant will also slide out of the container more easily. Do not soak it into a swamp, though. Repotting should feel like a spa day, not a mud wrestling tournament.
Step 8: Remove the plant gently
Turn the pot sideways, support the plant near the base, and gently slide it out. For plastic pots, squeeze the sides to loosen the root ball. For rigid pots, tap the sides or run a clean knife around the inside edge. Never yank the plant by the stems. That is not repotting; that is plant arm-wrestling, and the plant did not sign up.
Step 9: Inspect the roots
Healthy roots are usually firm and light-colored, though color varies by species. Remove roots that are mushy, blackened, hollow, or dead. If roots are tightly circling the root ball, gently loosen them with your fingers. This encourages them to grow outward into the new potting mix instead of continuing their endless root racetrack around the old shape.
Step 10: Add fresh mix to the bottom of the new pot
Place enough fresh potting mix in the bottom of the new container so the top of the root ball will sit slightly below the rim. Leave room for watering, usually about half an inch to an inch depending on pot size. Do not add a layer of gravel at the bottom. It does not magically improve drainage and may actually reduce usable root space.
Step 11: Position the plant at the correct depth
Set the plant in the center of the new pot. The top of the root ball should sit at about the same depth it was growing before. Planting too deeply can invite stem rot, while planting too high can expose roots and make watering difficult. Keep the plant upright and adjust the soil beneath it until it sits comfortably.
Step 12: Fill around the root ball
Add fresh potting mix around the sides of the root ball. Gently firm the mix with your fingers so the plant is supported, but do not pack it down like concrete. Roots need both water and air. A light touch keeps the mix porous and gives roots space to breathe, grow, and generally behave like productive members of the plant community.
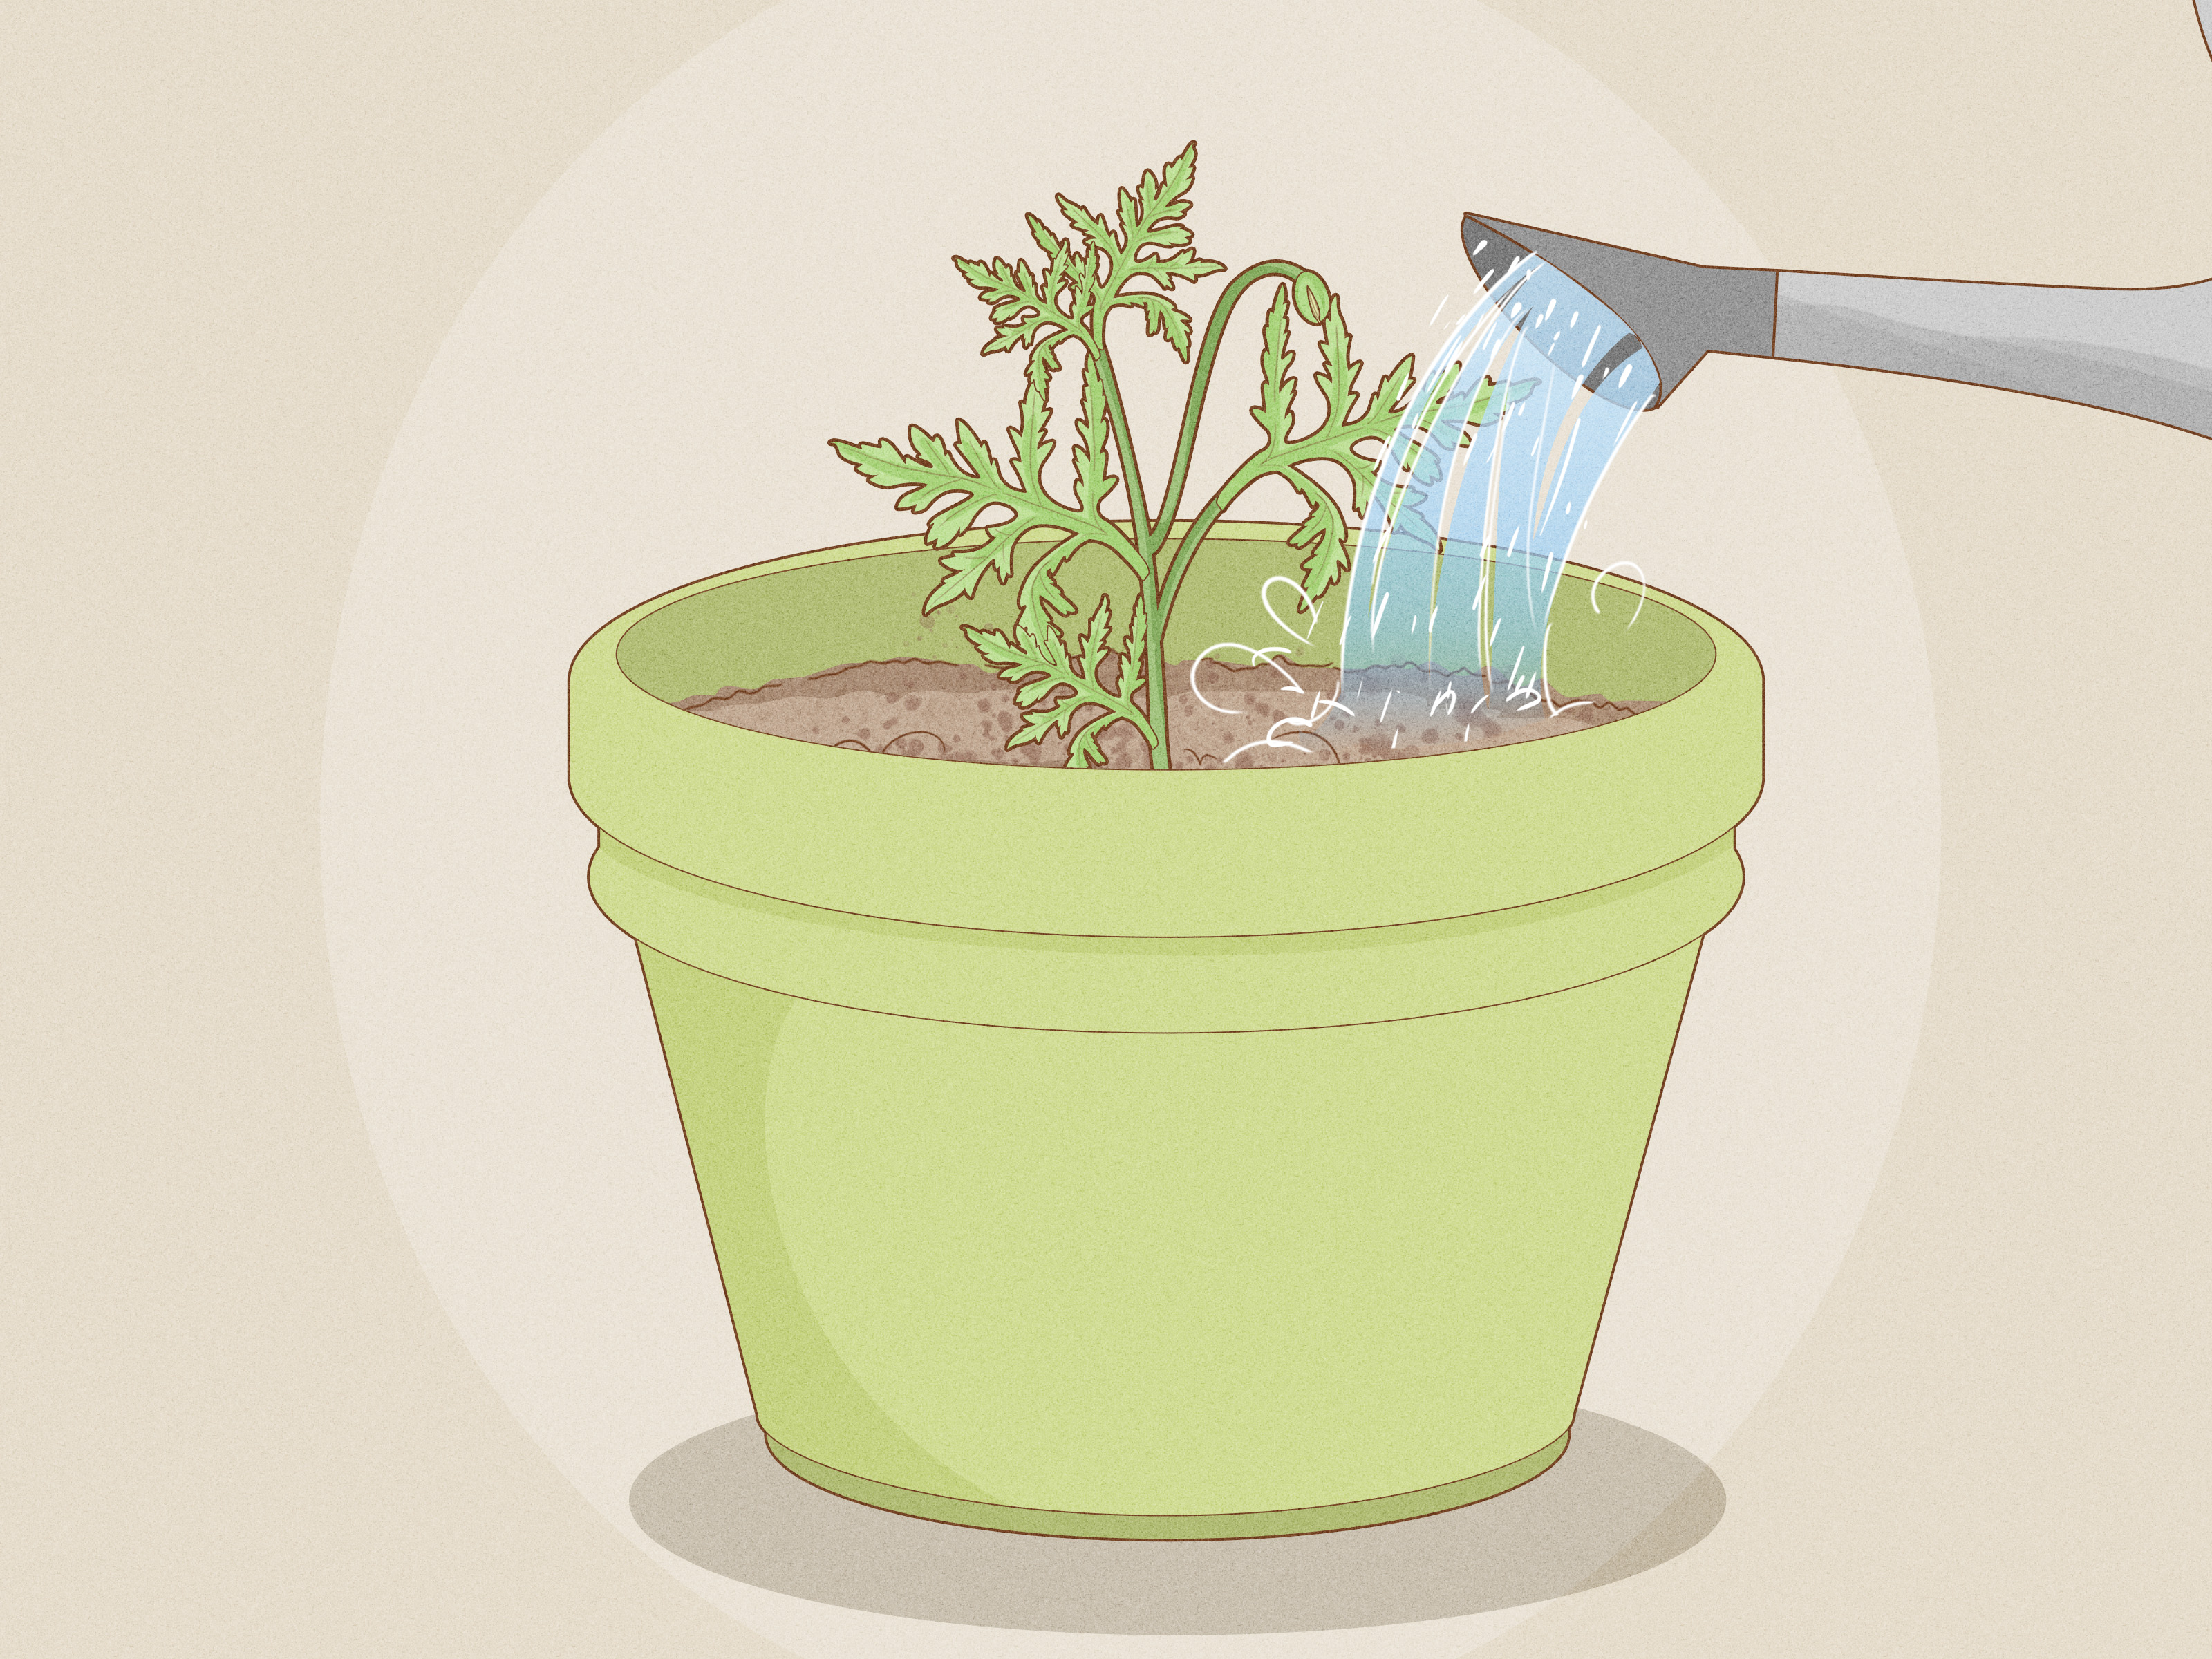
Step 13: Water thoroughly
After repotting, water the plant thoroughly until water drains from the bottom. This helps settle the potting mix around the roots and removes large air pockets. Let the container drain completely, then empty the saucer or cachepot. Leaving a plant sitting in water is one of the fastest ways to turn a happy repotting story into a root rot mystery.
Step 14: Give the plant time to recover
After repotting, place the plant in appropriate light and avoid fertilizing immediately unless the plant type or potting mix instructions call for it. Many fresh potting mixes already contain some nutrients. Expect a brief adjustment period. A few droopy leaves can be normal, but the plant should perk up as roots settle into the new mix.
Aftercare Tips for a Newly Repotted Plant
Repotting is not finished when the plant lands in its new container. The first few weeks matter. Keep the plant in stable conditions, away from harsh direct sun unless it is a sun-loving species already used to that exposure. Avoid moving it repeatedly around the house. Plants are not furniture; they do not enjoy being auditioned in twelve different corners.
Check moisture carefully. Fresh potting mix may hold water differently than the old mix, so your watering schedule may need to change. Instead of watering by habit, test the soil with your finger. If the top inch or two is dry for many tropical plants, it may be time to water. Succulents and cacti usually need the mix to dry more thoroughly.
Wait before fertilizing. Roots need time to recover, and too much fertilizer too soon can stress them. After several weeks of healthy growth, you can resume feeding according to the plant’s needs and the season.
Common Repotting Mistakes to Avoid
Using a pot that is too large
Large pots may seem helpful, but they often hold moisture longer than the plant can use. This is especially risky for succulents, snake plants, hoyas, and other plants that dislike soggy roots.
Skipping drainage
A beautiful pot without drainage is fine as decoration, but it should not become a root bathtub. Use a nursery pot inside it or drill a hole if the material allows.
Packing the soil too tightly
Firm is good. Compacted is bad. Roots need oxygen, and compressed potting mix can slow drainage and reduce air movement.
Repotting a stressed plant without reason
If a plant is adjusting to a new home, recovering from pests, or dealing with sudden environmental change, repot only if necessary. Sometimes the best care is patience, not panic repotting at midnight while whispering, “We can fix this.”
Special Notes for Popular Plant Types
Succulents and cacti
Use a gritty, fast-draining mix and a pot with excellent drainage. Repot gently because leaves and stems can break easily. After repotting, avoid overwatering.
Orchids
Many orchids grow best in bark or a coarse orchid mix rather than regular potting soil. Repot after flowering or when the bark breaks down and holds too much moisture.
Peace lilies and pothos
These popular houseplants usually respond well to fresh potting mix and a slightly larger pot when root-bound. Keep them evenly moist after repotting, but never waterlog them.
Herbs and edible container plants
Herbs need excellent drainage and bright light. When repotting basil, mint, parsley, or rosemary, avoid burying the crown too deeply and make sure the container is large enough for active growth.
Real-World Repotting Experiences: What Plant Owners Learn the Messy Way
Every plant owner eventually has a repotting story. Usually it starts with confidence and ends with potting mix on the floor, one shoe full of perlite, and a plant that somehow looks both offended and improved. The experience teaches lessons no label at the garden center can fully explain.
One of the biggest lessons is that roots tell the truth. A plant may look fine above the soil, but once you slide it out of the pot, the real story appears. Sometimes the roots are healthy and relaxed, meaning the plant did not need repotting after all. Other times, the roots are circling so tightly that the plant has basically crocheted itself a basket. In that case, repotting is not just helpful; it is overdue.
Another lesson is that watering changes after repotting. Many beginners keep watering the same way they did before, then wonder why the plant reacts differently. A plant in fresh, roomier potting mix may dry more slowly than it did in its old cramped container. That means the old “every Saturday morning” routine might need to become “when the soil actually needs it.” Plants do not own calendars. They respond to moisture, light, temperature, and root health.
Repotting also teaches patience. A newly repotted plant may droop for a few days, especially if its roots were disturbed. This does not always mean disaster. It often means the plant is adjusting. Resist the urge to fix everything at once with more water, more fertilizer, more sunlight, and a motivational speech. Give it stable care and time.
Many people also discover that the pot matters more than expected. A heavy ceramic pot can stabilize a tall plant. A breathable terra-cotta pot can help moisture-loving mistakes dry faster for drought-tolerant plants. A plastic pot can be useful for plants that prefer consistent moisture. The best container is not always the fanciest one; it is the one that matches the plant’s needs.
Then there is the emotional side. Repotting can feel intimidating because it exposes the part of the plant we rarely see. But once you have done it a few times, it becomes less scary and more satisfying. You learn how roots feel when they are healthy, how potting mix should crumble rather than clump, and how much space a plant actually needs. You also learn that a little mess is part of the process. No great indoor jungle was built without someone sweeping soil from under a table.
The most useful experience is this: repotting is not about forcing growth. It is about supporting growth that is already trying to happen. When a plant is ready, the new container gives it room. The fresh mix gives it structure, moisture, and air. Your careful hands reduce damage. After that, the plant does what plants do best: quietly gets back to growing while taking all the credit.
Conclusion
Knowing how to repot a plant is one of the most valuable skills any plant owner can learn. It helps prevent root crowding, improves drainage, refreshes tired potting mix, and gives your plant a healthier foundation. The key is to repot only when needed, choose a container with drainage, move up gradually in size, use the right potting mix, handle roots gently, and provide calm aftercare.
Repotting does not need to be dramatic. With the right steps, it becomes a simple routine that keeps your plants growing stronger, looking better, and silently forgiving you for that one time you forgot to water them during a busy week.