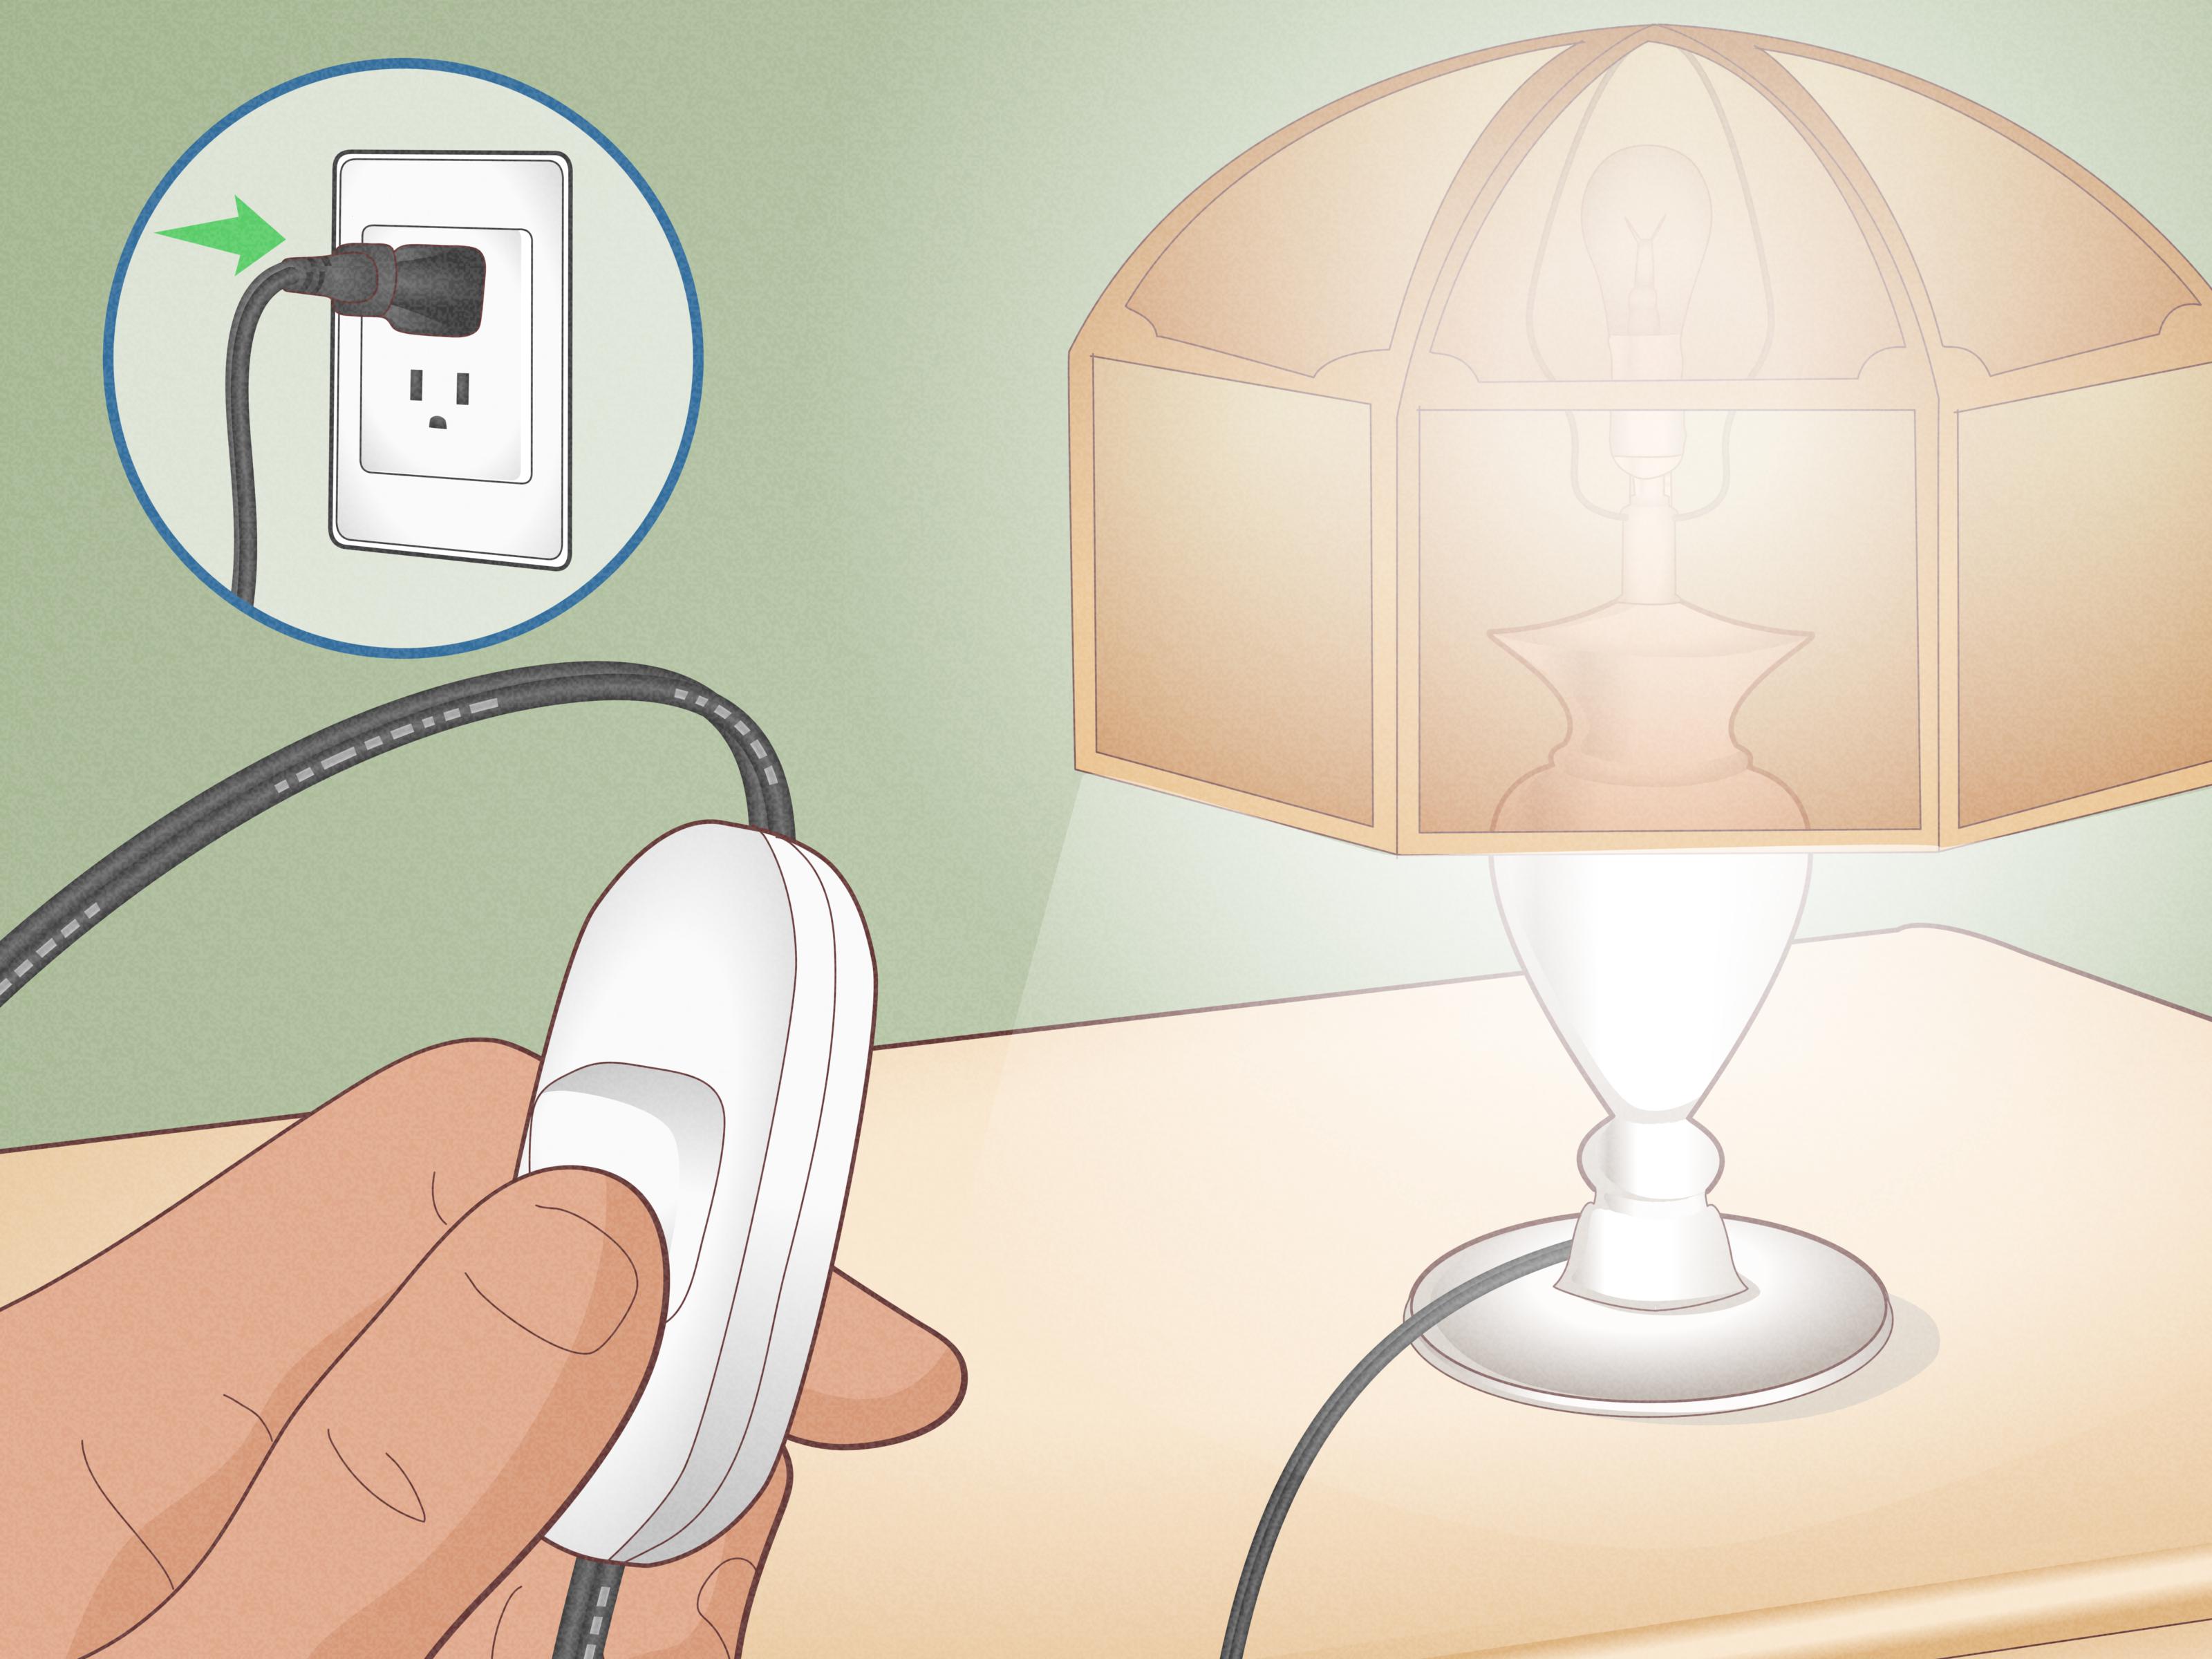
If your lamp has started playing hard to get—flickering, refusing to turn on, or only working when you sweet-talk the switch—the problem may be the lamp switch, not the whole lamp. That is good news for your wallet and for that perfectly nice lamp you are not ready to dump on the curb.
Replacing a lamp switch is one of those small DIY repairs that sounds more dramatic than it really is. In many cases, it is a beginner-friendly fix that takes basic tools, a little patience, and a firm commitment to one glorious rule: do not work on a plugged-in lamp. Electricity is not the kind of houseguest that responds well to improvisation.
In this guide, you will learn how to replace a lamp switch safely, how to tell whether you need a socket switch or an inline cord switch, what tools to gather, and what mistakes to avoid. You will also get practical troubleshooting tips, real-world examples, and a few lessons that seasoned DIYers usually learn five minutes after saying, “This should be easy.”
Before You Replace Anything, Figure Out What Kind of Lamp Switch You Have
“Lamp switch” can mean a few different things. If you buy the wrong replacement part, your repair can stall faster than a road trip with one tire and big confidence.
1. Socket switch
This is the classic switch built into the lamp socket itself. It may be a small turn knob, push-through button, or pull chain located just under the bulb. If the switch is part of the socket assembly, you will usually replace the socket or socket shell assembly rather than just one tiny internal piece.
2. Inline cord switch
This switch sits somewhere along the lamp cord. It is common on accent lamps, bedside lamps, and lamps designed for easy fingertip access. Some inline replacement switches clamp or pierce the cord according to the product design, while others require simple wire connections.
3. Three-way lamp switch
If your lamp cycles through low, medium, high, and off, it uses a three-way socket switch. In that case, replace it with another three-way socket, not a standard on/off switch. Otherwise, your lamp will stop behaving like a three-way lamp and start behaving like it got demoted.
Signs the Switch Is Actually the Problem
It is smart to do a quick diagnosis before taking the lamp apart. Sometimes the switch is guilty. Sometimes the bulb is the drama queen.
- The lamp flickers when you touch or turn the switch.
- The lamp works only in one position or cuts in and out.
- You hear crackling or sizzling near the switch.
- The knob feels loose, stiff, or unusually hot.
- The bulb and outlet both test fine, but the lamp still will not work.
Try the obvious things first: test the bulb, try a different outlet, and check whether the plug is fully seated. A two-minute check can save you from performing surgery on a lamp that only needed a new bulb and a little respect.
Tools and Materials You May Need
You do not need a truck full of gear. This is not a reality show renovation.
- Replacement lamp switch or replacement lamp socket
- Screwdriver
- Wire stripper
- Needle-nose pliers
- Utility knife
- Electrical tape if the manufacturer calls for it
- New lamp cord, if the old one is damaged
- Optional: multimeter or continuity tester
- Optional: phone camera to document how parts were assembled
Always buy a replacement part that matches the lamp style, cord style, and function. If the lamp originally had a polarized plug and polarized cord, keep it that way. If it had a three-way socket, replace it with a three-way socket. Lamp parts are cheap; buying the wrong one is what gets expensive in time and temper.
Safety First, Heroics Never
Before you touch the lamp, unplug it. Then remove the shade, bulb, and harp if your lamp has one. Let the bulb cool completely if it was recently on. Work on a dry, well-lit surface with plenty of room for small parts.
If the cord is frayed, cracked, flattened under furniture, melted, or brittle, do not stop at the switch. Replace the cord too, or retire the lamp until you can. A new switch on a damaged cord is like putting fancy shoes on a raccoon. It does not solve the main problem.
Also pause the project if you see burn marks, a scorched socket shell, crumbling insulation, corrosion, or a loose center pipe running through the lamp body. Those are signs you may need a more complete rewiring job, not a quick switch swap.
How to Replace a Socket Lamp Switch
This is the most common repair for table and floor lamps with a rotary knob or push-through switch built into the socket.
Step 1: Disassemble the top of the lamp
Remove the shade, bulb, and harp. Grip the socket shell and gently rock it upward if needed. On many lamps, the outer shell pops off the socket cap. Take a photo before disconnecting anything. Future-you will appreciate the evidence.
Step 2: Inspect the socket and wires
Look for two terminal screws, usually one silver and one brass. The neutral conductor on a polarized lamp cord is typically the ribbed wire. The hot conductor is the smooth wire. If the insulation is cracked or the copper is badly darkened, plan on replacing more than just the switch.
Step 3: Remove the old socket or switch assembly
Loosen the terminal screws and remove the wire loops. If the old wire ends are nicked, brittle, or messy, trim them back slightly and strip fresh ends. Many lamp repairs fail not because the switch is wrong, but because the old wire ends look like they lost a fight with pliers.
Step 4: Prepare the wires
Split the cord jacket only as much as needed near the top. Strip about 1/2 inch of insulation from each wire end, or follow the replacement part instructions if they specify a different length. Form each bare wire into a clockwise loop.
Step 5: Connect the new socket correctly
Attach the ribbed neutral wire to the silver screw and the smooth hot wire to the brass screw. Wrap the loops clockwise so tightening the screw pulls the wire tighter rather than pushing it out. Tighten the screws firmly, but do not go full gorilla.
Step 6: Reassemble the socket
If your socket style uses an insulating sleeve or shell, slide those pieces back into place exactly as designed. Some traditional rewiring methods also use an underwriter’s knot between the socket and cap for strain relief. Refit the shell, reinstall the harp and bulb, then test the lamp.
How to Replace an Inline Cord Switch
If your lamp switch is mounted on the cord instead of the socket, the repair is usually even simpler.
Step 1: Choose the right replacement switch
Match the replacement switch to your lamp cord type and lamp rating. Flat lamp cord and round cord may require different switch designs. Read the package. Yes, really. This is one of those times the packaging knows things.
Step 2: Pick the installation point
Place the new switch at a comfortable spot on the cord where it will be easy to reach. If you are replacing an existing inline switch, use the same general location unless the cord is damaged there.
Step 3: Open the switch housing
Most inline switches either separate into two halves or open with a small screw. Inside, you will see terminals, channels, or contact points designed for the lamp cord.
Step 4: Connect the cord as directed
Some inline switches are feed-through styles that do not require stripping. Others require separating the conductors and attaching them to screws or terminals. Follow the manufacturer instructions exactly. Do not assume every inline switch installs the same way, because that assumption has created many dead lamps and colorful vocabulary.
Step 5: Close the switch and test it
Make sure the cord sits neatly in the channels without pinching, twisting, or exposing bare wire. Snap or screw the housing closed, plug the lamp in, and test the new switch.
Common Mistakes to Avoid
- Skipping the unplug step: This is not bravery. This is how projects go sideways.
- Ignoring a damaged cord: If the cord is unsafe, replace it too.
- Mixing up hot and neutral: Keep the ribbed wire on silver and the smooth wire on brass.
- Using the wrong replacement part: Standard and three-way sockets are not interchangeable in function.
- Leaving loose strands exposed: Copper strands should be neatly contained under the screw head.
- Over-stripping the cord: Exposed wire should stay inside the housing, not hanging out like a bad haircut.
- Forgetting how it came apart: Take photos before you disconnect anything.
When You Should Replace the Whole Cord or Call a Pro
A lamp switch replacement is a great DIY project when the lamp is otherwise in good shape. But some situations call for a bigger fix or professional help.
- The plug is loose, cracked, or non-polarized and you want to upgrade it.
- The cord insulation is frayed, flattened, brittle, or burned.
- The socket shell is cracked or scorched.
- The lamp body is metal and you are unsure whether it is wired correctly.
- The lamp is antique, unusually valuable, or structurally loose.
- The lamp still does not work after the new switch is installed.
There is no shame in stopping halfway and calling a repair pro or licensed electrician. The goal is a safe working lamp, not a dramatic origin story.
Quick Troubleshooting After You Replace the Switch
The lamp still does not turn on
Check the bulb first. Then recheck the outlet. After that, unplug the lamp and inspect your wire connections. A loose terminal screw is a common culprit.
The lamp flickers
Make sure the bulb is seated properly and the socket shell is fully assembled. If flickering continues, inspect the cord and plug, not just the new switch.
The switch feels warm
Unplug the lamp immediately. A warm or hot switch can signal a bad connection, an overloaded part, or the wrong replacement switch.
The three-way lamp works oddly
Confirm you used a three-way bulb and a three-way socket. If either one is wrong, the lamp will not cycle correctly.
Simple DIY Example
Say your bedside lamp only turns on when you wiggle the rotary knob. You test a new bulb and a different outlet, but the problem stays. You remove the shade and harp, pop off the socket shell, and find a worn socket switch assembly. You replace it with a matching on/off socket, reconnect the ribbed wire to silver and the smooth wire to brass, reassemble the lamp, and test it. Result: the lamp works, the flicker is gone, and you get to feel suspiciously capable for the rest of the day.
Conclusion
Learning how to replace a lamp switch is one of those useful home repair skills that pays off immediately. The job is small, but the satisfaction is absurdly large. With the right replacement part, correct wiring polarity, and a little patience, you can rescue a lamp that seemed destined for the donation pile.
The big takeaways are simple: unplug the lamp, identify the correct switch style, inspect the cord before reusing it, and reconnect the wires carefully. If anything looks burned, brittle, or suspiciously crunchy, treat that as your sign to replace more parts or bring in a pro.
A working lamp is nice. A working lamp you fixed yourself? That is excellent lighting and excellent bragging material.
DIY Experiences: What Replacing a Lamp Switch Usually Feels Like in Real Life
The first experience most people have with this repair is pure overconfidence. They look at a lamp, see one little switch, and think, “How complicated could it be?” Ten minutes later, the shade is off, the bulb is on the table, a tiny screw has rolled somewhere impossible, and the lamp suddenly looks like it has fifty-seven parts. That is normal. Lamp repairs have a special gift for making simple objects seem emotionally complicated once they are in pieces.
Another common experience is discovering that the switch was not the only problem. Many DIYers start the job because the lamp flickers, only to realize the cord has been pinched under furniture for years or the plug is loose enough to qualify as decorative. This is actually useful. Once you open up the lamp, you stop guessing and start seeing the real condition of the parts. It turns a vague annoyance into a clear repair plan.
There is also the unforgettable moment when you learn that lamp wires are not interchangeable just because they look similar. People often remember the ribbed wire and silver screw rule because they connected them wrong once, then had to reopen everything. It is the kind of lesson that sticks. Not because it is difficult, but because nobody enjoys doing the same tiny repair twice while muttering at a lamp.
For beginners, the most reassuring experience is usually realizing that careful work matters more than speed. You do not need to be fast. You need to be methodical. Taking one photo before disconnecting the old socket, trimming worn wire ends, and wrapping the wire loops clockwise around the screws can make the difference between a lamp that works instantly and a lamp that stares back at you in stubborn silence.
There is also a surprisingly satisfying emotional side to this project. Replacing a lamp switch feels practical, but it can also feel a little sentimental. People repair bedside lamps from college, floor lamps inherited from relatives, or thrift-store finds that simply deserve one more shot. Fixing the switch often feels like preserving something familiar rather than just saving money.
And then comes the final test: plugging the lamp in and turning the new switch for the first time. Few DIY moments are as pleasing as that clean, immediate click and glow. No flicker. No buzz. No weird hand angle required. Just light. At that moment, even a small repair feels like a major household victory.
The longer-term experience is even better. Once you replace one lamp switch successfully, a lot of everyday repair tasks become less intimidating. You start looking at broken household items differently. Instead of asking, “Should I throw this away?” you start asking, “Is this just a small part swap?” That shift in mindset is one of the best benefits of basic DIY skills. The lamp gets fixed, but your confidence gets rewired too.