A wooden fence has one job: stand there looking charming while pretending rain, shade, pollen, sprinkler spray, and backyard chaos do not exist. Unfortunately, nature has a sense of humor. Give a fence enough damp weather and poor airflow, and it may start wearing a green, gray, or black film that makes your yard look less “cozy cottage” and more “abandoned pirate dock.”
The good news? You can remove mildew and algae from a wooden fence without destroying the wood, bleaching your flower beds, or turning a pressure washer into a medieval weapon. The key is choosing the right cleaner, using gentle pressure, scrubbing with the grain, rinsing thoroughly, and preventing moisture from inviting the green fuzz back for a reunion tour.
What Are Those Green and Black Stains on Your Fence?
Before grabbing a brush, it helps to know what you are fighting. Mildew, mold, algae, moss, dirt, and tannin stains can all make a wooden fence look old before its time. Algae usually appears as a green, slippery film, especially on shaded fence panels. Mildew often shows up as gray, white, or black spotting on the surface. Mold can look similar, although deeper mold issues may point to excessive moisture, poor drainage, or rotting wood.
Wood fences are especially vulnerable because wood is porous. Moisture sits in the grain, dust and pollen provide food, and shade slows drying. That combination creates a tiny outdoor buffet for organic growth. The fence is not “dirty” in the ordinary sense; it is hosting a miniature garden nobody asked for.
Why Mildew and Algae Love Wooden Fences
Mildew and algae thrive when three conditions overlap: moisture, shade, and organic debris. A fence under trees, beside dense shrubs, near sprinklers, or along a north-facing property line often stays damp longer than the rest of the yard. Add fallen leaves, grass clippings, soil splash, and pollen, and the surface becomes a five-star resort for green buildup.
The problem is not only appearance. Heavy buildup can trap moisture against the wood, speed up discoloration, make paint or stain fail sooner, and hide early signs of rot. Cleaning is not just cosmetic; it is maintenance that protects your fence investment.
Best Time to Clean a Wooden Fence
Pick a dry, mild day when rain is not expected for at least 24 hours. Overcast weather is ideal because direct sun can dry cleaning solution too quickly, leaving streaks before it has time to work. Spring and early fall are usually great times to clean because temperatures are comfortable, plants are easier to protect, and the fence can dry before sealing or staining.
Avoid cleaning during freezing weather, extreme heat, or high wind. Freezing temperatures can trap water in cracks, while hot sun can bake cleaners onto the boards. Wind can blow spray onto plants, siding, windows, or your neighbor’s very dramatic patio cushions.
Tools and Supplies You Will Need
You do not need a professional cleaning truck to restore a wooden fence. Most homeowners can handle mildew and algae removal with simple tools and a patient approach.
- Garden hose with spray nozzle
- Bucket or pump sprayer
- Soft or medium-stiff synthetic scrub brush
- Old toothbrush for cracks and tight corners
- Oxygen bleach deck cleaner or wood-safe outdoor cleaner
- Mild dish soap for light grime
- White vinegar for light algae patches, if preferred
- Plastic sheeting or drop cloths to protect plants
- Gloves, safety goggles, long sleeves, and closed-toe shoes
- Pressure washer with wide fan tip, only if needed
Skip wire brushes on most wooden fences. They can scratch the surface, leave metal fragments behind, and create rust stains. Also avoid harsh scrubbing across the grain. Wood has a direction, and it appreciates manners.
Choose the Right Cleaner for Mildew and Algae
The best cleaner depends on how stained the fence is, whether the wood is painted or stained, and how close the fence is to plants. Always test any cleaner on a hidden section first. Wait until the test spot dries, then check for color loss, raised grain, or surface damage.
Option 1: Mild Soap and Water for Light Dirt
If the fence is mostly dusty with a few faint green patches, start with mild dish soap and warm water. Mix a small amount of soap into a bucket, scrub the boards with the grain, and rinse well. This is the gentlest approach and often works for newer fences or annual maintenance cleaning.
Option 2: Oxygen Bleach for Mildew, Algae, and Gray Film
Oxygen bleach is a popular choice for wood because it helps lift organic stains without the harsh color-stripping risk of chlorine bleach. Many deck and fence cleaners use peroxide-based or oxygen-powered formulas to loosen mildew, algae, pollen, and weathered grime. Follow the product label carefully because concentrations vary.
A common DIY approach is to dissolve powdered oxygen bleach in warm water, apply it to damp wood, let it sit briefly, scrub, and rinse. Keep the surface wet while the cleaner works. If it dries too fast, it may leave residue or uneven marks.
Option 3: White Vinegar for Small Algae Patches
White vinegar can help with light green algae on small areas. Mix it with water, apply it to the stained section, allow a short dwell time, scrub, and rinse thoroughly. Do not soak nearby plants with vinegar, and avoid using it on metal hardware or fasteners where acidity may be a concern.
Option 4: Chlorine Bleach as a Last Resort
Chlorine bleach can lighten mildew stains, but it must be used carefully. It can discolor wood, damage nearby vegetation, and create dangerous fumes if mixed with other cleaners. If you use it, dilute it, wear protective gear, pre-wet nearby plants, rinse heavily, and never mix bleach with ammonia, vinegar, acids, or other household cleaners.
For most wooden fences, a wood-safe cleaner or oxygen bleach solution is the better first move. Think of chlorine bleach as the emergency trumpet, not the opening act.
How to Remove Mildew and Algae from a Wooden Fence Step by Step
Step 1: Inspect the Fence First
Walk the fence line and look for loose boards, popped nails, cracked pickets, peeling stain, soft spots, insect damage, and rot. Cleaning can expose weak areas, and pressure washing can make them worse. If a board feels spongy, flakes apart, or gives under light pressure, repair it before washing.
Step 2: Clear the Area
Move patio furniture, toys, planters, grills, and garden decor away from the fence. Trim back shrubs and vines so you can reach the boards and improve airflow. If plants are close to the fence, rinse them with water before applying cleaner and cover delicate foliage with breathable protection or light plastic during spraying.
Step 3: Dry Brush Loose Growth
Use a broom or brush to remove loose dirt, cobwebs, leaves, and flaky algae. This step makes the cleaner more effective because it can reach the wood instead of wasting its energy on surface debris. Brush downward and follow the grain where possible.
Step 4: Wet the Fence
Lightly rinse the fence with a garden hose. Damp wood absorbs cleaner more evenly and helps reduce blotchy results. Do not blast the fence at this stage. A gentle rinse is enough to wake up the grime without driving water deep into the boards.
Step 5: Apply the Cleaning Solution
Use a pump sprayer, sponge, or brush to apply the cleaner. Work in manageable sections, usually one or two fence panels at a time. For vertical surfaces, many cleaners work best when applied from the bottom up to reduce streaking, then rinsed from the top down.
Let the cleaner dwell for the recommended time, often around 10 to 15 minutes depending on the product. Do not let it dry on the wood. If the sun appears or the boards begin to dry, mist the section lightly with water or reapply a small amount of cleaner.
Step 6: Scrub with the Grain
Scrub the fence using a synthetic brush. Move with the wood grain, not across it. Pay extra attention to knots, seams, rails, and the lower portion of the fence where splashback from soil often causes heavier algae growth.
If a stain does not lift immediately, do not attack it like you are trying to erase a parking ticket. Reapply cleaner, give it more dwell time, and scrub again gently. Patience protects the surface.
Step 7: Rinse Thoroughly
Rinse from the top down with a garden hose or low-pressure rinse. Continue rinsing until runoff is clear and no slippery residue remains. Cleaner left behind can interfere with stain, sealer, or paint later.
Step 8: Let the Fence Dry Completely
Allow the fence to dry for at least 24 to 48 hours before staining, sealing, or painting. Drying time depends on weather, shade, wood thickness, and humidity. If the fence still feels cool and damp to the touch, give it more time. A finish applied too soon can trap moisture and cause peeling, blotching, or mildew comeback.
Can You Pressure Wash a Wooden Fence?
Yes, you can pressure wash a wooden fence, but “can” and “should blast it at full power” are not the same sentence. Pressure washers can remove stubborn mildew and algae quickly, but they can also scar softwood, raise the grain, create fuzzy fibers, drive water into cracks, and strip stain unevenly.
If you use a pressure washer, choose the lowest effective pressure, use a wide fan tip, and keep the nozzle moving. Start farther away from the fence and move closer only if necessary. Hold the wand at a slight downward angle and avoid focusing on one spot. Never use a zero-degree nozzle or rotating turbo tip on wood.
Pressure Washing Tips for Wood Fence Cleaning
- Use a wide fan nozzle rather than a narrow jet.
- Start at least 18 to 24 inches from the wood.
- Test on a hidden section before cleaning the full fence.
- Move in long, even passes with the grain.
- Do not linger on knots, cracks, or soft boards.
- Rinse rather than carve. The goal is clean wood, not fence confetti.
For many homeowners, the safest method is cleaner plus brush plus garden hose. Use pressure washing only when buildup is stubborn or the fence is large enough to make hand scrubbing unrealistic.
How to Prevent Mildew and Algae from Coming Back
Cleaning removes the current growth, but prevention keeps your fence from turning green again after the next rainy week. Start by controlling moisture. Adjust sprinklers so they do not hit the fence. Remove leaves piled against the bottom rail. Trim shrubs to improve airflow. Keep soil, mulch, and vines from sitting directly against the boards.
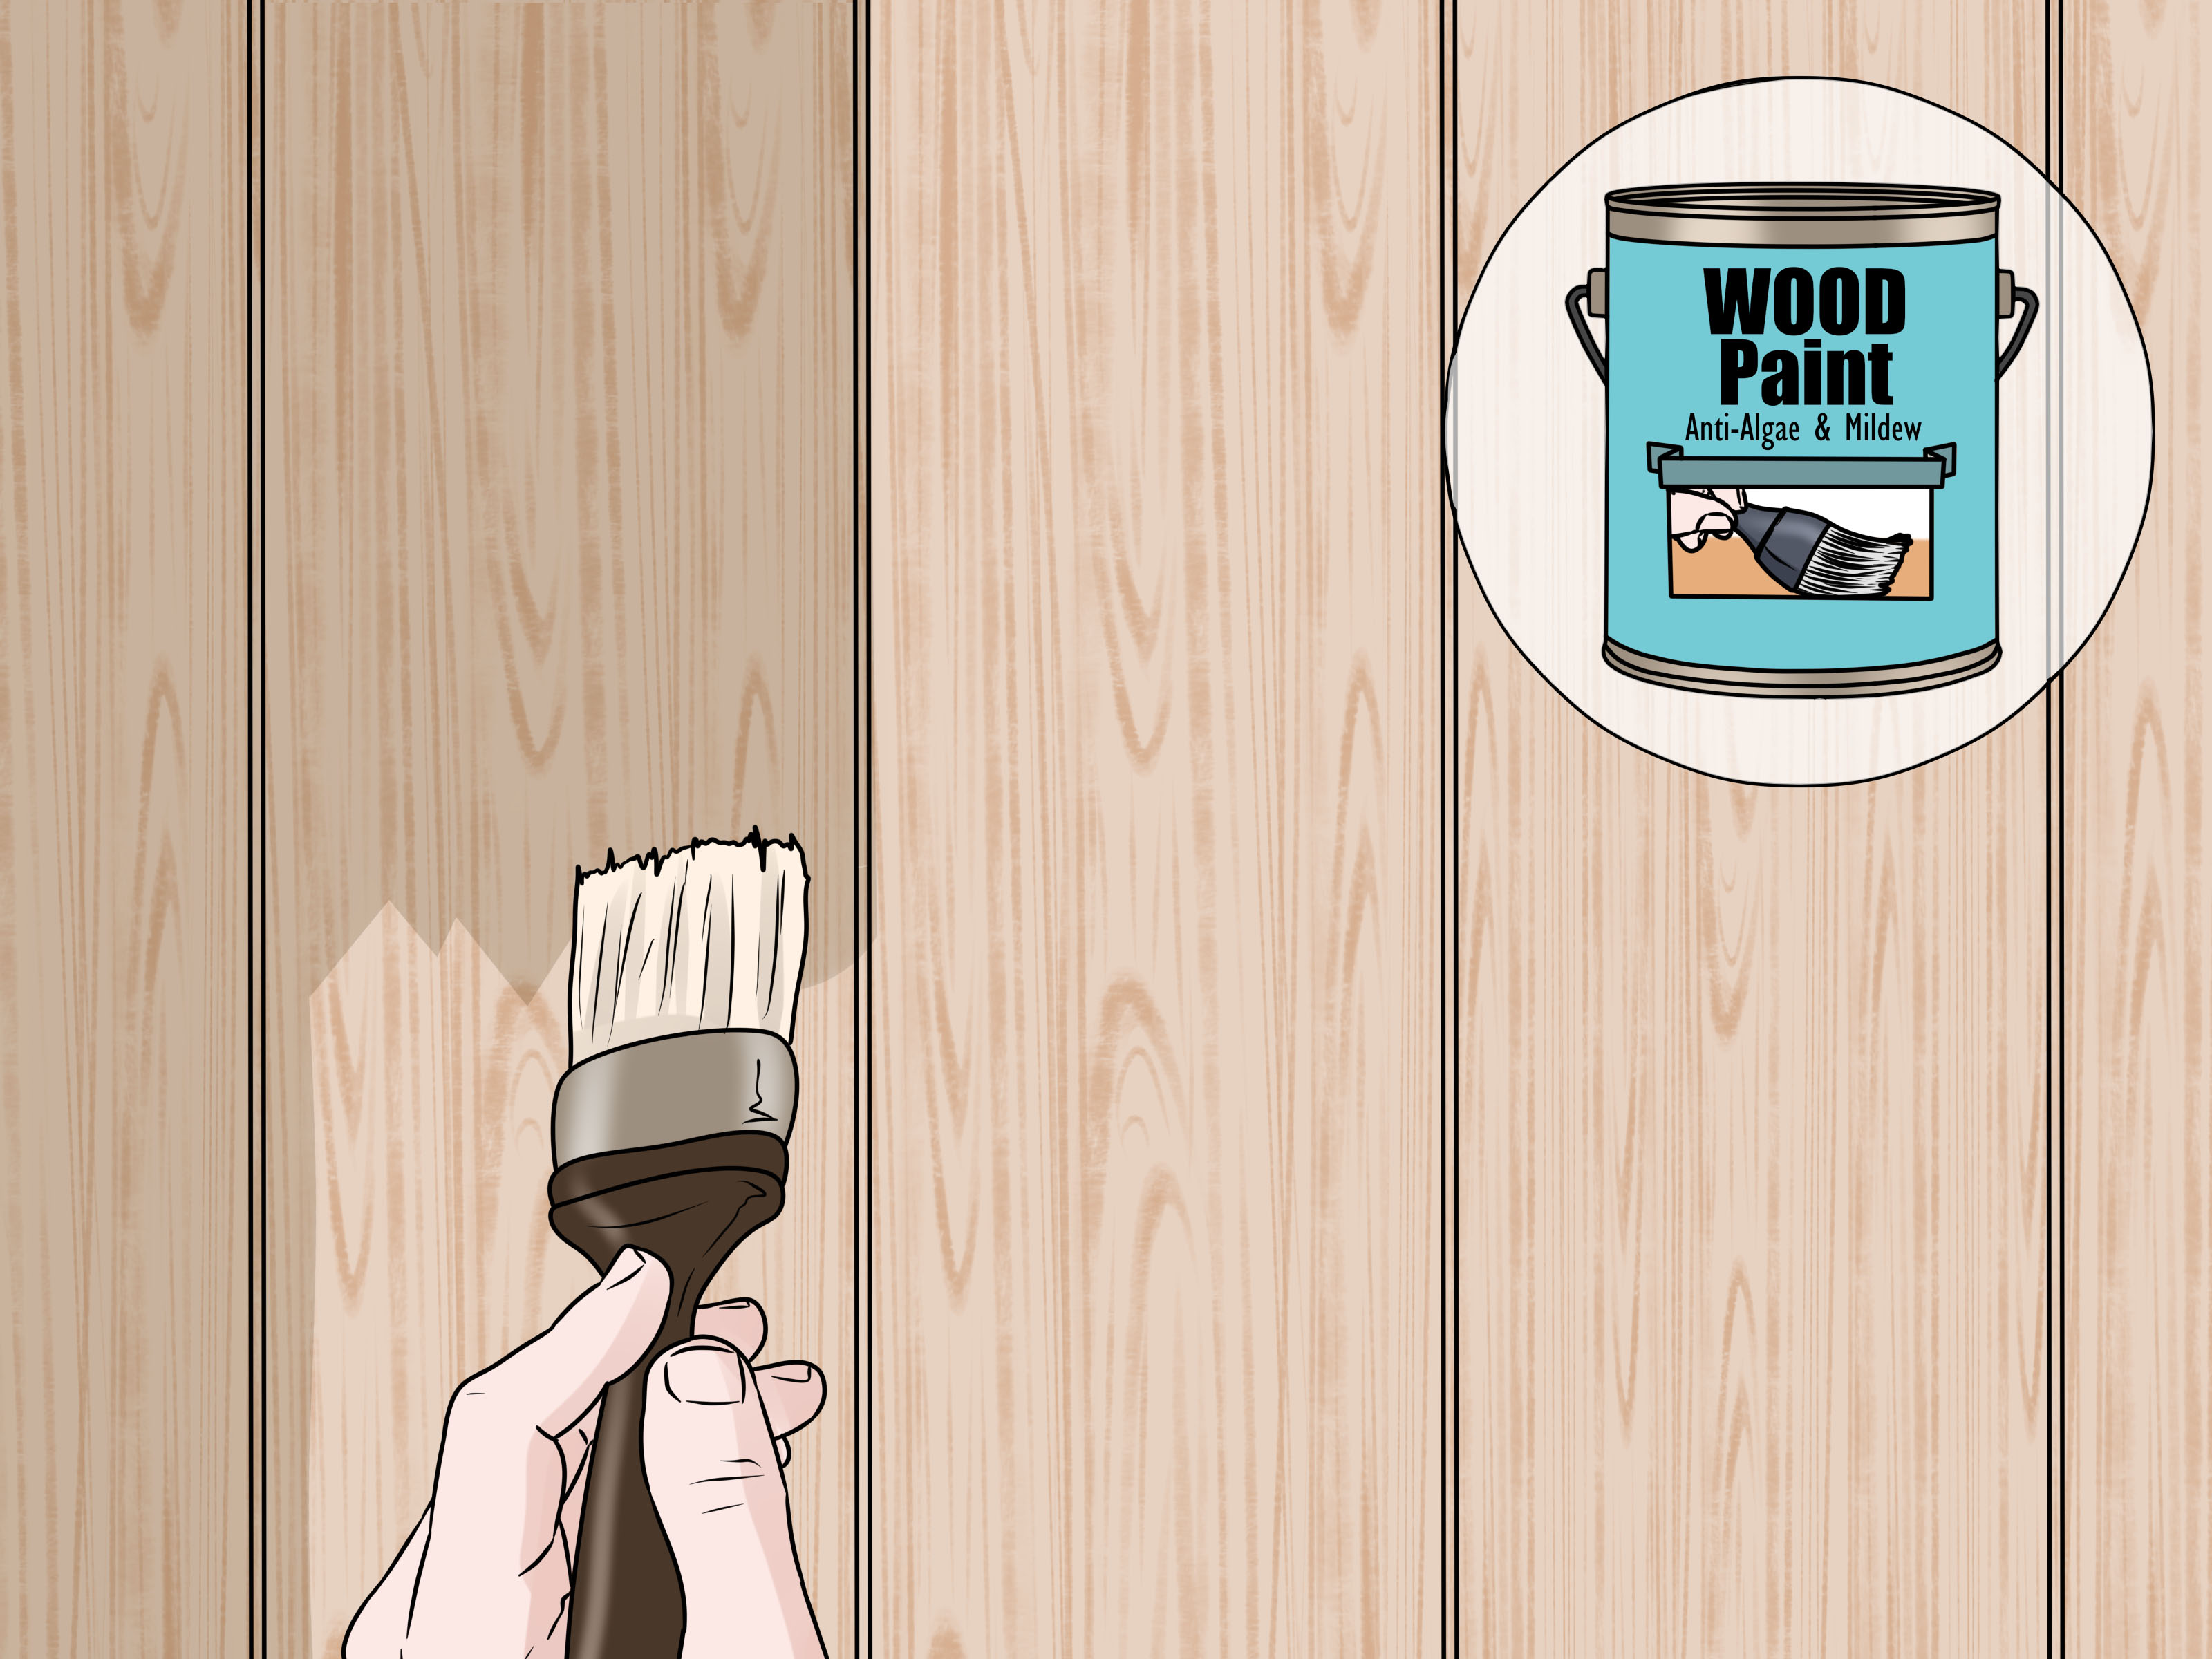
Once the fence is clean and dry, consider applying a high-quality exterior wood stain or sealer. A water-repellent finish helps reduce moisture absorption and makes future cleaning easier. If the fence is painted, use exterior paint designed for wood and look for mildew-resistant properties when appropriate.
Do the Water Drop Test
After the fence dries, sprinkle a few drops of water on the wood. If the water beads, the finish still has some repellency. If the water soaks in quickly, the wood may be ready for stain or sealer. Clean wood accepts finishes more evenly, which is why mildew and algae removal should happen before refinishing.
Create a Simple Maintenance Schedule
Inspect your wooden fence twice a year: once in spring and once in fall. Rinse dust and pollen before it cakes on. Cut back vegetation before it hugs the fence like an overly attached houseplant. Treat small green patches early, because a five-minute touch-up beats a full weekend scrubbing marathon.
Common Mistakes to Avoid
Using Too Much Pressure
High pressure can make a fence look clean for about five seconds, then leave permanent wand marks. If the wood looks fuzzy after washing, the pressure was too high or the nozzle was too close.
Letting Cleaner Dry on the Wood
Cleaner needs dwell time, but it should not bake onto the boards. Work in sections and rinse before moving on.
Mixing Cleaning Products
Never mix bleach with vinegar, ammonia, or other cleaners. Dangerous fumes are not part of a successful DIY weekend.
Skipping the Test Spot
Every fence is different. Cedar, pine, redwood, pressure-treated wood, painted wood, and old stained wood can react differently to cleaners. A small test spot saves big regrets.
Staining Too Soon After Cleaning
Wood must be dry before stain or sealer. If you rush, moisture can become trapped, causing finish failure and giving mildew another chance to move in with luggage.
Experience-Based Notes: What Actually Works in the Yard
The most useful lesson from cleaning wooden fences is that the ugly side is usually the damp side. In many yards, the fence panel facing thick shrubs, shaded corners, or sprinkler overspray will be far greener than the sunny side. That means the cleaning method matters, but the environment matters even more. If the fence keeps getting soaked every morning by irrigation, algae will return no matter how beautifully you scrub it.
Another real-world lesson: start gentler than you think you need. Many homeowners jump straight to a pressure washer because the green stains look dramatic. But light algae often loosens after a proper cleaner dwell time and a steady scrub. A garden hose, oxygen bleach cleaner, and medium brush can remove a surprising amount of buildup. It is slower, but it gives you more control, especially on older wood.
The biggest mistake is rushing the dwell time. People spray cleaner, wait 90 seconds, decide it “doesn’t work,” then start grinding the brush into the boards. Most cleaners need several minutes to loosen the organic film. Keep the section damp, let the product work, and then scrub. It feels less heroic, but fences do not need heroes. They need chemistry, patience, and someone who remembered gloves.
Corners and bottom rails deserve special attention. The lower part of a fence catches soil splash, mower dust, wet leaves, and grass clippings. If green stains keep returning along the bottom, pull mulch or soil back slightly so the boards can breathe. Even a small gap between the fence and damp landscaping can make future cleaning easier.
If you plan to stain the fence afterward, cleaning becomes even more important. Stain is not makeup for mildew. If you stain over organic growth, the finish can look blotchy and fail early. Clean first, rinse thoroughly, let the fence dry, and then apply stain in suitable weather. The final result looks richer, lasts longer, and does not have mysterious green shadows peeking through like a ghost in a home improvement show.
Finally, expect some stains to be permanent or semi-permanent. Old wood may have weathering, tannin marks, iron stains from nails, or discoloration that is not mildew or algae. If the fence is clean but still uneven, a wood brightener or fresh stain may be the next step. Cleaning restores the surface; it does not turn a ten-year-old fence into brand-new lumber. But with the right method, it can make a tired fence look cared for, healthy, and ready to behave itself for another season.
Conclusion
Removing mildew and algae from a wooden fence is less about brute force and more about smart cleaning. Identify the problem, protect nearby plants, choose a wood-safe cleaner, scrub with the grain, rinse thoroughly, and let the fence dry completely before sealing or staining. Pressure washing can help, but only when used gently with a wide fan tip and steady movement.
The best long-term fix is prevention: reduce shade where practical, improve airflow, redirect sprinklers, clear debris, and maintain the finish. Do that, and your fence will spend more time looking warm and welcoming and less time auditioning for a swamp documentary.