A broken light bulb stuck in a socket is one of those tiny household disasters that looks funny only after it is fixed. Before that, it is sharp glass, exposed metal, and the strong temptation to poke at it with whatever tool is closest. Do not do that. The potato method is a classic home trick because a firm raw potato can grip the broken bulb base without forcing your fingers near the socket. Used correctly, it can help you remove a broken light bulb safely, cheaply, and with just enough kitchen drama to make the story worth retelling.
The key phrase is “used correctly.” A potato is not magic. It is not an electrician wearing a tiny brown jacket. It is a soft gripping tool that only belongs near a socket after the power is completely off, the bulb is cool, and you are wearing proper protection. This guide explains how to remove a broken light bulb with a potato in 9 clear steps, plus when to skip the potato and call a professional.
Before You Start: Safety Comes First
Removing a broken bulb is a small job with real risks. The glass can cut your hands, the metal base can be sharp, and a live socket can shock you. The safest approach is to treat the fixture as energized until you have shut off power and verified that it is off.
When Not to Use the Potato Method
Do not use a potato if the bulb is a compact fluorescent lamp, also called a CFL, because broken CFLs can release a small amount of mercury vapor and require special cleanup. Do not use this method if the socket is wet, outdoors in bad weather, badly corroded, smoking, sparking, or visibly damaged. Also skip the potato if the fixture is high above your head and you cannot reach it safely from a stable ladder.
Tools and Supplies You Need
- One firm raw potato
- Cut-resistant or thick work gloves
- Safety glasses
- Trash bag or rigid container for broken glass
- Broom, dustpan, cardboard, and tape for cleanup
- Non-contact voltage tester, if available
- Needle-nose pliers as a backup tool
- A replacement bulb with the correct wattage and base size
How to Remove a Broken Light Bulb with a Potato: 9 Steps
Step 1: Turn Off the Power at the Breaker
Start by switching off the light, then go one step further and turn off the circuit breaker that controls the fixture. If the broken bulb is in a table lamp or floor lamp, unplug it from the wall. Relying only on the wall switch is not ideal because some fixtures are controlled by multiple switches, and wiring mistakes can leave parts of the socket energized even when the light appears off.
If you are not sure which breaker controls the light, stop and identify it first. Do not gamble with electricity. It is not a game show, and there is no prize for “probably off.”
Step 2: Let the Bulb and Fixture Cool
A bulb can stay hot for several minutes after it breaks, especially incandescent and halogen bulbs. Give the fixture time to cool before you touch anything. Heat can burn your fingers through thin gloves and may make the metal base expand slightly, making removal harder.
While you wait, clear the area around the fixture. Keep children and pets away, put on shoes, and avoid stepping on tiny shards. Broken glass has a talent for traveling farther than expected.
Step 3: Put On Gloves and Safety Glasses
Wear thick gloves to protect your hands from sharp glass and metal. Safety glasses are equally important because twisting the base can loosen small fragments. Even a tiny glass chip near your eye can turn a simple repair into a trip you did not want to take.
Avoid using bare hands, thin food-prep gloves, or a towel wrapped around your fingers. Towels can slip, and thin gloves do not offer enough protection against jagged glass.
Step 4: Remove Loose Glass Carefully
Before using the potato, remove any large loose pieces of glass that are still hanging from the bulb base. Use gloved hands, needle-nose pliers, or folded cardboard. Place the glass directly into a trash bag or rigid container so it does not cut through the bag later.
Do not vacuum immediately if the bulb is a CFL. For standard incandescent, halogen, or many LED bulbs, sweeping and using tape for tiny pieces is usually safer and more controlled. If you are dealing with a CFL, ventilate the room, keep people and pets away, and follow mercury-containing bulb cleanup guidance instead of using the potato method.
Step 5: Cut a Firm Potato in Half
Choose a firm potato large enough to hold comfortably. Cut it in half across the middle so you have a broad, flat cut surface. A mushy potato is not your friend here; save that one for soup, not electrical repair.
Pat the cut side with a paper towel to remove excess moisture. The potato will still be naturally damp, which is why power must be completely off before it goes near the socket. The goal is grip, not juice.
Step 6: Press the Cut Side Into the Broken Bulb Base
Hold the potato firmly and press the cut side straight onto the broken bulb base. Push just enough for the jagged edges and central support wires to sink into the potato flesh. You want a snug bite, but you do not want to crush the socket or bend the fixture.
Keep your hand behind the potato, away from the socket opening. The potato acts like a handle, giving you distance from the broken base. If it does not grip on the first try, remove it, trim the cut surface flat, and try again.
Step 7: Twist Counterclockwise Slowly
Once the potato is seated, turn it counterclockwise. Most standard light bulbs loosen in that direction. Use slow, steady pressure rather than quick jerks. If the base begins to move, keep turning until it comes free from the socket.
If the potato slips, do not force it. Reposition it and press again. If the metal base is severely stuck, rusty, or crushed, switch to needle-nose pliers or call an electrician. Forcing the potato can push wet starch into the socket or damage the fixture.
Step 8: Remove and Dispose of the Broken Bulb Base
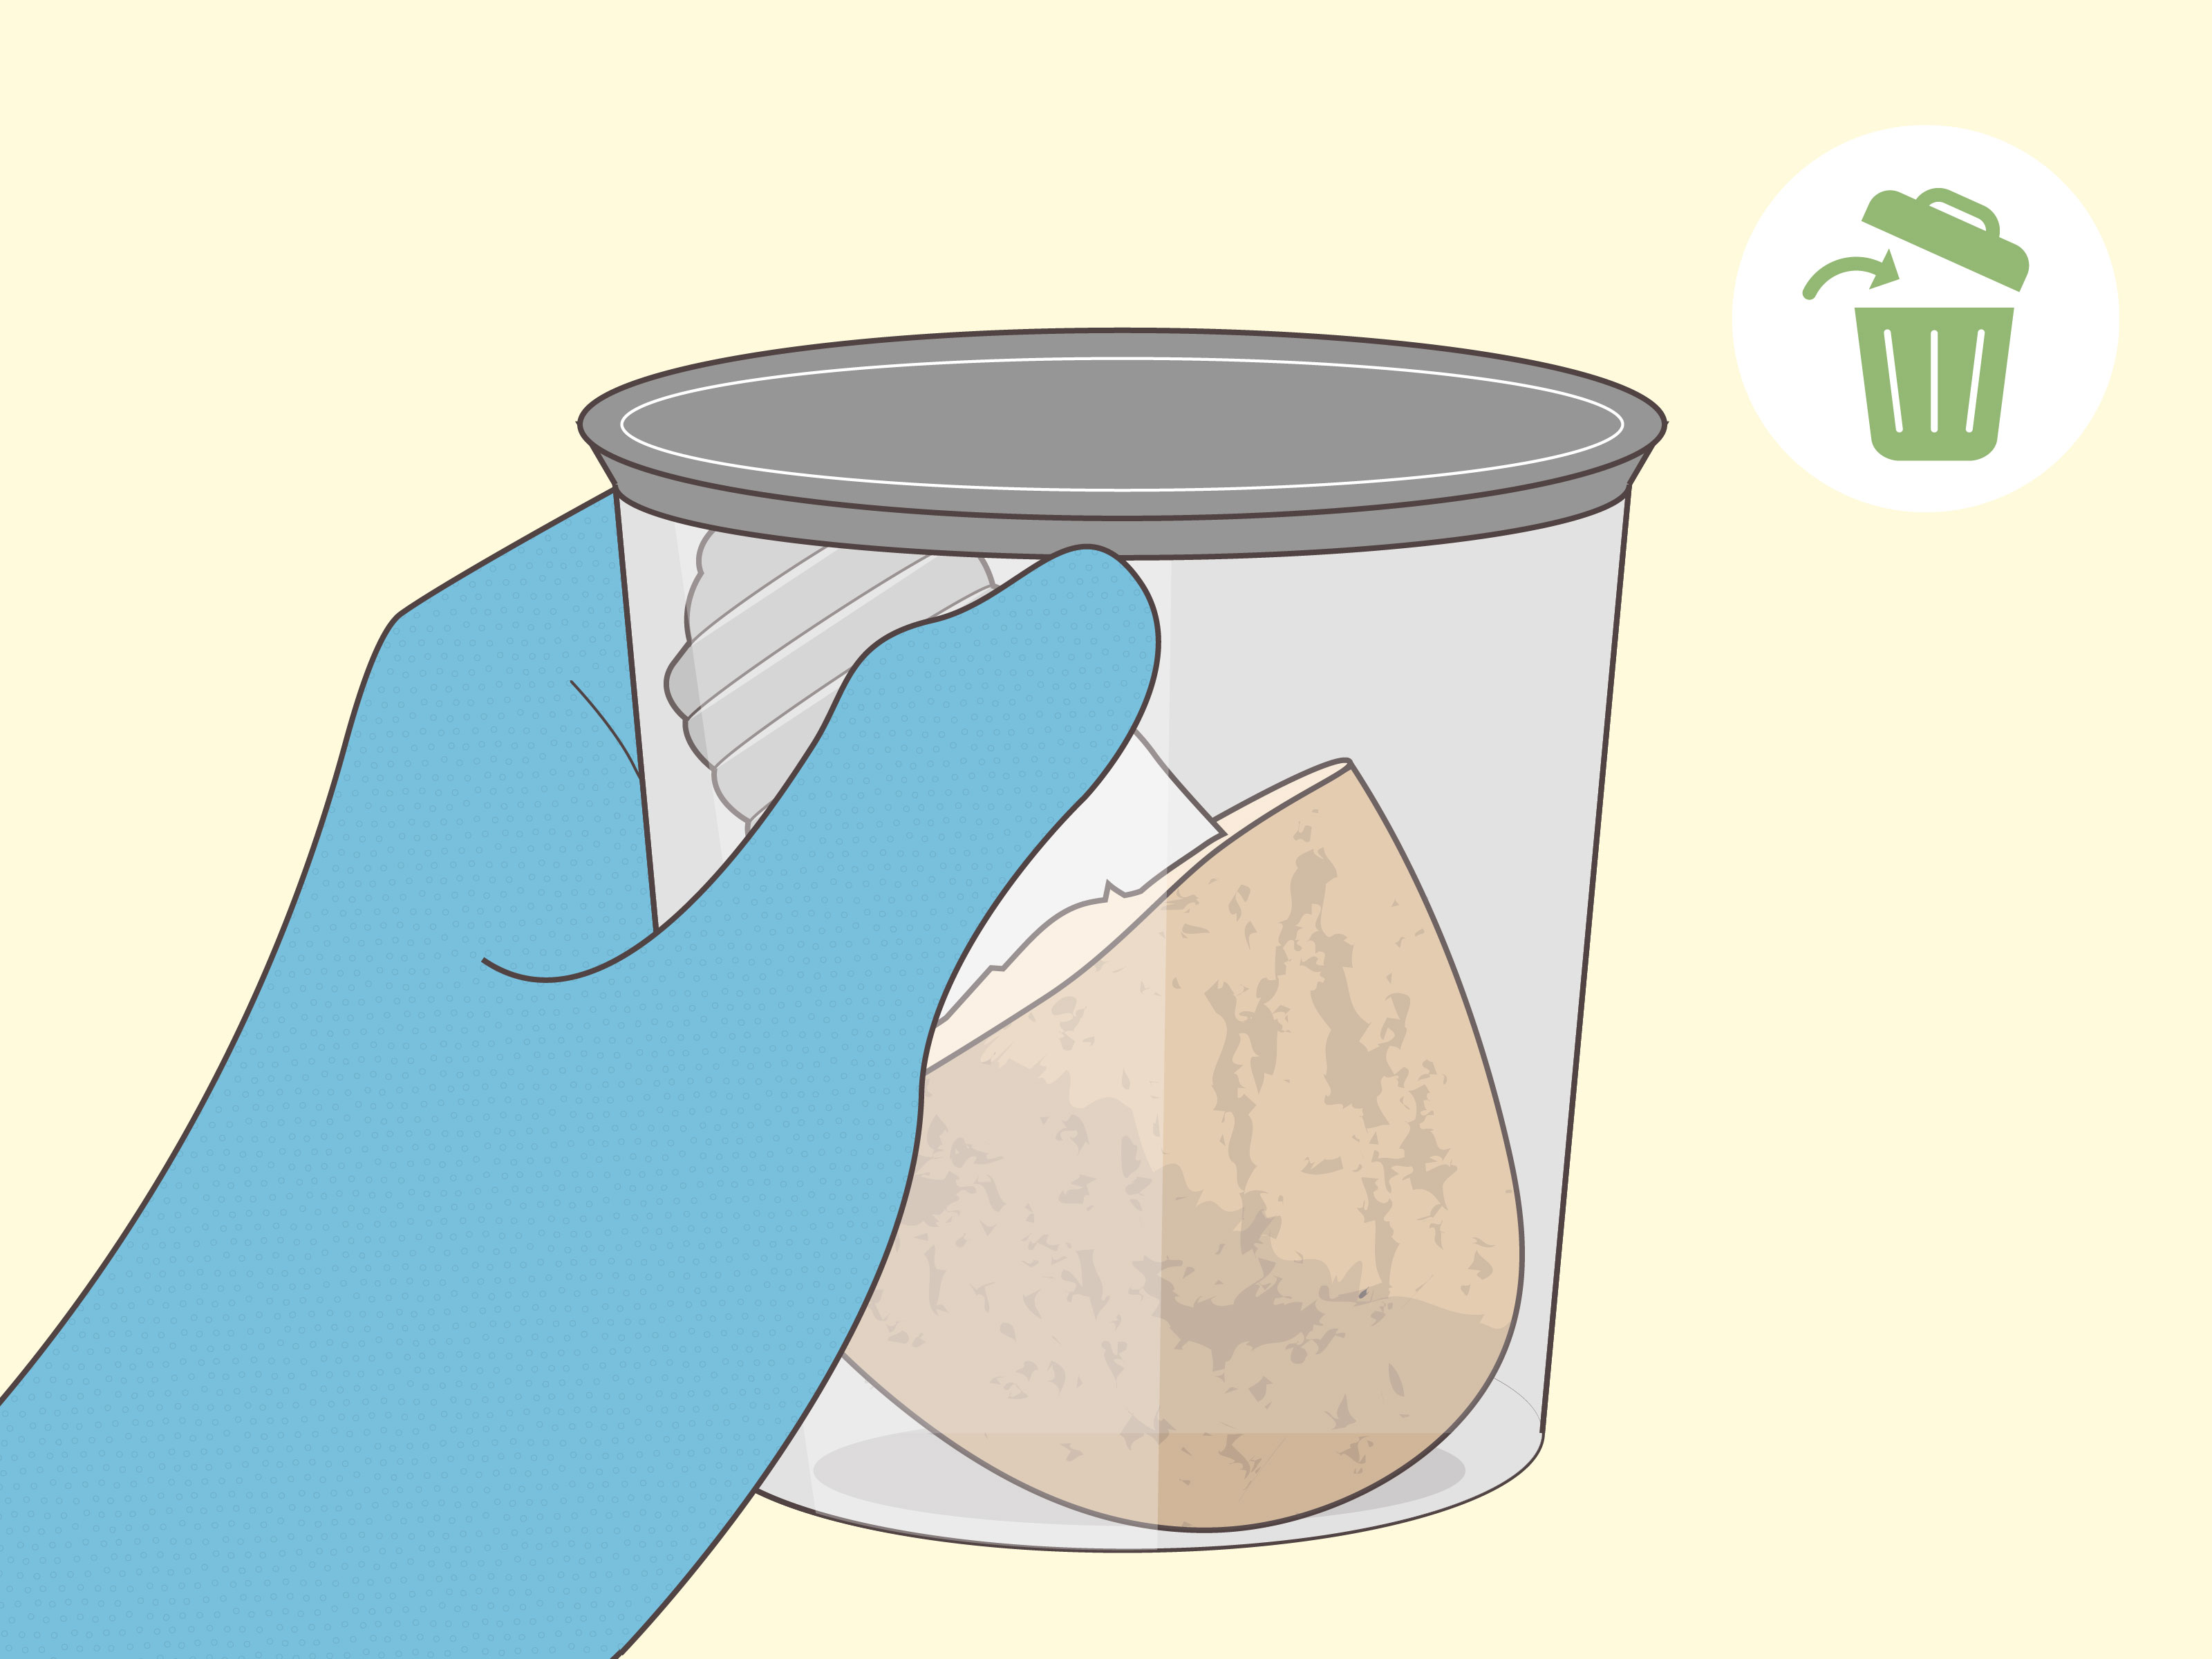
When the base comes loose, pull the potato and bulb base away from the fixture together. Place both into your trash container. Do not reuse the potato for cooking, composting, or any other heroic kitchen purpose. It has done its duty. Let it retire with dignity.
Wrap sharp pieces in newspaper, cardboard, or a sturdy bag before placing them in the trash. If the broken bulb was a CFL or other mercury-containing bulb, follow your local hazardous waste or recycling rules.
Step 9: Clean the Socket Area and Install a New Bulb
Inspect the socket with the power still off. Look for remaining glass, bent contacts, moisture, burn marks, or corrosion. If the socket looks damaged, do not install a new bulb. Have the fixture checked by a qualified electrician.
If the socket is clean and dry, install a replacement bulb with the correct base and wattage rating. Restore power at the breaker, turn on the switch, and test the light. If it flickers, buzzes, smells hot, or fails to work, turn it off again and investigate before using it.
Why the Potato Trick Works
The potato method works because raw potato flesh is firm enough to grab jagged glass and thin metal, but soft enough to mold around uneven edges. It creates a temporary handle where the glass bulb used to be. This gives you leverage without putting your fingers inside the socket.
It is especially useful when the glass globe has shattered but the metal screw base remains in one piece. The method is less effective if the base is crushed flat, fused to the socket, rusted in place, or broken into several strips. In those situations, needle-nose pliers or a broken bulb extractor may work better.
Potato Method vs. Pliers vs. Bulb Extractor
Using a Potato
A potato is cheap, easy to find, and surprisingly good at gripping a broken bulb base. It is best for standard screw-base bulbs that are not badly stuck. The downside is moisture, which makes complete power shutoff non-negotiable.
Using Needle-Nose Pliers
Needle-nose pliers are helpful when you can grab the metal rim of the bulb base. After the power is off, you can gently bend part of the rim inward and turn counterclockwise. Pliers give more control than a potato, but they are metal, so you must be extra serious about cutting power first.
Using a Broken Bulb Extractor
A broken bulb extractor is a purpose-made tool with a rubber tip that grips inside the broken base. It is a smart choice for homeowners, landlords, maintenance workers, or anyone who regularly deals with fixtures. If the bulb is high up, some extractors attach to extension poles.
Common Mistakes to Avoid
Mistake 1: Skipping the Breaker
Turning off the wall switch is better than doing nothing, but the breaker is safer. When the bulb is broken, the internal electrical parts may be exposed. Shut off the circuit before you touch the fixture.
Mistake 2: Using a Wet Potato
A potato is naturally moist, but it should not be dripping. Pat the cut surface dry. If juice runs into the socket, wait for everything to dry completely before restoring power.
Mistake 3: Standing on an Unstable Chair
Many light fixtures are overhead, and overhead repairs make people creative in the worst ways. Do not balance on a rolling chair, stacked boxes, or the arm of a couch. Use a stable ladder and keep your body centered.
Mistake 4: Installing the Wrong Replacement Bulb
Check the fixture label for maximum wattage and bulb type. Using a bulb that runs too hot can damage the fixture and increase fire risk. When in doubt, choose an LED bulb with the right base and an appropriate brightness rating.
What If the Broken Bulb Will Not Come Out?
If the potato turns but the bulb base does not, stop and try a different method. With the power still off, use needle-nose pliers to grip the metal shell and gently rotate it counterclockwise. If the shell bends, fold part of the rim inward to create a better grip.
If the base is corroded, melted, or stuck in an old socket, do not keep forcing it. A damaged socket may need replacement. Calling an electrician is the right move if you see blackened parts, loose wiring, cracked ceramic, heat damage, or anything that makes you say, “That does not look friendly.”
Cleaning Up Broken Glass After Removing the Bulb
After the base is out, inspect the floor, table, fixture shade, and surrounding surfaces. Use cardboard or stiff paper to scoop up glass. Press tape onto the area to pick up tiny shards. A flashlight held low near the floor can help reveal glittering pieces that are easy to miss.
Dispose of broken glass in a way that protects sanitation workers and anyone else handling the trash. Wrap shards in thick paper or place them in a rigid container before putting them into the garbage. Wash your hands after removing gloves.
Extra Experience: What Real Homeowners Learn From the Potato Trick
The first thing most people learn when removing a broken light bulb with a potato is that panic makes the job harder. The moment the bulb breaks, there is usually a dramatic pause. Everyone stares at the socket like it has personally betrayed the household. The best response is boring, and boring is excellent: stop, turn off the power, put on shoes, and make the area safe.
In real homes, the potato method works best when the fixture is easy to reach and the broken bulb base is still mostly round. For example, a bathroom vanity bulb that snapped while being unscrewed is often a good candidate. The socket is usually at eye level, the bulb base is visible, and the potato can press straight onto the remaining metal. In that situation, a firm half potato can grip quickly, and the base may twist out with very little effort.
Ceiling fixtures are trickier. Even if the potato method technically works, your ladder setup matters. One common mistake is reaching too far sideways while trying to line up the potato. That is when the repair becomes less about the bulb and more about gravity. Move the ladder instead. Keep one hand steady when possible, and never rush because someone is holding a flashlight and saying, “Almost got it?” That sentence has caused many bad decisions.
Another practical lesson is that the potato should be cut cleanly and used immediately. A freshly cut, flat surface grips better than an uneven, dried-out surface. If the potato crumbles or slides, trim off a thin slice to expose a new flat face. Some people try to carve the potato into a plug that fits inside the broken base. That can work, but it should be done carefully so the potato does not push too far into the socket.
Homeowners also learn that not every broken bulb deserves a clever trick. If the socket is old, rusty, painted over, or heat-damaged, the broken bulb may be a symptom of a bigger fixture problem. A base that refuses to move after gentle pressure may be fused by corrosion or heat. At that point, forcing it can damage the socket threads or loosen wiring behind the fixture. The smartest DIY move is sometimes to stop before the repair becomes more expensive.
The potato trick also teaches good prevention. Before installing a new bulb, check that it is the correct type and wattage. Screw it in until snug, not until your wrist wants applause. Over-tightening bulbs can make them harder to remove later and may damage the socket contact. For outdoor fixtures, use bulbs rated for damp or wet locations and make sure covers or gaskets are in good condition.
Finally, remember that a potato is a household hack, not a safety shortcut. Its charm is that it turns a frustrating problem into a manageable one with a tool you may already have in the kitchen. But the real hero is not the potato. The real hero is shutting off the breaker, protecting your eyes and hands, working slowly, and knowing when to call someone qualified.
Conclusion
Learning how to remove a broken light bulb with a potato is useful, memorable, and just odd enough to make you feel like a DIY wizard. The method is simple: cut the power, protect yourself, press a firm potato into the broken base, and twist counterclockwise. Still, safety matters more than speed. Never work on a live socket, never use the method on a broken CFL, and never force a damaged fixture.
If the bulb comes out cleanly, you can sweep up the glass, install the correct replacement bulb, and return the potato to its rightful place in household legend. If the socket looks damaged or the base will not budge, call an electrician. A safe repair is always better than a dramatic one.