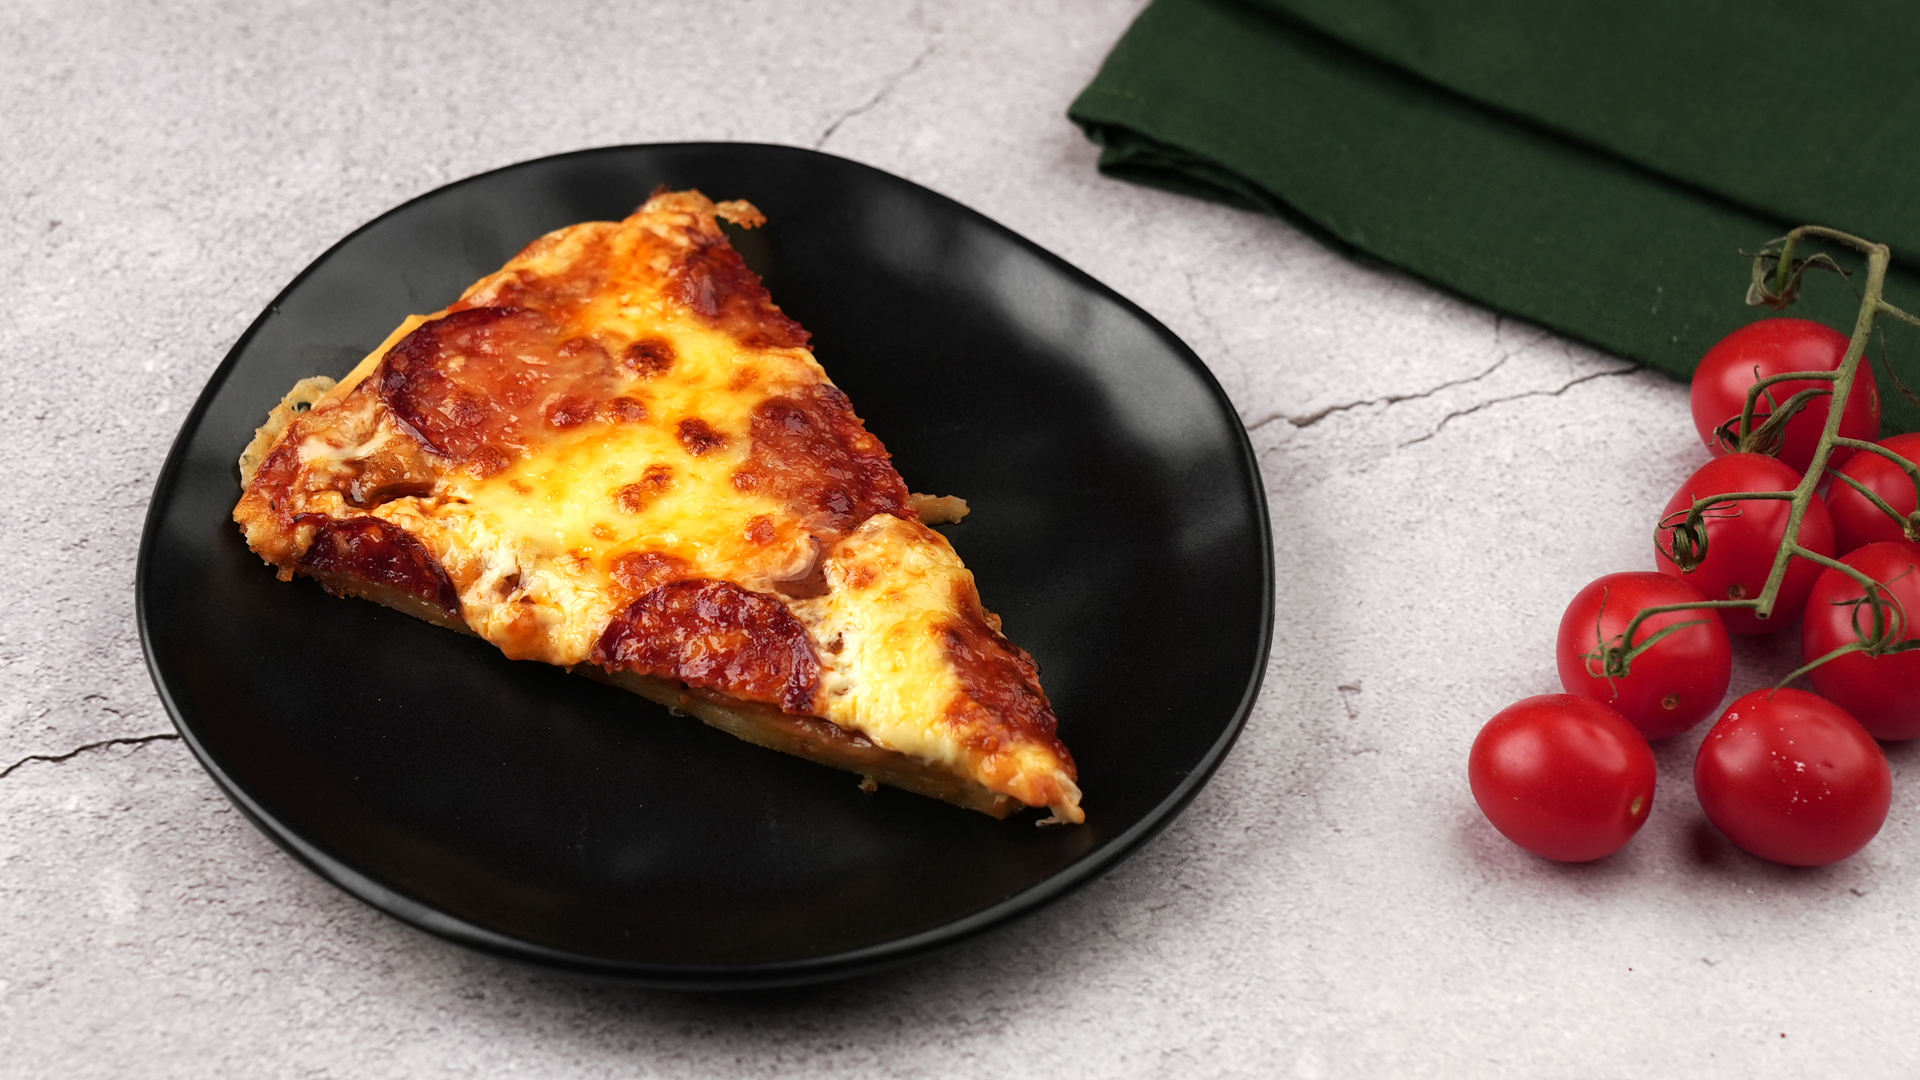
You know that moment when you’re craving pizza right now and your yeast is either missing, expired, or hiding in the pantry like it pays rent?
Good news: you can still make legit homemade pizza dough without yeastno rise time, no “wait 90 minutes,” no staring at a bowl like it’s going to do
your taxes.
A no-yeast pizza dough won’t taste exactly like a long-fermented, yeasted crust (yeast is basically flavor + chew + drama). But with the right technique,
you can get a tender, crisp, sliceable crust that’s perfect for weeknights, last-minute guests, snow days, and “I forgot to plan dinner again” days.
This guide walks you through 7 simple steps, plus practical tips, variations, and troubleshooting so your pizza night stays delicious
instead of becoming a cheese-covered science experiment.
What Changes When You Make Pizza Dough Without Yeast?
Yeast works slowly, producing carbon dioxide and developing flavor over time. When you skip yeast, you’re usually relying on
chemical leaveningmost often baking powder (and sometimes a small amount of baking soda paired with an acidic
ingredient). Chemical leaveners create lift faster, but they don’t build that same fermented flavor.
Translation: no-yeast crusts tend to be closer to a quick flatbread than a chewy New York slice. The win is speed. The trade-off is
you have to use smart technique for texture: don’t overwork the dough, bake hot, and manage moisture so the crust crisps instead of steaming itself into
sadness.
The upside? You can go from “I want pizza” to “I am holding pizza” in about 20 to 30 minutesincluding bake time.
Ingredients You’ll Need (Plus Easy Substitutions)
Most no-yeast pizza dough recipes use pantry basics. Here’s the core lineup and why each one matters:
Core ingredients
- All-purpose flour: Reliable, widely available, and great for quick doughs.
- Baking powder: The main lift. Choose fresh baking powder for best results.
- Salt: Flavor + dough strength. Under-salt and your crust tastes like cardboard’s cousin.
- Water (or milk): Hydration. Water keeps it simple; milk can add tenderness and browning.
- Olive oil: Tenderness, flavor, and helps the crust brown.
Helpful “nice-to-haves”
- Sugar (optional): A small amount can help browning and balance flavor.
- Garlic powder / Italian seasoning (optional): Adds instant “pizza shop aroma” without waiting on fermentation.
- Cornmeal (optional): For dusting the pan/peel and adding crunch.
Shortcut options
- Self-rising flour: A built-in shortcut (it already contains leavening and salt). Great when you want fewer measuring spoons in your life.
- Greek yogurt dough: Often a two-ingredient base using Greek yogurt + self-rising flour. It’s fast and surprisingly sturdy.
Before You Start: Set Yourself Up for a Crisp Crust
No-yeast dough doesn’t get a long rise to develop structure. Your oven has to do more of the heavy lifting. A few setup choices can make the difference
between “crispy and proud” and “soft and confused.”
- Go hot. Most home ovens do well at 425°F to 500°F. Higher heat = better browning and less drying time.
- Preheat your baking surface. If you have a pizza stone or steel, preheat it thoroughly. If not, preheat a heavy sheet pan.
- Use parchment for easy transfer. Especially helpful if your dough is sticky or you’re shaping thin crust.
- Plan for moisture. No-yeast crusts can get soggy if overloaded. Use a lighter hand with sauce and wet toppings.
The 7 Steps to Make Pizza Dough Without Yeast
Step 1: Preheat the oven (and your pan/stone)
Preheat your oven to 450°F if you want a solid balance of crisp + bake time. If your oven runs cool or you’re using a stone/steel,
go up to 475°F–500°F if possible.
If using a pizza stone or steel, place it in the oven while preheating. If using a sheet pan, you can preheat it toojust remember it’s basically a
rectangular lava rock once hot.
Step 2: Mix the dry ingredients thoroughly
In a large bowl, whisk together:
- 2 cups all-purpose flour
- 1 tablespoon baking powder
- 3/4 teaspoon salt
- 1–2 teaspoons sugar (optional, for browning)
- 1/2 teaspoon garlic powder or Italian seasoning (optional)
Whisking matters here. Baking powder needs to be evenly distributed so the dough lifts consistently instead of giving you random “bubble neighborhoods.”
Step 3: Add your wet ingredients and bring the dough together
Add:
- 1 tablespoon olive oil
- About 3/4 to 1 cup water (start with 3/4 cup, then adjust)
Stir with a spoon until a shaggy dough forms. If there’s dry flour at the bottom of the bowl, add water 1 tablespoon at a time until it
comes together. You want dough that’s soft and workablenot soup, not a desert.
Step 4: Knead briefly (then let it rest)
Turn the dough onto a lightly floured surface and knead just until smoothusually 30 to 60 seconds. No need for an arm workout.
Over-kneading can make quick doughs tough because you’re developing gluten without the benefit of fermentation time to mellow it out.
Then let the dough rest for 5 to 10 minutes, covered with a bowl or a clean towel. This short rest helps flour hydrate and relaxes the
gluten so the dough stretches more easily (and stops snapping back like it’s offended).
Step 5: Shape your crust the smart way
Decide your vibe:
- Thin crust: Roll it out thinner than you think. No yeast means less puff, so thin crust bakes crisp and fast.
- Medium crust: Keep a slightly thicker rim, but don’t go full deep-dish unless you want “quick bread pizza” (which is still delicious, just different).
For easy handling, roll the dough on parchment paper lightly brushed with oil, or dusted with flour/cornmeal. If the dough is sticky,
sprinkle a little flour on top and on your rolling pin. Aim for an even thickness to avoid a crust that’s half cracker, half sponge.
Optional but helpful: lightly poke the center with a fork (“docking”). This helps prevent a giant bubble from stealing all the spotlight.
Step 6: Par-bake for crispness (optional, but highly recommended)
For a sturdier, crispier baseespecially if you like sauce, veggies, or anything remotely juicypar-bake the crust for
3 to 5 minutes before topping. You’re not trying to brown it; you’re just setting the structure so it doesn’t turn into a soft raft.
If using parchment, slide parchment + dough onto your hot stone/steel/pan. If using a room-temp pan, still par-bakeit helps.
Step 7: Top, bake, and finish like a pro
Pull the crust out, add toppings, and return to the oven. Bake for 8 to 15 minutes, depending on thickness, toppings, and temperature.
You’re looking for:
- Deep golden edges
- Bubbling cheese
- A crust underside that’s browned, not pale
Pro finish: if your cheese is melty but you want more color, switch to broil for 30 to 90 seconds. Stay closebroilers can go from
“beautiful blistering” to “smoke alarm karaoke” very fast.
Let the pizza rest for 2 minutes before slicing. That tiny pause helps the cheese set and keeps toppings from sliding off like they’re
escaping.
A Simple No-Yeast Pizza Dough Recipe (Quick Reference)
If you just want the recipe in one place, here you go:
- 2 cups all-purpose flour
- 1 tablespoon baking powder
- 3/4 teaspoon salt
- 1 tablespoon olive oil
- 3/4 to 1 cup water (add gradually)
- Optional: 1–2 teaspoons sugar; 1/2 teaspoon garlic powder; 1/2 teaspoon Italian seasoning
Bake at 450°F (or hotter if possible). Rest dough 5–10 minutes. Par-bake 3–5 minutes for best crispness.
Flavor & Texture Tips (Because Yeast Isn’t Here to Help)
Add flavor on purpose
Yeast fermentation builds complexity. Without it, flavor comes from smart add-ins:
olive oil, a little sugar, garlic powder, dried oregano, or even a pinch of smoked paprika in the dough can make the crust taste more “pizza-ish.”
Don’t drown the dough
Use a thin layer of sauce. If you’re using watery toppings (fresh tomatoes, mushrooms, spinach), cook or dry them first. Less moisture = more crispness.
Bake on a hot surface when you can
A preheated stone/steel is a cheat code for browning the bottom quickly. If you don’t have one, preheat a sheet pan and build the pizza on parchment so
you can slide it on without wrestling hot metal.
Troubleshooting: Fix the Usual No-Yeast Dough Problems
“My dough is too sticky.”
Add flour 1 tablespoon at a time while kneading. Sticky dough is normal at first; you just want it manageable, not gluey.
Oil on your hands can also help without over-flouring.
“My dough is too dry and won’t come together.”
Add water 1 tablespoon at a time. Flour absorbs differently depending on humidity and how you scoop it. The goal is soft dough that
forms a ball.
“The crust is tough.”
Common causes: too much flour, too much kneading, or too long in the oven. Knead briefly and rest the dough. Roll gently rather than repeatedly
compressing it.
“It’s pale and bland.”
Turn up the heat, add a touch of sugar, and make sure you’re using enough salt. Oil also helps browning. If your oven struggles, finish with a quick
broil.
“The middle is soggy.”
Par-bake the crust. Use less sauce. Pre-cook wet toppings. And bake on a preheated surface if possible.
Variations You Can Use When You’re Feeling Adventurous
1) Two-ingredient Greek yogurt dough
A popular no-yeast method uses Greek yogurt + self-rising flour. It’s quick, slightly tangy, and great for personal pizzas. If it’s
sticky, flour your hands and work surface. This version tends to brown nicely and holds toppings well.
2) Dairy-free option
Use water instead of milk/yogurt and add a bit more olive oil for tenderness. Keep the toppings flavorful (think garlic, herbs, and a punchy sauce) to
compensate for the missing tang from dairy.
3) Gluten-free no-yeast dough
Gluten-free blends can work without yeast, but they behave differently: they’re often stickier and need gentler handling. Par-baking is especially
helpful for structure.
4) Skillet method (for extra browning)
If you love a crisp bottom, start the crust in a hot, lightly oiled skillet for a couple minutes, then move it to the oven to finish. This adds a
“toasty” flavor that feels like you planned ahead (even if you absolutely did not).
Example Topping Combos That Work Great on No-Yeast Crust
Because this dough bakes quickly, toppings that are simple and not too wet tend to shine.
Classic Margherita-ish
- Thin layer of sauce
- Fresh mozzarella (pat it dry)
- Fresh basil after baking
- Olive oil drizzle
BBQ Chicken (weeknight hero)
- BBQ sauce (thin layer)
- Cooked shredded chicken
- Red onion slices
- Cheddar + mozzarella blend
Roasted Veggie
- Olive oil + garlic base (instead of sauce)
- Roasted bell peppers or zucchini
- Caramelized onions
- Feta or mozzarella
If you’re using mushrooms, sauté them first. Otherwise, they’ll release water mid-bake and your crust will take a bath.
Storage & Make-Ahead Tips
No-yeast dough is best baked soon after mixing because the leavening starts working right away. If you need to prep ahead:
- Short hold: You can refrigerate the dough briefly, but expect slightly less lift.
- Best make-ahead move: Par-bake the crust, cool it, then freeze it flat. Add toppings straight from frozen and bake until hot.
Real-World Experiences: What Usually Happens in Home Kitchens (And How to Win Anyway)
The internet makes no-yeast pizza dough look like magic: stir, roll, bake, perfection. In real kitchens, it’s more like: stir, question your life
choices, flour your counter, then suddenlypizza. Here are the most common “experience-based” moments people run into, and what they mean.
1) “Why does it feel different every time?”
Flour is moody. Humidity, how compacted your flour is, and whether you scoop or spoon-and-level all change hydration. That’s why so many reliable recipes
tell you to add water gradually. The best mental model is: you’re aiming for a soft dough that holds together. If it’s crumbling, it
needs water. If it’s clinging to your fingers like a toddler at daycare drop-off, it needs a little flour (or oil on your hands).
2) The “rest” step feels fakeuntil you skip it
A 5–10 minute rest sounds optional, like a suggestion your dough can ignore. But it’s quietly powerful: the flour absorbs water more evenly, and the
gluten relaxes. People who skip the rest often report a dough that fights backrolling out then shrinking like it’s trying to return to its original
form. Resting makes shaping smoother, and it often improves texture because you’re less tempted to overwork the dough.
3) Thin crust is the safest bet for “wow” results
Without yeast fermentation, thick crust can read as bready unless you’re very intentional. Thin crust, on the other hand, plays to the strengths of
quick dough: fast baking, crisp edges, and easy browning. If you’re new to no-yeast pizza dough, go thin first. Once you’ve nailed it, experiment with a
slightly thicker rimor embrace the fact that “flatbread pizza” is still pizza, and pizza is still happiness.
4) Toppings can make or break you (mostly by being too wet)
A common experience is: “The edges were great, but the center was soft.” Most of the time, that’s moisture. Sauce is wet. Fresh mozzarella is wet.
Mushrooms are basically edible water balloons. When people switch to a lighter sauce layer, pat fresh cheese dry, and pre-cook watery veggies, the crust
magically improves. Par-baking helps even more because it creates a barrierlike giving your crust a raincoat before the toppings move in.
5) Oven heat feels like cheating, and that’s fine
People are often surprised how much better no-yeast crust gets when the oven is genuinely hot and the pan/stone is preheated. The experience usually goes
like this: first try at 400°F is “pretty good,” then the next try at 475°F is “wait, I made that?” Higher heat sets the crust quickly, browns the
bottom, and keeps bake time shorterso you get crispness without turning the whole thing into a cracker.
6) Kids love making this dough (and it’s forgiving enough to let them)
Because there’s no rise time, the process is immediate and hands-onmix, knead briefly, roll, top. That makes it a great “pizza night” activity.
You’ll often see families doing personal pizzas: one dough batch becomes multiple mini crusts, and everyone gets a turn. The best part is that small
imperfections (weird shapes, extra flour, uneven edges) don’t matter once the cheese melts. Pizza is a confidence builder like that.
7) The biggest “aha”: no-yeast pizza is its own style
The most successful home cooks stop trying to make it identical to a 72-hour fermented dough and start treating it like a smart shortcut with its own
strengths. It’s fast. It’s flexible. It’s great for thin-and-crispy, for quick lunches, for “I only have 20 minutes.” When you lean into that, you stop
comparingand start enjoying.
Bottom line: no-yeast pizza dough is the culinary equivalent of finding $20 in your jacket pocket. It’s not a replacement for everything, but it can save
your night in the best possible way.
Conclusion
Making pizza dough without yeast isn’t a compromiseit’s a strategy. With baking powder (or self-rising flour), a short rest, and a hot oven, you can
create a crust that’s tender, crisp, and sturdy enough to hold real toppings. Follow the 7 steps, keep toppings balanced, and use
par-baking when you want that extra crunch.
Next time yeast is missing in action, you’ll still be able to deliver pizza night like a herono waiting, no stress, and no suspicious dough “rising”
under a towel like a middle-school science project.