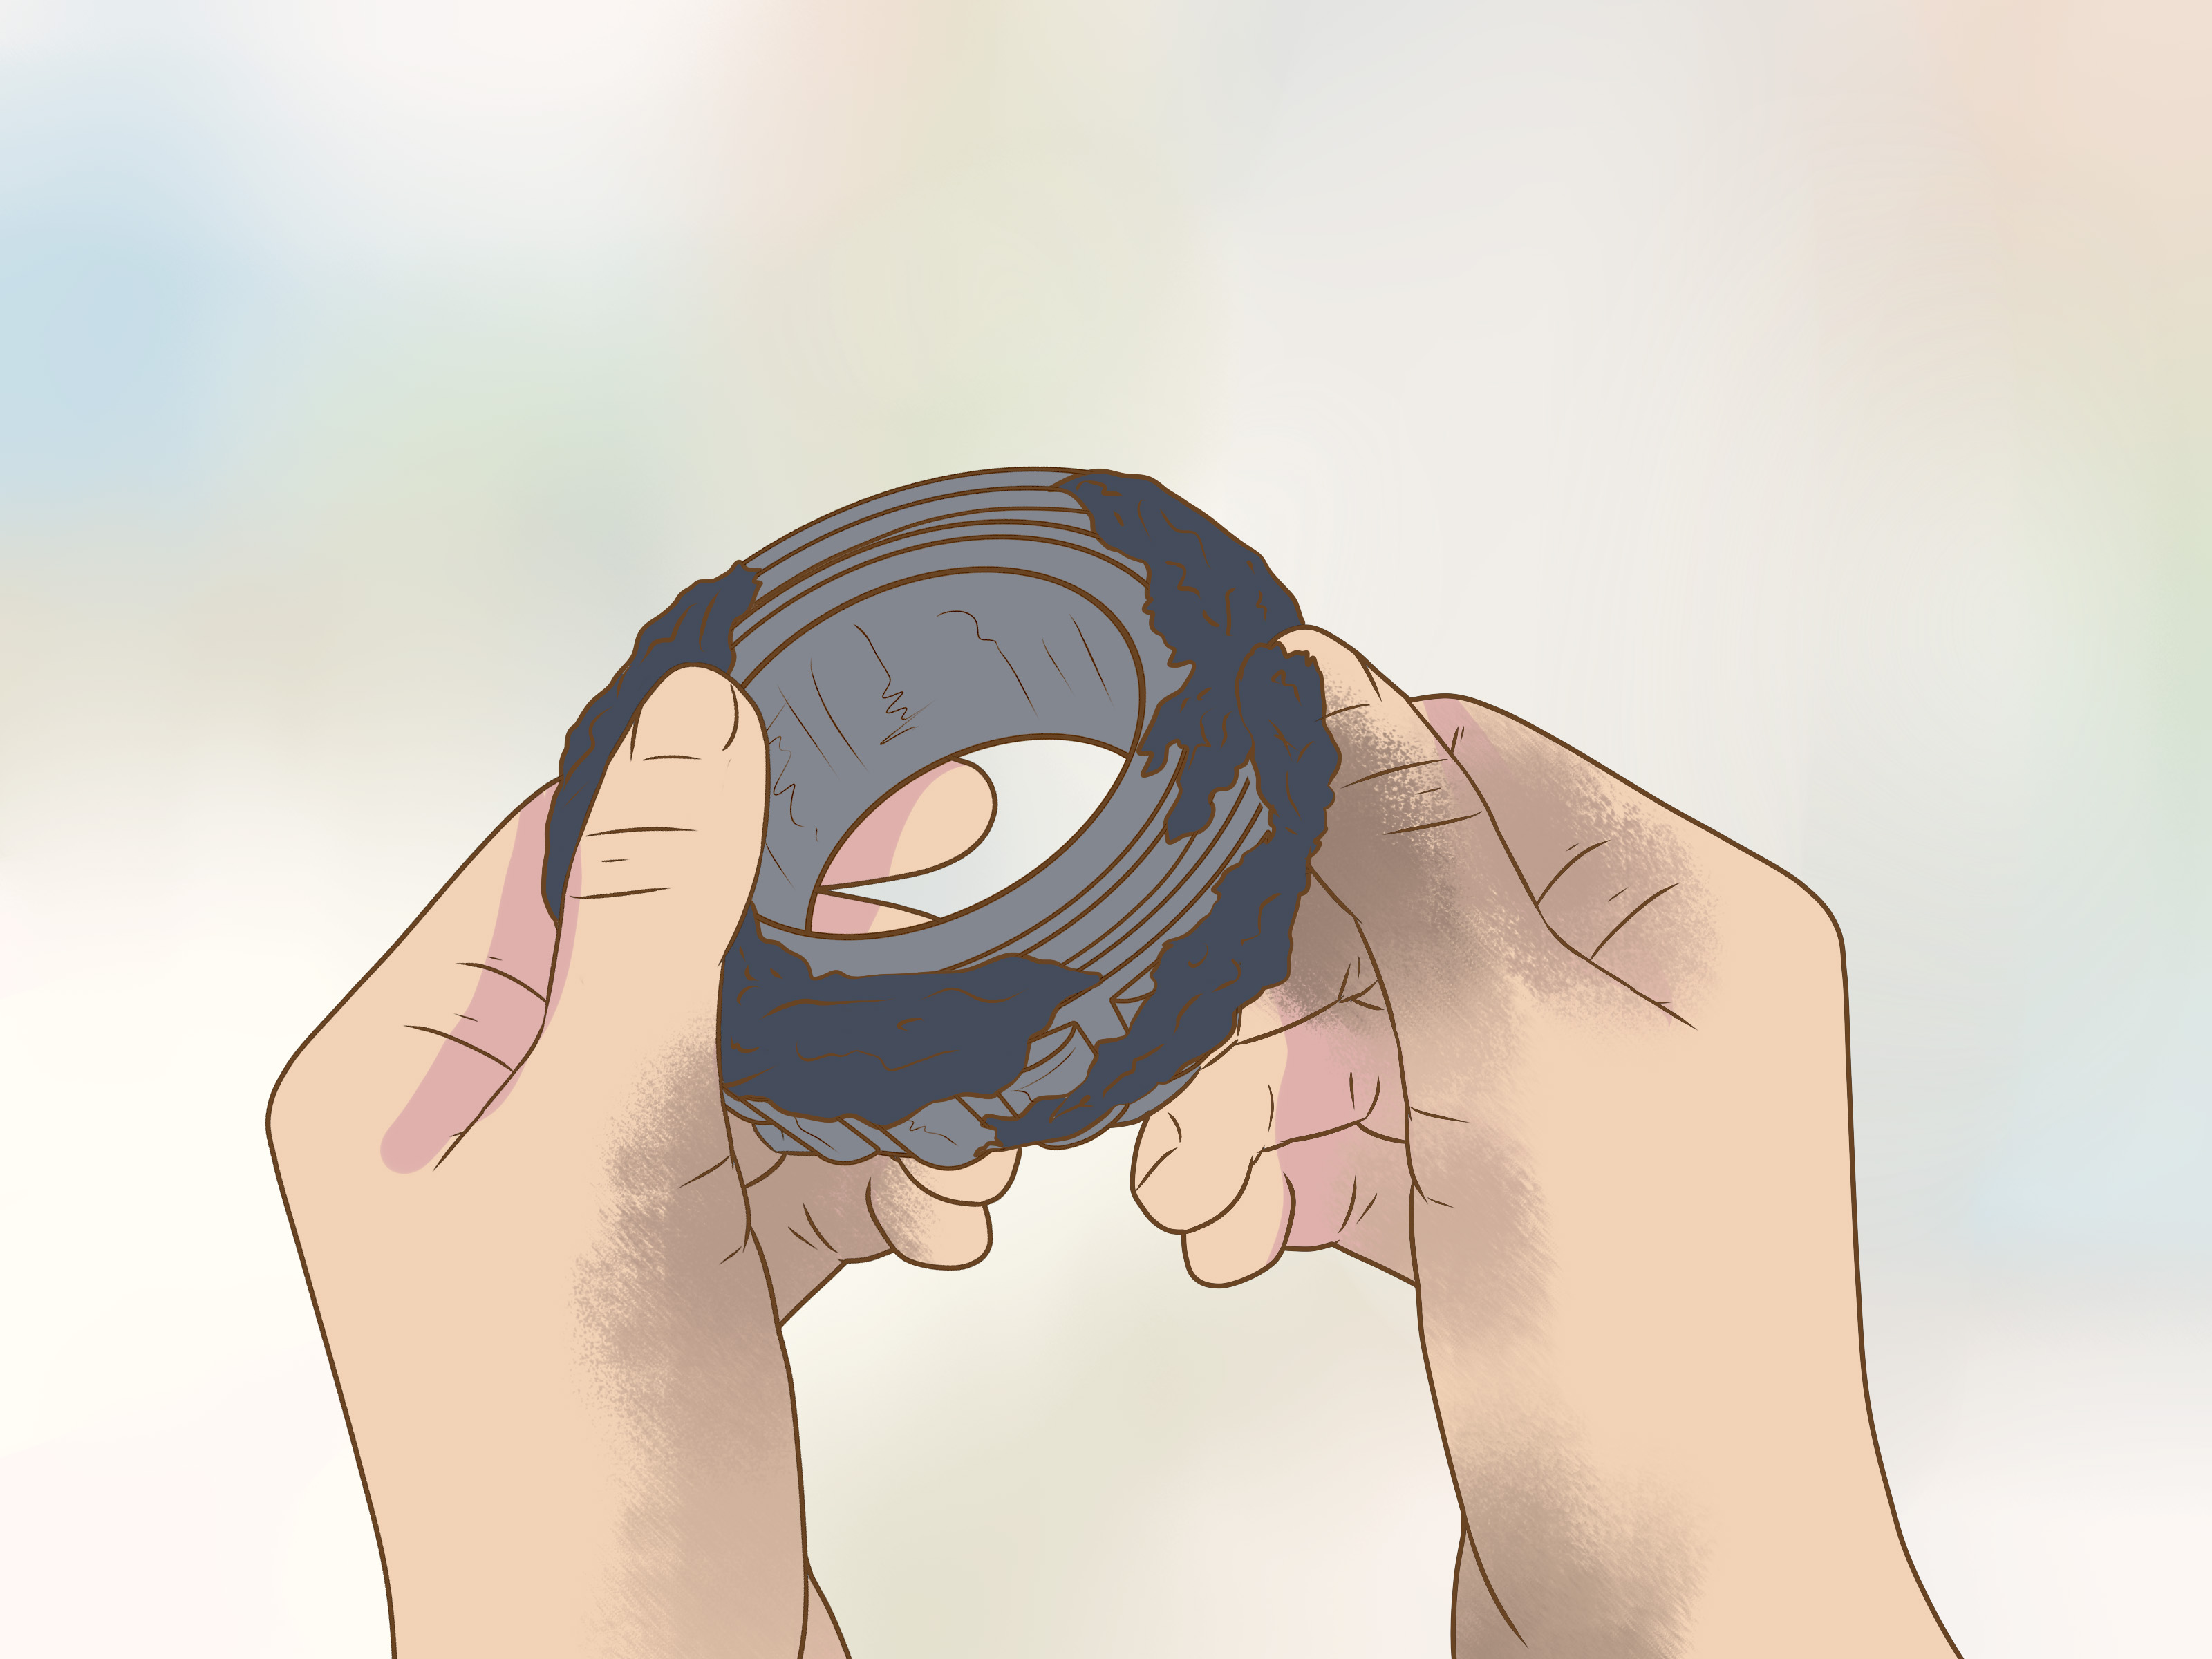
Trailer bearings are tiny metal heroes living a hot, greasy, underappreciated life inside your wheel hubs. When they are happy, your trailer rolls smoothly behind you like a loyal golden retriever. When they are neglected, they can overheat, howl, grind, seize, or turn your weekend lake trip into an unplanned roadside meditation session next to a smoking hub.
The good news? Learning how to grease trailer bearings is not wizardry. You do not need a mechanic’s certificate, a NASCAR pit crew, or a toolbox large enough to qualify as a studio apartment. You need patience, the right grease, clean handsor at least gloves pretending your hands are cleanand a careful step-by-step process.
This guide explains how to inspect, clean, repack, and reinstall trailer wheel bearings for utility trailers, boat trailers, travel trailers, small cargo trailers, and many common light-duty towable trailers. We will also cover grease types, warning signs, common mistakes, bearing protectors, EZ-Lube-style hubs, and real-world lessons learned the messy way.
Why Trailer Bearings Need Grease
Wheel bearings allow your trailer wheels to spin freely around the axle spindle. Every mile creates friction. Friction creates heat. Heat without proper lubrication creates damage. Grease forms a protective film between the bearing rollers, races, and metal surfaces so the wheel can rotate smoothly without turning the hub into a portable toaster.
Grease also helps seal out moisture and road grit. This is especially important for boat trailers because warm hubs can cool quickly when backed into water, creating a pressure change that may draw water into the hub. Once water mixes with grease, the lubricant can become milky, weak, and about as helpful as a screen door on a submarine.
Proper trailer bearing maintenance protects the axle, hub, spindle, wheel, brakes, tires, and your towing safety. A failed bearing can damage the spindle, ruin the hub, wobble the wheel, or cause the wheel assembly to separate. That is not just inconvenient. It is dangerous.
How Often Should You Grease Trailer Bearings?
A common rule for many standard trailer wheel bearings is to repack them every 12 months or 12,000 miles, whichever comes first. However, service intervals vary by axle brand, hub design, trailer weight, mileage, road conditions, and exposure to water. Some manufacturers recommend different schedules, so always confirm the interval in your trailer or axle owner’s manual.
You should inspect or service trailer bearings sooner if:
- The trailer has been submerged in water, especially saltwater.
- You tow through mud, dust, sand, or heavy rain.
- The hub feels hot after normal towing.
- You hear grinding, squealing, humming, or rumbling from the wheel area.
- The wheel has side-to-side play when lifted off the ground.
- Grease is leaking onto the wheel, tire, or brake components.
- You bought a used trailer and do not know its maintenance history.
Think of bearing grease like sunscreen at the beach: waiting until something is already burning is not the ideal maintenance strategy.
Tools and Supplies You Will Need
Before you begin, gather everything in one place. Bearing service is not hard, but once your hands are covered in grease, you will not want to search the garage for a missing cotter pin while touching every drawer like a raccoon with engine trouble.
Basic Tools
- Wheel chocks
- Floor jack rated for the trailer weight
- Jack stands
- Lug wrench or impact wrench
- Socket set or adjustable wrench
- Flat screwdriver or dust cap removal tool
- Pliers for the cotter pin
- Seal puller or suitable pry tool
- Dead-blow hammer or rubber mallet
- Torque wrench for lug nuts
- Clean rags or shop towels
- Parts-cleaning solvent or brake cleaner
- Nitrile gloves
Supplies
- High-quality wheel bearing grease
- New grease seals
- New cotter pins or retainer clips
- Replacement bearings and races if inspection shows damage
- Disposable tray or cardboard to catch grease
- Optional bearing packer tool
Choosing the Best Grease for Trailer Bearings
Use grease designed for wheel bearings, not random mystery grease from the back shelf that looks like it has survived three presidents and a raccoon invasion. For most trailer bearings, a high-temperature, water-resistant, NLGI No. 2 wheel bearing grease is a practical choice. Many trailer owners use lithium-complex or calcium-sulfonate marine grease, especially for boat trailers.
The most important rule is compatibility. Do not mix grease types unless you know they are compatible. Different grease thickeners can react badly, causing the grease to soften, separate, or lose performance. If you are changing grease types, clean out the old grease completely before repacking.
For boat trailers, marine-grade wheel bearing grease is popular because it resists water washout and corrosion. For utility trailers or enclosed trailers that do not see water, a quality automotive wheel bearing grease may be suitable, but the trailer manual should always win the argument.
Step-by-Step: How to Grease Trailer Bearings
Step 1: Park on a Level Surface and Secure the Trailer
Park the trailer on firm, level ground. Put the tow vehicle in park, set the parking brake, and chock the trailer wheels that will remain on the ground. Never rely on a jack alone. Jacks lift; jack stands save your bones.
Loosen the lug nuts slightly before raising the wheel. Do not remove them yet. Breaking them loose while the tire is still touching the ground prevents the wheel from spinning.
Step 2: Lift the Trailer Safely
Place the jack under the manufacturer-recommended lift point, commonly the frame near the axle, not under a weak crossmember or thin sheet metal. Raise the trailer until the tire clears the ground. Place a jack stand under the frame and lower the trailer onto it securely.
Give the trailer a gentle shake. If it feels unstable, stop and reposition. Trailer bearing service should not include an emergency physics demonstration.
Step 3: Remove the Wheel
Remove the lug nuts and pull the wheel off the hub. Set the wheel aside flat so it cannot roll away. This is a good time to inspect the tire for uneven wear, cracking, bulges, or low tread. Bearing problems and tire problems often travel together like bad decisions on a road trip.
Step 4: Remove the Dust Cap
The dust cap covers the end of the hub and protects the spindle nut and outer bearing. Tap around the edge of the cap with a screwdriver and hammer, or use a cap removal tool. Work slowly around the cap instead of attacking one side like you are opening a paint can during an argument.
If the cap is dented, cracked, loose, or rusty, replace it. A damaged dust cap can let water and grit into the hub.
Step 5: Remove the Cotter Pin and Spindle Nut
Straighten and remove the cotter pin from the castle nut. If your trailer uses a retaining clip, remove it carefully. Do not reuse an old cotter pin. They are cheap, and your wheel staying attached is a delightful feature.
Remove the spindle nut and washer. Keep the parts organized in the order they came off. The outer bearing may slide forward as you remove the washer, so be ready to catch it.
Step 6: Remove the Hub Assembly
Pull the hub straight off the spindle. If the outer bearing has not already come out, remove it and set it on a clean surface. Be careful not to drop bearings in dirt. Bearing rollers and driveway grit are not friends.
The inner bearing is held in place by the grease seal at the back of the hub. To remove it, pry out the seal with a seal puller or carefully work it out with a suitable tool. The seal is usually damaged during removal, so plan to install a new one.
Step 7: Clean the Bearings and Hub
Wipe away heavy grease with rags first. Then clean the bearings, races, washer, nut, and inside of the hub using parts cleaner or an appropriate solvent. Rotate the bearing while cleaning so old grease is removed from between the rollers and cage.
Dry all parts thoroughly. Do not spin a dry bearing with compressed air. It may look fun for half a second, but it can damage the bearing and turn it into a tiny metal fidget spinner of regret.
Step 8: Inspect the Bearings, Races, Seal Area, and Spindle
Inspection matters. Repacking a damaged bearing is like putting fresh socks on a sprained ankle. It looks better, but the problem is still there.
Look for these warning signs:
- Pitting or flaking on rollers or races
- Blue, purple, or black heat discoloration
- Rust or water stains
- Cracked or bent bearing cages
- Flat spots or missing rollers
- Scoring or grooves on the spindle
- Loose or damaged races inside the hub
- A seal surface that is grooved or rough
If the bearing or race is damaged, replace both as a matched set. If the spindle is badly scored, consult a professional. A new bearing cannot perform properly on a damaged spindle.
Step 9: Pack the Bearings With Fresh Grease
You can pack bearings by hand or with a bearing packer. A bearing packer is cleaner and faster, but hand-packing works well when done correctly.
Hand-Packing Method
- Place a generous lump of grease in your palm.
- Hold the bearing with the wider side facing the grease.
- Press the bearing edge into the grease firmly.
- Force grease up through the rollers until it appears at the top.
- Rotate the bearing slightly and repeat.
- Continue until grease has worked through every section.
- Coat the outside of the bearing lightly with grease.
The goal is not to decorate the outside with grease. The goal is to push grease through the bearing so the spaces between rollers are fully filled. A shiny exterior with a dry interior is not packed; it is wearing a costume.
Bearing Packer Method
Place the bearing into the packer according to the tool instructions, attach the grease gun if required, and pump until fresh grease emerges evenly through the bearing. Wipe excess grease but do not remove grease from inside the rollers.
Step 10: Grease the Hub and Install the Inner Bearing
Apply a light coating of fresh grease inside the hub and on the bearing races. Do not fill the entire hub cavity solid unless your specific hub system calls for it. Too much grease can create pressure and may contribute to seal failure, especially when heat expands the grease during towing.
Place the packed inner bearing into the back of the hub. Make sure it sits correctly against the race.
Step 11: Install a New Grease Seal
Position the new seal squarely in the hub. Tap it evenly into place using a seal driver, block of wood, or suitable flat tool. Do not crush or cock the seal. A crooked seal can leak grease, invite water, and make your fresh bearing job look like a crime scene.
Lightly grease the seal lip and spindle surface before installation. This helps prevent dry startup and reduces the chance of seal damage.
Step 12: Reinstall the Hub
Slide the hub carefully back onto the spindle. Support the hub so the new rear seal does not drag roughly across the spindle threads. Once the hub is seated, install the packed outer bearing, washer, and spindle nut.
Step 13: Adjust the Spindle Nut
Bearing adjustment is one of the most important parts of the job. The nut must be tight enough to remove excess play but not so tight that it preloads the bearing and creates heat.
A common method is to tighten the spindle nut while rotating the hub to seat the bearings, then back the nut off and retighten it by hand or to the manufacturer’s specified setting. The hub should spin freely with no roughness, and there should be no noticeable side-to-side play when you pull on it.
Because procedures vary, use the axle manufacturer’s instructions whenever available. Guessing at bearing adjustment is where “easy maintenance” quietly becomes “expensive lesson.”
Step 14: Install the Cotter Pin and Dust Cap
Line up the castle nut with the cotter pin hole. If the slot does not align, loosen the nut slightly rather than overtightening it. Insert a new cotter pin and bend the ends securely. Reinstall the dust cap by tapping it evenly into place.
If your hub uses a rubber plug for a grease fitting, make sure the plug is seated properly. Replace cracked or loose plugs.
Step 15: Reinstall the Wheel and Torque the Lug Nuts
Put the wheel back on and hand-tighten the lug nuts. Lower the trailer until the tire just touches the ground, then torque the lug nuts in a crisscross star pattern to the trailer or wheel manufacturer’s specification. After remounting a wheel, recheck lug nut torque after the first short trips, commonly around 10, 25, and 50 miles if your manual recommends it.
Finally, spin the wheel by hand. It should rotate smoothly without grinding. Grab the tire at the top and bottom and check for play. A tiny amount may be normal on some setups, but obvious clunking or movement means the adjustment needs attention.
How to Grease EZ-Lube or Grease-Zerk Trailer Hubs
Some trailer axles have a grease fitting at the end of the spindle. These systems are often called EZ-Lube, Easy Grease, Super Lube, or similar names depending on the manufacturer. They allow grease to be pumped through internal passages toward the bearings.
For these hubs, use a hand grease gun, not a high-pressure pneumatic gun. Rotate the wheel slowly while adding grease. Pump gradually until old grease begins to move out near the front of the hub, if the system is designed that way. Stop if you feel unusual resistance or see grease escaping past the rear seal.
Grease fittings are useful, but they are not magic. They do not replace periodic inspection. If the grease is contaminated, the seal is leaking, the bearing is pitted, or the hub has water inside, simply adding more grease may hide the problem rather than solve it.
What About Bearing Buddies and Bearing Protectors?
Bearing protectors are popular on boat trailers because they help maintain grease pressure in the hub and reduce water intrusion. Many use a spring-loaded piston to show whether the hub has enough grease. If the piston rocks slightly when pressed, the hub may already have enough grease. If it does not move, it may need more.
Do not overfill bearing protectors. Too much grease can push past the rear seal and contaminate brake parts. Add grease slowly until the piston moves according to the product instructions. Wipe away excess grease and replace the protective cap.
Common Mistakes to Avoid
Using the Wrong Grease
General-purpose chassis grease is not always suitable for wheel bearings. Use grease rated for wheel bearings and appropriate for trailer conditions.
Mixing Grease Types
If you do not know what grease is already inside the hub, clean everything thoroughly before switching products.
Reusing Old Grease Seals
Grease seals are inexpensive compared with the damage caused by water intrusion or grease leaking onto brakes. Replace them during a full repack.
Skipping Inspection
Fresh grease cannot repair pitting, heat damage, rust, or a rough race. Inspect before repacking.
Overtightening the Spindle Nut
A nut that is too tight can overheat bearings. A nut that is too loose can allow wheel wobble. Follow the correct adjustment method.
Getting Grease on Brake Components
Grease on brake shoes, pads, magnets, or drums can reduce braking performance. Keep the work area clean and fix leaking seals immediately.
Signs Your Trailer Bearings Need Immediate Attention
Stop towing and inspect the hub if you notice burning smells, smoke, grinding noises, wheel wobble, or a hub that is too hot to touch carefully. Warm hubs can be normal after towing, but one hub that is much hotter than the others is a warning sign.
Another simple check is the “fuel stop hub test.” During a trip, walk around the trailer and cautiously feel near each hub without burning yourself. Compare temperatures side to side. If one hub is dramatically hotter, something may be wrong with the bearing, brake adjustment, tire pressure, or load distribution.
Quick Maintenance Checklist
- Check hubs for heat during long trips.
- Inspect dust caps and rubber plugs before towing.
- Look for grease slung onto wheels or tires.
- Listen for grinding or humming.
- Check wheel play when the trailer is lifted.
- Repack bearings on schedule.
- Use new seals during full service.
- Torque lug nuts after wheel installation.
- Service boat trailer bearings more often if submerged.
Real-World Experience: What Trailer Owners Learn the Greasy Way
The first time many people grease trailer bearings, they underestimate two things: how important cleanliness is and how much grease can travel. Grease has a mysterious ability to appear on your gloves, then the rag, then the jack handle, then your forehead, then somehow the family dog. Set up your workspace before opening the hub. Put cardboard under the wheel area, keep clean rags within reach, and separate clean parts from dirty parts. The cleaner you work, the easier it is to spot damage.
A common real-world lesson is that “just adding grease” is not the same as servicing bearings. Many owners pump fresh grease into a zerk fitting every season and assume everything inside the hub is perfect. Sometimes it is. Sometimes the hub is hiding old contaminated grease, a damaged rear seal, rust freckles on the bearing rollers, or a race that looks like it fought a belt sander. A full teardown tells the truth. Grease fittings are convenient for maintenance, but inspection is what prevents surprises.
Boat trailer owners often learn bearing maintenance faster than utility trailer owners because water is an unforgiving teacher. Backing hot hubs into cold lake water can stress seals. Saltwater adds corrosion to the party. If you use a boat trailer often, carry spare seals, cotter pins, a small tub of correct grease, disposable gloves, and at least one spare hub assembly if you travel far. A spare hub can turn a trip-ending failure into a roadside repair that still gets you home before the cooler ice gives up.
Another practical lesson is to compare both sides of the trailer. If the left hub is slightly warm and the right hub is hot enough to make you pull your hand back, do not ignore that difference. Heat can come from a tight bearing, dragging brake, low tire pressure, overload, or failing lubrication. The hub does not care which one is responsible; it only knows it is cooking.
Many DIYers also discover that bearing adjustment is more feel-based than expected. The hub should spin smoothly, but the wheel should not wobble. Too tight is bad. Too loose is bad. The sweet spot is boring, quiet, and smooth. When in doubt, check the axle manual or ask a trailer shop to show you once. Seeing it done correctly is often worth more than reading ten arguments online written by people named “TowMaster1978.”
Finally, keep records. Write down the date, mileage, grease type, bearing numbers, seal numbers, and any parts replaced. Tape a small note inside the trailer toolbox or save it in your phone. Future you will be grateful when you are standing in an auto parts store trying to remember whether the seal number ended in 10, 11, or “please help me.”
Conclusion
Greasing trailer bearings is one of the most valuable maintenance jobs a trailer owner can learn. It is messy, yes. It may make your hands look like you lost a wrestling match with a tub of peanut butter. But it also helps prevent overheated hubs, bearing failure, wheel damage, and roadside breakdowns.
The process is straightforward: secure the trailer, remove the wheel and hub, clean everything, inspect carefully, pack the bearings fully, install a new seal, adjust the spindle nut correctly, and torque the wheel properly. Use the right grease, avoid shortcuts, and follow your trailer or axle manual whenever specifications are provided.
If your trailer carries a boat, camper, equipment, livestock, motorcycles, or weekend adventure supplies, those small bearings are carrying a big responsibility. Treat them well, and they will quietly do their job mile after mile. Ignore them, and they may choose the worst possible time to become the main character.
Note: This guide is educational and applies to many common light-duty trailers. Always follow the service interval, grease specification, bearing adjustment method, and wheel torque values provided by your trailer, axle, or hub manufacturer.