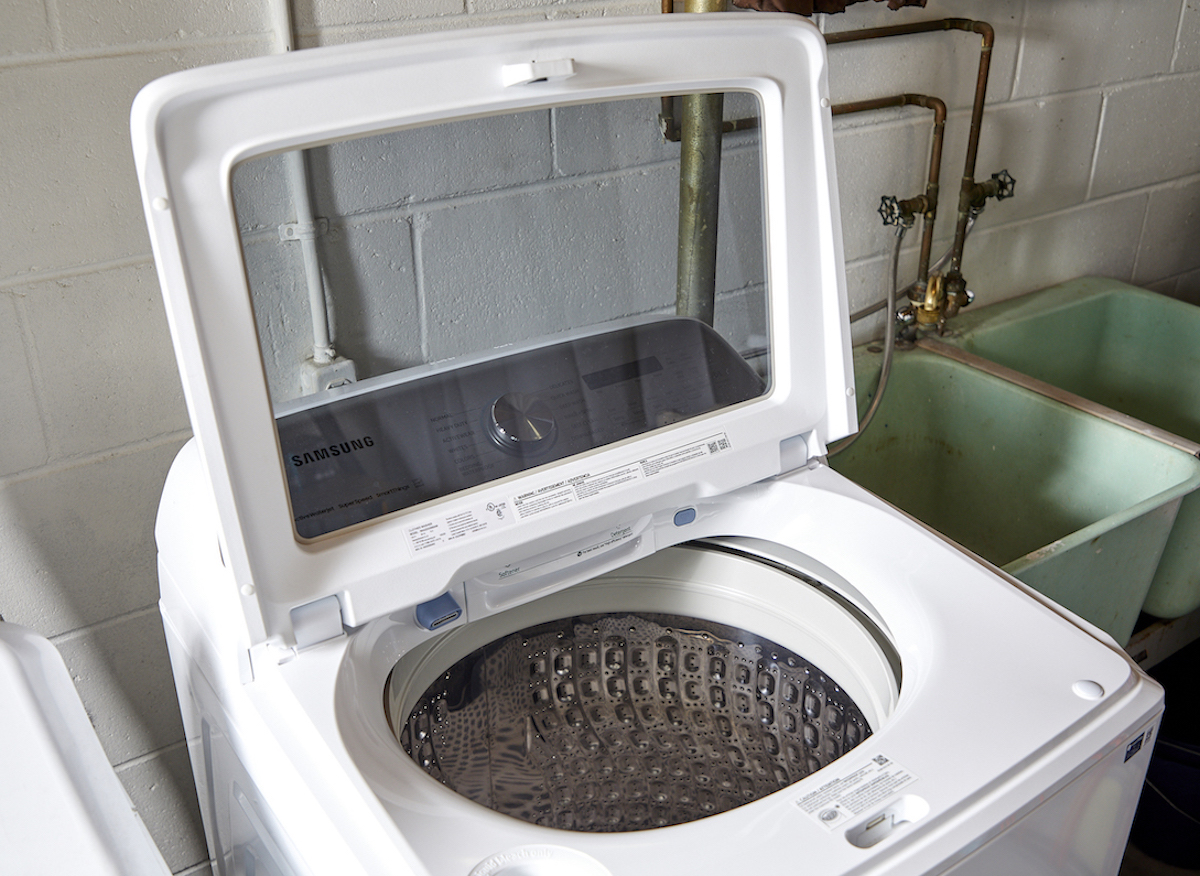
A washing machine full of murky water is not exactly the indoor pool anyone requugh water to qualify as portable aquariums, and the washer may be flashing an error code with all the emotional warmth of a traffic ticket.
Fortunately, learning how to drain a washing machine is usually straightforward. In many cases, the problem is a canceled cycle, an unbalanced load, a kinked drain hose, or a filter packed with lint, coins, and the occasional missing sock. More serious causes include a clogged household drain, a jammed pump, a failed lid switch, or a damaged drain pump.
This guide explains how to manually drain both top-load and front-load washing machines, troubleshoot common drainage problems, and decide when it is safer to call an appliance technician or plumber.
Before You Start: Put Safety Ahead of Dry Socks
A washer combines electricity, moving components, and several gallons of water. That trio deserves respect. Before opening a service panel or disconnecting a hose, take a few basic precautions.
- Turn off the washing machine.
- Unplug it from the wall outlet. If the plug is inaccessible, switch off the appropriate circuit breaker.
- Close the hot- and cold-water supply valves if you plan to move the appliance or disconnect hoses.
- Allow hot wash water to cool before draining it.
- Keep the power cord and electrical connections dry.
- Do not force open a locked front-loader door while water is visible inside.
- Consult the owner’s manual before removing panels, filters, clamps, or pumps.
If water is already spreading across the floor, shut off the appliance’s water supply, disconnect the power only when it is safe to do so, and begin containing the leak with towels or a wet/dry vacuum.
Tools and Supplies You May Need
You will not need an entire hardware store, although laundry-room disasters have a talent for making people feel that way. Gather the following items before beginning:
- Several absorbent towels
- A shallow pan or baking tray
- One or two buckets
- Rubber or waterproof gloves
- A large cup or small container
- Pliers
- A flathead or Phillips screwdriver
- A flashlight
- A wet/dry vacuum, if available
- A short garden hose or clean siphon hose for some top-load models
Step 1: Try the Washer’s Normal Drain Function
Before manually removing water, give the machine a chance to solve the problem itself. Close the door or lid securely, turn the washer on, and select Drain and Spin, Spin Only, or Cancel/Drain, depending on the model.
A drain-and-spin cycle removes water without beginning another full wash. Some machines also pause for several minutes between stages, so a silent washer is not automatically a broken washer. Avoid manually advancing a mechanical timer because doing so can skip the pump-out portion of the cycle. hing happens, unplug the machine for approximately one minute, reconnect it, and try the drain cycle again. A brief power reset may clear a temporary electronic fault, but it will not repair a physical clog or failed pump.
Check the Load Before Blaming the Machine
A washer may stop before draining or spinning when towels, blankets, or other heavy items collect on one side of the drum. Open the machine only when it is safe, redistribute the load, remove a few items if the washer is overloaded, and restart the drain-and-spin cycle.
How to Drain a Top-Load Washing Machine
Many top-load washers can be drained through the main hose at the back. Gravity does most of the work, which is convenient because gravity rarely sends an invoice.
Method 1: Drain Through the Rear Hose
- Unplug the washer. Tape the cord to the top of the machine so it stays dry and does not fall behind the appliance.
- Remove the wet laundry. Place it in a tub, sink, or waterproof container.
- Pull the washer away from the wall. Move it carefully so you do not damage the floor or stretch the supply hoses.
- Locate the drain hose. It is generally the larger gray or black hose inserted into a wall standpipe or laundry sink.
- Place towels and a bucket on the floor. The bucket should sit lower than the water level inside the washer.
- Remove the hose from the standpipe. Keep the end raised until the bucket is ready.
- Lower the hose into the bucket. If the hose exits near the bottom of the washer and the internal path is clear, water should begin flowing by gravity.
- Control the flow. When the bucket is nearly full, lift the hose above the washer’s water level to pause the flow. Empty the bucket and repeat.
- Use a shallow pan near the end. As the tub empties, a low container helps keep the hose below the remaining water level.
If water flows freely from the washer hose but backs up when the hose is returned to the standpipe, the problem is probably in the household drain rather than the appliance. A clogged or poorly vented standpipe may overflow when the washer discharges a large volume of water. d 2: Siphon Water From the Tub
Some top-load machines have drain-hose routing that does not allow easy gravity drainage. In that situation, you can remove most of the water directly from the tub.
- Scoop out as much water as possible with a cup or small container.
- Transfer the water into a bucket or nearby utility sink.
- For deeper water, fill a clean hose completely with water.
- Keep one end submerged in the washer tub while lowering the other end into a bucket positioned below the tub.
- Allow the siphon to continue, switching buckets as necessary.
- Absorb the remaining shallow water with towels or a wet/dry vacuum.
Never start a siphon by drawing dirty wash water through the hose with your mouth. Laundry water is not a beverage, regardless of how “spring meadow” the detergent label sounds.
How to Drain a Front-Load Washing Machine
Front-load washers usually have a pump filter, residual-water hose, or emergency drain tube behind a small access door near the bottom front of the appliance. The precise arrangement varies, so check the manual for your model.
Method 1: Use the Emergency Drain Hose
- Turn off and unplug the washer.
- Wait for hot water to cool. Water from a sanitary or hot cycle can cause burns.
- Locate the lower access panel. It may pop open, release when pressed, or require a screwdriver.
- Spread towels across the floor.
- Place a shallow pan below the opening.
- Pull out the small emergency drain hose. Do not yank it or stretch it farther than necessary.
- Remove the hose cap slowly. Direct the water into the pan.
- Replace the cap whenever the pan fills. Empty the container and repeat until water stops flowing.
- Reinstall the cap securely. Return the hose to its holder before closing the access panel.
Official guidance from several major washer manufacturers recommends draining residual water through this small hose before removing the pump filter. Doing so reduces the chance of releasing the entire tub onto the floor in one enthusiastic wave. d 2: Drain Through the Pump Filter
Some front-load washers do not have a separate emergency hose. Instead, water must be released gradually through the pump-filter opening.
- Position a shallow tray under the filter.
- Turn the filter cap counterclockwise very slowly.
- Loosen it only enough to create a controlled trickle.
- Tighten the cap when the tray is nearly full.
- Empty the tray and repeat until the water stops.
- Remove the filter completely.
- Clear away lint, hair, coins, buttons, fabric, and other debris.
- Rinse the filter and gently clean it with a soft brush.
- Inspect the filter cavity with a flashlight.
- Reinstall the filter clockwise until it is properly seated.
Do not fully unscrew a filter while the drum is full. That method is less “controlled draining” and more “unexpected basement water feature.”
What to Check After the Water Is Out
Removing the water solves the immediate problem, but it does not explain why the washer failed to drain. Work through the following checks from simplest to most involved.
1. Inspect the Drain Hose
Look behind the washer for a crushed, twisted, frozen, or sharply bent hose. Straighten any kinks and make sure the machine is not pushed tightly against the hose.
Disconnect the hose only after unplugging the washer and preparing for residual water. Inspect both ends for lint, fabric, small clothing items, or sludge. A removable hose may be flushed with water outdoors, provided the manufacturer’s instructions permit removal.
2. Check the Hose Position
A drain hose installed too high can make the pump struggle to lift water. A hose positioned too low or inserted too deeply into the standpipe may cause siphoning, backflow, or repeated filling and draining.
There is no universal installation height for every washer. For example, manufacturers publish different minimum and maximum measurements for different product families. Use the dimensions in your model’s installation guide instead of relying on a random number found in a social-media comment written by someone named “PlumbingKing1987.” ean the Pump Filter
On serviceable front-load models, the pump filter catches objects before they damage the pump. A filter blocked by lint, pet hair, coins, tissues, or small garments can slow or stop drainage. Clean it periodically according to the owner’s manual, especially when the washer drains slowly or displays a drainage error. st the Household Standpipe
Place the washer’s drain hose in a large utility sink or suitable container and run a drain cycle while watching the discharge. Do not leave the washer unattended.
If water leaves the hose strongly but the wall standpipe previously overflowed, the household plumbing may be clogged or improperly vented. A plumber can clear the line and confirm that the drain is sized and configured correctly.
5. Listen to the Drain Pump
A humming sound with little or no water movement may indicate that debris is preventing the pump impeller from turning. Complete silence during a commanded drain cycle may point to a failed pump, wiring problem, control issue, or safety-switch fault.
Drain-pump replacement often requires opening the cabinet, removing hoses, handling electrical connectors, and checking for leaks afterward. Unless the owner’s manual provides a consumer-accessible procedure and you have appropriate repair experience, leave this job to a qualified technician. eck the Door Lock or Lid Switch
Many washers will not spin or complete the cycle unless the control system confirms that the door or lid is securely closed. A damaged latch, lid switch, or door-lock assembly can therefore resemble a drainage failure.
Close the door firmly and check for trapped fabric around the latch. Do not bypass a safety switch. If the lock does not engage or an error repeatedly returns, arrange professional diagnosis.
Common Reasons a Washing Machine Will Not Drain
- A canceled cycle or temporary control error
- An unbalanced or overloaded drum
- A kinked, compressed, frozen, or clogged drain hose
- An incorrectly positioned drain hose
- A clogged pump filter
- A sock, coin, or other object trapped in the pump
- A blocked household standpipe or laundry sink drain
- A defective drain pump
- A failed door lock, lid switch, pressure sensor, or control board
- Excessive detergent creating too many suds
Manufacturer and repair guidance consistently identifies the hose, pump filter, pump, safety switches, load balance, and household plumbing as key areas to investigate when standing water remains in a washer. to Call a Professional
Stop troubleshooting and contact an appliance technician when:
- The washer trips a breaker or smells like burning insulation.
- You see damaged wiring or melted electrical connectors.
- The drain pump leaks, grinds loudly, or does not run.
- The same drainage error returns after the hose and filter are cleaned.
- The machine must be disassembled to reach the obstruction.
- The appliance remains under warranty.
- You cannot move the washer safely.
Call a licensed plumber when the washer discharges normally into a temporary container but the standpipe, utility sink, or nearby drain backs up. The appliance technician repairs the machine; the plumber repairs the building’s drainage system. Inviting the correct professional first can save money and prevent two people from politely explaining that the problem belongs to the other one.
How to Prevent Future Drainage Problems
- Check pockets for coins, tissues, screws, hair clips, and other loose objects.
- Place very small garments in a zippered mesh laundry bag.
- Remove excess pet hair from blankets and clothing before washing.
- Use high-efficiency detergent in HE washers.
- Measure detergent instead of pouring until your ancestors whisper, “That seems sufficient.”
- Avoid overloading the drum.
- Clean an accessible pump filter according to the manufacturer’s schedule.
- Inspect the drain hose for kinks, cracks, abrasion, or leaks.
- Keep the washer far enough from the wall to protect the hoses.
- Investigate slow standpipe drainage before it becomes an overflow.
- Keep the machine level so it can balance loads and operate correctly.
Practical Experiences and Lessons From Real-World Drainage Problems
One of the most common laundry-room experiences begins with a top-load washer that stops after washing a heavy blanket. The homeowner hears no spinning, opens the lid, and discovers a drum full of gray water. The immediate assumption is that the pump has died. In many cases, however, the blanket has folded into a waterlogged lump on one side of the basket. Removing part of the load, redistributing the remaining items, and selecting Drain and Spin allows the washer to finish normally. The useful lesson is to check balance and cycle settings before pulling out tools.
Another familiar situation involves a front-loader with a locked door and a drainage error. The owner finds the lower access panel, sees the pump filter, and begins unscrewing it immediately. Water rushes across the floor before the filter can be tightened again. The better approach is to look for the small residual-water hose first, use a very shallow container, and drain the machine in stages. Even a compact front-loader can hold far more water than a baking tray, so patience is more valuable than optimism.
A third scenario appears after a washer has been pushed backward during cleaning or remodeling. The machine fills and washes normally but leaves clothes soaking wet. Behind the washer, the drain hose is flattened between the cabinet and the wall. Straightening the hose and leaving adequate clearance restores drainage without replacing a single part. This is why a visual inspection should happen before mechanical disassembly.
There is also the deceptive standpipe problem. The washer pump works, the hose is clear, and the filter is clean, yet water spills onto the floor during every drain cycle. Testing the hose in a utility sink shows a strong stream, proving that the washer is doing its job. The real culprit is a partially blocked household drain that cannot accept water as quickly as the pump releases it. In this case, replacing the pump would waste money; the standpipe needs plumbing service.
Small objects create some of the most memorable discoveries. Pump filters commonly collect coins, buttons, lint, pet hair, pieces of tissue, bra wires, and tiny socks. A washer may still drain with a partially obstructed filter, but the process becomes slower and noisier until it eventually stops. Cleaning an accessible filter before the pump is forced to work against a severe blockage can prevent a relatively simple maintenance task from becoming a repair appointment.
Cold weather can produce a different puzzle in laundry areas located in garages, porches, or poorly heated rooms. A frozen drain hose may look perfectly normal from the outside while ice blocks the interior. The safe response is gentle thawing according to the manufacturer’s instructionsnot boiling water, open flames, or aggressive heating that can deform plastic components. LG, for example, advises using warm rather than boiling water and allowing time for frozen internal parts to thaw. experiences point to one practical troubleshooting rule: start with the simple, visible, and reversible checks. Verify the cycle, rebalance the load, inspect the hose, drain the water carefully, clean the filter, and test the household drain. Only then should you suspect internal electrical or mechanical failure. That sequence minimizes mess, prevents unnecessary parts replacement, and gives you much better information if professional service becomes necessary.
Conclusion
Knowing how to drain a washing machine can turn a soggy laundry emergency into a manageable home-maintenance task. Begin with the washer’s Drain and Spin setting. If that fails, unplug the appliance and remove the water through the rear drain hose on many top-load machines or through the emergency hose and pump-filter area on many front-load models.
Once the drum is empty, inspect the drain hose, filter, load balance, hose installation, and household standpipe. Straightforward clogs and kinks are often suitable for careful DIY troubleshooting. Electrical faults, failed pumps, damaged locks, recurring error codes, and inaccessible internal blockages are better handled by a qualified appliance technician.
Note: Washer designs vary significantly. Always follow the owner’s manual for your exact model, particularly when locating a pump filter, releasing a locked door, disconnecting hoses, or removing an access panel. This article synthesizes guidance from major appliance manufacturers and established U.S. home-repair and consumer resources. e>