If you have ever stared at a mystery object and thought, “How much space do you take up, and why are you heavier than you look?” then welcome to one of the most useful skills in science, engineering, cooking, construction, and everyday problem-solving: calculating volume and density.
Volume tells you how much three-dimensional space something occupies. Density tells you how tightly mass is packed into that space. Together, they answer practical questions like: Will this object float or sink? How much material do I need? Is this metal pure, mixed, or mislabeled? Why does this tiny pebble feel oddly hefty?
In this guide, you’ll learn a clear 11-step method for calculating volume and density accurately, including formulas, unit conversions, irregular-shape tricks, and common mistakes to avoid. We’ll keep it detailed, practical, and actually fun. (Yes, math can be fun. No, your calculator does not need emotional support… probably.)
Quick Refresher: Core Definitions
Volume is the space an object occupies, typically in cubic units like cm3, m3, or liquid units like mL and L.
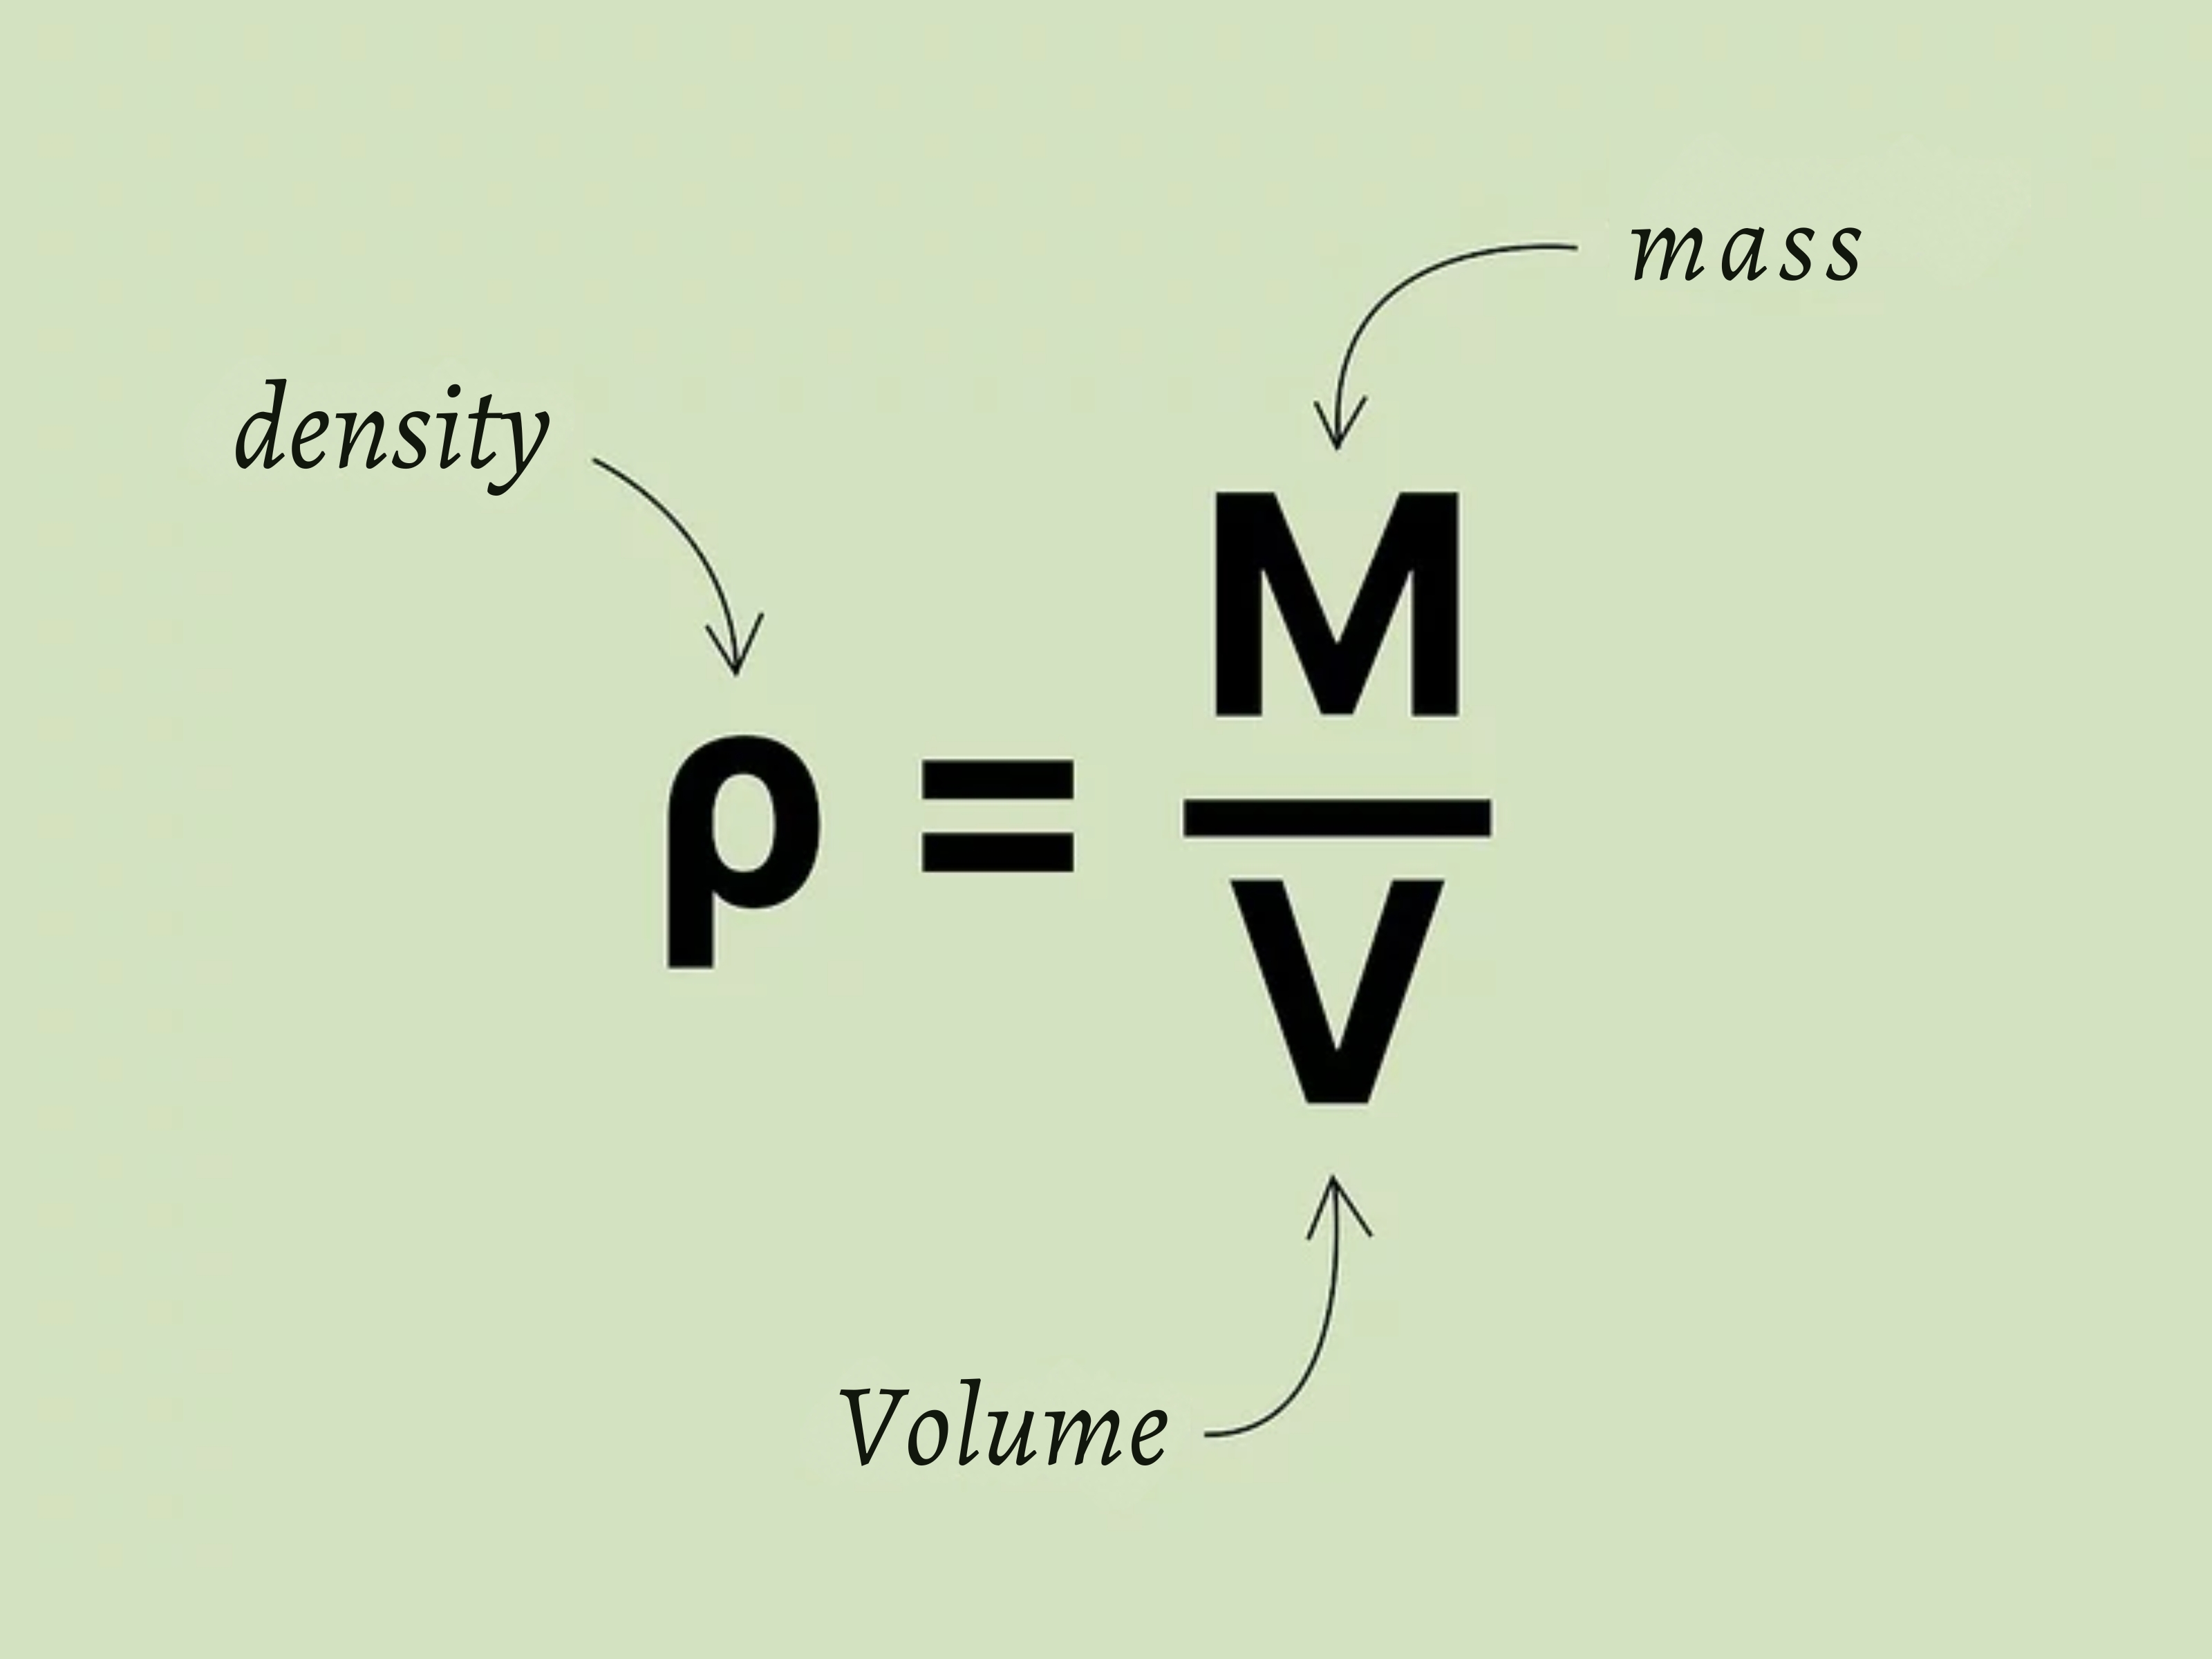
Density is mass per unit volume:
Density = Mass / Volume (or ρ = m / V)
Common density units include g/cm3, g/mL, and kg/m3.
How to Calculate Volume and Density in 11 Steps
Step 1: Pick One Unit System and Stick to It
Before you measure anything, choose your unit system. If you mix centimeters, inches, grams, and pounds in one equation, you’ll get nonsense in elegant handwriting.
- For school chemistry/physics: use
cm,mL,g. - For engineering/SI-heavy work: use
m,m3,kg.
Helpful equivalences:
1 mL = 1 cm31000 mL = 1 L1 g/cm3 = 1000 kg/m3
Pro tip: write units at every step. Units are your built-in error detector.
Step 2: Identify the Object Type (Regular, Liquid, or Irregular)
Your method depends on shape:
- Regular solids (box, cube, cylinder, sphere, cone): use geometric formulas.
- Liquids: read directly from a graduated cylinder or volumetric tool.
- Irregular solids (rock, key, toy): use water displacement.
Correct method selection is half the battle. The other half is not rounding too early.
Step 3: Measure Dimensions Carefully
For regular objects, measure dimensions with a ruler, caliper, or tape:
- Length (
l) - Width (
w) - Height (
h) - Radius (
r) for circles/cylinders/spheres/cones
Best practices:
- Measure at eye level (avoid parallax errors).
- Use the smallest practical scale marking.
- Record one estimated digit beyond the smallest marking.
If you’re measuring liquid level, read the bottom of the meniscus (that curved surface), not the top.
Step 4: Calculate Volume for Regular Solids
Use the right geometry formula. Here is your cheat table:
| Shape | Volume Formula | Notes |
|---|---|---|
| Rectangular Prism | V = l × w × h |
All three dimensions in same unit |
| Cube | V = s3 |
s is side length |
| Cylinder | V = πr2h |
Use radius, not diameter |
| Sphere | V = (4/3)πr3 |
Keep enough digits before final rounding |
| Cone | V = (1/3)πr2h |
Exactly one-third of matching cylinder |
Example (rectangular prism):
If l = 5.0 cm, w = 2.0 cm, h = 1.0 cm, then
V = 5.0 × 2.0 × 1.0 = 10.0 cm3.
Step 5: Measure Liquid Volume the Right Way
For liquids, the volume is usually read directly in a graduated cylinder, pipette, burette, or volumetric flask.
- Place cylinder on a flat surface.
- Read at eye level.
- Use the bottom of the meniscus for water-based solutions.
- Record units and precision correctly (e.g.,
24.6 mL, not “about 25”).
Precision matters because density errors multiply quickly when volume is off.
Step 6: Use Water Displacement for Irregular Solids
If the object has no clean formula (like a pebble), use displacement:
- Fill graduated cylinder and record initial volume
Vi. - Submerge object fully (without splashing out water).
- Record final volume
Vf. - Compute object volume:
V = Vf - Vi.
Example:
Initial water = 40.0 mL
Final water = 53.0 mL
Object volume = 13.0 mL (or 13.0 cm3)
Bonus caution: this method only works if the object does not dissolve, absorb water, or trap large air bubbles.
Step 7: Measure Mass (Don’t Guess, Don’t Eyeball)
Use a balance:
- Zero/tare the balance first.
- Use a dry container if needed.
- Record mass in grams or kilograms consistent with your volume units.
Example: your irregular rock has mass 34.5 g.
Keep that value with its significant figures.
Step 8: Calculate Density with Units Attached
Now apply:
ρ = m / V
Using the rock example:
m = 34.5 gV = 13.0 cm3ρ = 34.5 / 13.0 = 2.65 g/cm3
That density is in the neighborhood of many common rock-forming minerals. Nice.
Step 9: Convert Units When Needed
Sometimes your instructor, client, or software needs different units.
Example conversion:
2.65 g/cm3 = 2650 kg/m3
Why? Because:
1 g = 0.001 kg1 cm3 = 1 × 10⁻⁶ m3- So the ratio scales by
1000
Use dimensional analysis so units cancel visibly. If units don’t cancel, stop and fix the setup.
Step 10: Sanity-Check Your Result
Before celebrating, ask:
- Is the density physically plausible?
- Does it match the material type (wood vs metal vs plastic)?
- Would it float in water? (Water is about
1.0 g/mLnear room conditions.)
Quick float rule:
- If
ρ < 1.0 g/mL, likely floats in water. - If
ρ > 1.0 g/mL, likely sinks.
This check catches surprisingly many mistakes, especially accidental diameter-vs-radius confusion.
Step 11: Report with Proper Precision and Context
Good science is not just computation; it is communication.
- Include units every time.
- Use appropriate significant figures.
- State method used (formula or displacement).
- Mention conditions if relevant (e.g., temperature for liquids).
Example final statement:
“The sample’s density was calculated as 2.65 g/cm3 using the water displacement method (V = 13.0 mL) and measured mass (34.5 g).”
Worked Examples You Can Reuse
Example 1: Aluminum Block
A block measures 3.0 cm × 2.0 cm × 1.5 cm and has mass 24.3 g.
Volume:
V = 3.0 × 2.0 × 1.5 = 9.0 cm3
Density:
ρ = 24.3 / 9.0 = 2.7 g/cm3
That aligns well with common aluminum values. Good sign.
Example 2: Irregular Stone
Initial water level = 125.0 mL
Final level = 138.4 mL
Mass = 35.0 g
Volume: 13.4 mL
Density: 35.0 / 13.4 = 2.61 g/mL
Since 2.61 > 1.0, it sinks. Science remains undefeated.
Example 3: Cylinder Container Fill
Radius = 4.0 cm, height = 12.0 cm.
V = πr2h = π(4.0)2(12.0) = 192π ≈ 603.2 cm3
That is roughly 603 mL, or about 0.603 L.
Common Mistakes (and Fast Fixes)
- Mistake: Using diameter where radius is required.
Fix: If given diameterd, thenr = d/2. - Mistake: Mixing
cm3andmLincorrectly.
Fix: Remember1 cm3 = 1 mL. - Mistake: Rounding halfway through.
Fix: Keep extra digits; round once at the end. - Mistake: Forgetting to tare the balance.
Fix: Zero before each new sample. - Mistake: Misreading meniscus.
Fix: Eye-level reading at the lowest curve point for water. - Mistake: Air bubbles during displacement.
Fix: Tilt object gently when submerging and tap to release bubbles.
Why This Skill Matters Beyond the Classroom
Volume and density calculations appear everywhere:
- Engineering materials selection
- Environmental sampling and water studies
- Manufacturing quality control
- Food science and packaging
- Medicine dosing and fluid prep
- Home DIY, shipping, and storage planning
In short: if you can measure, calculate, and interpret density, you can make better decisions with real-world data.
Experience Notes: What This Looks Like in Real Life (500+ Words)
1) The “Why Is This Metal So Light?” Moment in a Workshop
One of the most memorable volume-and-density experiences came from a maker workshop where participants were building custom tool handles. A student brought in two metal rods labeled as the same alloy. Visually, they looked almost identical. Same color, same shine, same “I’m definitely metal” vibe. But one rod felt suspiciously lighter in hand. Instead of guessing, the group measured both rods carefully. They used calipers for diameter, measured length, calculated cylinder volume, then measured mass on a digital balance. The first rod produced a density close to aluminum. The second came in much higher, closer to steel. The labeling had been mixed up. That one quick density check prevented a bad material choice for a high-stress tool. The lesson stuck: your hands can hint, but numbers confirm.
2) Kitchen Science That Turned Into a Mini Lab
Another experience happened in a home kitchen during meal prep. A family was trying to make layered drinks for a party and wanted distinct color bands that would not immediately blend. Instead of trial-and-error chaos, they leaned on density. Sugar concentration was adjusted in each colored layer so denser liquids went on the bottom. Volumes were measured with a measuring cylinder, and mass was checked using a kitchen scale. The final stack looked almost too perfect to drink. More importantly, everyone learned that density is not just a chapter in a textbook; it can explain why syrups sink, oils float, and cocktails become accidental science demonstrations. The best part: the kids started asking for “another experiment,” which in this case meant dessert.
3) Field Sample Day: Rocks, Water, and Patience
In a geology field exercise, students collected irregular rock samples and returned to the lab to estimate mineral composition through density ranges. No sample had a neat geometric shape, so displacement was essential. At first, results varied wildly across teams because some students dunked rocks too quickly, trapping bubbles and inflating volume readings. Once the instructor demonstrated a slow submersion technique and bubble-release tap, the numbers converged. Suddenly, what looked like a “math problem” became a method problem. The calculations were easy; the measurement discipline was the hard part. By the end of the day, students trusted their data more because they understood where errors come from and how to control them.
4) Shipping and Packaging: A Practical Business Win
A small online seller once used rough estimates for parcel volume, often paying higher shipping rates than necessary. They switched to a structured process: measure package dimensions precisely, compute box volume, then estimate product density to predict fill material needs and total shipment mass. Over a few weeks, they reduced overpacking and trimmed shipping costs noticeably. The trick was not fancy software; it was consistent measurement and unit handling. They also stopped mixing inches in one spreadsheet and centimeters in anotheran underrated victory for mental health. Volume and density, used together, became a simple optimization tool for real money decisions.
5) The School Demo That Fixed a Common Misconception
In a classroom demo, students believed “heavier objects always sink.” The teacher placed a large block of low-density wood and a tiny steel bolt in water. The wood floated; the bolt sank. Confusion turned into curiosity. Then came the calculations: mass alone was not the deciding factormass relative to volume was. The class measured, computed densities, and compared each to water. You could almost see the concept click in real time. That session mattered because it replaced a memorized rule with a tested idea. And when students can test an idea themselves, they keep it.
Across workshops, kitchens, classrooms, field labs, and small businesses, the same pattern appears: when people measure volume carefully, calculate density correctly, and respect units, they make smarter decisions faster. The formulas are short, but their impact is huge.
Final Takeaway
Calculating volume and density is one of those rare skills that is both academically important and instantly useful in everyday life. With the 11-step method above, you can handle regular solids, liquids, and awkward irregular objects without guesswork. Keep your units consistent, measure with intention, convert cleanly, and sanity-check results against physical reality.
If you do that, you won’t just get the right answeryou’ll know why it’s right. That confidence is the real upgrade.