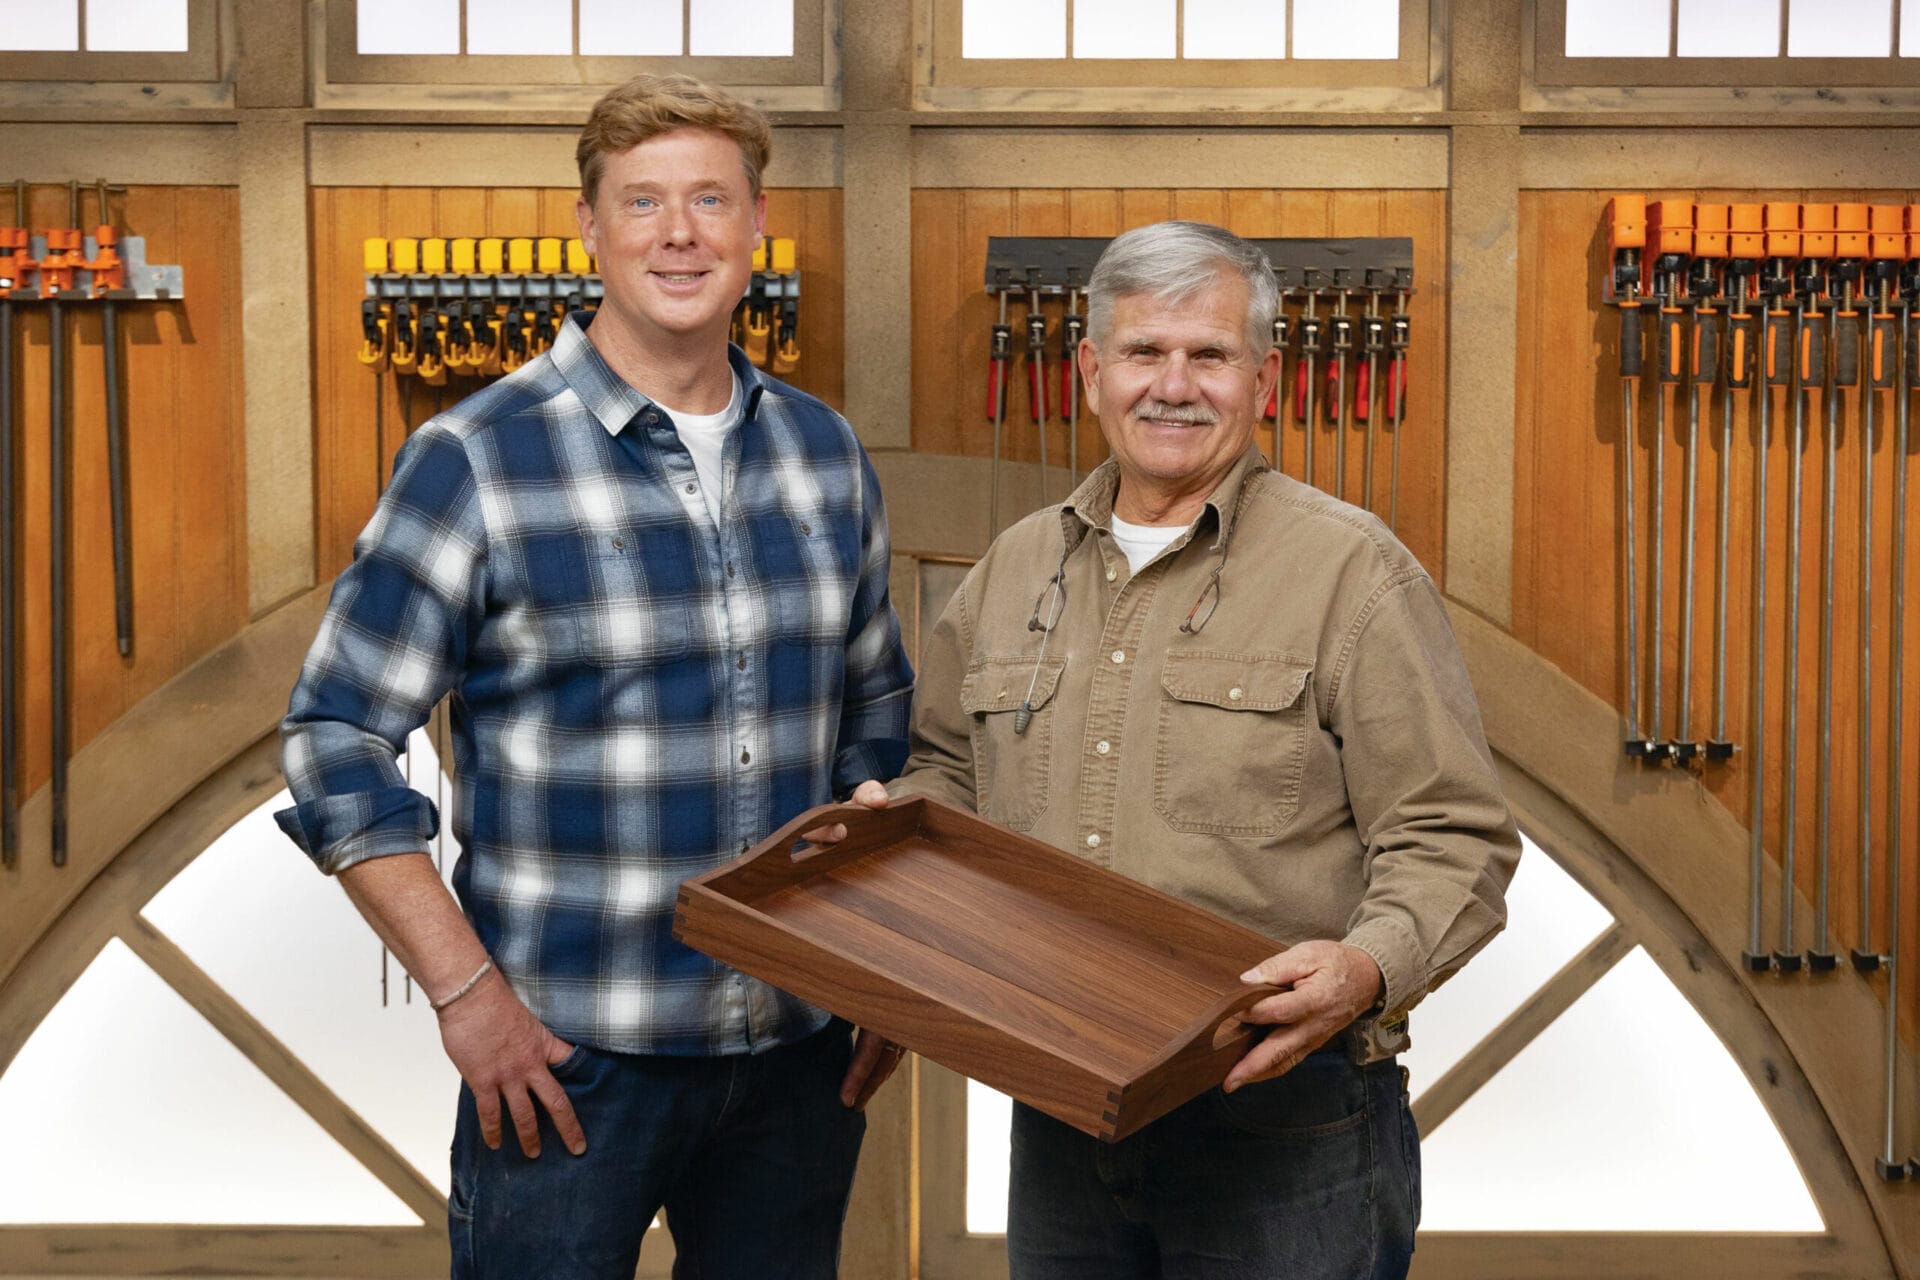
A walnut serving tray is one of those woodworking projects that looks expensive, feels useful, and does not require you to build an addition onto the workshop. With dark grain, crisp joinery, comfortable handles, and a smooth finish, the completed tray can carry coffee, cocktails, breakfast, or an unreasonable number of cookies with equal dignity.
This guide explains how to build a roughly 19-by-15-inch solid-walnut tray with box-jointed corners, integrated handholds, and a slatted hardwood floor. The design is compact enough for a home shop but detailed enough to teach accurate milling, repetitive joinery, template routing, careful glue-up, and food-contact-conscious finishing.
Why Walnut Is an Excellent Choice for a Serving Tray
Walnut brings visual drama without requiring stain to manufacture a personality. Its heartwood commonly ranges from warm brown to deep chocolate, often with lighter streaks or lively figure. A clear oil or wiping finish deepens that contrast and gives the grain the sort of glow that makes guests ask where you bought the tray. You may then answer, as casually as possible, “Oh, that? I made it.”
It is also practical. Properly dried walnut machines cleanly with sharp tools, sands well, and is strong enough for relatively thin tray parts. Even so, it remains a natural material that responds to moisture. Let the lumber acclimate in the shop, avoid pieces that are visibly twisted, and orient the floor so it has room to move rather than trapping a wide solid panel rigidly on all four sides.
Finished Size, Materials, and Cut List
The following dimensions produce a generously sized tray without making it awkward to carry. Small variations are harmless, but all paired parts must match exactly. In tray building, symmetry is less a decorative preference than a peace treaty between the corners.
Walnut Parts
- Two short ends: 1/2 inch thick by 3 3/8 inches wide by 14 3/4 inches long
- Two long sides: 1/2 inch thick by 2 1/4 inches wide by 18 3/4 inches long
- Seven floor slats: 1/2 inch thick by approximately 1 31/32 inches wide by 18 1/8 inches long
- Several walnut scraps for test cuts and machine setup
Other Supplies
- Quality PVA wood glue suitable for indoor woodworking
- Double-sided tape for attaching the handle template
- Sandpaper in 80 or 100, 120, 150, 180, and 220 grits
- A food-contact-rated oil or oil-and-wax finish if food may touch the tray directly
- A shop-made box-joint jig and 3/4-inch plywood handle template
- Painter’s tape, clean rags, and four bar clamps
Buy enough rough walnut to reject unattractive or unstable sections. Matching the grain across the two long sides gives the project a calm, intentional appearance. For the short ends, choose relatively straight-grained stock around the handle openings. Highly figured grain is beautiful, but it can be less cooperative when routed around tight curves.
Tools You Will Need
- Table saw with a sharp combination blade
- Dado set or another reliable method for cutting box joints
- Crosscut sled and box-joint jig
- Jigsaw or band saw
- Drill press or handheld drill with Forstner or spade bits
- Router with a top-bearing flush-trim bit and a small round-over bit
- Random-orbit sander, sanding block, square, and measuring tools
- Clamps, eye protection, hearing protection, and dust collection
A box-jointed version is an intermediate project because repetitive cuts magnify tiny setup errors. A beginner can simplify the design by joining the corners with rabbets, dowels, splines, or concealed pocket screws. The tray will still carry breakfast; it simply will not display tiny interlocking fingers like a walnut handshake.
Woodworking Safety Before the First Cut
Use guards, push devices, hold-downs, and a stable sled whenever the operation allows. Keep your hands out of the blade path, never freehand a table-saw cut, and stop the machine before reaching near a cutter. Routing small parts is particularly risky, so keep the end pieces large until their handle openings and contours are finished. Connect dust collection and wear appropriate respiratory protection when sanding or producing fine dust.
Step 1: Mill the Walnut Flat, Straight, and Consistent
Begin by flattening one face of each board, jointing one edge, and planing the opposite face until all tray stock is a consistent 1/2 inch thick. Rip the pieces slightly oversize, let them rest, and then bring them to final width. Crosscut paired sides together using a stop block so each pair finishes at precisely the same length.
Do not rush this stage. Joinery cannot rescue lumber shaped like a potato chip. Before moving on, label the inside face and bottom edge of every side. Those pencil marks prevent the classic shop puzzle in which four beautifully cut parts somehow become two left sides, one upside-down end, and a new vocabulary word.
Step 2: Build and Test the Box-Joint Jig
Set up a 3/8-inch-wide dado cut and build a jig with a 3/8-by-3/8-inch indexing pin. The distance between the pin and dado must also equal 3/8 inch. That matched spacing creates alternating fingers and notches. Secure the jig firmly to a crosscut sled or miter-gauge fence, and add a sacrificial backer to reduce breakout.
Test the setup on scraps milled to the same thickness as the tray parts. A correct joint should slide together with firm hand pressure. If you need a mallet and a motivational speech, it is too tight. If the joint rattles, it is too loose. Adjust the pin spacing in tiny increments and keep the successful test piece as a reference.
Step 3: Cut the Box Joints
Start with the short ends. Register the marked bottom edge consistently, make the first notch, place that notch over the indexing pin, and continue across the end. Repeat at the other end and on the second short piece.
Use one completed short end as the offset spacer for cutting the mating pattern in the long sides. The bottom marks should always face the same direction. Work slowly, hold the stock flat against the jig, and brush chips away between cuts. One trapped chip can shift a workpiece enough to produce a staircase where a corner should be.
Dry-fit all four corners. Confirm that the assembly sits flat and measures equally across both diagonals. Do not sand the fingers to solve a major fit problem; correct the jig or recut a part. Sandpaper is excellent at refinement and famously bad at geometry.
Step 4: Cut the Grooves for the Floor
Cut a groove along the inside lower edge of each side to receive the floor slats. A practical starting point is a groove about 3/8 inch deep, positioned approximately 7/16 inch above the bottom edge. Sneak up on the final width with two passes so the slat tongues fit without force.
The groove must align through every corner. Dry-assemble two adjacent sides and check the transition with a test strip. A tiny mismatch here becomes a stubborn ledge during final assembly, usually at the exact moment the glue starts winning the argument.
Step 5: Shape the Integrated Handles
Make one smooth, symmetrical handle template from 3/4-inch plywood or MDF. A comfortable opening is generally around 4 to 5 inches long with rounded ends, leaving enough material above and below the cutout for strength. Mark a centerline on the template and on both short ends so the handles match.
Attach the template with double-sided tape. Drill the rounded ends of each opening first, remove most of the waste with a jigsaw, and stay about 1/16 inch away from the template. Then use a top-bearing flush-trim bit to bring the opening to its final shape. Rough-cut any curved top profile before routing that edge as well.
Take light router passes and pay attention to grain direction. Walnut can tear near reversing grain, particularly where a curve approaches the end of a board. Climb-cutting may sometimes reduce breakout, but it changes the way the router pulls and should be attempted only by an experienced operator using a controlled setup. For most builders, cautious conventional passes and sharp bits are the smarter route.
Ease the handle edges with a 1/8-inch round-over bit or careful hand sanding. The opening should feel comfortable under a loaded tray, not like it was designed by someone angry at fingers.
Step 6: Prepare the Slatted Bottom
Cut the seven floor slats to equal length. Form a small tongue at both ends of each slat so the ends enter the side grooves while the visible slat surface sits neatly inside the frame. A typical tongue is about 1/8 inch deep and 3/16 inch long, but fit the actual groove rather than worshiping a number.
Lay the slats in sequence and arrange their color and grain before assembly. Mark them discreetly from left to right. If the combined width is slightly too great, rip the final slat narrower. Do not force the floor into place. Walnut moves seasonally, and an overpacked field of slats can push the sides outward or buckle.
For a nearly continuous surface, make the gaps minimally visible while still allowing a little movement. For a deliberately slatted appearance, use thin spacers to create even gaps. The second approach is visually lighter and handles crumbs honestly rather than pretending they do not exist.
Step 7: Sand Before Assembly
Sand the inside faces, handle openings, floor slats, and other areas that will become difficult to reach after glue-up. Start at 100 or 120 grit if milling marks remain, then progress through 150, 180, and 220. Skipping several grits saves minutes now and creates mysterious scratches later, usually visible only after finish is applied.
Break sharp edges lightly without rounding over the box-joint fingers. Vacuum between grits so loose coarse particles do not continue scratching the wood. Walnut’s pores and darker color can hide sanding defects in raw form, then announce them enthusiastically once oil hits the surface.
Step 8: Dry-Fit and Glue the Tray
Perform a complete rehearsal without glue. Confirm the corner sequence, slat order, clamp positions, and diagonal measurements. Place the clamps, cauls, square, damp rags, and a timer within reach. A dry run may feel theatrical, but it prevents the live performance from becoming experimental comedy.
Apply a thin, even coat of glue to the mating surfaces of three corners, assemble one long side and both ends, and slide the floor slats into their grooves. Test the remaining long side once more, trim the final slat if necessary, and then glue and install the last side.
Add four clamps with light pressure. Measure both diagonals and shift the frame until they match. Tighten only enough to close the joints; excessive pressure can distort the frame or squeeze out too much adhesive. Remove visible squeeze-out with a damp cloth or allow small beads to become rubbery before lifting them with a chisel. Follow the glue manufacturer’s clamp and cure times before machining or finishing.
Step 9: Level the Joints and Finish-Sand
Once the adhesive has cured, level proud box-joint fingers with a sharp block plane, card scraper, or carefully controlled sander. Protect the surrounding surface because walnut disappears faster than confidence when a sander is held in one spot.
Finish-sand the exterior through 180 or 220 grit. Hand-sand with the grain for the final pass, soften every touchable edge, and inspect the surfaces under raking light. Vacuum thoroughly and use the finish manufacturer’s recommended method for removing the remaining dust.
Step 10: Choose and Apply the Right Finish
For Direct Food Contact
Use a product specifically labeled for food-contact surfaces, such as food-grade mineral oil, a compliant butcher-block oil, or a suitable oil-and-wax blend. Flood or wipe on the first coat, allow it to penetrate for the label-specified period, and remove every trace of excess. Additional thin coats deepen the walnut and improve moisture resistance, but oil finishes require periodic renewal.
For Maximum Spill and Wear Resistance
If the tray will hold dishes rather than bare food, a wiping varnish or polyurethane can provide stronger protection from coffee, wine, and condensation. Apply thin coats, maintain a wet edge, allow proper drying, and sand lightly between coats when directed. Do not place the tray into service until the coating has completed the manufacturer’s full cure schedule. “Dry to the touch” and “ready for a sweating pitcher” are not the same event.
How Walnut Changes Under Finish
Test every finish on an offcut from the same board. Oil-based finishes generally warm and deepen walnut, while some water-based clear coats preserve a cooler, more natural color. Walnut is already doing most of the visual work, so stain is optional. A finish sample is cheaper than discovering that your elegant chocolate-brown tray has become unexpectedly orange.
Common Mistakes and How to Avoid Them
- Cutting production joints before testing: Use identical scrap and adjust the jig until the fit is repeatable.
- Mixing part orientation: Label every inside face and bottom edge before cutting.
- Routing directly to the line: Rough-cut close, then let the template and flush-trim bit establish the final shape.
- Skipping the dry-fit: Assemble the entire tray before opening the glue bottle.
- Over-clamping: Use enough pressure to close joints, not enough to make walnut juice.
- Finishing too soon: Respect both the glue cure time and the finish cure time.
- Soaking the completed tray: Wipe it clean; do not place solid wood in a sink or dishwasher.
How to Clean and Maintain a Walnut Serving Tray
After ordinary use, wipe the tray with a soft, damp cloth and dry it promptly. Avoid standing water, harsh cleaners, abrasive pads, and prolonged heat. Use coasters or a small liner beneath extremely hot dishes. Store the tray flat or upright with airflow rather than leaning it in a damp corner.
An oil-finished tray should be refreshed when the wood looks pale, dry, or uneven. Clean it, let it dry completely, and apply the same maintenance product used originally. A film-finished tray normally needs only gentle cleaning until wear becomes visible; then scuff-sand and recoat it according to the product instructions.
Conclusion
Building a walnut serving tray combines several valuable woodworking skills in one manageable project: accurate milling, box joints, template routing, slatted-panel fitting, controlled clamping, and careful finishing. The secret is not a heroic final sanding session. It is consistency from the beginningmatching stock thickness, testing every setup, rehearsing the glue-up, and choosing a finish based on how the tray will actually be used.
The reward is a useful object with furniture-level detail. It can serve breakfast, organize a coffee table, carry drinks to the patio, or become a handmade gift that is suspiciously difficult to give away once you see the walnut glow.
Workshop Experience: Practical Lessons From Building a Walnut Serving Tray
The first lesson many woodworkers learn from this project is that a small object can demand large-project precision. A tray has only four sides, yet every side is visible, every corner is handled, and a slight twist becomes obvious the moment the tray is set on a table. Milling the walnut carefully feels slow at first, but it is the part that makes everything afterward feel easy. When the boards are flat, equally thick, and cut in matched pairs, the project begins behaving like a kit rather than a negotiation.
The box-joint jig is usually the emotional center of the build. The first test joint may be too tight, the second may be loose, and the third often looks as though accuracy has finally agreed to participate. Keeping those test pieces is surprisingly useful. They record the correct setup, provide a reference for future trays, and prevent the tempting but dangerous habit of “adjusting just a little” after the machine is already dialed in.
Handle shaping brings a different kind of satisfaction. The rough jigsaw opening looks unimpressive, sometimes even alarming, until the flush-trim bit follows the template and produces two identical curves. This is where a good template earns its keep. Spending twenty extra minutes smoothing the plywood pattern can save an hour of repairing chatter marks and mismatched handles. It also makes a second tray much faster, which matters because someone will see the first one and immediately request another.
Dry-fitting the floor slats is another moment that rewards patience. A group of individually correct parts can still be collectively too wide. Trimming the last slat by a tiny amount is better than forcing the assembly and hoping the clamps possess diplomatic skills. It also helps to arrange the slats under normal room light before marking their sequence. Grain that looked subtle under bright shop LEDs can become the visual focal point after oil is applied.
The glue-up feels busiest, but it should contain no surprises. Builders who stage the clamps, rehearse the assembly order, and keep a square nearby usually finish calmly. Those who discover a missing caul with glue on eight box-joint surfaces tend to develop impressive sprinting ability. Moderate clamp pressure is enough. If the joints fit correctly, the clamps are there to hold alignment, not to crush the project into obedience.
Finishing delivers the most dramatic transformation. Raw walnut can look dusty and understated; the first wiped coat reveals depth, figure, and color in seconds. That moment also exposes every scratch left by an impatient sanding sequence. The practical habit is to inspect the surface under low-angle light before finishing and to test the finish on scrap. The emotional habit is to resist touching the tray every fifteen minutes to see whether it is cured. It is not.
Once complete, the tray teaches one final lesson: useful projects age more beautifully than decorative ones kept behind glass. A small mark from a coffee mug or a softened handle edge is not failure. It is evidence that the object joined the household. Clean it gently, renew the finish when needed, and let the walnut develop character. A serving tray is supposed to serve, after all; otherwise, it is simply a very attractive rectangle taking the day off.
SEO Metadata
Research basis: This Old House, Kreg Tool, Family Handyman, Popular Woodworking, Rockler, WOOD Magazine, Fine Woodworking, Minwax, General Finishes, CDC/NIOSH, SawStop, Woodworkers Guild of America, and Penn State Extension. Sources: