Adding a photo to your Google Site sounds simpleand thankfully, it is. But if you have ever uploaded an image that landed in the wrong place, stretched like pizza dough, or looked mysteriously blurry after publishing, you already know there is a tiny art to doing it well. Google Sites is built for beginners, teachers, small businesses, project teams, portfolios, clubs, and anyone who wants a clean website without wrestling with code at midnight. The image tool is one of its most useful features because photos can instantly make a page feel more polished, trustworthy, and human.
Whether you want to add a profile picture, classroom photo, product image, event banner, team headshot, or visual guide, this tutorial walks you through the process in 10 easy steps. You will learn how to upload a photo from your computer, choose one from Google Drive or Google Photos, resize and crop it, add helpful alt text, preview the page, and publish your changes. Along the way, you will also get practical image SEO tips so your Google Site looks good to visitors and makes sense to search engines.
The good news? You do not need design experience. You do not need HTML. You do not need to “just be naturally good with computers,” which is a phrase usually said by someone who has forgotten the pain of finding the right button. Google Sites keeps the process visual, drag-and-drop friendly, and forgiving. Let’s turn that blank section of your page into something worth looking at.
Why Photos Matter on a Google Site
Photos do more than decorate a page. They help visitors understand what your site is about before they read a single sentence. A school website feels more welcoming with classroom images. A portfolio becomes more credible with project screenshots. A small business site becomes more persuasive with photos of real products, real people, and real work. In short, images help your website stop looking like a digital filing cabinet and start feeling like a real destination.
Images also support readability. A long page with only text can feel heavy, especially on mobile devices. Well-placed photos break up sections, guide the eye, and make content easier to scan. Search engines also use image-related signals such as surrounding text, filenames, captions, and alt text to understand page content. That means adding a photo is not just a design move; it can also support your broader SEO strategy when done thoughtfully.
Google Sites supports common image formats such as JPG, PNG, and GIF for standard image uploads. These formats cover most everyday needs: JPG for photos, PNG for graphics or images that need crisp edges, and GIF for simple animations. For most users, a clear JPG or PNG will be the best choice.
How to Add a Photo to Your Google Site: 10 Easy Steps
Step 1: Open Google Sites and Choose Your Website
Start by going to Google Sites and signing in with your Google account. Once you are inside, choose the site you want to edit. If you are building a new site, you can start with a blank site or select a template. Templates are helpful if you want a ready-made structure, but a blank site works perfectly if you prefer to build from scratch.
After opening your site, make sure you are in editing mode. You should see your page in the center and a right-side panel with options such as Insert, Pages, and Themes. The Insert panel is where the photo magic happens. Think of it as the toolbox; thankfully, no actual toolbox is required.
Step 2: Go to the Page Where You Want the Photo
Before adding an image, choose the exact page where it belongs. Click the Pages tab on the right side if you need to switch pages. For example, you might add a headshot to an About page, a classroom image to a school project page, or a product photo to a Services page.
Placement matters. A photo should support the content around it, not randomly appear like it got lost on the way to another website. If the page explains a service, place the photo near the related description. If the image shows a person, event, or project, keep it close to the section that introduces that subject.
Step 3: Click the Insert Tab
On the right side of the Google Sites editor, click Insert. This panel includes content blocks such as text boxes, images, buttons, dividers, layouts, embeds, calendars, maps, and other Google tools. To add a standard photo, look for Images.
This is where Google Sites keeps things beginner-friendly. You do not need to upload files through a separate media library or paste complicated code. The image tool is built directly into the page editor, so you can add visuals while designing the page layout.
Step 4: Choose “Images”
Click Images. Google Sites will give you options for where your photo should come from. In most cases, you will see choices such as uploading from your computer or selecting an existing image from Google Drive, Google Photos, or other connected Google sources.
If the photo is saved on your laptop or desktop, choose the upload option. If the image is already stored in Google Drive or Google Photos, choose the select option. Both methods work, but selecting from Google Drive can be especially convenient if you are collaborating with a team or using shared project assets.
Step 5: Upload or Select Your Photo
Now choose your image. If you are uploading from your computer, locate the file and click Open. If you are selecting from Google Drive or Google Photos, browse your folders or albums, choose the photo, and click Select.
For best results, use a clear image that is large enough to display nicely but not unnecessarily huge. A photo named team-meeting.jpg is also more useful than IMG_8472.jpg. Descriptive filenames help you stay organized and can provide helpful context for search engines. Your future self will also thank you when you are not digging through 42 files named “final-final-new-real-final.jpg.”
Step 6: Move the Photo Into the Right Position
After the image appears on your page, click and drag it to position it where you want it. Google Sites uses a visual layout system, so you can move images into different sections and align them with text or other elements.
A good rule of thumb is to place the photo where it naturally supports the visitor’s reading flow. For example, if you are introducing a team member, place the headshot beside or above the person’s bio. If you are showing a project result, put the image close to the explanation of the project. Visuals work best when they answer a silent reader question: “What does this look like?”
Step 7: Resize the Photo
Click the image to select it. You should see dots or handles around the photo. Drag these handles to make the image larger or smaller. Google Sites also helps images fit into the page layout, which is useful for keeping your design neat across desktop and mobile screens.
Do not make every image gigantic just because you can. A hero image at the top of a page can be large and dramatic, but an image inside a text section may work better at a medium size. If the photo starts to overpower the content, shrink it. If visitors need detective-level focus to see what is happening, enlarge it. Balance is the goal.
Step 8: Crop or Adjust the Image
If the photo does not frame the subject well, use the crop tool. Select the image, click the crop option, and adjust the visible area. You can move the image inside the frame or zoom in slightly so the most important part is easy to see.
Cropping is especially helpful for headshots, banners, product photos, and screenshots. For example, if a team photo has too much empty wall above everyone’s heads, crop it tighter. If a product image includes distracting background clutter, crop toward the product. The goal is to make the image feel intentional, not like it wandered in from someone’s camera roll.
Step 9: Add Alt Text for Accessibility and SEO
Alt text is a short description of an image. It helps people using screen readers understand what the image shows, and it gives search engines additional context. In Google Sites, you can usually add or edit alt text by selecting the image, opening the image options menu, and choosing Alt text.
Good alt text should be specific, useful, and natural. For example, instead of writing “photo,” write “Students presenting a science project in a classroom.” Instead of stuffing keywords like “Google Site photo image website picture photo upload,” describe the image like a helpful human. Search engines are clever enough to notice when alt text has been attacked by a keyword blender.
If an image is purely decorative and does not add meaning, you may mark it as decorative where that option is available. But for meaningful imagessuch as logos, charts, product photos, portraits, screenshots, or instructional visualswrite a concise description that matches the surrounding page content.
Step 10: Preview and Publish Your Site
Before publishing, click Preview at the top of the Google Sites editor. Check how your photo looks on desktop, tablet, and mobile views. Make sure it is not awkwardly cropped, too large, too small, or floating in a weird location like a confused balloon.
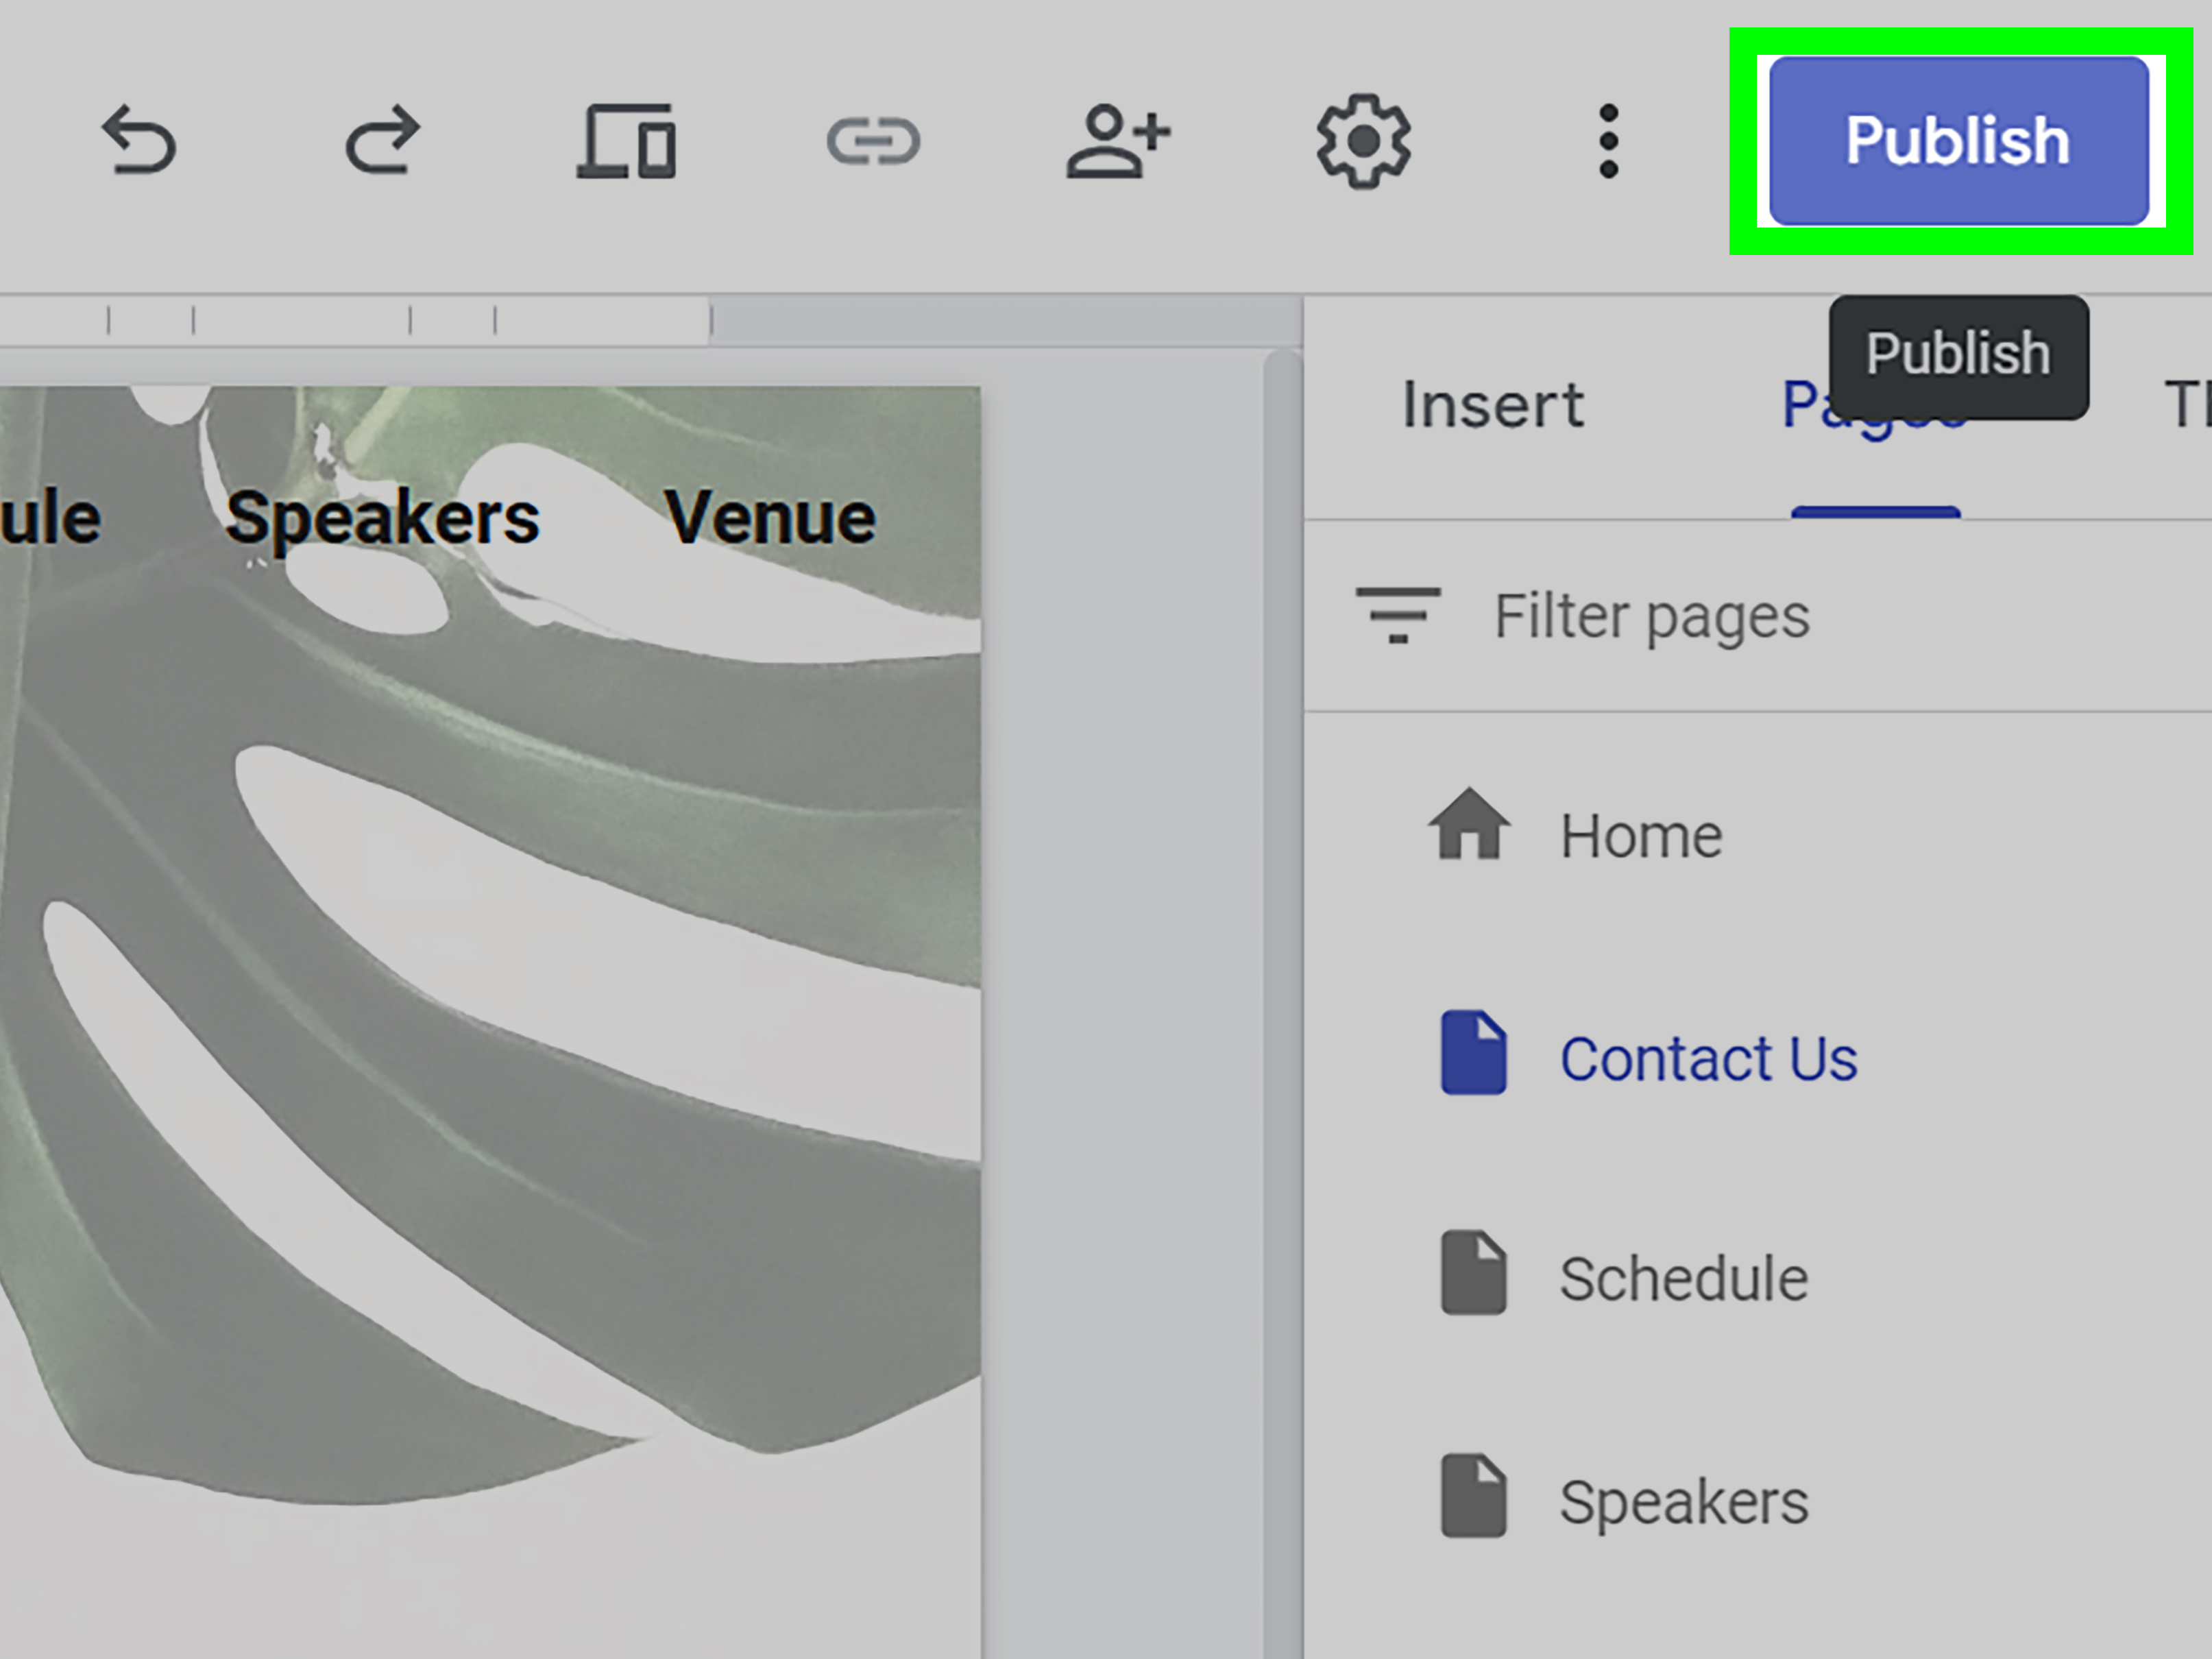
Once everything looks good, click Publish. If your site has already been published before, this updates the live version with your new photo. After publishing, visit the live site and check the image again. This final check is important because visitors see the published version, not your editor view.
How to Add Multiple Photos with an Image Carousel
If one image is not enough, Google Sites also lets you add an image carousel. A carousel is a scrolling gallery that displays multiple images in one section. This is useful for event photos, project galleries, classroom highlights, product examples, travel albums, and before-and-after collections.
To add one, go to the Insert panel and choose Image carousel. Add two or more images, arrange them in the order you prefer, and adjust the settings. You may be able to enable options such as auto-start, transition speed, dots, and captions. Captions can help visitors understand what each image shows, especially when the carousel includes several related photos.
Use carousels carefully. They are great for galleries, but they should not hide essential information. If a photo is crucial to understanding the page, consider placing it directly on the page instead of burying it in a carousel slide that some visitors may never click.
Best Image SEO Tips for Google Sites
Use Descriptive File Names
Before uploading, rename your image file with simple, descriptive words. A filename like blue-handmade-ceramic-mug.jpg is much more meaningful than DSC00991.jpg. This helps you organize files and gives search engines another clue about the image subject.
Place Images Near Relevant Text
Images should live close to the text they support. If your page has a section about volunteer events, place the volunteer photo in that section. If your page explains a service, place the service-related photo nearby. Context matters because visitors and search engines both use surrounding content to understand an image.
Write Natural Alt Text
Alt text should describe the image in plain language. Keep it short but meaningful. For example, “Owner arranging flowers at a small shop counter” is useful. “Flower shop, flowers, best flowers, flower shop near me, flowers online” is not useful. That second version sounds like a robot fell into a florist’s keyword bucket.
Compress Large Images Before Uploading
Large image files can slow down page loading. While Google Sites handles a lot of technical work for you, it is still smart to upload reasonably sized images. Before uploading, crop unnecessary space and consider compressing very large files. A crisp, lightweight image is better than a massive file that makes visitors wait.
Use Captions When They Add Value
Captions are helpful when an image needs extra explanation. A caption can identify people, describe a location, explain a chart, or clarify why the image matters. Do not caption every image just for decoration, but use captions when they improve understanding.
Common Problems When Adding Photos to Google Sites
The Photo Looks Blurry
A blurry photo usually means the original image is too small, heavily compressed, or enlarged beyond its natural size. Try uploading a higher-quality version. Avoid stretching small images into large banners.
The Image Is Cropped Awkwardly on Mobile
Always use Preview to check mobile view. A photo that looks perfect on desktop may crop differently on a phone. If the important subject is near the edge of the image, crop or reposition it so the main content stays visible.
The Photo Upload Fails
If an upload fails, check the file format first. JPG, PNG, and GIF are safe choices for standard Google Sites images. If the file is very large, reduce the size and try again. You can also upload the image to Google Drive first and then select it from Drive.
The Image Does Not Match the Page Design
Use images with a consistent style when possible. Mixing dark studio shots, bright phone photos, blurry screenshots, and random clip art can make a page feel chaotic. A simple set of clean, relevant images usually looks more professional than a visual buffet with no serving spoon.
Practical Examples of Photos You Can Add to a Google Site
For a personal portfolio, you might add a professional headshot, screenshots of completed projects, and a banner image that reflects your work style. For a small business site, you could add product photos, storefront images, team pictures, service examples, and customer-friendly visuals that build trust. For a classroom site, you might include project images, field trip photos, diagrams, and visual instructions for assignments.
For a community group or nonprofit, photos can show events, volunteers, locations, and impact. Instead of only telling visitors that your organization is active, images prove it. A strong photo can say, “Yes, real people are here doing real things,” which is far more persuasive than a page that looks like it was assembled entirely from beige rectangles.
My Experience Adding Photos to Google Sites
In my experience, the easiest part of adding a photo to Google Sites is the actual upload. The part that deserves more attention is everything before and after the upload: choosing the right image, naming the file properly, placing it in the best section, checking mobile view, and writing alt text. Many beginners treat images like decorations, but the best Google Sites pages use them as communication tools.
One common mistake is uploading a photo simply because it is available. For example, a team may add a group photo to the homepage even if the image is dark, crowded, and taken from too far away. Technically, the photo is there. Practically, it does not help much. A better choice would be a clear, well-lit image where faces are visible and the setting supports the message of the page. A website photo should answer a purpose: introduce, explain, demonstrate, build trust, or guide action.
Another lesson is that image placement can change the entire feel of a page. A photo placed at the top can set the tone immediately. A photo placed between sections can give readers a visual pause. A small image next to a short text block can make a page feel organized and friendly. But if images are dropped randomly, the page can feel messy even when the information is good. Google Sites makes it easy to drag images around, so it is worth experimenting with layout before publishing.
I have also found that mobile preview is not optional. Many visitors will view a Google Site on a phone, especially if it is shared through email, social media, messaging apps, classroom tools, or QR codes. A wide banner may look beautiful on a laptop but lose its main subject on a narrow mobile screen. Previewing the page helps catch these issues before visitors do. It is much better to discover a strange crop yourself than to have someone text, “Why is half your logo missing?”
Alt text is another area where a little effort goes a long way. The best approach is to describe what matters in the image based on why it appears on the page. If the image shows a bakery owner holding a tray of fresh croissants, say that. If the image shows a chart of monthly donations increasing, describe the trend. Avoid vague descriptions like “image” or “picture,” because they do not help anyone. Also avoid turning alt text into an SEO confetti cannon. Natural, accurate descriptions are better for accessibility and search.
Finally, I recommend keeping an image folder in Google Drive for each site. Store your final images there with clean filenames, such as homepage-banner-team.jpg, services-web-design-example.png, or spring-fundraiser-volunteers.jpg. This makes future updates easier, especially if several people manage the same site. Organization may not sound exciting, but neither does searching through 600 unnamed downloads while your coffee gets cold.
Adding photos to Google Sites is simple, but adding them well is what makes a page feel polished. Choose images with purpose, keep them clear, describe them properly, and preview before publishing. That is the difference between a website that merely has pictures and a website where pictures actually work.
Conclusion
Learning how to add a photo to your Google Site is one of the fastest ways to improve the look, clarity, and usefulness of your website. The process is beginner-friendly: open your site, choose the page, click Insert, select Images, upload or choose a photo, resize it, crop it, add alt text, preview the layout, and publish. Once you understand those steps, you can use images more confidently across portfolios, business pages, classroom websites, event pages, and team hubs.
The real secret is not just adding photosit is adding the right photos in the right places. Use clear images, descriptive filenames, helpful alt text, relevant captions, and mobile-friendly layouts. Your Google Site will look cleaner, feel more trustworthy, and offer a better experience for every visitor. And best of all, you can do it without touching code, hiring a designer, or pretending you enjoy troubleshooting image alignment for sport.