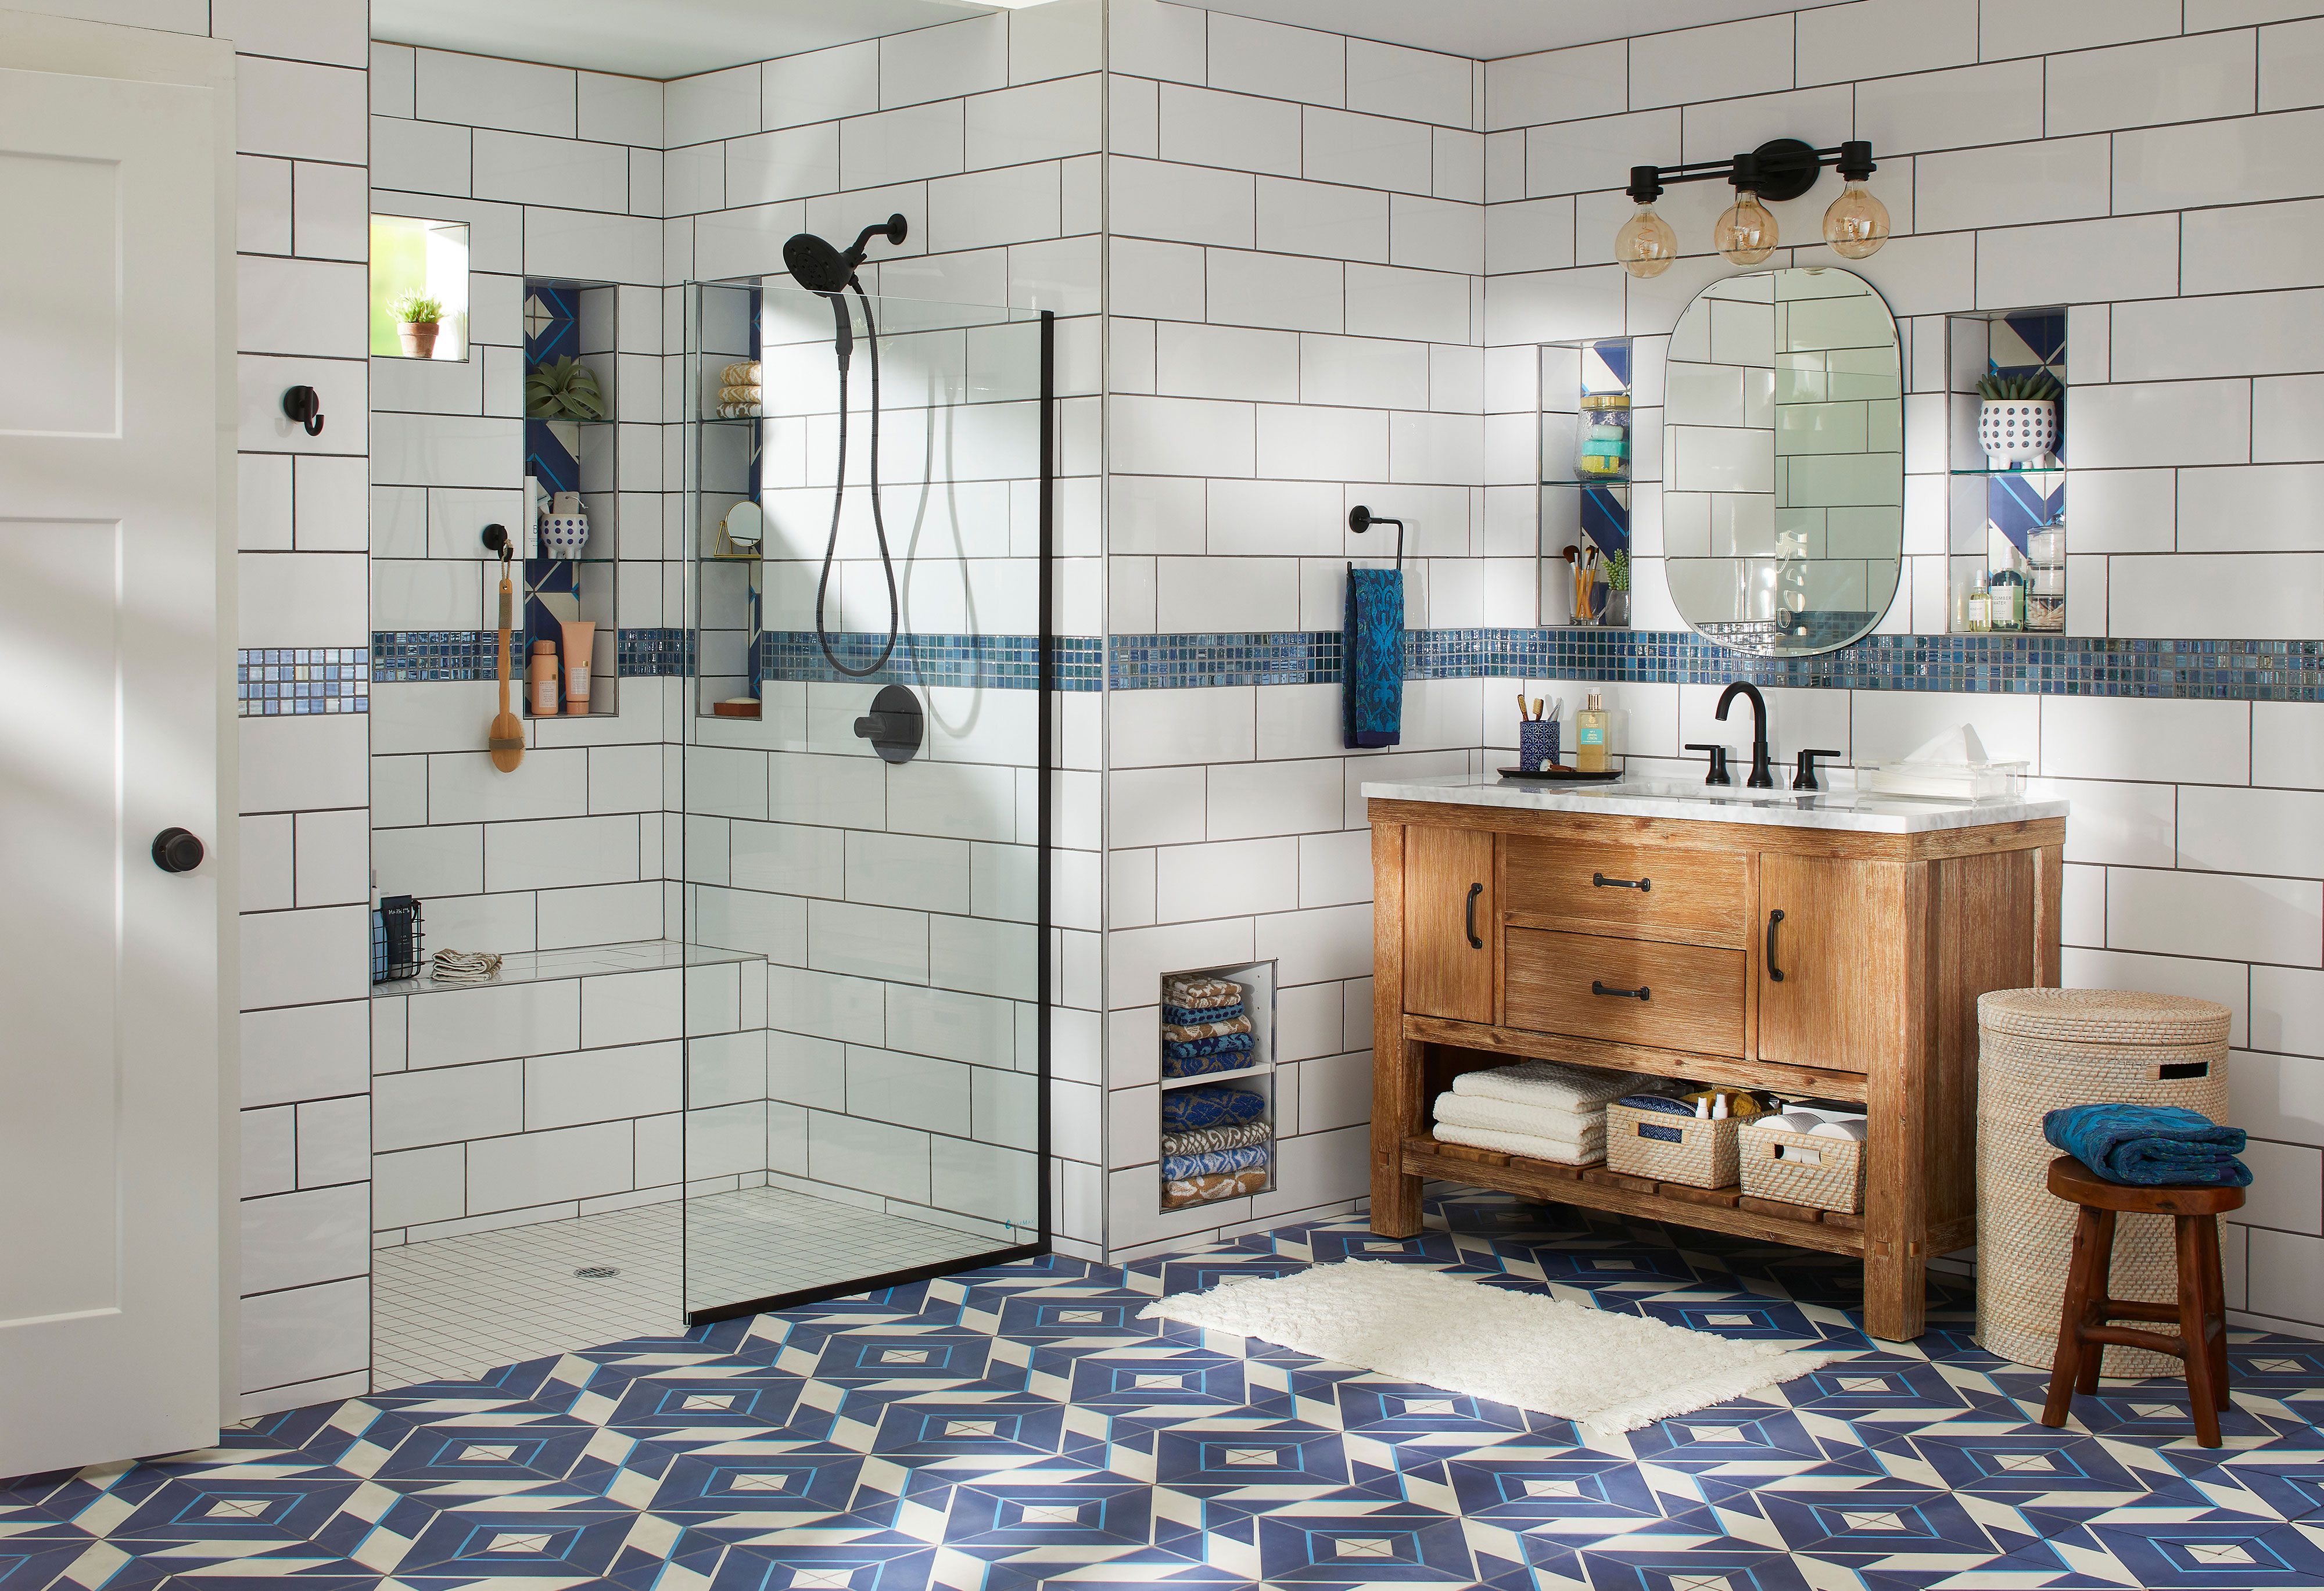
Installing a basement bathroom can transform an underused lower level into a guest suite, home office, entertainment zone, or fully functional living space. It can also prevent the familiar household sprint upstairs when nature calls during movie night. Convenience, as it turns out, is excellent cardio prevention.
However, building a bathroom below grade is more complicated than placing a toilet beside the water heater and declaring victory. Drainage elevation, venting, moisture control, electrical safety, permits, and access to existing utilities all affect the design. A successful project begins with careful investigationnot with a sledgehammer and an inspirational playlist.
This guide explains how basement bathroom plumbing works, which drainage systems are available, what the project may cost, and how to avoid the mistakes that turn a useful renovation into an expensive indoor fountain.
Why Add a Bathroom to the Basement?
A basement bathroom provides practical benefits even when the lower level is not being converted into a separate living unit. It keeps guests from traveling through private areas of the house, improves the usefulness of recreation rooms, and makes a basement bedroom or home gym more comfortable.
The addition may also make a home more attractive to future buyers. A finished basement with a convenient bathroom generally feels more complete than one that requires visitors to climb a flight of stairs every time they need a sink or toilet.
Before calculating potential value, confirm that the basement itself is suitable for finishing. Water intrusion, foundation cracks, sewage backups, high humidity, or persistent mold should be corrected before walls and fixtures are installed. A beautiful vanity cannot negotiate with groundwater.
Start by Investigating the Existing Plumbing
The most important question is not which tile looks best. It is whether wastewater can leave the basement bathroom using gravity.
Locate the main building drain or sewer line and determine its elevation relative to the proposed toilet, sink, shower, or bathtub. If the fixtures can drain downward into the existing line with the slope required by local plumbing rules, a conventional gravity-fed system may be possible. If the sewer connection is higher than the fixtures, wastewater must be pumped upward.
Look for an Existing Bathroom Rough-In
Some basements were built with capped drainpipes for a future bathroom. A typical rough-in may include a large toilet drain, a smaller shower or tub drain, and a vertical pipe intended for a sink drain or vent connection.
Do not assume every mysterious pipe belongs to a bathroom. It might be a cleanout, floor drain, radon-system component, or abandoned line. Have a licensed plumber identify each pipe and verify its condition, size, elevation, and connection to the sanitary drainage system.
Choose a Location Near Existing Utilities
Placing the new bathroom below or near an upstairs bathroom can shorten water, drain, and vent runs. A location close to the main sewer line, water supply, electrical panel, and an exterior wall for the exhaust duct may also reduce labor and material costs.
Do not crowd furnaces, water heaters, sump equipment, electrical panels, shutoff valves, or plumbing cleanouts. Mechanical systems need working clearance and future service access. The cheapest layout today can become the most expensive layout when a technician must remove a shower wall to reach a valve.
Choose the Right Basement Drainage System
There are three common approaches to basement bathroom drainage. The best choice depends on sewer elevation, concrete conditions, fixture count, budget, and local code.
Option 1: Conventional Gravity Drainage
If the main building drain is lower than the fixtures, the plumbing may operate by gravity. Contractors typically mark the fixture locations, cut channels in the concrete slab, excavate beneath it, install properly sloped drainpipes, and reconnect the new branch to the sanitary system.
This arrangement uses standard bathroom fixtures and contains fewer mechanical parts than a pumped system. It can be a durable long-term solution, especially when the house already has a suitable rough-in.
The disadvantage is disruption. Cutting concrete creates dust, noise, debris, and plenty of opportunities to discover something inconvenient beneath the slab. Before cutting, the contractor should determine whether the work could interfere with structural footings, radiant-heating tubes, post-tension cables, buried utilities, or waterproofing components.
Option 2: Sewage-Ejector System
A sewage-ejector system is commonly used when the bathroom fixtures are below the main sewer line. Wastewater flows by gravity into a sealed basin installed beneath or near the floor. When the contents reach a predetermined level, a pump sends the sewage upward through a discharge pipe and into the home’s gravity drainage system.
The basin must be properly sealed and vented. The discharge assembly usually includes valves that prevent pumped sewage from flowing backward when the motor stops. Correct pump sizing depends on the amount of wastewater, the vertical lift, the horizontal distance, pipe diameter, and the resistance created by fittings.
A pump alarm is a sensible addition because it can warn occupants when the water level becomes unusually high. The system also needs accessible service points. Pumps eventually require inspection or replacement, and no technician enjoys dismantling a finished floor while quietly questioning the designer’s life choices.
Option 3: Macerating or Upflush Toilet System
A macerating bathroom system collects waste behind the toilet, reduces solids, and pumps the wastewater through a relatively small discharge pipe. Depending on the selected unit, the same system may accept drainage from a nearby sink or shower.
This approach can avoid extensive concrete excavation, making it attractive for renovations where the slab is difficult or expensive to cut. It may also allow more flexibility when positioning the bathroom away from the main drain.
Upflush systems depend on electricity and have manufacturer-specific limits for vertical lift, horizontal distance, venting, pipe routing, and connected fixtures. They may also produce brief operational noise. The unit should remain accessible behind a removable panel rather than being permanently entombed in a wall like an embarrassing family secret.
Permits and Code Requirements
Most basement bathroom projects require plumbing permits. Electrical, mechanical, and building permits may also be needed when the project includes new circuits, exhaust ductwork, framing, structural changes, or conversion of the basement into habitable space.
Local rules may differ from model building, plumbing, mechanical, and electrical codes. Speak with the municipal building department before purchasing fixtures or opening the floor. Ask which code editions are enforced, which drawings must be submitted, whether licensed trades are required, and when inspections occur.
Typical inspections may cover underground plumbing before concrete is replaced, rough plumbing and venting before walls are closed, wiring, insulation, waterproofing, and final fixture operation. Hiding work before an inspection can result in mandatory demolition, which is remodeling’s least charming sequel.
Do You Need an Egress Window?
A bathroom by itself does not automatically create a bedroom. However, converting the basement into sleeping or habitable space may trigger emergency escape, ceiling-height, natural-light, heating, smoke-alarm, and carbon-monoxide-alarm requirements.
Discuss the entire basement plan with the code official rather than treating the bathroom as an isolated project.
Plan the Bathroom Layout Carefully
Create a scaled floor plan showing walls, doors, fixtures, drains, supply lines, vents, lighting, ductwork, and service access. Verify that doors, drawers, shower enclosures, and toilet seats can open without colliding.
A half bathroom with a toilet and sink needs less floor area and produces less moisture than a full bath. A shower adds comfort but requires additional drainage capacity, waterproofing, ventilation, and hot-water demand. A bathtub needs even more space and can complicate access in a basement with narrow stairs.
When possible, use a compact vanity, a pocket or outswing door where permitted, recessed storage, and a curbless or low-threshold shower. Leave enough room around fixtures for comfortable use, cleaning, and future repairs. Local code determines minimum clearances, so confirm dimensions before framing.
Drain and Vent Plumbing
Every fixture needs a trap that holds water and blocks sewer gases. The drainage system also needs venting so wastewater can move without siphoning those trap seals or forcing odors back into the room.
Depending on the approved design, fixtures may use individual vents, common vents, wet venting, or another code-compliant arrangement. Air-admittance valves are allowed in some jurisdictions and prohibited or restricted in others. Even where they are accepted, the building drainage system generally still requires an approved vent connection to the outdoors.
Vent pipes, pump basins, check valves, cleanouts, and discharge fittings should remain accessible. Incorrect venting can cause slow drains, gurgling fixtures, unpleasant odors, and unreliable pump performance.
Water Supply and Hot Water
The bathroom needs properly sized hot- and cold-water lines. Flexible PEX tubing is common in renovation work because it can often be routed through joist spaces with fewer fittings, while copper remains popular in many homes and jurisdictions.
Add accessible shutoff valves for the sink and toilet. A shower valve should include appropriate pressure-balancing or temperature-limiting protection where required. Insulate pipes that pass through cold areas to reduce condensation and freezing risk.
Confirm that the water heater can support the new shower or tub. A large soaking tub may look marvelous in a catalog, but it loses some glamour when the hot water runs out halfway through filling it.
Control Basement Moisture Before Finishing
Basements are naturally vulnerable to moisture because foundation walls and slabs contact the soil. Inspect for leaks, efflorescence, musty odors, staining, condensation, foundation cracks, and previous flood damage.
Correct exterior grading, gutter, downspout, drainage, sump-pump, or foundation problems before installing the bathroom. Interior coatings can be helpful in appropriate situations, but paint should not be treated as a magical replacement for proper water management.
Test the basement for radon before renovation, particularly if it will become regularly occupied space. It is generally easier to install mitigation components before walls and floors are finished.
Waterproof the Shower Correctly
Tile and grout are not complete waterproofing systems. A tiled shower requires an approved waterproof membrane or properly constructed shower-pan system behind or beneath the visible finish.
Use materials rated for wet locations, follow the manufacturer’s instructions for seams and penetrations, and complete any required flood testing before installing tile. Ordinary drywall should not be used where it will be repeatedly exposed to water.
Ventilation and Humidity Control
A basement bathroom should have a mechanical exhaust fan that sends humid air outdoorsnot into a ceiling cavity, rim-joist space, attic, garage, or another room.
Select a fan suited to the room’s size and duct conditions. Long ducts, restrictive fittings, and crushed flexible tubing reduce airflow. A short, smooth, properly supported duct route generally performs better.
A timer, humidity-sensing control, or occupancy sensor can keep the fan operating long enough to remove moisture after a shower. The larger basement may also benefit from a properly sized dehumidifier, especially during humid weather.
Electrical Safety and Lighting
Bathroom receptacles require ground-fault circuit-interrupter protection. Current electrical rules commonly require bathroom receptacles to be supplied by an appropriate 20-amp branch circuit, but the exact circuit arrangement must follow the locally adopted code.
Lights installed near showers or bathtubs must carry the required damp- or wet-location rating. Exhaust fans, pump equipment, heated floors, towel warmers, and fan heaters may require dedicated or specially protected circuits.
Use several layers of light rather than relying on a lonely ceiling fixture. General lighting, mirror lighting, and shower-rated lighting can make a windowless basement bathroom feel larger and more inviting. Bright finishes and a well-positioned mirror also help prevent the room from resembling a very clean cave.
How Much Does a Basement Bathroom Cost?
A relatively simple basement bathroom addition may cost around $10,000 to $15,000, while complex full bathrooms can exceed that range substantially. Local labor rates, drainage conditions, fixture quality, concrete work, waterproofing, pump requirements, and the amount of electrical or structural work all influence the final price.
A half bath connected to an existing rough-in is usually less expensive than a full bathroom that requires slab excavation, a sewage-ejector basin, custom tile, relocated utilities, and extensive ventilation work.
Include a contingency allowance for hidden conditions. Renovation estimates have a remarkable ability to become more imaginative after concrete is opened.
Common Cost Categories
- Design, permits, and inspections
- Concrete cutting, excavation, and slab repair
- Drain, vent, and water-supply plumbing
- Sewage-ejector or macerating equipment
- Electrical circuits, outlets, lighting, and controls
- Exhaust fan and exterior duct termination
- Framing, insulation, drywall, and doors
- Shower construction and waterproofing
- Tile, flooring, cabinetry, fixtures, and paint
- Cleanup, disposal, and contingency funds
A Practical Installation Sequence
- Inspect the basement. Correct leaks, drainage problems, mold, structural concerns, and radon issues.
- Map existing utilities. Identify the sewer, water lines, vents, electrical service, HVAC equipment, and buried components.
- Design the layout. Select fixtures, drainage method, exhaust route, and access panels.
- Obtain permits. Submit plans and confirm inspection requirements.
- Complete underground work. Cut the slab if necessary and install drains, pump basins, or below-floor piping.
- Pass the underground inspection. Do not replace the concrete prematurely.
- Frame the room. Preserve service clearances and account for moisture-resistant assemblies.
- Install rough plumbing, electrical work, and ventilation.
- Complete rough inspections.
- Insulate and close the walls. Use suitable materials for the basement environment.
- Waterproof the shower or tub area. Test the assembly when required.
- Install finishes and fixtures.
- Test every system. Check supply connections, drains, pumps, alarms, fans, outlets, and shutoff valves.
- Schedule the final inspection.
Basement Bathroom Mistakes to Avoid
Ignoring Water Problems
Finishing a damp basement simply hides the symptoms until mold, odors, or damaged materials return. Solve the source first.
Choosing a Pump by Horsepower Alone
A pump must match the expected wastewater volume and total pumping conditions. Bigger is not automatically better, and smaller is rarely cuter when sewage is involved.
Forgetting Service Access
Pumps, valves, cleanouts, junction boxes, and shutoffs should be reachable without destroying finished surfaces.
Venting the Fan Indoors
Dumping humid air into a concealed cavity moves the moisture problem rather than solving it.
Using the Wrong Materials
Choose moisture-resistant wall systems, waterproof shower components, corrosion-resistant fasteners, and flooring suited to below-grade installations.
Skipping Permits
Unpermitted work may create safety problems, insurance complications, failed real-estate transactions, and expensive corrections.
Maintenance After Installation
Run the exhaust fan during bathing and afterward. Monitor basement humidity, inspect caulk and grout, clean the fan grille, and test GFCI protection according to the device manufacturer’s instructions.
For a pumped system, follow the maintenance schedule supplied by the manufacturer. Test alarms, watch for slow cycling or unusual noise, and keep inappropriate materials out of the toilet. Products marketed as flushable can still cause pump and sewer problems.
Know where the shutoff valves, pump power supply, alarm, cleanouts, and access panels are located. Labeling them now will make a future emergency considerably less theatrical.
Lessons Learned from Real-World Basement Bathroom Projects
Basement bathroom renovations repeatedly demonstrate that early investigation saves more money than aggressive bargain hunting. One common scenario begins with a homeowner assuming the capped pipes in the slab form a complete rough-in. After demolition starts, a plumber discovers that the shower drain is incorrectly positioned or that one pipe is actually a cleanout. The layout must then be redrawn around the real plumbing conditions.
The lesson is simple: inspect and verify before ordering fixtures. A camera inspection, drain-location survey, or small exploratory opening can reveal information that prevents days of corrective work.
Another frequent experience involves homeowners placing the bathroom where it looks most attractive rather than where utilities make sense. A bathroom on the opposite side of the basement may require longer drain runs, more vent piping, additional concrete removal, and a complicated exhaust route. Moving the room several feet closer to an existing plumbing wall can preserve nearly the same floor plan while significantly reducing construction difficulty.
Pump access is another detail people appreciate only after something fails. In one typical project pattern, a macerator is concealed behind permanently tiled construction because the owner does not want to see a removable panel. Several years later, routine service requires tile demolition. A discreet access door painted to match the wall would have protected both the design and the repair budget.
Homeowners also learn that sound control matters. Wastewater pumps operate for short periods, but their vibration may be noticeable in a nearby bedroom, office, or media room. Thoughtful equipment placement, secure piping, manufacturer-approved isolation methods, insulated walls, and a solid-core door can make the system less intrusive.
Moisture management produces some of the most important lessons. A bathroom fan may work perfectly while the rest of the basement remains humid. When cool foundation surfaces meet warm, damp air, condensation can appear behind furnishings or inside poorly designed wall assemblies. Successful renovations treat the bathroom fan, foundation drainage, insulation, air sealing, heating, cooling, and dehumidification as connected parts of one moisture-control strategy.
Schedule coordination is another real-world challenge. Underground plumbing must often be inspected before concrete is replaced, while electrical and plumbing rough-ins must be approved before drywall. If a contractor closes the work too early, portions may have to be reopened. A written inspection schedule keeps enthusiasm from getting ahead of bureaucracy.
Material selection also deserves practical attention. Highly polished floor tile may look luxurious under showroom lighting but become slippery when wet. Oversized vanities can block door swings, and dark finishes may make a small windowless room feel cramped. Samples should be viewed in the actual basement lighting before the final order is placed.
Finally, successful projects reserve money for surprises. Basements hide cracked drains, uneven slabs, corroded pipes, undocumented wiring, and occasional construction artifacts that appear to have been installed during a disagreement. A contingency fund allows the team to correct these discoveries properly instead of using rushed compromises.
The best basement bathrooms are rarely the ones with the most expensive fixtures. They are the ones with sensible drainage, reliable ventilation, dry construction, accessible equipment, comfortable lighting, and enough planning that the finished room feels as though it always belonged in the house.
Conclusion
Installing a basement bathroom can add convenience, flexibility, and meaningful function to the lowest level of a home. The project succeeds when drainage, venting, moisture control, electrical safety, service access, and local code requirements are addressed before decorative finishes take center stage.
Begin with a professional assessment of the sewer elevation and existing rough-in. Choose gravity drainage, a sewage-ejector system, or an upflush system based on actual site conditions. Correct water problems, obtain permits, plan inspections, and use materials designed for bathrooms and below-grade environments.
A carefully planned basement bathroom should not merely look good on the day it is completed. It should drain properly, remain dry, allow straightforward maintenance, and continue working long after everyone has forgotten how much dust the concrete saw created.
Note: Plumbing, electrical, ventilation, and building requirements vary by jurisdiction. Confirm the design with local code officials and qualified contractors before beginning construction.