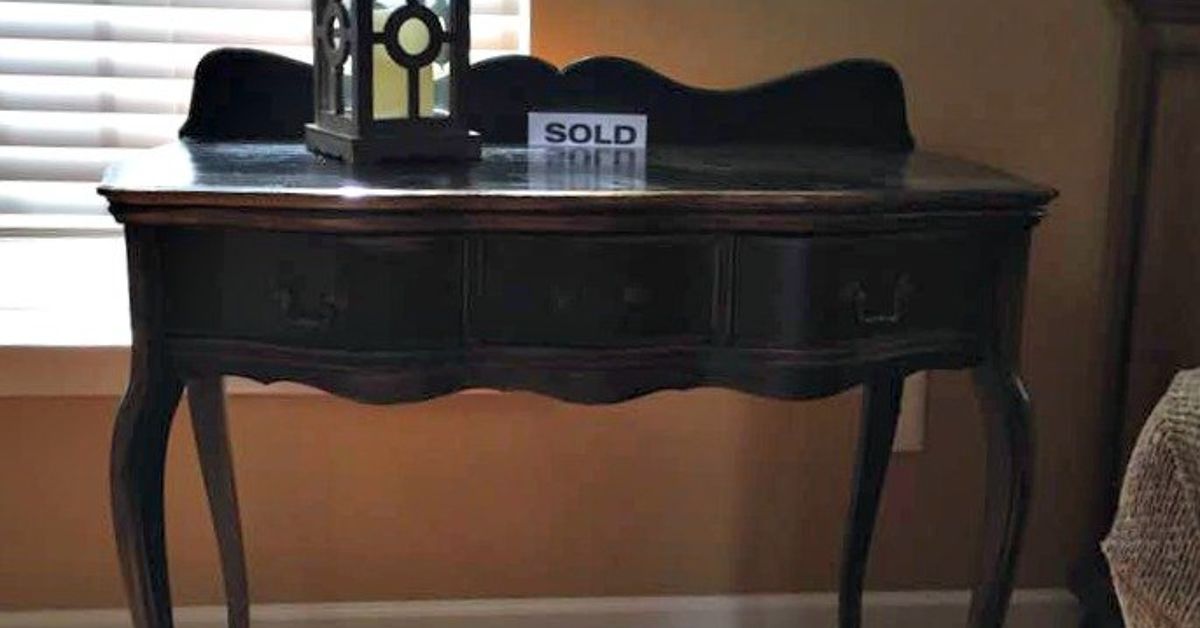
A missing drawer pull is one of those tiny home problems that looks harmless until you try to open the drawer with two fingernails, a butter knife, and the optimism of a person who has not yet been betrayed by furniture. Whether the pull snapped off, disappeared during a move, loosened itself into another dimension, or was removed by a toddler with suspicious mechanical talent, the good news is simple: you can fix it yourself.
This guide walks you through several practical DIY fixes for missing drawer pulls, from replacing a single handle to filling old holes and installing fresh hardware. You do not need to be a professional cabinetmaker. You need a little patience, a measuring tape, the right screws, and the ability to not drill while saying, “Eh, close enough.” That last part matters.
Why Drawer Pulls Go Missing in the First Place
Drawer pulls work harder than we give them credit for. Kitchen drawers, bathroom vanities, dressers, nightstands, and office cabinets get tugged open hundreds of times a year. Over time, screws loosen, wood fibers compress, cheap hardware bends, and decorative pulls lose their grip. Sometimes the pull itself is fine, but the screw hole becomes stripped. Other times, the drawer front cracks around the hardware. And occasionally, a pull is simply removed during painting or refinishing and never returns, like a sock after laundry day.
The right fix depends on what is actually missing or damaged. A drawer with clean existing holes may only need a replacement pull with the same center-to-center measurement. A drawer with enlarged holes may need wood filler, toothpicks and wood glue, or new hardware placed in a slightly different location. A vintage dresser may call for a creative solution, such as leather tabs, rope pulls, ceramic knobs, or salvage hardware.
Before You Buy Anything: Inspect the Drawer
Start with detective work. Open the drawer if you can. Look at the inside of the drawer front. Are there one or two holes? Are screws still stuck inside? Is the wood cracked? Is the old hardware lying in the drawer like it had a rough weekend? Your inspection tells you whether you are replacing, repairing, or reinventing.
Check the Hole Pattern
Most drawer pulls attach with two screws. The distance between those screws is called the center-to-center measurement. Measure from the center of one screw hole to the center of the other. Common drawer pull measurements include 3 inches, 3 3/4 inches, 4 inches, 5 inches, and longer modern sizes. If you find a pull with the same center-to-center spacing, the repair is usually quick.
If the drawer had a single knob, the job is even easier. You can replace it with another knob using the same hole, assuming the wood is still strong enough to hold the screw.
Check the Drawer Thickness
Drawer fronts vary in thickness, especially on older furniture. Many new knobs and pulls come with screws, but the included screws may be too long or too short. If a screw is too short, it will not catch the hardware. If it is too long, the pull will wobble no matter how confidently you tighten it. Measure the drawer front and bring that measurement with you when shopping for screws or hardware.
Check the Finish
Look closely at the paint, stain, or veneer around the missing pull. If the old hardware left a shadow, dent, or outline, a tiny replacement knob may not cover the evidence. In that case, choose a larger backplate, cup pull, or handle that hides the marks. Think of it as furniture concealer. Very glamorous. Very practical.
Tools and Supplies You May Need
You may not need every item on this list, but these tools cover most DIY drawer pull repairs:
- Measuring tape or ruler
- Pencil
- Screwdriver
- Drill and small drill bits
- Cabinet hardware template or homemade cardboard template
- Replacement knob or drawer pull
- Correct-length machine screws
- Wood filler or wood putty
- Wood glue
- Toothpicks or wooden matches for stripped holes
- Sandpaper
- Touch-up paint, stain, or marker
- Painter’s tape
If you are only replacing one missing pull, you may need nothing more than a screwdriver and a matching handle. If you are filling old holes and installing new hardware, a template becomes your best friend. A hardware template helps mark holes consistently, which is important because crooked pulls have a special talent for annoying you forever.
Fix Option 1: Replace the Missing Drawer Pull With the Same Size
This is the easiest and cleanest DIY fix. If the existing screw holes are intact, measure the center-to-center spacing and buy a new pull with the same measurement. Remove any old screws, insert the new screws from the inside of the drawer, and thread the pull onto them from the front.
Tighten the screws with a screwdriver rather than going full superhero with a power drill. Over-tightening can crack the drawer front, strip the hole, or damage the hardware finish. The pull should feel snug, not crushed into submission.
Best For
This method works well for kitchen cabinets, bathroom vanities, office drawers, and newer dressers where matching hardware is easy to find. It is also ideal if only one pull is missing and the rest of the furniture still looks good.
Quick Tip
If you cannot find an exact visual match, replace all pulls on that piece of furniture or at least all pulls on the same row of drawers. A single odd pull can look charming if intentional, but accidental mismatch usually says, “I gave up in aisle 12.”
Fix Option 2: Convert a Missing Pull to a Knob
If the old drawer pull had two holes but you want a faster, simpler fix, you can convert the drawer to a single knob. Choose a knob with a wide base or decorative backplate that covers the old holes. Fill the unused holes if they remain visible, then drill one centered hole for the knob if needed.
This works especially well on small drawers, nightstands, side tables, and painted furniture. Knobs are often less expensive than pulls, easier to install, and available in endless styles: wood, brass, ceramic, glass, matte black, nickel, acrylic, and novelty shapes. Yes, there are animal-shaped knobs. No, you do not need a drawer shaped like a fox. But would it bring joy? Possibly.
Fix Option 3: Fill Old Holes and Install a New Pull
If the existing holes are damaged, incorrectly spaced, or no longer useful, fill them and start fresh. This is the best approach when you are updating all the hardware on a dresser or cabinet.
Step 1: Remove Old Screws and Loose Material
Clean out the damaged hole with a small screwdriver or drill bit turned by hand. Remove loose chips, old filler, and debris. The filler needs solid material to grip.
Step 2: Fill the Holes
For painted furniture, use a paintable wood filler. Press it firmly into the holes and slightly overfill because many fillers shrink a little as they dry. For stained furniture, choose a stainable filler or use a color-matched putty after finishing. Always follow the product’s drying directions.
Step 3: Sand Smooth
Once dry, sand the area flush with the drawer front. Start gently. You are smoothing a repair, not excavating a fossil.
Step 4: Touch Up the Finish
Use matching paint, stain, or a furniture repair marker to blend the filled area. If the old pull left a large outline, consider using a new pull with a backplate to cover the repair.
Step 5: Mark New Holes
Use a cabinet hardware template or make your own from cardboard. Mark the drawer centerline, decide the height, and mark both screw holes. Double-check with the actual pull before drilling.
Step 6: Drill Pilot Holes
Drill straight through the drawer front using a bit sized for the screws. Painter’s tape on the front can help reduce splintering. Hold a scrap piece of wood behind the drawer front if possible to support the surface as the bit exits.
Step 7: Attach the New Pull
Insert screws from inside the drawer, line up the pull, and tighten by hand. Test the drawer several times. If it feels solid and looks straight, congratulations: your drawer has rejoined polite society.
Fix Option 4: Repair a Stripped Screw Hole
Sometimes the pull is not missing because the hardware failed. It is missing because the hole became too loose to hold the screw. For a quick fix, dip toothpicks or wooden matches in wood glue, insert them into the stripped hole, let the glue dry, trim the excess, and reinstall the screw. This gives the screw fresh wood fibers to bite into.
This trick is especially useful for knobs and small pulls on older furniture. For larger holes or heavier drawers, use wood filler designed for structural repair, or drill a fresh hole slightly away from the damaged area. Heavy drawers need strong hardware, not wishful thinking in screw form.
Fix Option 5: Use Leather, Rope, or Fabric Pulls
If you want a budget-friendly or rustic fix, consider making your own drawer pulls. Leather tabs look warm and modern. Rope pulls suit coastal, farmhouse, or kids’ furniture. Fabric loops can work on lightweight drawers, especially in craft rooms or playrooms.
DIY Leather Pull
Cut a strip of leather, fold it into a loop, punch holes through both ends, and fasten it to the drawer with a machine screw, washer, and nut or with a decorative bolt. Leather pulls work best on drawers that slide easily. If the drawer sticks, fix the slide problem first or the leather may stretch over time.
DIY Rope Pull
Thread rope through existing holes, tie knots on the inside, and trim the ends. Add washers inside the drawer if the holes are large. Rope pulls are quick, cheap, and forgiving, but they are better for casual furniture than formal cabinetry.
DIY Fabric Pull
Use sturdy webbing or folded canvas, not delicate ribbon. Attach it with screws and washers. Fabric pulls are fun for kids’ rooms, laundry rooms, and lightweight storage drawers.
How to Choose the Right Replacement Drawer Pull
Drawer hardware should look good, feel comfortable, and fit the scale of the furniture. Tiny knobs on huge drawers can look lost. Giant pulls on delicate drawers can look like the furniture is wearing gym equipment. A common design guideline is to choose a pull that is roughly one-third the width of the drawer, especially for wider drawers. For very wide drawers, two pulls can look balanced and make opening easier.
Match the Style
For traditional furniture, try cup pulls, antique brass, oil-rubbed bronze, ceramic knobs, or classic round wooden knobs. For modern furniture, consider bar pulls, matte black handles, brushed nickel, or sleek edge pulls. For vintage pieces, salvage shops and online marketplaces can be treasure chests, though sometimes the treasure requires cleaning, polishing, and a pep talk.
Think About Finish
Hardware does not have to match every metal in the room, but it should look intentional. Matte black works well with modern and farmhouse styles. Brass adds warmth. Chrome and polished nickel feel crisp. Brushed nickel is forgiving and practical. Wood knobs can disappear beautifully on painted furniture if painted the same color as the drawer front.
Prioritize Comfort
Before buying twenty pulls, test one. Can you grip it easily? Are the edges sharp? Does it pinch your fingers? Pretty hardware that hurts to use is like a beautiful chair made of cactus. Admire it from afar, then choose something better.
Drawer Pull Placement: Where Should It Go?
For most standard drawers, center the pull horizontally and vertically on the drawer front. On deep lower drawers, placing the pull slightly above center can look more natural and make it easier to reach. On very wide drawers, use either one long pull centered on the drawer or two smaller pulls spaced evenly.
When replacing missing hardware, existing holes usually decide placement. When installing new hardware, consistency matters more than any single rule. Use a template, mark carefully, and step back before drilling. The two most useful words in drawer hardware installation are “measure twice.” The third is probably “snacks.”
Common Mistakes to Avoid
Guessing the Hole Spacing
Do not eyeball center-to-center measurements. A pull that is off by even a small amount will not fit. Measure carefully, and if possible, bring the old pull or a paper tracing to the store.
Using Screws That Are Too Long
If the screw bottoms out inside the pull before tightening, the handle will wobble. Use shorter screws or add washers inside the drawer.
Skipping the Template
Installing one pull without a template may work. Installing a whole set without one is how drawers end up looking like they were aligned during an earthquake.
Ignoring Sticky Drawers
If a drawer is hard to open, a new pull will not solve the real problem. Clean the tracks, wax wooden runners, tighten loose slides, or repair the drawer box first.
Choosing Style Over Strength
Lightweight decorative pulls may be fine for small drawers, but heavy kitchen drawers full of pans need sturdy hardware. Choose pulls that feel solid in your hand.
Budget-Friendly Ideas for Missing Drawer Pulls
You do not have to spend much to fix missing drawer hardware. Check home improvement stores for multipacks, especially if you are replacing several pulls. Look for clearance bins, salvage stores, thrift shops, and online resale listings. If you are updating a dresser, you can mix knobs and pulls as long as the finish, shape, or style creates a visual connection.
Another smart trick is to use backplates. A backplate sits behind the knob or pull and can hide old holes, scratches, dents, or finish shadows. It also makes simple hardware look more substantial. Backplates are especially useful on vintage dressers where the old hardware had a large footprint.
When to Replace All Drawer Pulls Instead of One
Replacing only one missing drawer pull makes sense if you can find a match and the rest of the hardware is in good condition. Replace all the pulls if the existing hardware is worn, uncomfortable, mismatched, rusted, or outdated in a way that bothers you every time you walk by.
Hardware is one of the fastest ways to change the look of furniture. A plain dresser can become modern with slim black pulls. A dated vanity can feel fresh with brushed brass knobs. A tired kitchen can look cleaner with coordinated handles. It is not a full renovation, but it is the home improvement version of getting a great haircut: affordable, noticeable, and emotionally powerful.
Safety Notes for DIY Drawer Pull Repairs
Wear eye protection when drilling. Clamp or support small drawer fronts if you remove them from the furniture. Keep fingers away from the back of the drilling area. If you are repairing very old painted furniture, be cautious: homes and furniture painted before 1978 may contain lead-based paint. Avoid sanding unknown old paint indoors without proper testing and safety precautions.
Also, do not leave sharp screws protruding inside drawers. They can snag clothing, scratch hands, or attack your favorite spatula. Use the correct screw length or add washers to adjust the fit.
Step-by-Step Example: Fixing a Missing Pull on a Painted Dresser
Imagine a white painted dresser with one missing handle on the middle drawer. The original pull had two holes spaced 3 inches apart, but one hole is stripped and the old finish is slightly dented. Here is a practical repair plan:
- Remove the drawer and inspect the inside.
- Measure the existing holes: 3 inches center-to-center.
- Choose a new 3-inch pull with a slightly wider base to cover small dents.
- Repair the stripped hole with toothpicks and wood glue.
- Let the glue dry fully, then trim flush.
- Insert the screws from the inside of the drawer.
- Attach the new pull and tighten by hand.
- Touch up any visible marks with white paint.
Total time: usually less than an afternoon, including drying time. Total satisfaction: surprisingly high. There is something deeply pleasing about restoring a drawer from “mildly useless” to “opens like a civilized object.”
Real-Life DIY Experiences With Missing Drawer Pulls
One of the most common experiences with missing drawer pulls is discovering that the problem is not the missing pull at all. It is the drawer. Many older dressers and cabinets have wooden runners that swell, collect dust, or shift slightly over time. A homeowner may install a beautiful new handle, give it a proud tug, and immediately realize the drawer still opens like it is guarding state secrets. In that case, the best fix is a two-part repair: improve the drawer slide first, then install the pull. A little cleaning, sanding, or furniture wax on wooden runners can make the new hardware feel much better.
Another real-world lesson: matching old hardware is harder than it looks. A brass pull from the 1980s may look standard until you measure it and discover the holes are some unusual spacing that modern stores do not carry. When this happens, do not panic-buy the closest option. Either search for vintage replacement hardware using the exact center-to-center measurement or choose a new pull with a backplate that covers the old holes. Backplates have saved many DIY projects from becoming emotional support furniture.
Painted furniture is usually the most forgiving. If you fill holes, sand, and repaint, the repair can disappear completely. Stained furniture is trickier because filler rarely absorbs stain exactly like real wood. On stained dressers, I prefer hardware that uses the existing holes whenever possible. If new holes are unavoidable, I look for pulls with wider bases or decorative plates. The goal is not to make the repair invisible under a microscope. The goal is to make it look intentional from normal human standing distance.
Creative pulls can be surprisingly durable when used correctly. Leather tabs, for example, look stylish and feel good in the hand, but they need strong fasteners and smooth drawer action. If the drawer sticks, the leather will take all the stress and may stretch. Rope pulls are charming for casual furniture, but they can look messy if the rope frays. A dab of clear glue on the cut ends can help. Fabric pulls are fun, but they belong on lightweight drawers, not the giant kitchen drawer where cast iron pans go to hibernate.
The biggest lesson from DIY drawer hardware repairs is to slow down before drilling. Tape the hardware in place first. Step back. Open nearby drawers. Compare height and spacing. Ask yourself whether the pull looks centered or just “centered enough because dinner is in twenty minutes.” The few extra minutes of checking are worth it. Once holes are drilled, the drawer remembers. Wood is sentimental like that.
Conclusion: A Missing Drawer Pull Is a Small Fix With Big Impact
A missing drawer pull can make furniture look neglected, but the repair is usually simple, affordable, and beginner-friendly. Measure the existing holes, inspect the drawer front, choose hardware that fits the scale and style, and use a template when drilling new holes. For damaged holes, wood filler, glue, toothpicks, backplates, or new placement can rescue the project. For creative furniture, leather, rope, or fabric pulls can add personality without a big budget.
The best DIY fix for missing drawer pulls is the one that solves the function problem and looks intentional when you are done. Whether you replace one handle, upgrade the entire dresser, or turn a boring drawer into a tiny design moment, this is a project that rewards careful measuring and a little imagination. Also, it lets you stop opening drawers with a fork. That alone is worth the effort.