A bamboo cutting board has a funny way of becoming part of the family without ever asking permission. It sits through rushed breakfasts, holiday chopping marathons, late-night grilled cheese emergencies, and the occasional “Who used this for onions before slicing the strawberries?” kitchen mystery. Eventually, though, even a good board gets tired. Maybe it has a stain, a nick, a faded corner, or just enough wear to retire from food prep duty. But before you toss it into the donation pile or doom it to garage limbo, consider turning it into something far more charming: a family keepsake recipe riser.
This DIY project transforms an old bamboo cutting board into a small display stand for handwritten recipes, cookbooks, dessert plates, framed family photos, spice jars, candles, or seasonal kitchen decor. The best part? It keeps the warmth of the kitchen while giving the board a second life. Upcycling is not just about saving money, although your wallet may quietly applaud. It is about preserving useful materials, reducing waste, and turning ordinary household objects into pieces with personality.
A family keepsake recipe riser is especially meaningful because it blends function with memory. Imagine your grandmother’s biscuit recipe displayed on a raised bamboo stand during Sunday brunch. Or your dad’s chili notes propped behind a Dutch oven on game day. Suddenly, a simple board becomes a tiny stage for family history. And yes, it also makes your countertop look like it belongs in a cozy lifestyle magazine where no one ever leaves crumbs. We can dream.
Why a Bamboo Cutting Board Is Perfect for Upcycling
Bamboo cutting boards are popular because they are attractive, lightweight, durable, and naturally suited to everyday kitchen use. Bamboo is technically a grass, but it behaves much like wood in home projects. Its tight grain and warm golden tone make it an excellent base for decorative risers, recipe displays, tray stands, and countertop organizers.
When a board becomes too worn for chopping, it may still be structurally strong enough for display. That is the sweet spot for this upcycle. Deep knife grooves, cracks, or permanent food stains can make a cutting board less ideal for food preparation, but those same imperfections can become part of its charm once the board is cleaned, sanded, sealed, and styled.
The sentimental advantage
Most DIY risers can be made with scrap wood, but a cutting board brings a built-in kitchen story. It already belongs in the room. If the board came from your first apartment, a wedding registry, a parent’s kitchen, or a family holiday tradition, it carries more meaning than a random piece of lumber. Upcycling it into a recipe riser lets you preserve that history instead of hiding it in a cabinet.
The practical advantage
A bamboo board is already flat, finished, and sized for countertop use. That means less cutting and fewer complicated measurements. For beginners, this project is friendly. You are not building a dining table. You are making a handsome little platform that says, “I do crafts, but I still pay my electric bill on time.”
What Is a Family Keepsake Recipe Riser?
A recipe riser is a raised display platform that lifts an item slightly above the counter. It can hold a recipe card, cookbook, framed handwritten recipe, small plant, cake plate, salt cellar, candle, or seasonal vignette. A family keepsake recipe riser goes one step further by incorporating a personal recipe, name, date, handwriting sample, or family memory.
For example, you might add a vinyl decal of “Nana’s Kitchen,” transfer a scanned handwritten recipe onto the board, attach a small clip for recipe cards, or engrave the name of a beloved family dish. The result is part decor, part kitchen tool, and part emotional ambush. One minute you are arranging muffins; the next minute you are tearing up over Aunt Linda’s banana bread. This is normal. Snacks are emotional.
Materials and Tools You Will Need
You do not need a professional workshop to create this bamboo cutting board upcycle. A small set of basic supplies will do the job.
Basic supplies
- One retired bamboo cutting board
- Fine-grit sandpaper, such as 180-grit and 220-grit
- Food-grade mineral oil or a mineral oil and beeswax board cream
- Four small wooden feet, drawer knobs, blocks, or bun feet
- Strong wood glue or screws, depending on the design
- Measuring tape or ruler
- Pencil
- Soft cloth
- Optional: small metal clip, mini easel ledge, vinyl lettering, wood-burning pen, stencil, or clear acrylic recipe holder
Safety note
If your cutting board has deep cracks, mold, a sour odor, or areas that feel soft or swollen, skip the kitchen display project. A decorative riser should still be clean, stable, and safe to handle. Also, if the riser will touch food directly, use only food-safe finishes. If it will display wrapped baked goods, jars, cards, or decor, you have more flexibility, but a simple mineral oil and beeswax finish keeps the natural bamboo look and feels appropriate for a kitchen setting.
Step-by-Step: How to Turn a Bamboo Cutting Board Into a Recipe Riser
Step 1: Clean the board thoroughly
Start by washing the board with warm water and mild dish soap. Scrub both sides and the edges, then dry it immediately with a towel. Do not soak bamboo or wood boards in water for long periods because excess moisture can lead to warping, swelling, or cracking. If the board needs deodorizing, rub it with coarse salt and half a lemon, rinse lightly, and dry well.
If the board was used heavily for raw meat or strong-smelling foods, sanitize it before converting it into decor. Once clean and dry, let it sit upright overnight so moisture can evaporate completely. This is not the glamorous part of the project, but neither is food residue under a keepsake recipe. We are aiming for charming, not archaeological.
Step 2: Sand away roughness and stains
Use 180-grit sandpaper to smooth knife marks, stained spots, and raised grain. Always sand with the grain rather than aggressively across it. Then finish with 220-grit sandpaper for a softer feel. Wipe away dust with a clean, slightly damp cloth and let the board dry again.
You do not need to erase every sign of age. A few shallow marks can make the riser feel authentic. Think of them as laugh lines for your cutting board. It earned them.
Step 3: Choose your riser feet
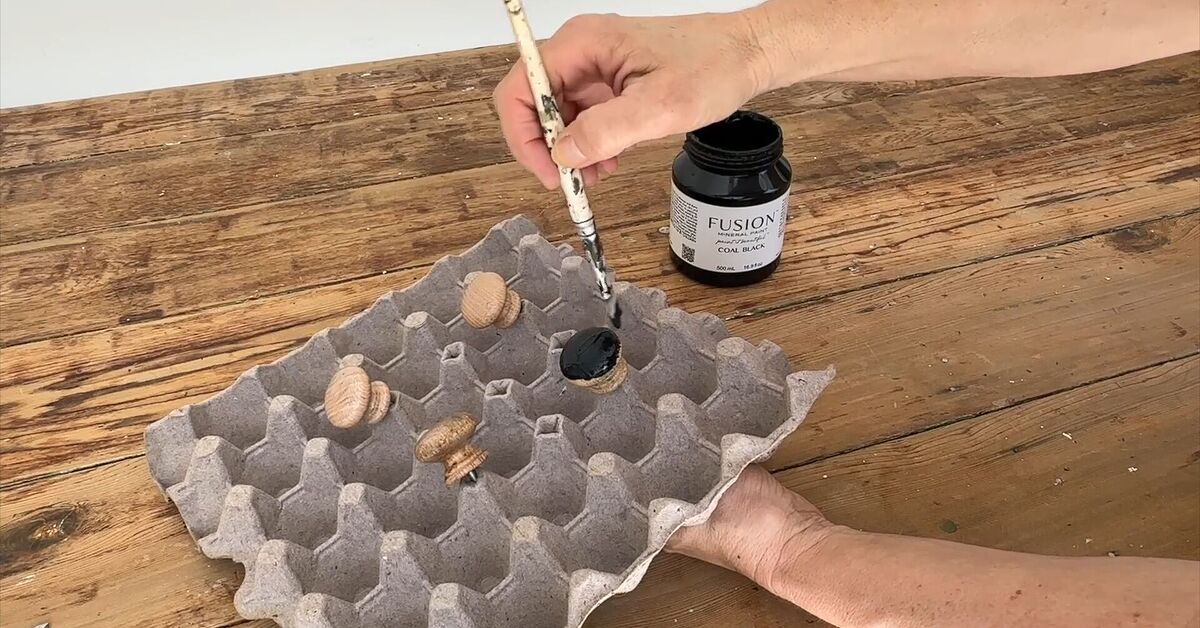
The feet determine the personality of the piece. Small round wooden knobs create a farmhouse look. Square blocks feel clean and modern. Short bun feet look classic and a little fancy, as if your cutting board suddenly inherited a Southern estate. You can also repurpose wooden toy blocks, old drawer pulls, or scrap wood pieces.
For a stable riser, place one foot near each corner, about one inch from the edges. Mark the placement with a pencil. Make sure the feet are equal in height so the board does not wobble. A wobbly riser is annoying on a normal day and dramatic on a day involving gravy.
Step 4: Attach the feet
For a lightweight decorative riser, strong wood glue may be enough. Apply glue to the top of each foot, press it into place, and allow it to cure according to the product instructions. For extra durability, drill small pilot holes and attach the feet with screws from the top or bottom, depending on your design. If screws are visible on top, cover them with wood plugs or place your recipe display over them.
Before the glue fully sets, place the riser on a flat surface and check for wobble. Adjust as needed. This tiny moment of patience can save you from a lifetime of tapping one corner every time you walk by.
Step 5: Add the keepsake recipe element
This is where the project becomes personal. Scan or photograph a handwritten family recipe and print a copy on cardstock. Clip it to the riser with a small brass clip, tuck it into a mini acrylic holder, or mount it behind a small ledge. If you want a permanent design, use a stencil, vinyl decal, image transfer method, or wood-burning pen to add a family name, recipe title, or short phrase.
Good phrases include “Grandma Rose’s Pie Crust,” “The Sunday Sauce Station,” “Made With Love and Too Much Butter,” or “Family Recipes Live Here.” Keep the design simple so the bamboo grain can shine.
Step 6: Finish and condition the bamboo
Apply food-grade mineral oil with a soft cloth, letting it soak into the bamboo. Wipe away excess oil and repeat if the board still looks dry. For a richer finish, buff on a small amount of beeswax and mineral oil board cream. This helps enhance the grain and gives the surface a gentle sheen without making it look plastic.
If the riser is purely decorative and will not touch food, you may use a clear matte topcoat, but test it first and follow all product directions. For a kitchen keepsake, a natural-looking finish usually feels warmer and more authentic.
Creative Bamboo Cutting Board Upcycle Ideas for the Same Project
1. The handwritten recipe display riser
Attach a small clip to the top edge of the board and use the riser to display rotating family recipes. This works beautifully for holidays. In November, display pumpkin pie. In December, show sugar cookies. In summer, feature lemonade, barbecue sauce, or whatever recipe your uncle insists is “famous” because three neighbors once complimented it.
2. The cookbook stand riser
Add a narrow wooden ledge across the front of the cutting board so it can hold an open cookbook or tablet. This turns the riser into a practical cooking companion. Keep the ledge shallow enough to look elegant but sturdy enough to stop pages from sliding.
3. The dessert pedestal
Use the riser to elevate cupcakes, cookies, muffins, or a small cake plate. If food will touch the surface directly, keep the finish food-safe and avoid decorative paints or adhesives on the serving area. A sheet of parchment paper also works well and makes cleanup easier.
4. The coffee bar memory stand
Place the riser near your coffee maker and style it with mugs, sugar, cinnamon, a tiny framed recipe for cinnamon rolls, or a handwritten note that says, “Coffee first, questions later.” This is both decor and household policy.
5. The seasonal kitchen vignette
Use the riser as a base for small pumpkins in fall, greenery in winter, herbs in spring, and lemons in summer. Add a family recipe card behind the display to keep the keepsake theme alive all year.
Design Tips for a Beautiful Keepsake Riser
Keep the scale balanced
A riser should lift items without overwhelming the counter. Most bamboo cutting boards are already the right size for a compact display. If your board is large, use chunkier feet. If it is small, choose low-profile feet so it does not look like a tiny table trying too hard.
Mix old and new materials
Pair the bamboo board with modern black metal clips, vintage brass corners, ceramic knobs, or leather handles. Combining textures gives the piece a collected-over-time feeling. That is the magic of upcycling: the final object should look intentional, not like it escaped from the junk drawer.
Use handwriting carefully
If you have an original handwritten recipe, scan it and use a copy for display. Keep the original stored safely away from kitchen steam, grease, and sunlight. Old recipe cards can be fragile, and while a little flour dust is romantic in theory, it is less charming when it lands on a 70-year-old ink note.
Let imperfections work for you
A scorch mark, pale stain, or knife groove can be positioned under the recipe card, covered with a small plant, or highlighted as part of the story. Not every DIY project needs to look factory-made. In fact, the best keepsakes usually do not.
How to Preserve the Family Recipe That Goes With It
The riser is the display piece, but the recipe is the heart. If you have handwritten cards, scan them at high resolution and save digital copies in more than one place. Print duplicates for everyday use and keep originals in archival folders or protective sleeves. Store paper recipes in a cool, dry area away from direct sunlight, heat, and kitchen moisture.
You can also create a small recipe story card to display with the riser. Include who made the dish, when your family usually served it, and one memory connected to it. For example: “Aunt May made this peach cobbler every Fourth of July and always claimed the secret was patience, but everyone knew it was extra butter.” These details turn a recipe into a family artifact.
Common Mistakes to Avoid
Using a damaged board without checking stability
If the board is split, bowed, or badly cracked, it may not sit safely as a riser. Choose a board that still lies flat and feels solid.
Skipping the sanding step
Even if the board looks fine, sanding refreshes the surface and helps the finish absorb evenly. It also removes rough areas that can snag recipe cards or cloth napkins.
Using cooking oils as a finish
Vegetable oils, olive oil, and similar kitchen oils can become sticky or rancid over time. Food-grade mineral oil is a better choice for conditioning bamboo and wood kitchen items.
Displaying original recipe cards in the splash zone
Keep originals away from sinks, stovetops, and steamy appliances. Use copies on the riser and protect the real heirlooms.
Experience Notes: What This Project Feels Like in a Real Kitchen
The first time you make a bamboo cutting board recipe riser, the project may feel almost too simple. You clean the board, sand it, add feet, oil it, and suddenly it looks like something from a boutique home shop. That is the delightful danger of upcycling. It starts with one retired cutting board and ends with you staring suspiciously at every object in your house, wondering if it could become “a charming display moment.” Old drawer? Wall shelf. Broken chair rung? Towel rail. Empty jar? Obviously artisanal storage. No object is safe.
What makes this particular project special is the emotional layer. A recipe riser is not just another piece of kitchen decor. It gives everyday cooking a small ceremony. When a handwritten recipe is displayed, people notice it. Guests lean closer. Children ask who wrote it. Someone remembers the holiday when the rolls did not rise, or the birthday cake that slid sideways in the car, or the year everyone pretended the cranberry sauce was supposed to have that texture. The riser becomes a conversation starter before dinner even reaches the table.
In practical use, the riser works best when it has a dedicated spot. A corner of the counter, coffee bar, open shelf, buffet table, or kitchen island is ideal. If the board is small, it can hold a single recipe card and a tiny vase of herbs. If it is medium-sized, it can support a cookbook, framed recipe, candle, and salt cellar. The key is not to overcrowd it. A keepsake riser should feel warm, not like a craft store sneezed on your countertop.
One useful trick is to rotate recipes by season. In spring, display lemon bars or asparagus quiche. In summer, show barbecue rubs, peach cobbler, or iced tea. In fall, bring out pie crust, stuffing, or apple butter. In winter, display cookies, soup, or the mysterious family casserole that contains three cans of something and somehow tastes like childhood. This rotation keeps the riser fresh and gives family recipes a reason to come out of hiding.
The project also makes an excellent gift. For Mother’s Day, housewarmings, weddings, anniversaries, or memorial gatherings, a recipe riser feels personal without being overly complicated. You can use a new bamboo board if you do not have an old one, but using a board with history gives the gift more soul. Add a copied recipe in a loved one’s handwriting, tie the riser with cotton ribbon, and include a note explaining the story. It is affordable, useful, and far more meaningful than another mug that says “Bless This Mess,” although, to be fair, many kitchens are indeed a blessed mess.
Over time, the riser may pick up more marks. That is not failure; that is continuation. A keepsake object should not be so precious that everyone is afraid to touch it. Let it hold muffins, recipe cards, jars, herbs, and memories. Re-oil it when it looks dry. Wipe it clean when it gets dusty. Move it to the center of the table when the family recipe deserves a spotlight. The beauty of this bamboo cutting board upcycle is that it turns something ordinary into something useful again, while quietly reminding everyone that the best kitchens are built from stories as much as ingredients.
Conclusion
A bamboo cutting board upcycle is one of those rare DIY projects that checks every box: simple, affordable, sustainable, practical, and genuinely meaningful. By turning a retired board into a family keepsake recipe riser, you reduce waste, refresh your kitchen decor, and create a display piece that honors the recipes and people who shaped your table.
The finished riser can be rustic, modern, farmhouse, minimalist, sentimental, or playful. It can hold a cherished recipe, a cookbook, a dessert plate, or a rotating seasonal display. Most importantly, it gives an everyday kitchen object a second chapter. And honestly, if a scratched-up cutting board can reinvent itself as a charming family heirloom, there is hope for all of us.