Think you need a backyard, a shed full of tools, and a mysterious ability to talk to tomatoes to be a “real” gardener? Good news: apartment gardening for beginners is basically the art of growing happy plants in the same place you keep your laundry pile and phone charger collection. Small space doesn’t mean small harvestsit just means you’ll get better at choosing the right plants, the right containers, and the right corner of your home where sunlight actually shows up.
This guide breaks down what works (and why), with specific beginner-friendly setupswindowsill herbs, balcony containers, low-light houseplants, and even microgreens. You’ll learn how to match plants to your light, water without drowning everything, and avoid the classic “I loved it too much” overwatering situation.
Step 1: Do a 5-Minute “Apartment Reality Check”
1) Light: your plants’ rent payment
Before you buy anything, figure out what kind of light you have. Many plants do best with 6–8 hours of sun, and many vegetables want even more. If your place is bright, you can grow a lot. If it’s dim, you can still gardenyou’ll just choose different plants (or add a grow light).
- South- or west-facing windows: usually the brightest (best for herbs, peppers, compact tomatoes).
- East-facing: gentle morning light (great for leafy greens, many herbs, lots of houseplants).
- North-facing: often low light (great for tough houseplants like snake plant, pothos, ZZ plant).
2) Space: where can you actually put a plant?
Pick one “plant zone” to start: a windowsill, a small table near a window, a balcony corner, or a rolling cart you can move into the sun. New gardeners do best when plants are easy to see and easy to waterout of sight is out of mind, and out of mind is… crispy basil.
3) Rules + safety: the unsexy but important part
If you have a balcony, check building rules (some places restrict hanging planters or anything attached to railings). Also think about weight and wind. Containers full of wet potting mix can get heavy fast, and tall plants can topple in gusty spots. The goal is “thriving garden,” not “mystery soil raining on the neighbors.”
Step 2: Start With Plants That Forgive You
Beginners win by stacking the odds. Choose plants that: (1) grow quickly, (2) tolerate small mistakes, and (3) make you excited to keep going. Here are dependable starters for apartment living.
Best starter edibles (fast satisfaction)
- Herbs: basil, chives, parsley, thyme, oregano. (Mint is easy toojust keep it in its own pot because it’s a friendly invader.)
- Leafy greens: baby lettuce, arugula, spinach (best in cooler months or indoors under lights).
- Microgreens: radish, broccoli, pea shootsquick harvests in 7–21 days.
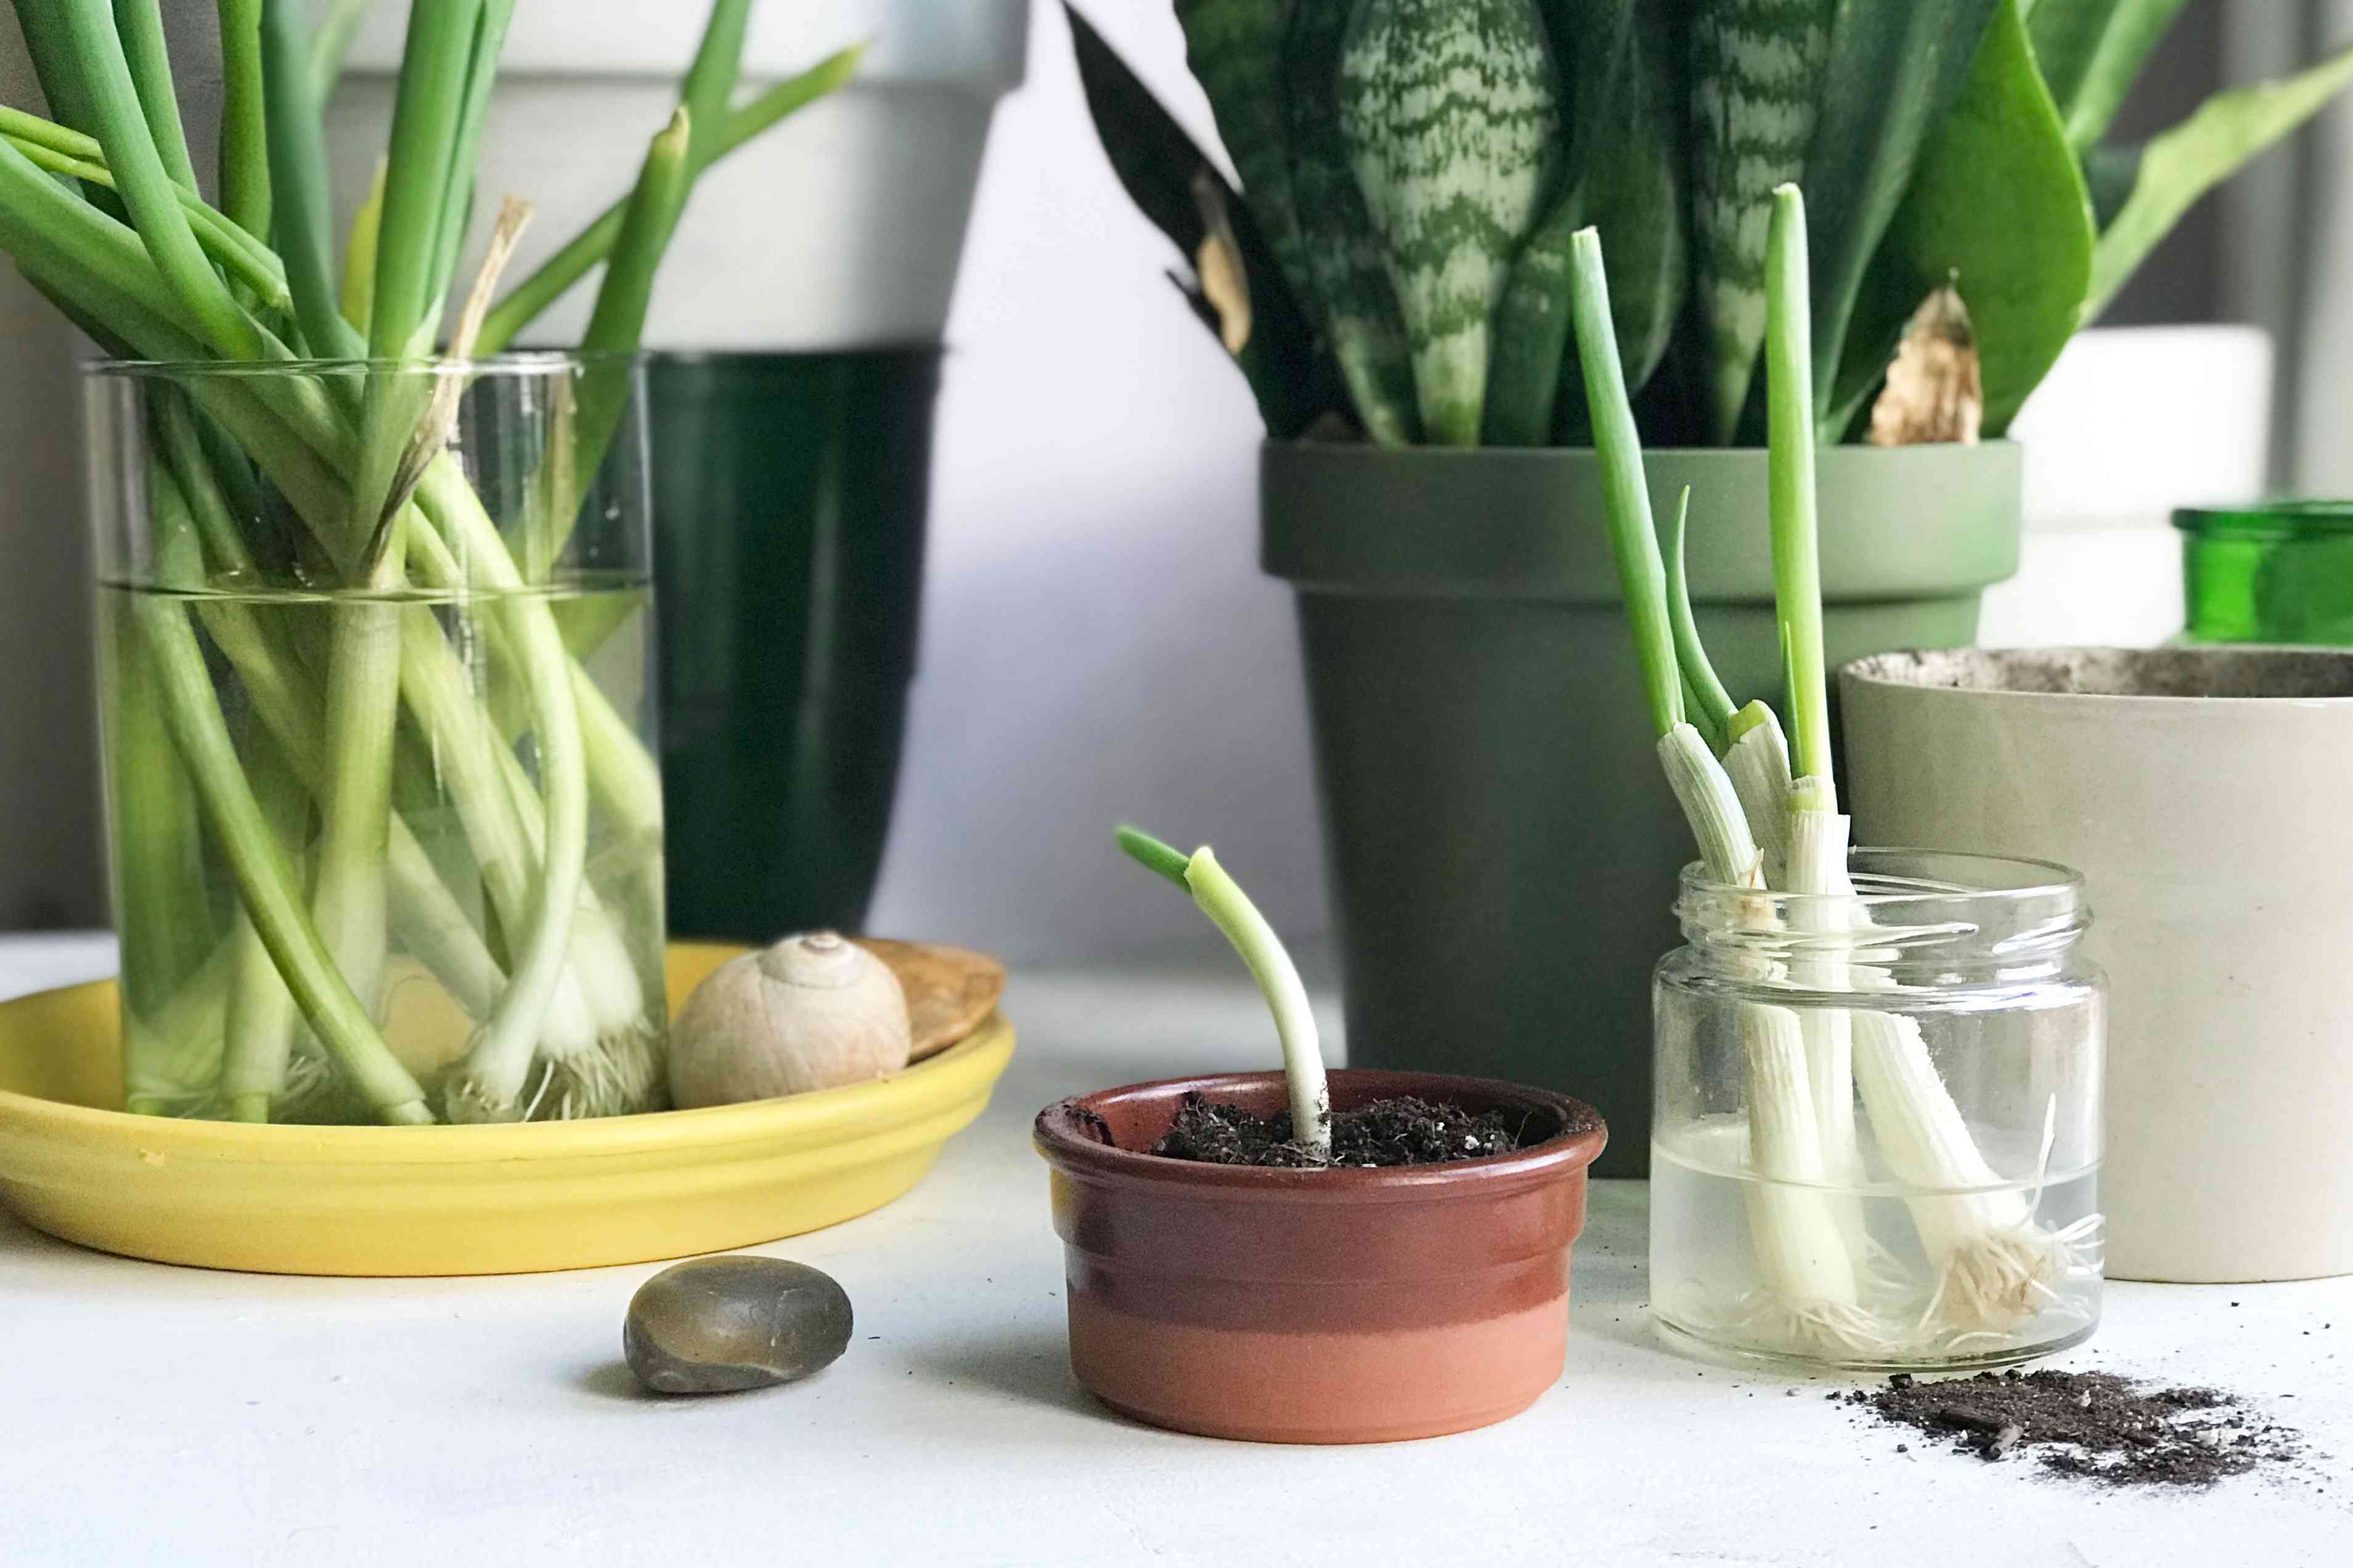
- Green onions: regrow from the white root ends in a jar of water, then pot them for stronger growth.
Best starter houseplants (confidence builders)
- Pothos: tolerates lower light, bounces back from missed waterings.
- Snake plant: tough, slow-growing, dislikes overwatering (so it’s perfect for busy people).
- ZZ plant: another “thrives on neglect” classic.
- Spider plant: forgiving and basically gives you free baby plants.
If you want fruiting plants (tomatoes, peppers, strawberries), treat them as “Level 2.” Totally doable in an apartmentespecially on a sunny balconybut they’re hungrier, thirstier, and more dramatic about it.
Step 3: Containers, Drainage, and the Myth of “Any Pot Is Fine”
Containers are your apartment garden’s foundation. A good container setup prevents most beginner problems before they start.
Choose the right pot size (bigger is usually easier)
Tiny pots dry out fast and punish you for blinking. A slightly larger container holds moisture longer and gives roots room. As a beginner rule:
- Herbs and greens: 6–10 inch pot (or a long window box).
- Compact peppers: 2–5 gallon container.
- Tomatoes: often 5 gallons or more, depending on the variety (look for “patio” or “dwarf” types).
Drainage is not optional
A container without drainage holes is a decorative bowl waiting to become a swamp. Always use pots with drainage holes, and place a saucer underneath to protect floors. If you fall in love with a pot that has no holes, use it as a “cachepot”: keep your plant in a nursery pot inside it, and remove the inner pot to water and drain.
Self-watering containers (great for beginners)
If you travel, forget, or simply enjoy consistency, self-watering planters can reduce the “I watered it… a lot… why is it angry?” mystery. DIY versions exist toolike simple bucket-style systemsif you like weekend projects that end with salad.
Step 4: Potting MixYour Secret Weapon
For apartment gardening, use a quality potting mix made for containers. Regular garden soil compacts in pots, holds water unevenly, and can bring pests indoors. Potting mix is designed to stay airy so roots can breathe.
Want an easy “upgrade” without overthinking it? Mix in a little extra perlite for drainage, especially if your home is humid or you tend to overwater. If you’re growing edibles long-term, consider adding compost or using a slow-release fertilizer (more on that below).
Step 5: LightHow to Work With What You’ve Got
Window light tips that actually matter
- Rotate pots weekly so plants don’t lean like they’re trying to escape.
- Keep leaves off cold glass in wintercontact chill can damage tender plants.
- Use a reflective surface (even a white wall or a simple reflector) to brighten a corner.
Grow lights for normal humans (not a science fair)
If your apartment doesn’t get strong sun, a basic LED grow light can turn “meh” light into “hello, basil.” The key is distance and consistency. Light intensity drops quickly the farther the lamp is from leaves, so keep lights reasonably close (without overheating the plant), and use a timer for a steady day/night rhythm.
Practical rule: for seedlings and small plants, lights often need to be closer; for established houseplants, they can hang higher. When in doubt, watch your plant: long, pale, stretched stems usually mean it wants more light.
Step 6: Watering Without Panic (or a Schedule)
Most beginner plant problems are watering problemsusually too much, sometimes too little, occasionally both in the same week (which is honestly impressive). Skip the calendar. Water based on soil moisture.
The easiest method: the finger test
- Stick your finger into the potting mix 1–2 inches.
- If it feels dry at that depth, water.
- If it feels moist, wait a day and check again.
How to water correctly in containers
- Water deeply until you see some drain out the bottom. That means roots actually got a drink.
- Empty saucers after 10–20 minutes so roots don’t sit in water.
- Expect more watering in heat, wind, and bright suncontainers dry out faster than garden beds.
Pro tip: “Droopy” doesn’t always mean “thirsty.” Some plants droop from heat stress even when soil is moist. Check the soil before you react like a plant paramedic.
Step 7: Feeding Plants (Because Potting Mix Isn’t an Infinite Buffet)
Container plants can’t send roots wandering off to find nutrientseverything they get must come from you. That sounds scary, but it’s simple:
- Slow-release fertilizer: easy, steady, beginner-friendly (applied every few months).
- Liquid fertilizer: faster results, but easier to overdo (use a diluted strength at first).
- Compost: great for improving soil and adding gentle nutrition, especially for herbs and greens.
Whatever you choose, follow label directions. More fertilizer does not mean more growthit often means crispy leaf tips and regret.
Step 8: Balcony Gardening Basics (Wind, Heat, and Physics)
Balcony gardens are incrediblesunny, productive, and basically a tiny outdoor café for bees. They can also be surprisingly intense: high wind, heat bouncing off concrete, and fast-drying pots. A few smart adjustments make balcony gardening much easier.
Balcony setup tips
- Use heavier pots at the base (or group pots together) so wind doesn’t knock things over.
- Go lightweight if weight is a concern: plastic or resin containers weigh less than ceramic when wet.
- Keep tall plants stable with stakes, cages, or by choosing compact varieties.
- Protect from harsh afternoon heat by using shade cloth or moving pots slightly back from direct blast zones.
If your balcony is exposed and gusty, avoid very tall, top-heavy plants unless you can anchor them well. It’s not about limiting your dreamsjust keeping your dreams inside the railing.
Step 9: Common Apartment Garden Problems (and Fixes That Work)
Problem: fungus gnats (tiny flying annoyances)
Fungus gnats are often a sign of consistently moist soil. The fix is mostly about changing conditions: let the top layer of soil dry between waterings, use yellow sticky traps to catch adults, and consider biological controls if the issue is persistent. They’re more irritating than dangerous, but they do love turning “cozy potting mix” into “gnat daycare.”
Problem: leggy herbs or pale leaves
Usually low light. Move the plant closer to the window, add a grow light, or choose plants better suited to your conditions. Herbs especially need strong light to stay compact and flavorful.
Problem: sad, yellowing leaves
Often overwatering or poor drainage. Check that the pot drains, that the saucer isn’t staying full, and that you’re letting soil dry appropriately between waterings. If soil stays soggy for days, the container may be too large for the plant, the mix may be too dense, or the location may be too cool and dim.
Beginner-Friendly “First 30 Days” Plan
- Week 1: Pick one growing spot. Buy 2–3 plants max (one herb, one leafy green, one hardy houseplant).
- Week 2: Repot if needed into containers with drainage and fresh potting mix. Add saucers.
- Week 3: Practice the finger test. Rotate pots weekly. Take a quick photo weekly to spot progress.
- Week 4: If plants are stable, add one “fun” projectmicrogreens or a second herb.
That’s it. The goal is consistency, not a jungle overnight. Your confidence grows at the same speed as your plants: slowly at first, then suddenly you’re googling “trellis ideas for cucumbers” like a person who has definitely never owned a balcony chair.
Conclusion: Your Apartment Can Absolutely Be a Garden
Apartment gardening for beginners works when you match plants to your light, use containers with drainage, water based on soil moisture, and keep your setup simple enough to maintain. Start small, learn your home’s microclimates, and treat every “oops” as data. In a few weeks, you’ll stop guessing and start noticing: which window stays warm, which corner dries fast, and which plant thrives when you ignore it slightly (some plants are emotionally independent like that).
Experiences: What Apartment Gardening Really Feels Like ()
If you’re new to this, here’s a very normal beginner experience: you buy basil because you’re feeling optimistic and vaguely Italian. You place it on the counter because it looks adorable there. Two days later, it’s droopy, you panic-water it, and it somehow looks worse. The “lesson” isn’t that you’re bad at plantsit’s that basil is basically a sun-loving athlete, and your countertop is the plant version of living in a dim studio with no windows. Move basil to the brightest window (or under a grow light), and suddenly it starts acting like basil again: perky, fragrant, and smugly productive.
Another common chapter: the first time you try balcony containers, you discover wind. Not a gentle breeze. Wind with opinions. Leaves flutter, pots dry out faster than expected, and anything tall starts leaning like it’s trying to eavesdrop on the neighbors. People often solve this by grouping pots together, placing the tallest plants closer to a wall for shelter, and switching to compact varieties. A dwarf tomato or patio pepper can be easier than a sprawling vine that wants a full engineering plan for support. Once you set up a simple stake or cage early, you avoid the awkward midseason moment where you’re trying to prop up a plant with a chopstick and hope.
Then there’s the indoor “mystery flies” phase. You notice tiny gnats hovering near your plants, and you assume your apartment has developed a new ecosystem (which, honestly, it has). The funny thing is: this often happens when you’re being extra caring with water. Letting the soil surface dry a bit, watering more intentionally, and adding a couple sticky traps usually brings the situation back under control. It’s a quick way to learn that plants don’t want constant dampnessroots like oxygen, too.
A surprisingly joyful experience is growing microgreens. You don’t need a fancy setupjust a shallow tray, clean growing medium, and decent light. The first harvest feels like a magic trick: you planted something last week and now you’re putting it on a sandwich like a person with their life together. Microgreens also teach you the power of routine: misting, checking moisture, and harvesting cleanly. It’s small-scale, but it builds real skills.
Finally, apartment gardening teaches you your home has seasons even indoors: winter windows can be colder, summer sun can be intense, and plants react. Over time, you stop “following rules” and start reading your space. You learn when to move a pot back from the glass, when to water a little more during a hot stretch, and when to simply leave a plant alone so it can do its plant business in peace. That’s the real win: you become the kind of person who can keep things alive on purpose.