Saving watermelon seeds sounds like the kind of thing your thrifty great-grandparent would do while giving you a lecture about not wasting food. But here is the juicy truth: learning how to save watermelon seeds for planting is practical, budget-friendly, surprisingly satisfying, and a little bit magical. One summer you are spitting seeds into a bowl; the next, you are growing vines that may produce your own backyard watermelons. That is a glow-up worthy of a garden documentary.
However, there is a right way and a wrong way to do it. The wrong way is tossing sticky seeds in a drawer, forgetting about them until spring, and then wondering why they smell like a science fair project gone rogue. The right way involves choosing the correct watermelon, cleaning the seeds properly, drying them completely, storing them in the right conditions, and testing them before planting.
This guide explains 3 ways to save watermelon seeds for planting, including the simple rinse-and-dry method, the fermentation method, and the long-term storage method. You will also learn how to choose the best fruit, avoid common seed-saving mistakes, and give your future watermelon seedlings the best possible start.
Before You Save Watermelon Seeds: Know What Kind of Watermelon You Have
Before grabbing a spoon and attacking your watermelon like a treasure hunter, pause for one important question: Will these seeds grow true to type? In plain English, will the plant grown from the seed produce a watermelon similar to the one you ate?
The answer depends on the type of watermelon. Seeds from open-pollinated or heirloom watermelon varieties are the best choice for seed saving. These varieties are more likely to produce plants that resemble the parent plant when properly isolated from other watermelon varieties.
Seeds from hybrid watermelons, often labeled F1 on seed packets, may still sprout, but the fruit can be unpredictable. You might get something delicious, bland, odd-shaped, late-maturing, or so confusing that even the garden gnomes refuse to comment. Hybrids are bred from two parent lines, so their saved seeds do not reliably produce the same traits in the next generation.
Seedless watermelon is another special case. Seedless watermelons are usually triploid hybrids and are generally not useful for home seed saving. Those small white “seeds” inside are immature seed coats, not mature black seeds ready for planting. If your melon has no fully mature black or dark brown seeds, it is not a good candidate for saving.
How to Pick the Best Watermelon for Seed Saving
The quality of your saved seeds starts with the quality of the fruit. Choose seeds from a watermelon that is fully ripe, healthy, flavorful, and typical of the variety. If the fruit was sweet, nicely shaped, disease-free, and harvested from a strong plant, those are the traits worth carrying into next season.
For garden-grown watermelons, let the fruit ripen completely on the vine. Ripe watermelon signs include a duller rind, a creamy yellow field spot where the melon touched the ground, a dried tendril near the stem, and a rind that resists easy scratching. For store-bought watermelon, choose seeds only if the melon contains mature black or dark brown seeds and you are comfortable with some genetic mystery.
Also remember that watermelon varieties can cross-pollinate with other watermelon varieties. Cross-pollination will not change the fruit you are eating this year, but it can affect the seeds you save and plant next year. If two different watermelon varieties grew close together and bloomed at the same time, the saved seed may produce mixed results. In seed-saving terms, that is either a problem or an adventure, depending on how much chaos you like with your breakfast fruit.
Way 1: The Simple Rinse-and-Dry Method
The simple rinse-and-dry method is the easiest way to save watermelon seeds for planting. It is ideal for beginners, small home gardens, and anyone who wants a no-fuss approach. This method works best when seeds are already clean, mature, and removed from a fully ripe watermelon.
Step 1: Scoop Out the Mature Seeds
Cut open the watermelon and scoop the mature black or dark brown seeds into a bowl. Avoid pale, soft, thin, or undeveloped seeds. Those are not ready for greatness. Think of them as the interns of the seed world: full of potential, but not prepared to run the vine department.
If you are eating the watermelon while saving seeds, keep a separate bowl nearby. This prevents seeds from getting mixed with napkins, rind pieces, or that one mystery crumb from lunch. Clean seed collection makes the next steps much easier.
Step 2: Rinse Away the Pulp
Place the seeds in a fine-mesh strainer and rinse them under cool running water. Rub them gently with your fingers to remove sticky pulp and sugar. The goal is to get the seeds clean enough that they no longer feel slippery.
Do not use soap, bleach, vinegar, or kitchen cleaners. Watermelon seeds are living plant embryos, not dinner plates. Clean water and gentle rubbing are enough for basic seed preparation.
Step 3: Spread Seeds in a Single Layer
After rinsing, spread the seeds in a single layer on a nonstick drying surface. A ceramic plate, glass plate, metal tray, coffee filter, wax paper, or fine screen works well. Avoid regular paper towels if possible because watermelon seeds can stick to them as they dry, and prying them off later can damage the seed coat.
Place the seeds in a warm, dry, well-ventilated area out of direct sunlight. Direct sun can heat seeds unevenly and reduce quality. A shady indoor shelf, pantry counter, or clean table near moving air is better.
Step 4: Dry Thoroughly
Watermelon seeds must dry completely before storage. Depending on humidity, this may take one to three weeks. Stir or turn the seeds every day or two so all sides dry evenly. If the seeds clump together, separate them.
A good dryness test is the snap test. A properly dried watermelon seed should feel hard, not rubbery. Thin melon seeds should snap rather than bend when pressure is applied. If they bend, they need more drying time. Moist seeds stored too soon may mold, rot, or sprout prematurely. Nobody wants to open a seed jar and discover a tiny swamp.
Way 2: The Fermentation Method for Cleaner Seeds
The fermentation method is useful when watermelon seeds are covered in stubborn pulp or when you want a cleaner batch for storage. Fermentation is commonly used for wet-seeded crops because it helps separate seeds from pulp and can reduce some surface issues. With watermelon, use this method carefully and do not overdo it.
Step 1: Put Seeds and Pulp in a Jar
Scoop mature watermelon seeds with some surrounding pulp into a clean glass jar. Add a small amount of water, just enough to loosen the mixture. Do not fill the jar to the top; leave room for bubbling and stirring.
Cover the jar loosely with a lid, coffee filter, or cloth. The cover keeps insects out while allowing gases to escape. A tightly sealed jar can build pressure, and while exploding watermelon seed jars are rare, they are also not a kitchen aesthetic anyone is trying to achieve.
Step 2: Let the Mixture Ferment Briefly
Leave the jar at room temperature for about 24 to 48 hours, stirring once or twice a day. You may see bubbles, foam, or a light film on the surface. That is normal. The pulp should loosen from the seeds.
Do not ferment watermelon seeds for too long. Excessive fermentation can damage seeds, encourage sprouting, or cause rot. If the mixture smells aggressively terrible, you have gone beyond “seed-saving science” and entered “why is the kitchen angry?” territory.
Step 3: Rinse the Seeds Well
Pour the mixture into a fine-mesh strainer and rinse thoroughly under cool water. Rub the seeds gently to remove any remaining pulp. Unlike tomato seeds, watermelon seeds do not always behave the same way in water, so do not rely only on floating or sinking as a perfect test of quality. Instead, keep the plump, firm, dark seeds and discard pale, flat, damaged, or soft ones.
Step 4: Dry for Long-Term Storage
Spread the rinsed seeds in a single layer on a suitable drying surface. Dry them in a shaded, low-humidity, well-ventilated area for one to three weeks. Turn them regularly. The seeds should be fully dry before they go into packets, jars, or envelopes.
This method takes a little more effort, but it often produces cleaner-looking seeds. It is especially useful when you are saving a larger batch or when pulp is stuck to the seed coats like it signed a long-term lease.
Way 3: The Long-Term Storage Method
Cleaning and drying seeds is only half the job. If you want watermelon seeds to remain viable until planting season, storage matters. Seeds are alive but dormant, which means they need conditions that keep them asleep, not conditions that whisper, “Wake up, little buddy, it is chaos time.”
Step 1: Label Everything Clearly
Once seeds are dry, place them in a labeled paper envelope or small seed packet. Include the variety name, harvest year, fruit notes, and any helpful details such as “very sweet,” “grown in raised bed,” “large striped fruit,” or “survived July heat like a champion.”
Labeling may seem unnecessary now, but future you will be grateful. Without labels, all saved seeds eventually become “mystery seeds,” and mystery seeds have a suspicious habit of being planted in exactly the wrong place.
Step 2: Use Airtight Containers
Place labeled packets inside an airtight glass jar, sealed plastic container, or moisture-proof storage bag. For extra protection, add a small silica gel packet or another safe desiccant to absorb moisture. The goal is to keep seeds dry, dark, and protected from humidity.
Moisture is one of the biggest enemies of stored seeds. If seeds absorb moisture during storage, they may lose viability, mold, or begin germination before planting season. Heat is another problem. Warm, damp storage conditions shorten seed life dramatically.
Step 3: Store Cool, Dark, and Dry
The best storage location is cool, dark, and dry. A refrigerator can work well if the seeds are sealed in an airtight container. A cool closet, basement shelf, or pantry may also work if humidity is low and temperatures are stable.
Avoid storing seeds above the stove, near a sunny window, in a humid garage, or in a garden shed that turns into a sauna every afternoon. Watermelon seeds may be tough, but they are not tiny superheroes in capes.
Step 4: Let Cold Seeds Warm Before Opening
If you store seeds in the refrigerator, let the sealed container come to room temperature before opening it. This prevents condensation from forming on the seeds. Condensation may look harmless, but moisture on stored seeds can reduce quality and invite mold.
Handled correctly, watermelon seeds can often remain viable for several years, though germination rates decline over time. For best results, plant saved seeds within three to four years, and always test older seeds before depending on them for your main crop.
How to Test Saved Watermelon Seeds Before Planting
A germination test is a simple way to check whether your saved watermelon seeds are still good. It is especially helpful if the seeds are more than one year old or if you are not sure they were stored properly.
Moisten a paper towel, place 10 seeds on it, fold the towel over the seeds, and put it inside a plastic bag or sealed container. Keep it in a warm location, ideally around 70 to 85 degrees Fahrenheit. Check every few days for sprouting. Watermelon seeds often germinate within several days to nearly two weeks, depending on temperature and seed condition.
If 8 out of 10 seeds sprout, you have an 80 percent germination rate and can plant normally. If only 5 or 6 sprout, sow extra seeds. If fewer than half sprout, consider buying fresh seed or using your saved seeds only as an experiment.
When and How to Plant Saved Watermelon Seeds
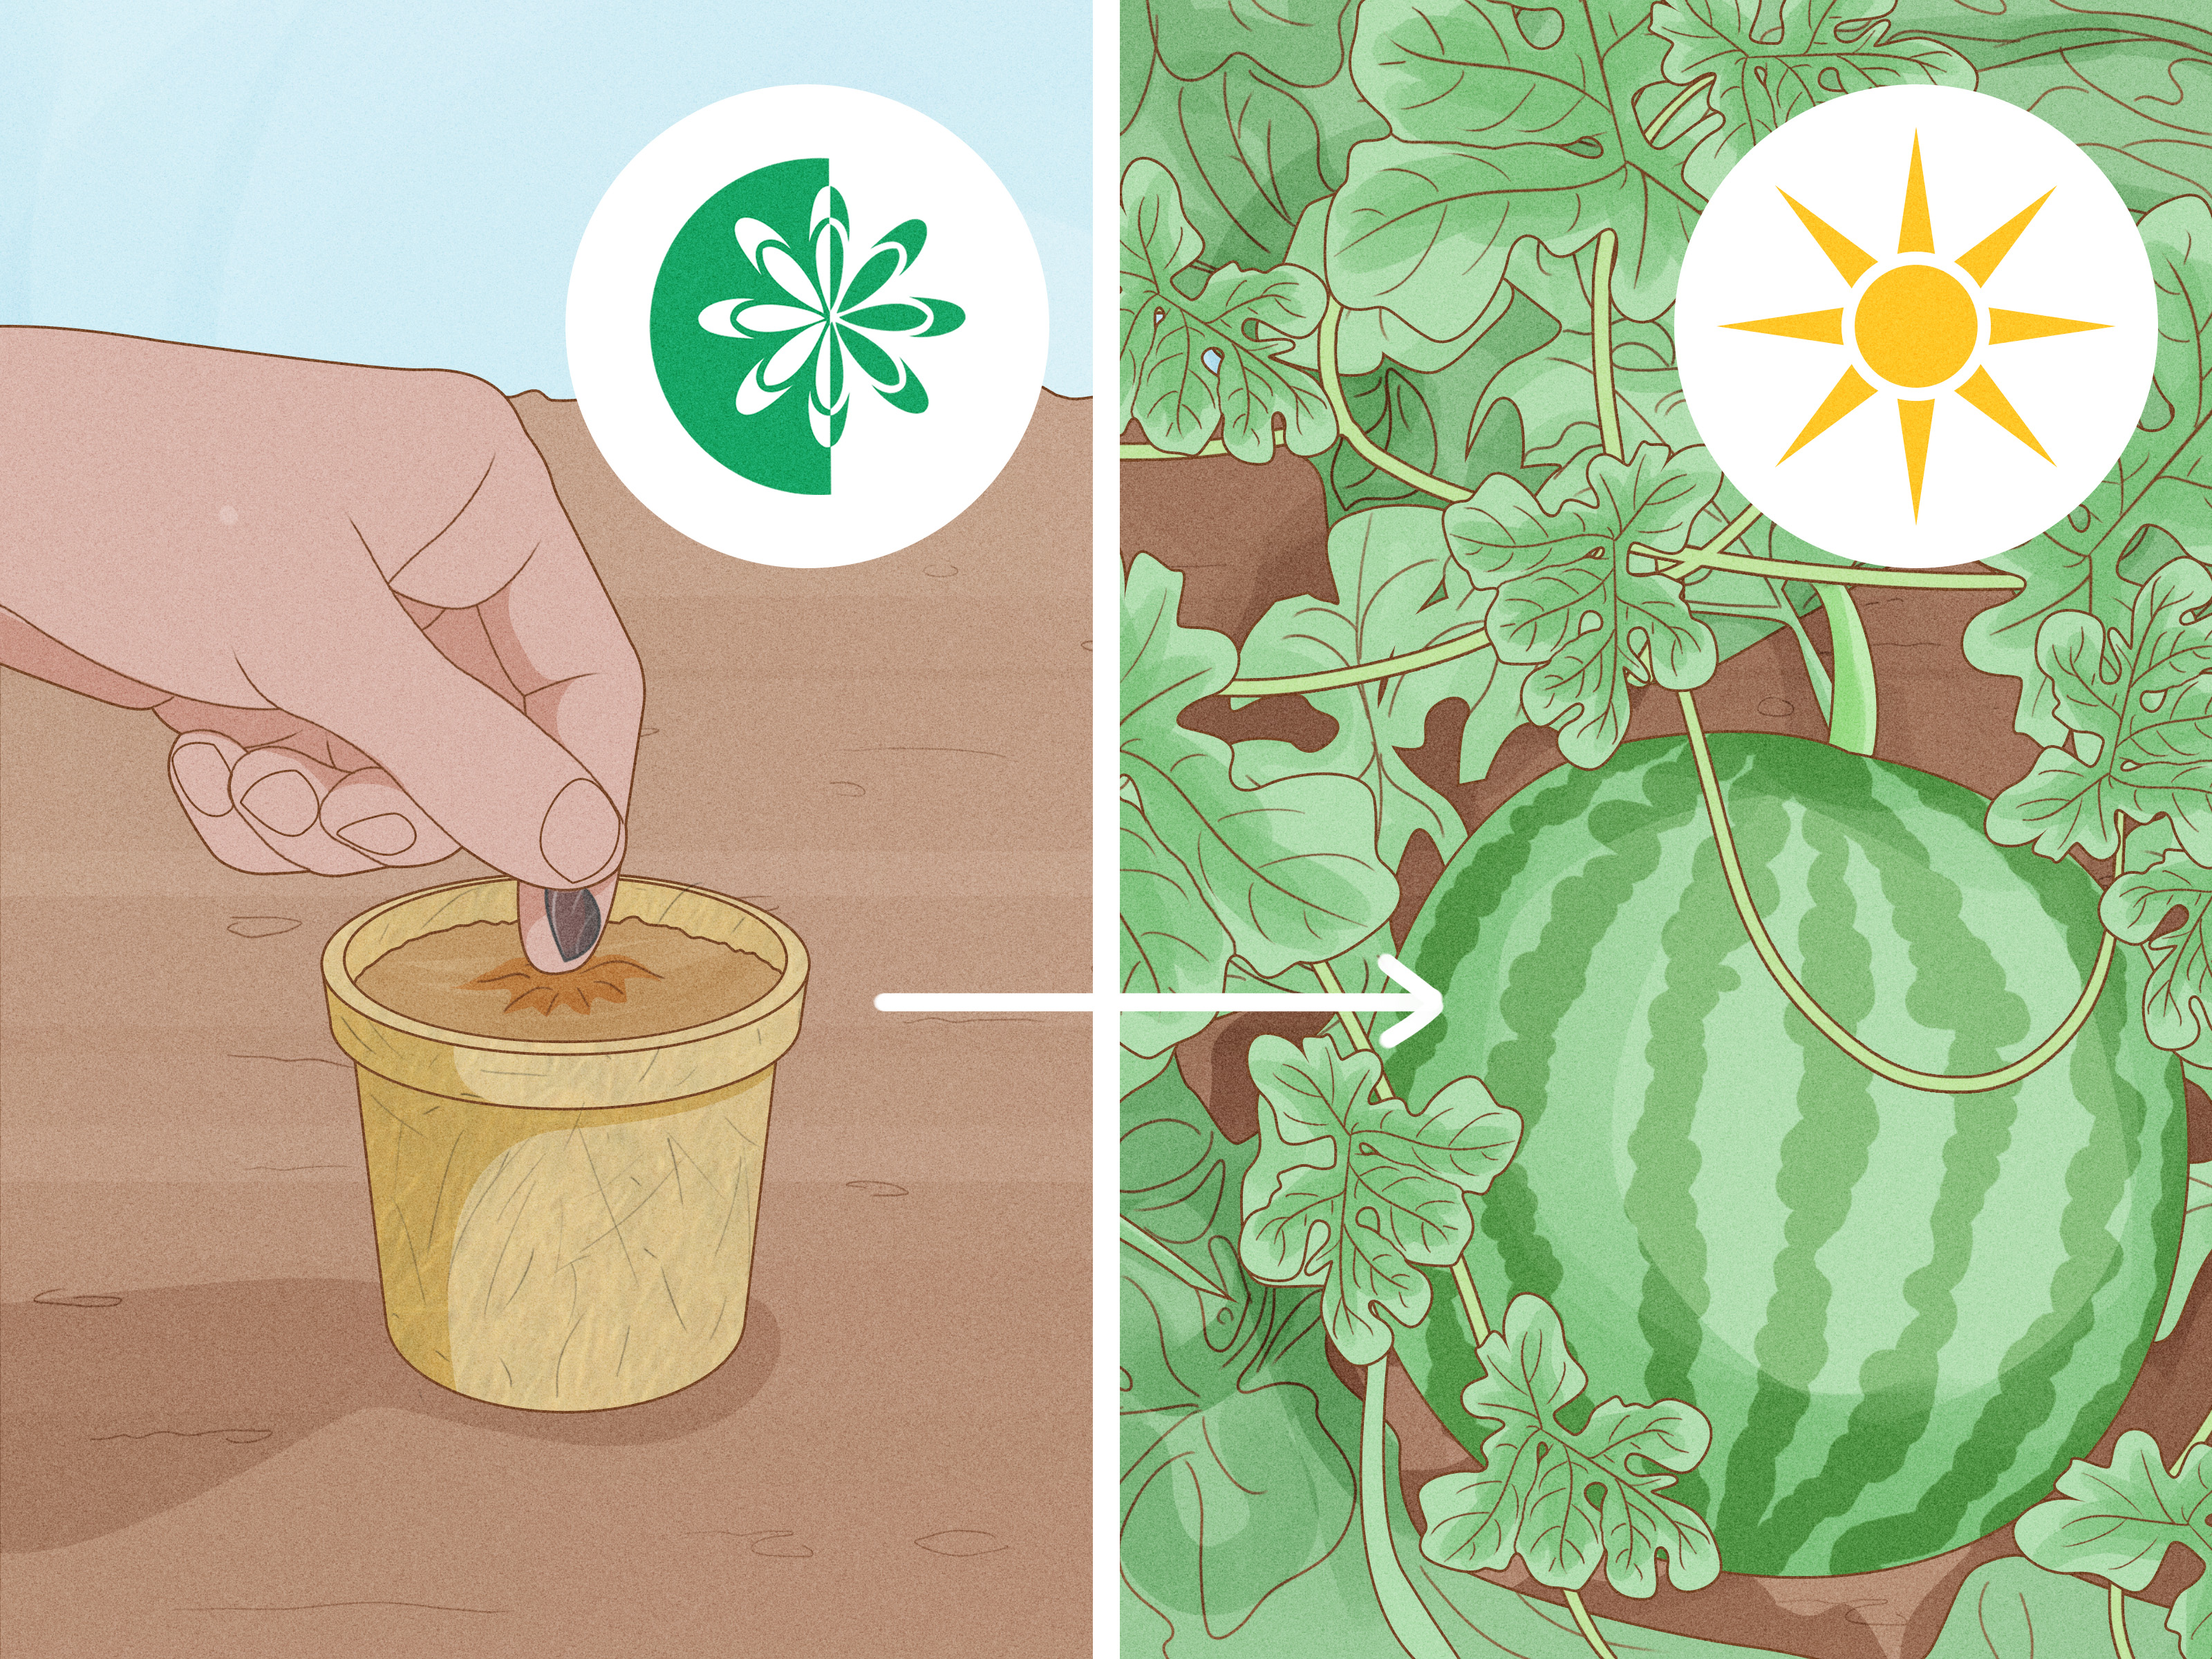
Watermelons love warmth. Planting too early in cold soil can cause seed rot and poor germination. Wait until all danger of frost has passed and soil temperatures are consistently warm, preferably above 65 degrees Fahrenheit. In many home gardens, watermelon seeds are planted in hills or mounds, which warm faster and drain better than flat ground.
Sow seeds about one-half to one inch deep, depending on soil conditions and local recommendations. Keep the soil evenly moist but not waterlogged. Once seedlings are established, thin to the strongest plants. Watermelons need full sun, rich soil, good spacing, and room to sprawl. These vines do not politely stay in their assigned seats; they wander like tourists with no map.
Common Mistakes When Saving Watermelon Seeds
Saving Seeds from the Wrong Melon
The biggest mistake is saving seeds from seedless or hybrid watermelons and expecting identical fruit next year. Hybrid seeds may sprout, but results are unpredictable. Seedless watermelons usually do not provide mature seeds suitable for saving.
Not Drying Seeds Long Enough
Seeds that feel dry on the outside may still hold moisture inside. Give them enough drying time, especially in humid climates. Store only hard, fully dry seeds.
Storing Seeds in Humid Places
Bathrooms, laundry rooms, garages, and hot sheds are poor storage choices. Seeds need cool, dry, dark conditions to remain viable.
Forgetting to Label the Seeds
Always label saved seeds immediately. Waiting until later is how “Crimson Sweet watermelon” becomes “round black seeds, maybe melon, maybe cucumber, possibly alien.”
Saving Seeds from Weak Plants
If you grow your own watermelon, save seeds only from healthy, vigorous plants with desirable fruit. Seed saving is selection. Every year, you are quietly voting for the traits you want more of in your garden.
Best Watermelon Varieties for Seed Saving
For reliable seed saving, look for open-pollinated or heirloom watermelon varieties. Popular examples include Crimson Sweet, Sugar Baby, Moon and Stars, Blacktail Mountain, and Charleston Gray. Availability varies by region, but these types are often loved by home gardeners because they offer flavor, character, and seeds that can be saved more predictably.
If you want the purest seed, grow only one watermelon variety in a season or separate varieties by a generous distance. Home gardeners with small yards may not achieve professional isolation distances, but growing one variety at a time is the easiest practical solution.
Extra Experience: Lessons from Saving Watermelon Seeds at Home
The first time you save watermelon seeds, it feels almost too easy. You eat the watermelon, collect the seeds, rinse them, dry them, and suddenly you are the proud owner of a tiny future melon patch. But experience quickly teaches that the small details make the difference between healthy saved seeds and a disappointing spring.
One useful habit is choosing the best fruit before anyone cuts it. If you grow watermelons in your garden, mark the strongest plant while it is still growing. Use a piece of garden tape or a small tag and write down notes such as “early fruit,” “sweet flavor,” “healthy vine,” or “good size.” By harvest time, it is easy to forget which vine performed best, especially when the garden has turned into a green jungle and every watermelon looks like it is hiding from you.
Another lesson is to save more seeds than you think you need. Not every seed will germinate, not every seedling will survive, and not every plant will become productive. A small envelope of 30 to 50 well-dried seeds gives you enough for planting, testing, sharing, and backup. Gardeners love backup plans almost as much as they love saying, “I’m just going outside for five minutes,” and returning two hours later covered in soil.
Drying location matters more than beginners expect. A kitchen counter may work in a dry climate, but in humid weather, seeds dry slowly and may develop mold. A better setup is a small screen, plate, or coffee filter placed in a room with good air movement. A fan nearby can help, but do not blast the seeds across the room unless you enjoy crawling under furniture to recover next year’s crop.
It is also smart to do a quick inspection after the first few days of drying. Remove any seeds that look shriveled, cracked, pale, fuzzy, or suspicious. Healthy watermelon seeds should be firm and full. Weak seeds take up storage space and can reduce the quality of your batch if mold spreads.
When storing seeds, the refrigerator is helpful, but only if the container is airtight. A paper envelope alone is not enough in a fridge because refrigerators contain moisture. Put the labeled envelope inside a sealed jar with a desiccant packet. Then, when you remove the jar in spring, let it warm up before opening. This small step prevents condensation from forming on the seeds.
One of the most enjoyable parts of saving watermelon seeds is comparing results year after year. Maybe one batch sprouts faster. Maybe one line handles heat better. Maybe a fruit from saved seed tastes sweeter than expected. That is the beauty of home seed saving: you are not just storing seeds; you are building a relationship with your garden. Dramatic? Maybe. But anyone who has waited all summer for a watermelon to ripen understands the emotional stakes.
For beginners, the simple rinse-and-dry method is the best place to start. Once you feel comfortable, try fermentation with a small batch and compare the results. Keep notes on drying time, storage method, germination rate, and plant performance. Over time, your seed-saving process becomes less of a guess and more of a personal system.
Finally, do not be discouraged if saved seeds produce surprises. Cross-pollination, hybrid genetics, weather stress, and storage conditions can all influence results. Sometimes the garden gives you exactly what you expected. Sometimes it gives you a weird melon with a personality. Either way, you learn something, and you still get to call it gardening.
Conclusion
Saving watermelon seeds for planting is simple, but success depends on doing each step carefully. Start with mature seeds from a fully ripe, preferably open-pollinated watermelon. Clean them well using either the rinse-and-dry method or a short fermentation method. Dry them completely, store them in labeled airtight containers, and keep them cool, dark, and dry until planting season.
The best part is that seed saving turns one watermelon into a future garden opportunity. It saves money, preserves favorite varieties, reduces waste, and gives you a deeper connection to the food you grow. Plus, there is something wonderfully satisfying about holding a handful of seeds and knowing they might become vines, flowers, fruit, and eventually another sticky summer afternoon.
Note: For the most predictable results, save seeds from open-pollinated or heirloom watermelon varieties rather than seedless or hybrid fruit. Home-saved seeds may vary, especially if multiple watermelon varieties grew nearby.