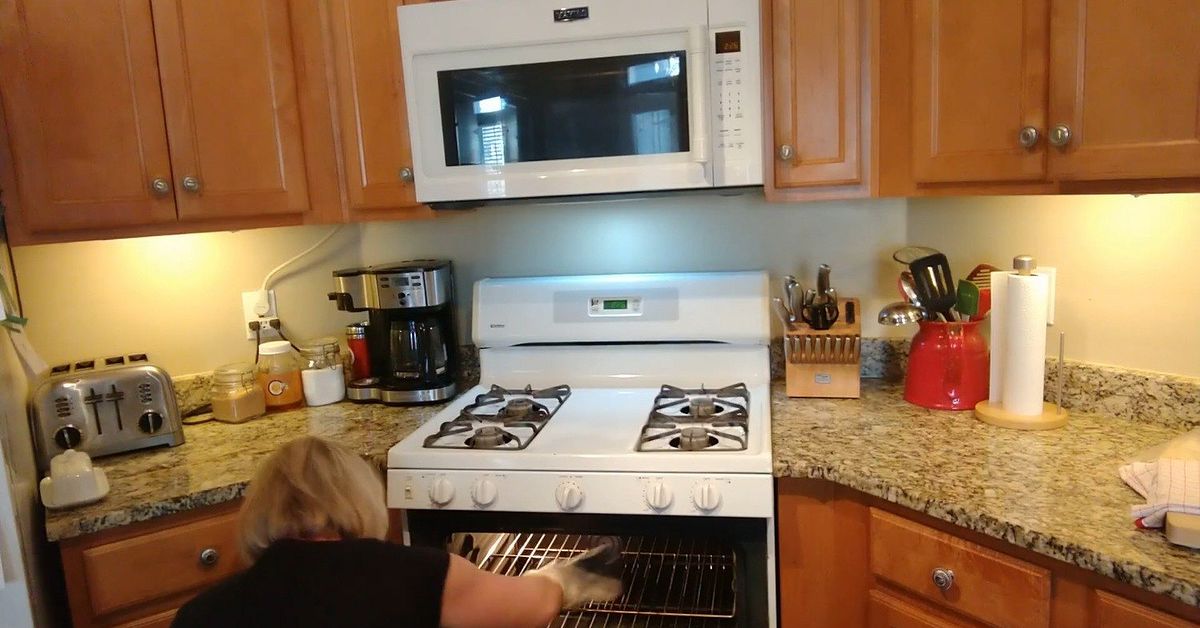
Your oven may look innocent, sitting there with its glowing display and confident little “350°F” setting. But here is the awkward truth: many ovens are not as accurate as they pretend to be. One oven may run 20 degrees too hot and turn cookies into crunchy frisbees. Another may run cool and make a casserole behave like it is vacationing in a lukewarm spa. If your recipes keep coming out underbaked, overbrowned, dry, pale, or mysteriously inconsistent, the problem may not be your cooking skills. It may be your oven temperature.
The good news is that correcting an oven’s temperature is usually simple. In many cases, you do not need a toolbox worthy of a NASA engineer. You need an oven-safe thermometer, a little patience, your owner’s manual, and a calm attitude toward appliances that lie for a living. This guide explains how to test your oven temperature, understand the results, calibrate the oven when possible, and know when a bigger repair may be needed.
Why Oven Temperature Accuracy Matters
Oven temperature affects texture, color, moisture, rise, and cooking time. Baking is especially sensitive because cakes, cookies, breads, pies, and pastries depend on heat arriving at the right moment. A cake baked in an oven that runs too cool may rise slowly, sink in the center, or develop a dense crumb. An oven that runs too hot can brown the outside before the inside has time to set.
Roasting and casseroles are a bit more forgiving, but accuracy still matters. A roast may take much longer than planned in a cool oven, while vegetables may scorch too quickly in a hot one. When the oven is off by 10 degrees, you may not notice much. When it is off by 25, 35, or even 50 degrees, dinner starts filing complaints.
Common Signs Your Oven Temperature Is Wrong
Before you start adjusting anything, look for patterns. One bad batch of brownies could be a recipe issue, a pan issue, or someone opening the oven door every three minutes “just to check.” But repeated problems are worth investigating.
Your oven may need correction if:
- Cookies burn on the bottom before the tops look done.
- Cakes rise unevenly or stay wet in the center.
- Frozen foods take much longer than the package says.
- Bread browns too fast but feels doughy inside.
- Roasts cook slower or faster than expected.
- The oven says it is preheated, but food still starts slowly.
- Recipes that used to work suddenly fail in the same oven.
These symptoms do not automatically prove the thermostat is wrong. Rack position, pan color, overcrowding, convection settings, worn door gaskets, and dirty heating elements can also affect results. Still, checking the actual oven temperature is the smartest first step.
Step 1: Get a Reliable Oven Thermometer
To correct your oven’s temperature, you must first know what temperature it is actually reaching. The built-in display tells you what the oven is trying to do, not always what is happening inside. An independent oven thermometer gives you a second opinion.
You can use a basic analog oven thermometer that hangs from or sits on the rack. These are inexpensive and easy to find. A digital probe thermometer designed for oven air temperature can be even more useful because it lets you watch temperature changes without opening the door. Avoid using a standard meat thermometer for this job unless the manufacturer says it can measure ambient oven temperature safely.
Place the thermometer in the center of the middle rack. Keep it away from the oven walls, door, and heating elements. The center of the oven gives the most useful reading because that is where many foods bake.
Step 2: Preheat Longer Than the Beep
Many ovens beep before the entire cavity has truly stabilized. The display may say “ready,” but the walls, racks, and air may still be catching up. For a more accurate test, set the oven to 350°F and let it heat for at least 20 to 30 minutes. If you bake often, 350°F is a practical test temperature because it is used in many recipes.
Do not open the oven repeatedly during preheating. Every peek lets heat escape and makes the reading less reliable. Your oven is not a reality show contestant; it does not need constant monitoring.
Step 3: Read the Temperature the Right Way
Ovens cycle on and off. That means the temperature naturally rises above and falls below the set point. A perfectly normal oven set to 350°F may swing higher and lower as it maintains an average temperature. Because of this, one quick thermometer reading is not enough.
After the oven has fully preheated, check the thermometer reading through the glass if possible. If you must open the door, do it quickly and carefully. Record the temperature. Then wait another 10 to 15 minutes and record a second reading. For better accuracy, take several readings over 30 minutes and average them.
For example, suppose your oven is set to 350°F and your readings are 330°F, 340°F, 335°F, and 345°F. The average is about 338°F, which means your oven is running roughly 12 degrees cool. That small difference may not require calibration, but it can help you understand why delicate recipes need a little more time.
Step 4: Decide Whether Calibration Is Needed
A small difference is normal. Many home ovens vary slightly, and the thermometer itself may not be perfect. If your oven is off by less than 10 to 15 degrees, you may simply adjust cooking time slightly or rotate pans more carefully.
If your oven consistently reads 15 degrees or more above or below the set temperature, calibration is worth considering. If it is off by 30 to 35 degrees, many ovens still allow a built-in adjustment. If it is off by more than that, or if the temperature swings wildly, the issue may involve a faulty temperature sensor, control board, thermostat, door gasket, igniter, or heating element. In that case, calibration may not solve the root problem.
Step 5: Calibrate a Digital Oven
Most modern electric and gas ovens with digital controls have a temperature adjustment feature. The exact process depends on the brand and model, so your owner’s manual is the best authority. Some ovens use a Settings, Options, Tools, or Special Features menu. Others require holding a button such as Bake, Broil, or a combination of keys for several seconds.
Once you reach the calibration screen, you will usually see a number such as 0, 00, or ADJ 0. This represents the current temperature offset. If your oven runs cool, increase the offset. If your oven runs hot, decrease it.
Example: Correcting an oven that runs cool
You set the oven to 350°F, but your thermometer average is 325°F. That means the oven is about 25 degrees cool. If your oven allows it, set the calibration adjustment to +25°F. The oven will then heat hotter than before when you select a temperature.
Example: Correcting an oven that runs hot
You set the oven to 350°F, but the thermometer average is 375°F. That means the oven is about 25 degrees hot. Set the calibration adjustment to -25°F. The oven will reduce its operating temperature to better match your setting.
Many brands limit adjustments to about plus or minus 30 to 35 degrees. Some models move in 5-degree increments, while others move in 10-degree increments. Save the setting according to your oven’s instructions, usually by pressing Start, Set, or Enter.
Step 6: Calibrate an Analog Oven Knob
Older ovens with knob controls may be adjusted manually. The method varies, but many analog knobs have small screws on the back. Carefully pull the temperature knob straight off, turn it over, and look for one or two adjustment screws. You may need a small screwdriver.
Make tiny changes. A small turn can create a noticeable temperature shift. Some appliance makers recommend moving the screw only about one-eighth of a turn at a time. If the oven runs hot, the adjustment often moves in one direction; if it runs cool, it moves in the opposite direction. Because knob designs differ, check the markings on the knob or consult the manual before turning anything.
After adjusting the knob, replace it, retest the oven, and repeat only if necessary. Do not guess wildly. Oven calibration is not a carnival game.
Step 7: Retest Before You Celebrate
After calibration, run the same test again. Set the oven to 350°F, let it preheat fully, wait for the temperature to stabilize, and take multiple readings. The goal is not to make every moment inside the oven exactly 350°F. The goal is to bring the average temperature close to the setting.
If the oven is now within about 10 to 15 degrees of the set temperature, you have likely corrected the problem enough for normal cooking and baking. If it still runs far off, double-check that the adjustment was saved. If the setting is correct but performance is still poor, the appliance may need service.
Other Factors That Affect Oven Temperature
Rack position
The middle rack is best for many baked goods because it allows air to circulate evenly. Food placed too close to the bottom element may brown too quickly underneath. Food placed near the top may brown faster on the surface.
Pan color and material
Dark metal pans absorb more heat and can make baked goods brown faster. Glass and ceramic dishes hold heat differently than metal pans. If your cookies are always too dark on the bottom, the oven may not be the only suspect.
Opening the door
Every time you open the door, the oven loses heat. This matters most with cakes, soufflés, bread, and other foods that depend on steady heat. Use the oven light instead of opening the door whenever possible.
Convection settings
Convection ovens use a fan to move hot air. This can cook food faster and brown it more efficiently. Many recipes recommend reducing the temperature by about 25°F when using convection, unless the oven automatically adjusts. If your food is overbrowning in convection mode, the settingnot the calibrationmay be the issue.
Hot spots
Some ovens have areas that run hotter than others. To check for hot spots, place slices of white bread across a rack and toast them briefly at a moderate temperature. Uneven browning reveals where heat is strongest. Rotate pans during baking if needed.
When Not to Calibrate the Oven Yourself
Calibration is useful for steady, predictable temperature differences. It is not a cure for every oven problem. Call a qualified appliance technician if the oven is off by more than the adjustment range, if it will not heat at all, if it overheats dangerously, if the temperature jumps unpredictably, or if you smell gas near a gas appliance.
You should also seek help if the door does not seal, the bake or broil element is visibly damaged, the igniter glows but the oven does not heat properly, or the control panel behaves strangely. Correcting an oven temperature should make cooking more predictable, not turn your kitchen into a suspense movie.
Practical Tips for Better Oven Accuracy
- Keep an oven thermometer inside if you bake often.
- Let the oven preheat longer than the first beep for sensitive recipes.
- Use the middle rack for temperature testing.
- Do not overcrowd the oven; air needs room to move.
- Rotate pans halfway through baking if your oven has hot spots.
- Check calibration every six months or after moving the appliance.
- Use your owner’s manual for model-specific calibration steps.
Real-World Experience: What Correcting an Oven Temperature Actually Feels Like
Correcting an oven’s temperature sounds technical, but in real life it often starts with a very human moment: frustration. Maybe you followed a chocolate chip cookie recipe exactly, only to pull out a tray that looked like it had spent spring break on the surface of the sun. Or maybe your banana bread needed an extra 25 minutes and still had a suspiciously soft center. When the same recipes keep misbehaving, it is easy to blame yourself. But many home cooks discover that the oven has been the sneaky troublemaker all along.
One of the biggest lessons from testing an oven is patience. The first time you put an oven thermometer inside, you may be surprised by how long the temperature takes to settle. The oven may beep after 12 minutes, but the thermometer may show that it is still 25 degrees low. After another 15 minutes, it may finally reach the target range. That discovery alone can improve your cooking, even before you touch the calibration setting. Some ovens simply need a longer preheat, especially for baking bread, pizza, cakes, and pies.
Another real-world lesson is that ovens are not steady like a classroom ruler. They breathe. They cycle. The heat rises, falls, rises again, and falls again. At first, this can look alarming. You may see the thermometer climb to 365°F, then drop to 335°F, even though the oven is set to 350°F. That does not always mean something is broken. What matters is the average temperature over time. Once you understand that rhythm, your oven becomes less mysterious and more like a quirky coworker: not perfect, but manageable if you know its habits.
Calibration can also change how you read recipes. After correcting a cool oven, cookies may suddenly finish when the recipe says they should. Roasted vegetables may caramelize instead of steaming. Cakes may rise more evenly. A small 15- or 20-degree correction can feel like upgrading your baking skills overnight. It is not magic; it is just heat behaving closer to the recipe writer’s expectations.
Still, the process teaches humility. Sometimes the oven is only part of the problem. A dark sheet pan can overbrown cookies. A crowded oven can block airflow. A glass baking dish can hold heat longer than expected. A convection fan can brown food faster than a standard bake setting. Correcting your oven’s temperature gives you a better baseline, but great results also come from choosing the right pan, rack position, and timing.
The best habit is to keep notes. If your oven runs slightly hot even after calibration, write it down. If pizza bakes best on the lower rack at 475°F, write that down too. If your holiday casserole needs 10 extra minutes because the oven is packed with three other dishes, that is useful kitchen intelligence. Over time, you stop fighting the oven and start working with it.
Conclusion
Learning how to correct your oven’s temperature is one of the easiest ways to improve your cooking and baking. Start with a reliable oven thermometer, test the oven after a full preheat, average multiple readings, and calibrate only when the difference is consistent. Digital ovens usually adjust through a settings menu, while some analog ovens use screws behind the temperature knob. After making changes, retest before trusting the result.
If your oven is only slightly off, small recipe adjustments may be enough. If it is seriously inaccurate or unstable, professional service may be the smarter move. Either way, once you know your oven’s real temperature, you can bake, roast, and broil with much more confidence. Your cookies will thank you. Your casseroles will stop being dramatic. And your oven? It may still lie a little, but now you know how to catch it.