Swimming with a fresh ear piercing sounds harmless until your new jewelry meets pool chemicals, lake bacteria, ocean salt, sunscreen, hair products, and the mysterious floating things no one wants to identify. Suddenly, that cute little stud is not just a style choice. It is a tiny healing wound wearing jewelry and trying very hard not to become dramatic.
The safest answer is simple: avoid swimming until your ear piercing is fully healed. That is especially true for cartilage piercings, which can be more stubborn than a phone charger that only works at one exact angle. But life happens. Maybe you have swim practice, a beach trip, summer camp, vacation photos, or a pool party where everyone else is cannonballing like dolphins with Wi-Fi. If swimming is unavoidable, your goal is not to make the piercing waterproof forever. Your goal is to reduce water exposure, protect the area from irritation, and clean it properly afterward.
This guide explains how to cover an ear piercing for swimming using three practical methods: a waterproof transparent film dressing, a swim cap or ear band barrier, and a careful after-swim cleaning routine when a perfect seal is impossible. You will also learn when not to swim, how to avoid common mistakes, and what signs mean your piercing needs professional attention.
Can You Swim With a New Ear Piercing?
Technically, yes, a person can enter water with a new piercing. The smarter question is whether they should. A new ear piercing is a controlled wound. Until it heals, the skin channel around the jewelry is vulnerable to bacteria, irritation, and trauma. Swimming pools contain chlorine, but chlorine does not turn pool water into magical sterile soup. Lakes, rivers, oceans, and hot tubs can expose a healing piercing to bacteria, chemicals, salt, minerals, and heat. Hot tubs are especially risky because warm water is basically a luxury spa day for germs.
Most basic earlobe piercings need several weeks to heal on the surface, while cartilage piercings can take several months or longer to fully settle. Healing time varies based on placement, jewelry quality, aftercare, your body, and whether the piercing has been bumped, slept on, or annoyed by headphones. If your piercing is still swollen, crusty, tender, warm, bleeding, or producing unusual discharge, swimming should move to the “absolutely not today” category.
If the piercing is very new, the best cover is not a bandage. It is patience. But if you must be around water, the following methods can lower risk.
Before You Cover It: Check Whether Swimming Is a Bad Idea
Before reaching for waterproof bandages, pause and inspect the piercing. Do not swim if the area is red, hot, increasingly painful, swollen, leaking yellow or green discharge, or if you feel unwell. Do not swim if the jewelry feels embedded, too tight, or is being pulled by a backing. Do not swim if your piercer or doctor specifically told you to avoid water. The ocean will still be there next week. Your ear deserves to be there too, calmly attached and not staging a rebellion.
Also consider the type of water. A clean, properly maintained pool is generally less risky than a lake, river, hot tub, or crowded water park. Natural bodies of water are harder to control. Hot tubs combine heat, chemicals, and shared human soup energy, which is not ideal for healing skin. If your piercing is fresh and your only swimming option is a hot tub, the best method is to keep your head and ears completely out of the wateror skip it.
Method 1: Use a Waterproof Transparent Film Dressing
A waterproof transparent film dressing is often the most practical way to cover an ear piercing for swimming, especially if the piercing is on the earlobe or a flatter part of the ear. These dressings are thin, flexible, and designed to create a water-resistant barrier over small wounds. You can usually find them at pharmacies near first-aid supplies. They may be labeled as transparent film dressings, waterproof wound covers, or shower-proof bandages.
Best for
This method works best for earlobe piercings, low helix piercings, or piercings on areas where the dressing can lie flat. It is less reliable for curved cartilage spots, conch piercings, industrial piercings, or any jewelry that sticks out too much. Ears are not exactly flat real estate, so sealing the edges can be tricky.
How to apply it
Wash your hands thoroughly before touching the area. Gently clean the piercing according to your normal aftercare routine, then let the skin dry completely. A bandage will not stick well to wet skin, oily sunscreen, lotion, or hair product. If the piercing is irritated, do not press hard or trap moisture against it for long periods.
Cut the transparent film dressing large enough to cover the piercing and extend beyond it on all sides. The edges need clean, dry skin to grip. Apply the dressing smoothly, avoiding wrinkles and gaps. Do not squeeze the jewelry tightly under the dressing. Pressure can irritate the piercing, especially if the backing is already snug. Think “protective cover,” not “vacuum-sealed snack pack.”
After swimming, remove the dressing gently. Pulling it off like a dramatic movie bandage can tug the jewelry and annoy the piercing. Clean the area with sterile saline or your recommended aftercare solution, rinse away pool or salt residue if advised, and pat dry with clean gauze or a disposable paper towel. Avoid cotton fibers that can snag jewelry.
Pros and cons
The biggest advantage is that a transparent film dressing can reduce direct water contact. It is also discreet and easy to carry. The downside is that it may not seal perfectly on the ear’s curves. It can also loosen during long swims, sweating, diving, or repeated splashing. For that reason, use this method for short, controlled swims rather than a full day of underwater flips, pool volleyball, and pretending to be a mermaid with responsibilities.
Method 2: Wear a Swim Cap, Ear Band, or Protective Ear Cover
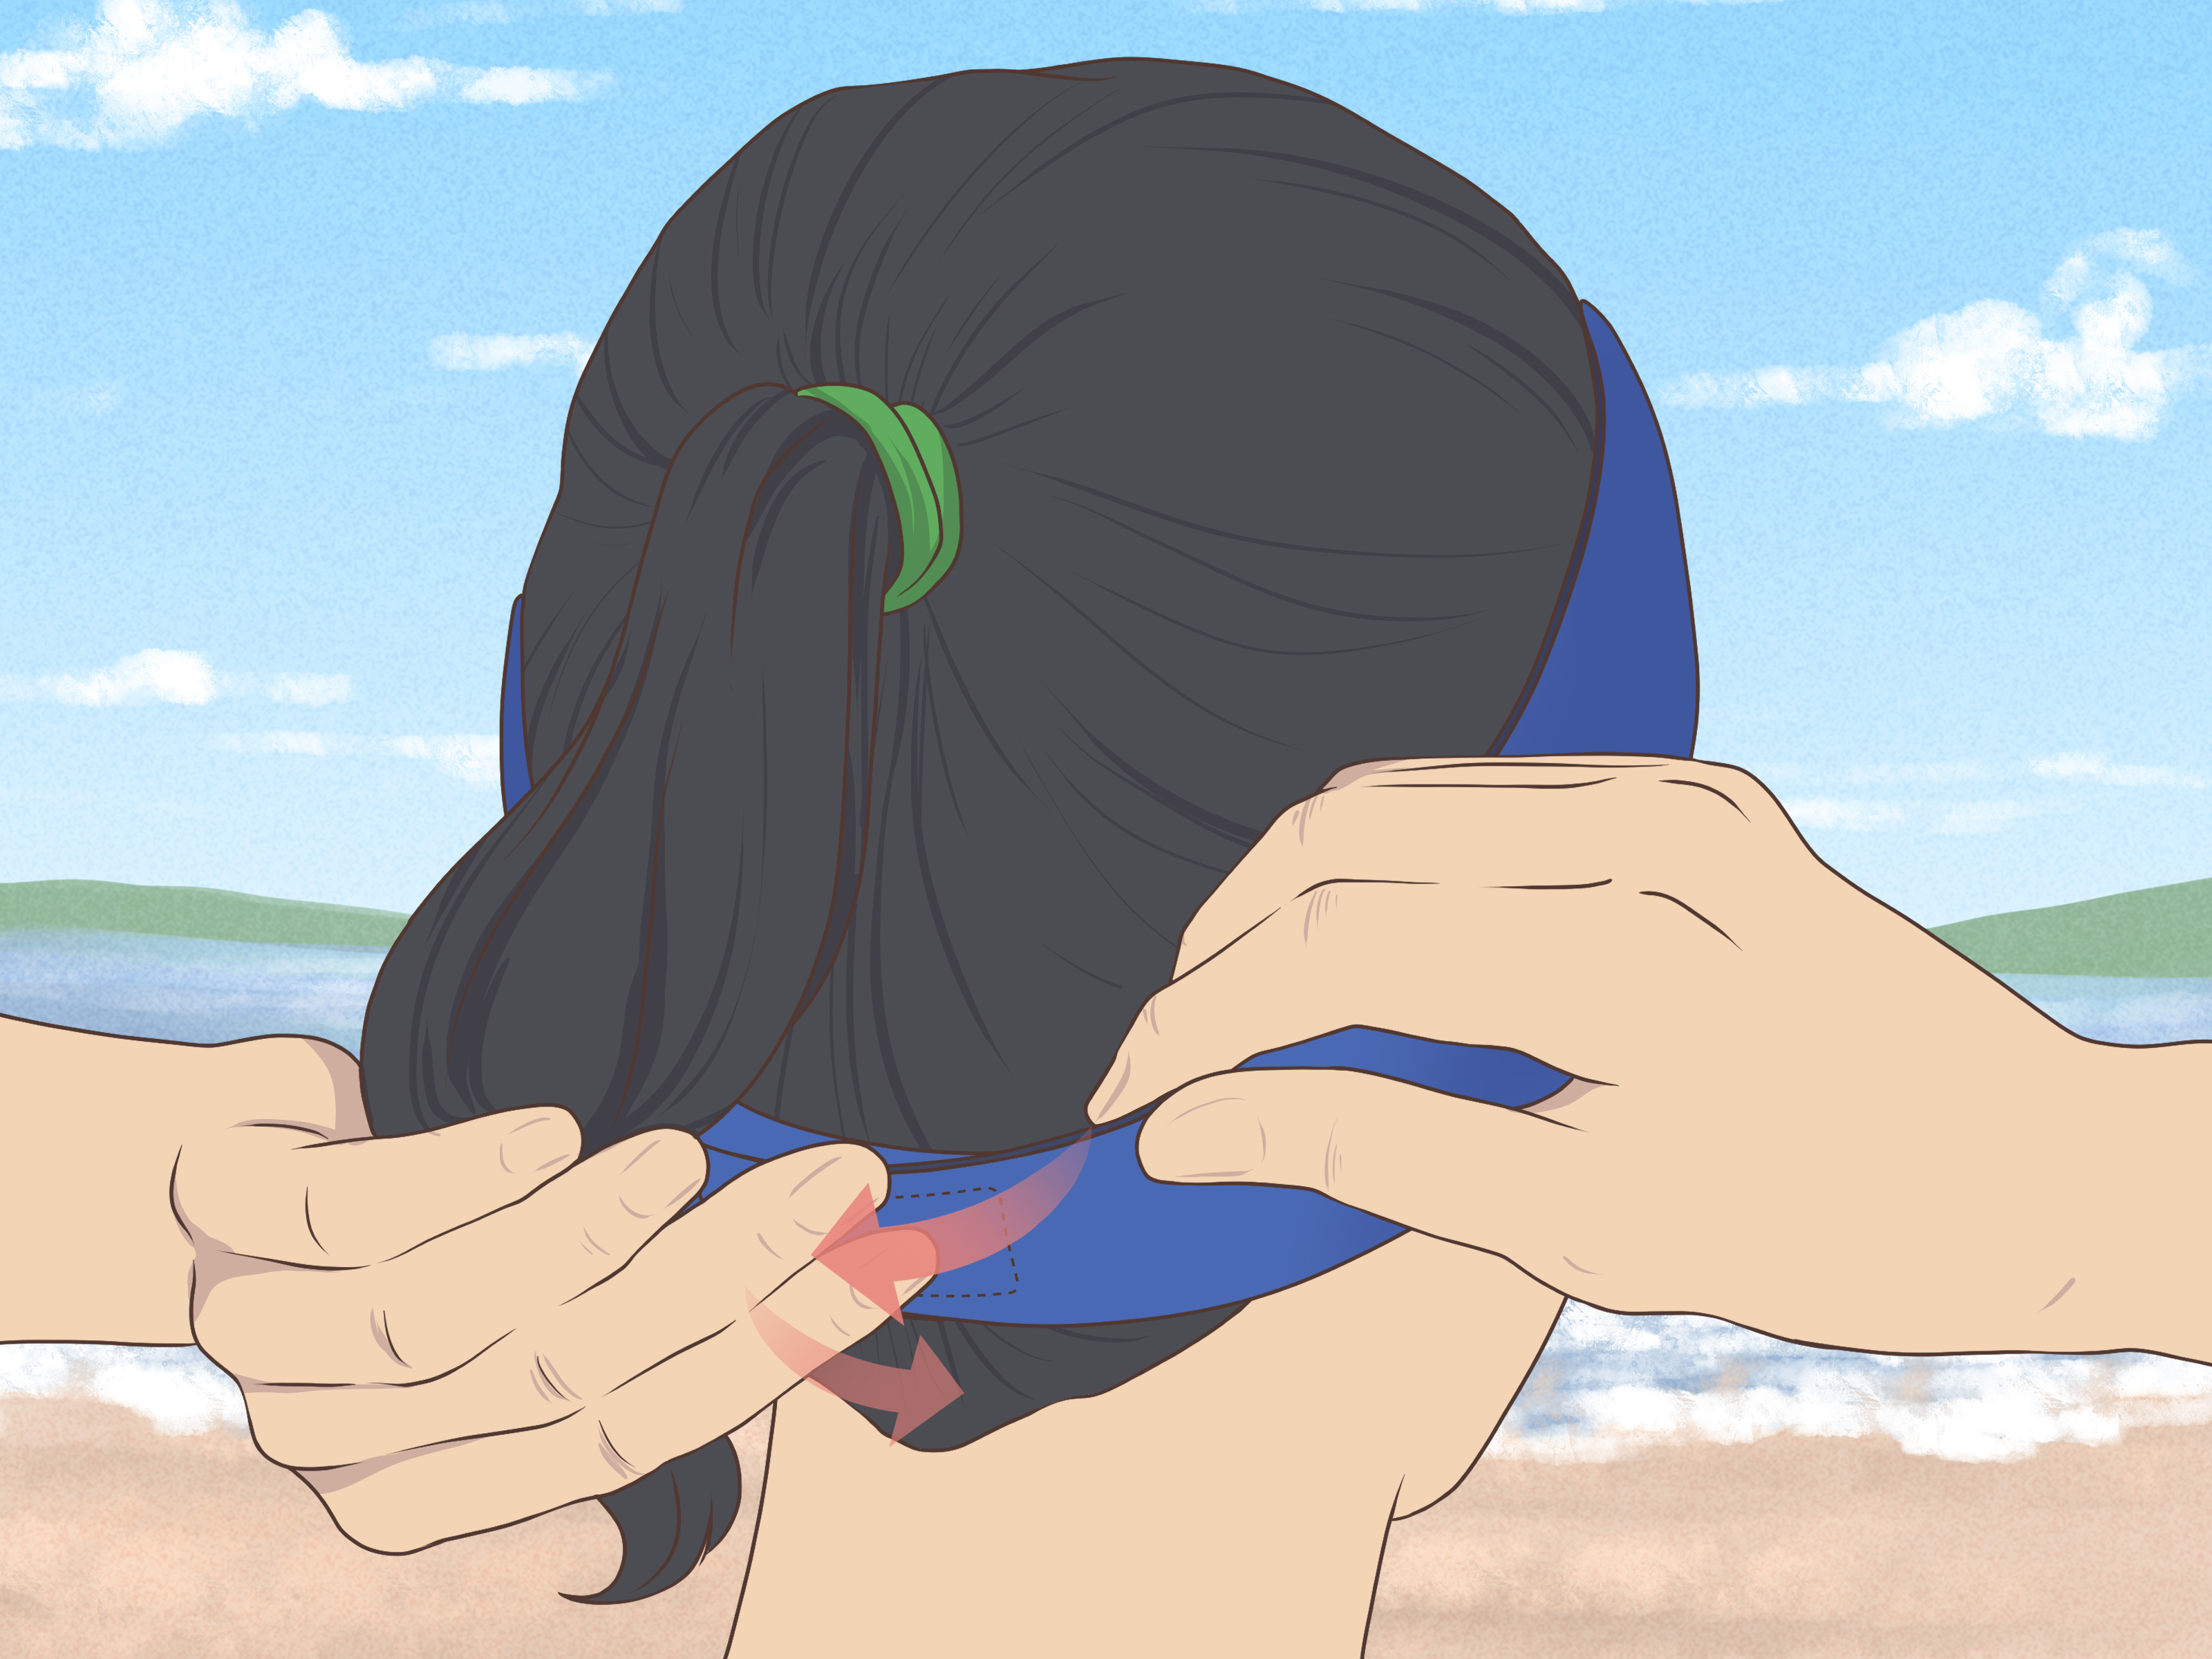
If adhesive bandages do not work well with your piercing placement, a physical barrier can help. A snug swim cap, neoprene ear band, or soft ear cover can reduce splashing and help keep the ear drier. This method is especially useful for cartilage piercings where tape may not stick or where removing adhesive could tug on jewelry.
Best for
This method is helpful for helix, flat, forward helix, and upper ear piercings. It is also useful for swimmers who need a non-adhesive option because their skin is sensitive to tape. A swim cap alone may not keep the ear completely dry, but it can reduce water movement around the piercing. When paired with a waterproof dressing over a lobe piercing, it adds another layer of protection.
How to use it
Choose a swim cap that covers the ears comfortably without crushing the piercing. Silicone caps are often smoother and less likely to grab hair than latex caps, but fit matters more than fancy packaging. Put the cap on slowly. Do not drag it across the piercing. If you have long hair, tie it back first so the cap does not pull hair across the jewelry.
An ear band can be worn over the ears to hold them closer to the head and reduce water flow. Some swimmers use ear bands with earplugs, but remember that earplugs protect the ear canal, not the piercing hole. Earplugs may help prevent swimmer’s ear, but they are not a magic shield for a lobe or cartilage piercing. If your piercing is on the outside of the ear, it still needs external protection.
After swimming, remove the cap carefully and check that the jewelry has not shifted. Rinse or clean the piercing as recommended. Dry the area gently. Moisture trapped under a cap can irritate healing skin, so do not leave the cap on longer than needed.
Pros and cons
The main benefit is that a cap or ear band avoids adhesive directly around the piercing. It can also be easier for active swimmers. The downside is that it does not create a true waterproof seal. If you submerge your head, water can still sneak in like it paid admission. This method is best for reducing splashes, not for guaranteeing dryness during deep swimming.
Method 3: Use a Smart “Low-Water Contact” Strategy
The third method is less about one product and more about building a practical protection plan. Sometimes you cannot cover an ear piercing perfectly. Maybe the piercing is in a curved spot. Maybe the bandage will not stick. Maybe the swim cap presses too hard. In that case, the best option is to reduce water exposure as much as possible and follow a strict after-swim routine.
Best for
This method is best for older piercings that are healing well but not fully mature, swimmers who cannot use adhesive, and situations where you will be near water but do not need to fully submerge your head. It is not the best choice for a brand-new piercing, an irritated piercing, or a piercing with infection symptoms.
How to do it
Choose the cleanest water environment available. A well-maintained pool is usually a better choice than a lake, hot tub, or river. Keep your head above water. Avoid diving, rough play, and anything that slaps water directly against your ear. If you are at the beach, be careful with sand, sunscreen, hair spray, and towels. Sand has a special talent for entering places where it was not invited.
Before swimming, wash your hands and avoid touching the piercing. Do not remove the jewelry. Removing jewelry from a healing piercing can cause the hole to shrink or close, and it may trap irritation inside. If jewelry must be changed for sports or safety reasons, ask a professional piercer about safe alternatives rather than improvising with mystery metal from a drawer.
After swimming, clean the piercing promptly with sterile saline or the aftercare product recommended by your piercer. Gently remove any chlorine, salt, sunscreen, or sweat from around the area. Pat dry with clean gauze or a disposable towel. Do not twist the jewelry aggressively. Do not scrub. Do not attack the piercing with hydrogen peroxide, harsh alcohol, or strong antibacterial products unless a healthcare professional specifically tells you to. Healing skin likes gentle care, not chemical warfare.
Pros and cons
This method is realistic and flexible. It helps when perfect coverage is not possible. The downside is that it does not block water completely. It depends on careful behavior before, during, and after swimming. If you know you are going to spend hours underwater, wrestle pool noodles, and emerge looking like a soaked raccoon, this method is not enough for a fresh piercing.
What Not to Use to Cover an Ear Piercing
Not every household item belongs on a piercing. Avoid duct tape, packing tape, electrical tape, and random adhesives. They can irritate skin, leave residue, and pull jewelry when removed. Avoid cotton balls taped over the piercing because cotton fibers can snag and hold moisture. Avoid thick ointments unless recommended, because they can trap debris and make the area too moist. Avoid tight bandages that press the earring backing into the skin.
Do not use makeup, concealer, or liquid bandage on a fresh piercing before swimming. Cosmetic products can irritate healing skin, and liquid sealants may not be appropriate directly around jewelry. If you need to hide the piercing for appearance reasons, swimming is not the time to experiment. Water, sweat, cosmetics, and healing tissue are a messy little committee, and none of them brought snacks.
How Long Should You Wait Before Swimming?
The safest rule is to wait until the piercing is fully healed. For many earlobe piercings, that can mean several weeks. Cartilage piercings often take much longer and may remain vulnerable even when they look fine from the outside. Surface appearance can be misleading. A piercing may look calm while the inner channel is still healing.
If you recently got pierced and have a major swim event coming up, contact your piercer before the event. A reputable piercer can look at placement, jewelry fit, irritation level, and healing progress. They can also recommend whether a waterproof dressing is realistic for your piercing. For younger swimmers, a parent or guardian should help evaluate the situation and watch for signs of irritation or infection.
Signs Your Piercing Needs Attention After Swimming
Some mild tenderness can happen with a new piercing, but symptoms should not keep getting worse. Watch for increasing redness, swelling, warmth, throbbing pain, unusual discharge, a bad smell, fever, or redness spreading away from the piercing. Cartilage infections can be more serious than simple lobe irritation, so do not ignore a painful upper-ear piercing. If symptoms do not improve quickly or seem severe, contact a healthcare professional.
Also remember that not every angry piercing is infected. Sometimes the problem is irritation from pressure, tight jewelry, sleeping on it, hair snagging, headphones, nickel sensitivity, or over-cleaning. A professional piercer can often help identify jewelry or aftercare issues, while a doctor can evaluate infection symptoms and prescribe treatment if needed.
Quick Comparison: Which Method Should You Choose?
| Method | Best Use | Main Benefit | Main Limitation |
|---|---|---|---|
| Waterproof transparent film dressing | Earlobe or flatter ear areas | Creates a water-resistant barrier | May not seal well on curved cartilage |
| Swim cap or ear band | Cartilage piercings and active swimmers | Reduces splashes without adhesive | Not fully waterproof |
| Low-water contact strategy | Older, calm piercings | Practical when covering is difficult | Does not block water completely |
Extra Experience Tips for Swimming With an Ear Piercing
Here is the real-life truth: covering an ear piercing for swimming is rarely as neat as the package makes it look. A waterproof bandage might stick beautifully in your bathroom mirror test, then start peeling the second sunscreen, sweat, or pool water joins the conversation. That does not mean the method is useless. It means preparation matters.
One helpful experience-based trick is to test your cover before the actual swim. Apply the waterproof dressing at home, move your jaw, tilt your head, put on your swim cap, and see whether the edges lift. The ear moves more than people realize. Smiling, talking, and adjusting goggles can all shift the skin around a piercing. If the dressing lifts during a dry test, it will probably not become more obedient in a pool.
Another practical tip is to pack a small piercing-care kit. Include sterile saline, clean gauze, an extra waterproof dressing, and a small mirror. If you are going to a public pool or beach, do not rely on restroom paper towels that feel like recycled cardboard with emotional issues. Clean drying material makes aftercare easier and less irritating.
If you are swimming during vacation, choose your swim moments wisely. A short dip in a clean pool followed by immediate cleaning is lower risk than spending all afternoon in ocean water, rolling in sand, applying sunscreen three times, and drying off with a shared towel. The longer the exposure, the more chances your piercing has to get irritated. Short and careful usually beats long and chaotic.
For kids and teens, sports schedules can complicate things. Swim team, lessons, and summer camps do not always care that your ear is healing. In that case, talk with the coach, parent, or instructor. You may be able to modify activities temporarily, keep the head above water, skip diving, or take a short break from swimming until the piercing is safer. It may feel annoying, but an infected piercing can interrupt swimming much longer than a brief healing break.
People with cartilage piercings should be extra cautious with swim caps. A tight cap pressing on a helix or flat piercing can cause soreness even if it keeps some water away. If the cap causes pressure, try a different size or style. Protection should not create a new problem. The same rule applies to goggles, hats, headphones, and towel drying. Anything that bumps the jewelry can slow healing.
Do not judge healing only by appearance. A piercing can look cute and calm while still being delicate inside. If it gets cranky after swimming, treat that as feedback. Reduce water exposure next time, clean gently, and give it a rest. Healing piercings are like tiny roommates: they behave better when you stop bothering them every five minutes.
Finally, when in doubt, ask your piercer. A professional piercer has seen every version of “I covered it perfectly, but then the lake happened.” They can help you choose a safer method based on your exact piercing placement, jewelry, and healing stage. The best swimming plan is not the fanciest one. It is the one that protects your piercing without irritating it more.
Conclusion
Learning how to cover an ear piercing for swimming is really about understanding risk. The safest move is to avoid swimming until the piercing is healed. If swimming cannot be avoided, use a waterproof transparent film dressing for flatter areas, a swim cap or ear band for splash reduction, and a careful low-water contact strategy when a perfect seal is not possible. Keep the swim short, avoid dirty or hot water, clean the piercing afterward, and watch for infection symptoms.
A piercing is small, but the aftercare matters. Treat it gently, protect it from unnecessary water exposure, and do not let one pool party turn into weeks of swelling, soreness, and regret. Your ear is trying to heal. Help it win.