Countertops do a lot of heavy lifting. They hold coffee makers, dinner prep, takeout containers, birthday cakes, and the occasional pile of mail you swear you were going to sort yesterday. So when they start looking chipped, swollen, stained, or simply trapped in a different decade, replacing them can make the entire room feel new again.
The good news? A countertop replacement is absolutely doable for many homeowners, especially if you’re working with laminate, butcher block, or another DIY-friendly material. The less-good news is that this is not the kind of project that forgives sloppy measuring, rushed cuts, or “eh, that cabinet is probably level enough.” Countertops are picky. They like precision, support, and a calm adult in the room.
This guide walks you through how to replace countertops step by step, from planning and demolition to fitting, fastening, sealing, and cleanup. You’ll also learn when to handle the work yourself and when to politely back away and let a pro take over.
Before You Start: Decide Whether This Is a DIY Job
Not every countertop material belongs in a weekend warrior project. Some are manageable with ordinary tools and careful planning. Others are heavy, brittle, expensive, or dusty enough to make your lungs file a complaint.
Usually DIY-friendly
- Laminate: Budget-friendly, lightweight, and one of the most practical options for DIY countertop installation.
- Butcher block: Warm, attractive, and workable with standard woodworking tools.
- Tile: Time-consuming, yes. Impossible, no.
- Some solid-surface products: Possible for experienced DIYers, though seams can be tricky.
Better left to professionals
- Quartz: Heavy, expensive, and usually fabricated off-site.
- Granite and marble: Beautiful, but also heavy, fragile at cutouts, and unforgiving.
- Concrete: Very customizable, but not beginner-friendly.
If your project involves engineered stone or natural stone cutting, remember this: the countertop is not trying to build your confidence. Quartz and stone fabrication can create hazardous silica dust, and large slabs can crack during transport or installation. There is no shame in outsourcing the risky part and taking credit for the excellent decision-making.
Tools and Materials You May Need
- Tape measure
- Level
- Pencil and notepad
- Drill/driver
- Screwdrivers
- Pry bar
- Utility knife
- Oscillating multi-tool
- Jigsaw or circular saw
- Clamps
- Caulk gun
- Silicone caulk or adhesive, depending on material
- Wood screws or recommended fasteners
- Safety glasses, hearing protection, gloves, and dust protection
- Sink template and faucet hole saw, if needed
- Seam fasteners, joint connectors, or color-matched epoxy for certain materials
Always check the countertop manufacturer’s instructions before cutting or fastening anything. One material loves screws. Another hates them. One wants room to expand. Another wants continuous support. Countertops are a little dramatic that way.
Step 1: Measure Like Your Kitchen’s Reputation Depends on It
It does.
Start by drawing a simple top-down sketch of your kitchen or bath countertop layout. Measure each run from wall to wall. Then measure cabinet depth from the back wall to the cabinet front. Double-check corners, notches, sink locations, cooktop cutouts, appliance clearances, and backsplash height.
For many kitchens, base cabinets are around 24 inches deep, and countertop overhang at the front is often about 1 to 1 1/2 inches. But your home may not be textbook perfect. Walls can bow, corners can drift, and old houses sometimes seem to have been measured by a pirate with a ruler.
Measure in several places, not just once. If the wall is wavy or the layout is complex, create a physical template using thin strips of cardboard, luan, or paneling. Templates are especially useful for butcher block, U-shaped counters, odd corners, and anywhere a bad cut would be both expensive and character-building.
Step 2: Check the Cabinets Before Blaming the Countertop
New countertops need a flat, stable base. If your cabinets are out of level, twisted, loose, or sagging, the new top will not magically fix that. It will simply sit there looking disappointed.
Use a long level across the cabinet tops, front to back and side to side. Shim where needed. Tighten loose cabinet boxes. Make sure the cabinets are securely fastened to one another and to the wall. If you’re installing heavy material, confirm that the base is strong enough and that any necessary supports or brackets are in place before the countertop arrives.
This step is boring, which means many people rush it. This is also the step that prevents cracks, rocking, ugly seams, and surprise gaps later.
Step 3: Shut Off Utilities and Remove the Sink
Before you remove the old countertop, disconnect what’s attached to it.
- Turn off the water supply under the sink.
- Disconnect the supply lines and drain connections.
- Turn off power to the garbage disposal if you have one.
- Unplug and remove any cooktop or appliance tied into the countertop.
- Take out the sink clips or mounting hardware.
Keep a bucket and towels nearby, because plumbing has a sense of humor. Label anything you might reuse, especially faucet parts, clips, and specialty hardware.
Step 4: Remove the Old Countertop
Open the cabinets and look underneath for screws, corner brackets, clips, or construction adhesive. Remove fasteners first. Cut through caulk or silicone along the backsplash and wall with a utility knife. If the top is glued down, use an oscillating tool or a thin pry bar carefully.
Lift the countertop slowly and evenly. If it resists, assume there’s still a fastener hiding somewhere and not that brute force is now the answer. It rarely is.
If you’re keeping the cabinets, protect them during removal. One careless pry can splinter the face frame or gouge finished sides. That turns a countertop project into a cabinet touch-up project, which is how weekends disappear.
Step 5: Dry-Fit the New Countertop
Before you secure anything, place the new countertop on the cabinets and check the fit. This dry fit tells you whether your measurements were accurate and whether the wall, seam locations, sink opening, and overhang all look right.
Look for:
- Even front overhang
- Tight but realistic fit against the wall
- Proper sink and appliance alignment
- Level placement across all cabinet runs
- Seams landing where planned
For wood tops such as butcher block, allow for seasonal expansion and don’t jam the countertop hard against the wall. If the wall is imperfect, scribing the backsplash edge or back edge may be necessary for a cleaner fit.
Step 6: Make Cuts and Cutouts Carefully
This is where patience pays off.
For laminate countertops
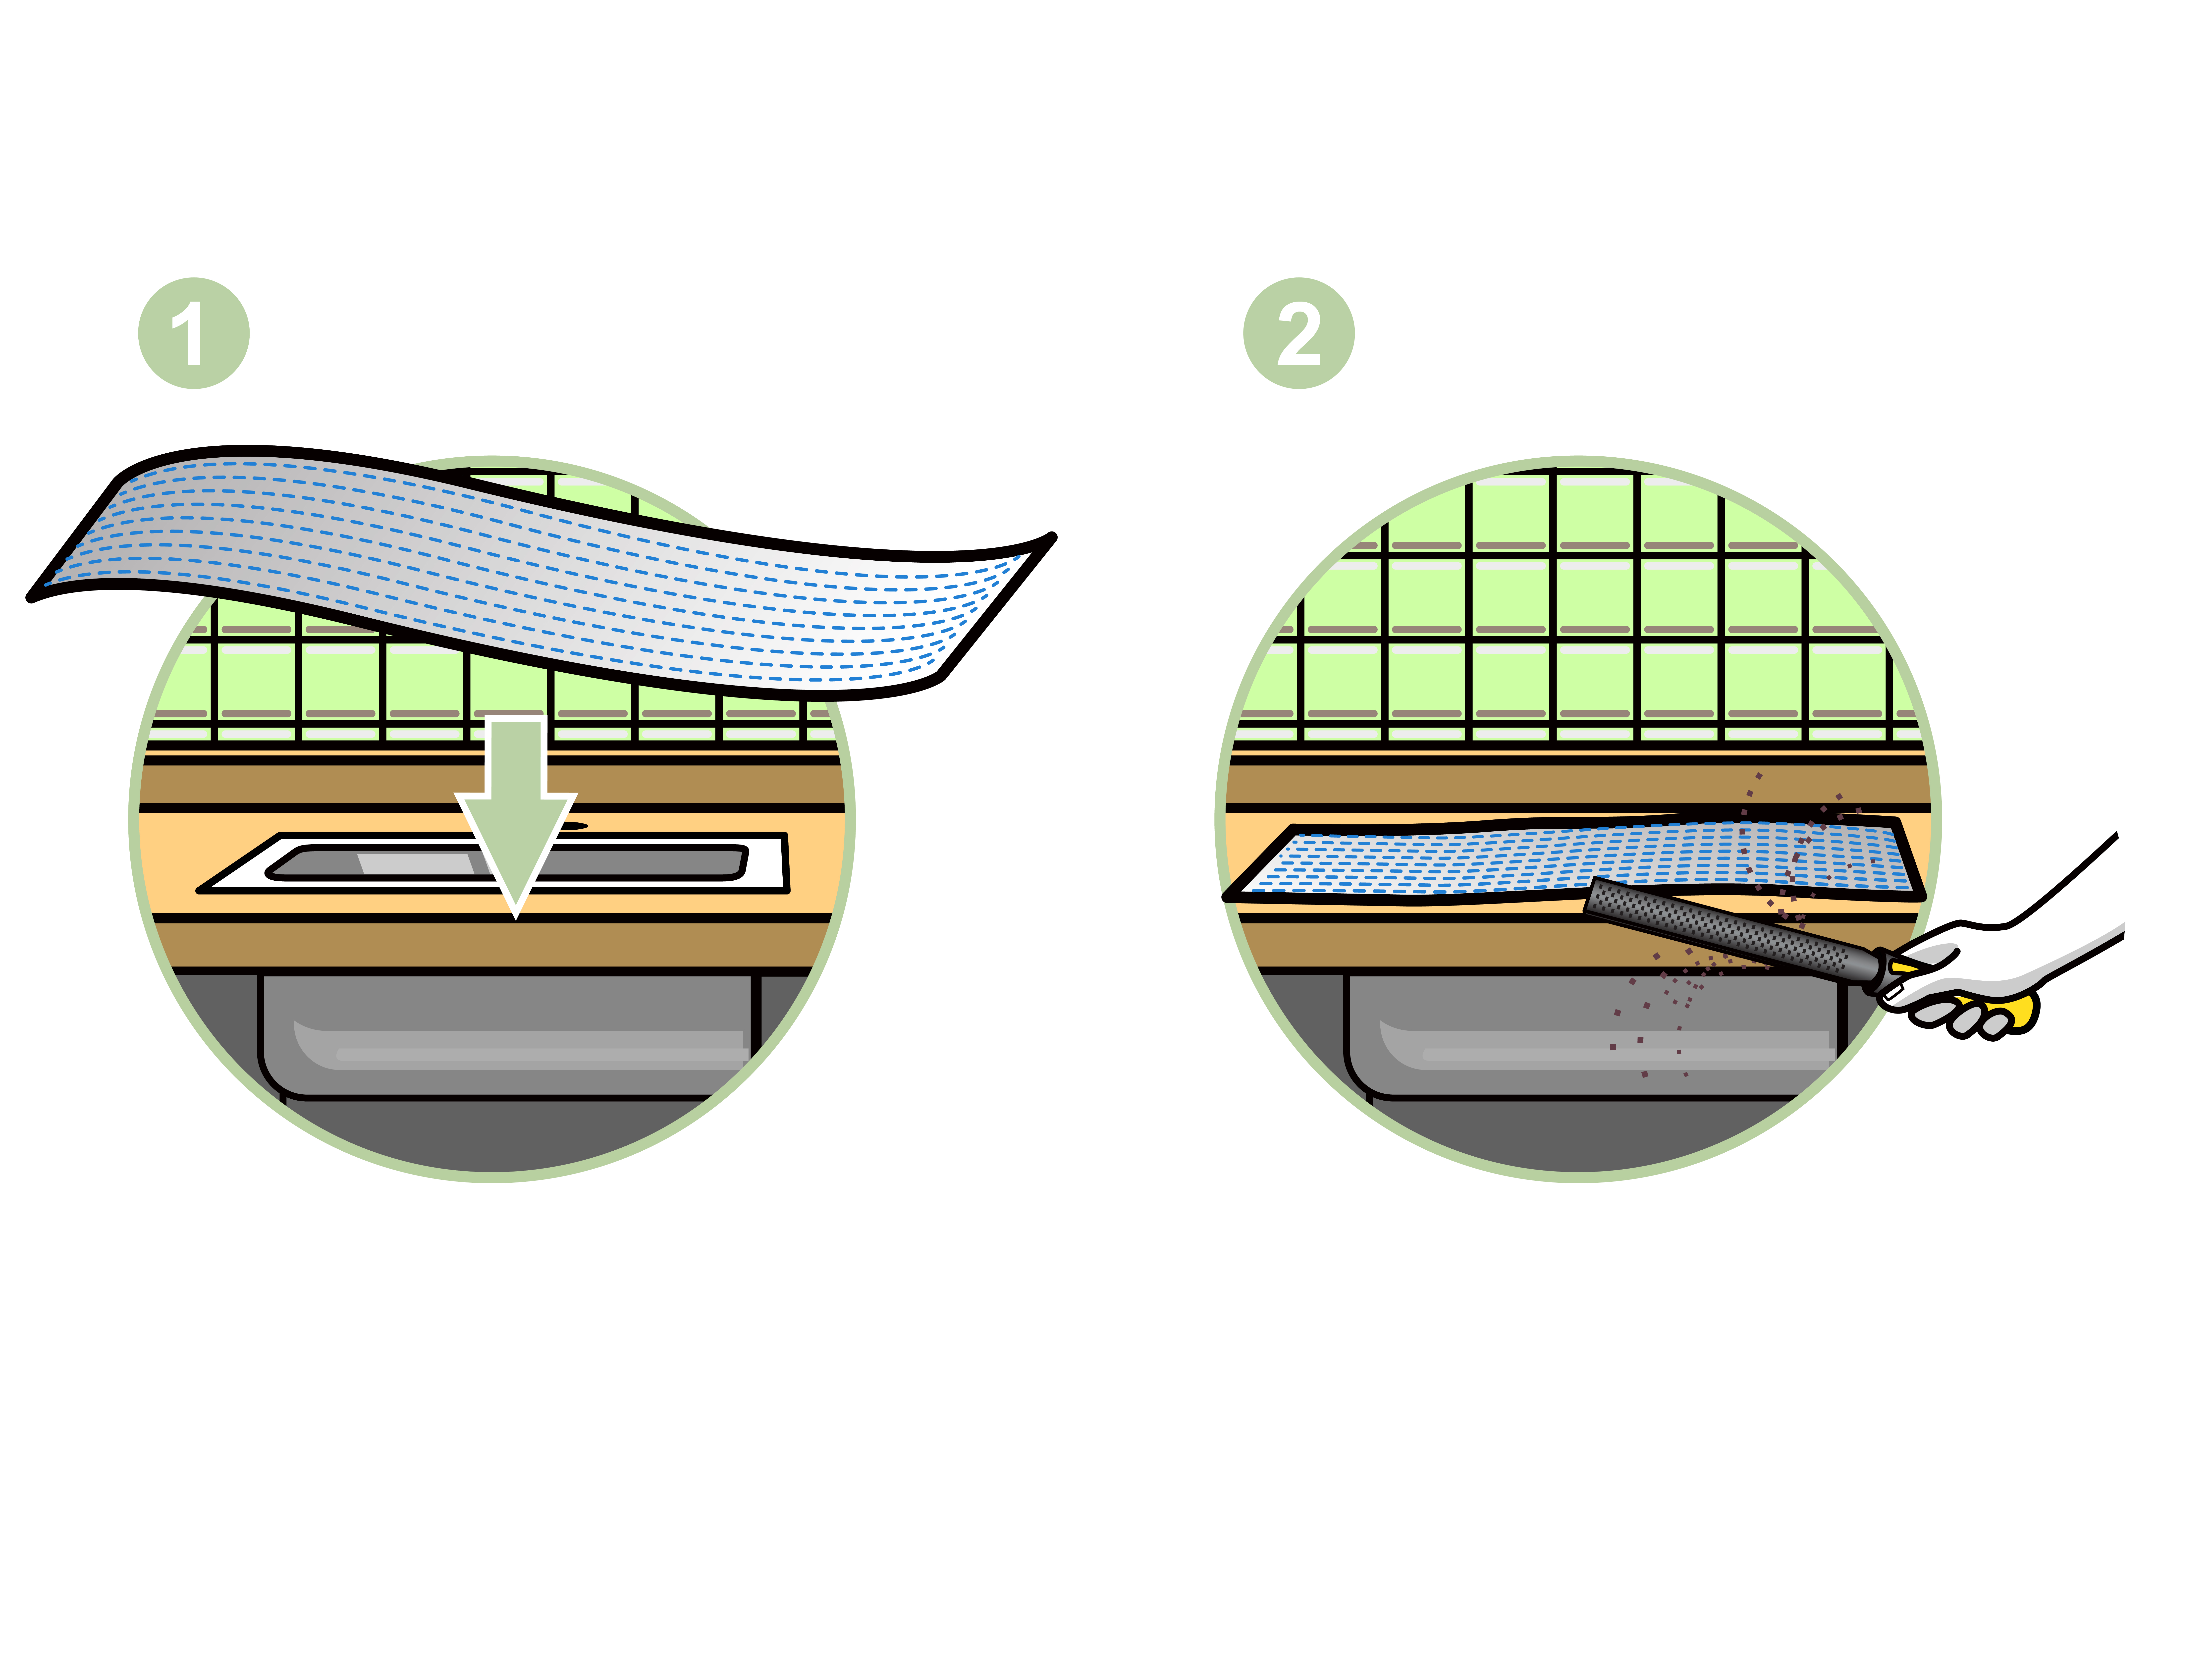
Use masking tape over the cut line to reduce chipping. Mark clearly, use a fine-tooth blade, and follow the manufacturer’s advice on cutting direction. Smooth the cut edge with a file or sandpaper. For exposed ends, install end caps or edge treatment according to the product instructions.
For butcher block
Mark from your template and cut with a track saw or circular saw guided by a straightedge. Support both sides of the cut. Sand edges smooth. Seal all cut surfaces, especially around sink openings, because water loves unprotected wood.
For sink cutouts
Use the sink template or manufacturer-provided dimensions. Drill starter holes in the corners and cut slowly with a jigsaw. Keep corners rounded where possible rather than sharply squared. Rounded inside corners help reduce stress and chipping, especially in more brittle surfaces.
If you’re dealing with quartz, granite, or other stone, do not treat the cutout like a casual arts-and-crafts project. Those materials are weakest near sink and cooktop openings, and one bad lift or unsupported section can crack the slab. In many cases, professional fabrication is the smartest move.
Step 7: Join Seams if the Countertop Has Multiple Pieces
L-shaped kitchens and long runs often require seams. The goal is simple: tight, level, neat, and not screaming for attention from across the room.
Different materials use different seam methods:
- Laminate: Preformed sections may use miter bolts, sealant, and alignment adjustments.
- Butcher block: Joint connectors and wood glue are common.
- Stone: Color-matched epoxy and seam setters are typical.
Protect surrounding surfaces with painter’s tape before applying adhesive or epoxy. Pull the seam together evenly and check that the top surfaces are flush. A slightly visible seam is normal. A raised, gapped, lumpy seam is a cry for help.
Step 8: Secure the Countertop to the Cabinets
Once the dry fit is correct and seams are handled, fasten the countertop according to the material requirements.
Laminate and butcher block
These are often secured with screws through corner brackets or support rails from underneath. Don’t overtighten. You want secure, not “I have invented a crack.”
Quartz and other engineered stone
Many manufacturers call for flexible silicone on properly supported cabinet tops rather than mechanical fasteners driven into the slab. That’s an important distinction. Stone and quartz need the right support system, spacing, and overhang planning to avoid future failure.
Whatever the material, recheck level and alignment before the adhesive cures or the final screws go in.
Step 9: Install the Backsplash, Sink, and Faucet
Now the room starts looking finished again.
If your countertop has a separate backsplash, attach it as recommended for the material and seal the joint where it meets the wall and counter. For the sink, follow the sink manufacturer’s instructions for clips, sealant, and curing time.
Reconnect plumbing carefully, install the faucet, reconnect the drain, and test for leaks. Then test again. Then run your hand around every fitting like a detective in a very specific mystery novel.
If you’re not comfortable reconnecting supply lines or drains, hire a licensed plumber for that portion. This is a perfectly respectable life choice.
Step 10: Seal, Oil, or Finish the Surface
Not all countertops need the same aftercare.
- Butcher block: Apply a food-safe mineral oil or approved finish, especially if the top is unfinished.
- Granite and some natural stone: May need sealing depending on the stone.
- Quartz: Typically does not require sealing.
- Laminate: No sealing needed, but protect seams and cut edges from water exposure.
- Concrete and tile grout: Usually need sealing and periodic maintenance.
Always seal cutouts, raw edges, and vulnerable joints. That little bit of extra effort now can prevent swelling, staining, mold, or delamination later.
Common Mistakes to Avoid
- Measuring only once
- Ignoring out-of-level cabinets
- Skipping the dry fit
- Forgetting appliance, outlet, or window trim clearance
- Using the wrong fastener or adhesive for the material
- Leaving wood cutouts unsealed
- Trying to muscle heavy stone slabs without enough help
- Cutting engineered stone dry and exposing yourself to silica dust
- Rushing plumbing reconnection and discovering leaks after cleanup
When to Call a Pro
Call a professional if:
- You’re installing quartz, granite, or marble
- The layout has multiple seams, large islands, or tricky corners
- You need specialty cutouts or complex edge profiles
- Your cabinets need structural reinforcement
- You are not comfortable disconnecting or reconnecting plumbing
- You’d rather pay once than buy three new tools and a regret
There is a huge difference between being adventurous and being underprepared. The first one makes a good story. The second one makes a call to customer service.
Extra Experience: Real Lessons From Replacing Countertops
One of the biggest lessons people learn during countertop replacement is that demolition feels fast, but installation feels slow. Removing an old laminate top can take an afternoon. Measuring, templating, trimming, scribing, and rechecking can take much longer than expected. That surprises a lot of first-time DIYers. They think the dramatic part is the tear-out. It isn’t. The dramatic part is standing in the kitchen holding a tape measure and realizing one wall is almost half an inch out over a short span.
Another common experience is discovering that the old countertop had been hiding flaws. Once the top comes off, homeowners often find uneven cabinet rails, missing shims, water damage near the sink base, or a backsplash gap somebody cleverly disguised with caulk and optimism. That can feel frustrating, but it is actually useful. Replacing countertops gives you a rare chance to fix the surface below before the new top goes on. It is much better to find those issues now than after you’ve installed a beautiful new surface that starts rocking like a diner table.
Many people also underestimate how awkward countertop materials can be even when they aren’t technically heavy. Butcher block, for example, is friendlier than stone, but a long section is still bulky and difficult to maneuver through doorways, around appliances, and into corners without banging finished walls. Laminate is lighter, yet its finished surface can chip if handled carelessly during transport. The practical lesson is simple: always clear the path first. Move rugs, stools, boxes, and anything else between the truck and the cabinets. A clean path is one of those tiny preparation steps that saves a shocking amount of stress.
There’s also the emotional arc of the project, and yes, countertop replacement absolutely has one. At first, it’s excitement. Then it becomes doubt around the first cut. Then it becomes cautious hope during the dry fit. Then, once the sink is back in and the caulk line looks clean, it turns into the kind of satisfaction that makes people walk into the kitchen three extra times for no reason. A new countertop changes how the room feels more than many homeowners expect. Even when cabinets stay the same, the space often feels cleaner, brighter, and more intentional.
Perhaps the most useful real-world lesson is that good results usually come from restraint, not speed. The best DIY countertop jobs are done by people who stop to read the instructions twice, test the fit before fastening, and ask for help lifting awkward sections. They don’t freestyle a quartz cut in the driveway or assume all adhesives work the same way. They respect the details. And with countertop replacement, details are everything. A careful approach may not look glamorous on social media, but it is exactly what keeps the seams tight, the sink sealed, and the countertop looking sharp long after the project is done.
Final Thoughts
If you want to replace countertops successfully, think like a craftsperson, not a speedrunner. Measure carefully, prep the cabinets properly, dry-fit before fastening, and follow the rules for your specific material. Laminate and butcher block are often the most approachable options for DIYers, while stone and quartz usually justify professional fabrication or installation.
Done right, a countertop replacement can transform a kitchen or bath without requiring a full remodel. Done carelessly, it can turn into an expensive lesson in geometry, plumbing, and humility. So take your time, respect the details, and let the new countertop be the hero of the room.