Microsuede furniture is one of those home items that looks expensive, feels cozy, and somehow becomes a magnet for crumbs, coffee drips, mystery smudges, and the occasional paw-print masterpiece. The good news is that cleaning microsuede is usually much less dramatic than people fear. The bad news? If you ignore the care label and go rogue with a random cleaner, your sofa can end up looking like it lost a fight with a rain cloud.
If you want to clean microsuede furniture the right way, the trick is simple: know the fabric code, use the correct cleaner, avoid soaking the material, and restore the texture after it dries. That is the difference between “freshened up beautifully” and “why is there now a darker square on my loveseat?”
This guide walks you through 13 practical steps to clean a microsuede couch, chair, ottoman, or sectional safely. It also covers stain removal, odor control, and the real-life cleaning lessons that most people only learn after they have already panicked and scrubbed too hard.
What Is Microsuede, Exactly?
Microsuede is a soft synthetic upholstery fabric designed to mimic the look and feel of suede without the same level of fragility. It is popular because it is comfortable, attractive, and often more forgiving than natural suede. Still, “forgiving” does not mean “indestructible.” Dirt, body oils, pet hair, snack dust, and spills can settle into the nap, making the surface look dingy or matted over time.
Before you clean microsuede furniture, remember one thing: the cleaning code matters more than a cleaning hack from your cousin, your group chat, or that suspiciously confident 12-second social media video.
How to Clean Microsuede Furniture: 13 Steps
Step 1: Check the Upholstery Cleaning Code
Look under the seat cushions, on the platform beneath them, or along the underside of the furniture for the manufacturer’s care tag. You will usually see one of these codes:
W = water-based cleaners are allowed.
S = solvent-based cleaners only.
WS or SW = either water-based or solvent-based cleaners may be used.
X = vacuum or brush only; deeper cleaning should be left to a professional.
This tiny tag is basically the furniture equivalent of a treasure map. Ignore it, and you may still find something, but it will not be treasure.
Step 2: Vacuum the Entire Piece First
Use a vacuum with a soft brush or upholstery attachment to remove dust, crumbs, lint, and pet hair. Work across the arms, seat, back, seams, and crevices. If the cushions are removable, lift them and vacuum both sides as well as the frame underneath.
This step matters because rubbing wet cleaner over loose dirt turns your couch into a light scrubbing project. Always remove dry debris before any spot treatment or deeper cleaning.
Step 3: Blot Fresh Spills Immediately
If the spill just happened, grab a clean white cloth or plain paper towel and blot gently. Do not rub. Rubbing pushes liquid and dye deeper into the fibers and can spread the stain outward.
Press, lift, and repeat until you remove as much moisture as possible. Think “patient blotting hero,” not “aggressive stain gladiator.”
Step 4: Test Your Cleaner on a Hidden Area
Before treating any visible section, test the chosen cleaner on a hidden spot. Good places include the back lower corner, underneath a cushion, or a concealed section near the base.
Let it dry fully and check for discoloration, stiffening, texture changes, or water marks. Even safe products can behave differently depending on dye, pile direction, and the specific finish used on the fabric.
Step 5: Gather the Right Supplies
Your cleaning kit does not need to look like a chemistry lab. In most cases, you only need:
a vacuum with upholstery attachment, white or light-colored cloths, a white sponge, a soft or nonmetallic brush, a spray bottle, and the correct cleaner for your upholstery code.
For S code microsuede, rubbing alcohol is often used because it evaporates quickly and helps avoid water rings. For W or WS fabrics, a mild water-based upholstery cleaner or foam from diluted dish soap may be appropriate. Never assume one method fits all furniture.
Step 6: Use the Correct Cleaner for the Code
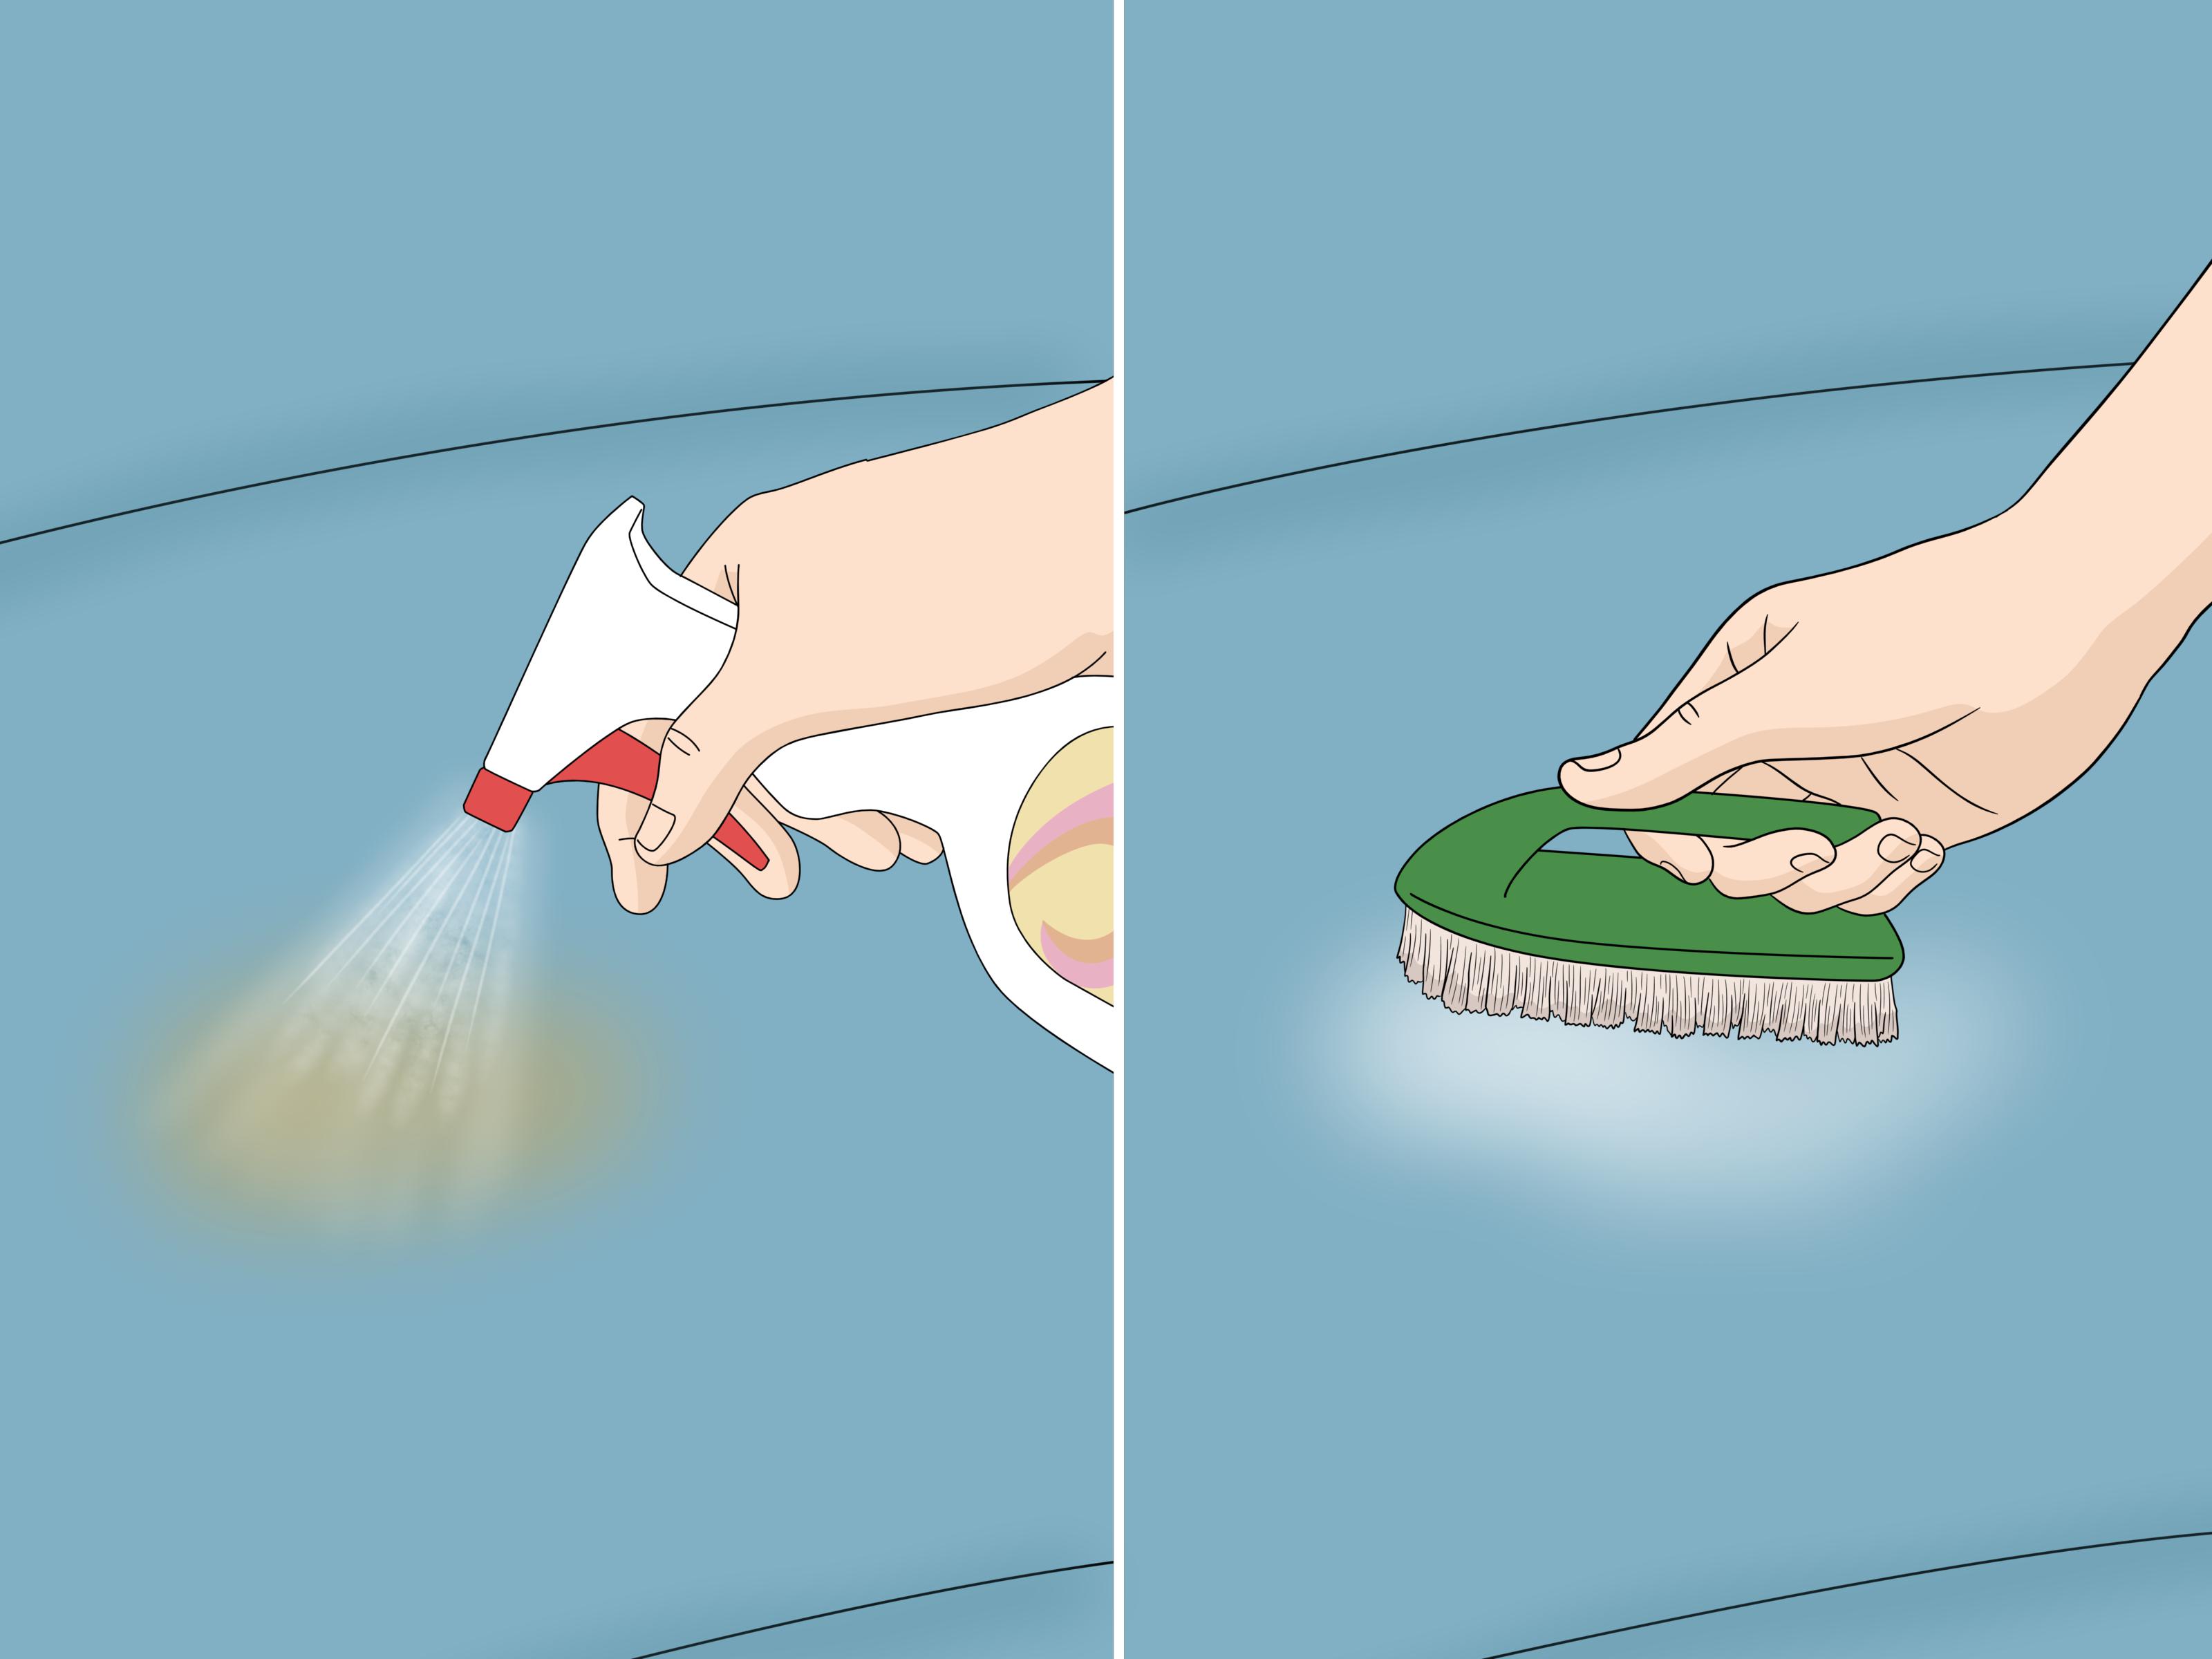
If your furniture is labeled S, use a solvent-safe option, often rubbing alcohol or a solvent-based upholstery cleaner approved for the fabric. Lightly spray a small section and work gently with a white sponge or cloth.
If your furniture is labeled W or WS, you can usually use soap suds or a water-based upholstery cleaner. The key word is foam, not “mini swimming pool.” Apply just enough to clean the surface without drenching the cushion.
If your furniture is labeled X, stop here. Vacuum, brush lightly, and call a professional for stain removal or overall cleaning.
Step 7: Clean in Small Sections
Work on one manageable area at a time rather than attacking the entire couch like it insulted your decorating taste. Cleaning small sections helps you control moisture, track your progress, and avoid uneven drying.
Spray lightly or apply foam sparingly, then dab or gently scrub using circular or short overlapping motions. Focus on one cushion panel, one arm, or one back section before moving on.
Step 8: Do Not Saturate the Fabric
One of the biggest microsuede cleaning mistakes is using too much liquid. Oversaturation can cause water marks, longer drying times, trapped odors, or changes in the look of the nap. It can also let moisture sink into the cushion fill, where bad smells begin plotting their return.
Use only enough cleaner to lift the soil on the surface. If the area looks drenched, you have gone too far.
Step 9: Treat Stains with Patience, Not Drama
For everyday stains like beverage spots, body oil smudges, or general grime, repeated gentle treatment usually works better than one heroic scrub session. Blot, dab, and repeat as needed.
For oily stains, solvent-safe methods are often more effective on the right cleaning code. For general dinginess on a water-safe couch, foam cleaning can help refresh the surface. Avoid colored rags, strong bleach solutions, random laundry pods, or multipurpose sprays not intended for upholstery. Your microsuede did not ask to become a science fair project.
Step 10: Let the Furniture Dry Completely
After cleaning, allow the furniture to air-dry fully before anyone sits on it. Open windows if the weather allows, switch on a ceiling fan, or point a room fan toward the furniture to speed drying.
Do not judge the final result while the fabric is still damp. Microsuede often looks temporarily blotchy until it dries and the fibers settle down.
Step 11: Brush the Nap to Restore the Texture
Once the fabric is dry, use a clean, dry, soft-bristled or nonmetallic brush to gently brush the microsuede. This lifts the fibers and helps restore that soft, even look that makes microsuede so appealing in the first place.
Brush in gentle circular motions or with the direction of the nap until flattened spots look more uniform. This is the step that often makes people say, “Oh good, my couch looks normal again.”
Step 12: Deodorize Carefully
If the furniture smells musty or just a little too much like dog, snacks, and long movie nights, deodorizing can help. A light sprinkling of baking soda on a fully dry surface can absorb odors. Let it sit for a short period, then vacuum thoroughly.
Do not dump on a mountain of powder as if you are breading the couch for frying. A light application is enough. And always make sure the fabric is compatible with dry deodorizing methods before going all in.
Step 13: Maintain It Before It Gets Ugly
The easiest way to clean microsuede furniture is not to wait until it looks like it survived a snack tornado. Vacuum regularly, rotate cushions if the design allows, clean spills quickly, and spot-treat small marks before they become permanent residents.
You can also consider a fabric protector if the manufacturer permits it, but always test first and follow the product instructions closely. Ongoing maintenance beats emergency deep-cleaning every time.
Common Microsuede Cleaning Mistakes to Avoid
Even a good cleaning plan can go sideways if you make one of these classic mistakes:
Using the Wrong Cleaner
Never use a water-based cleaner on an S code couch just because it worked on your dining chairs. Upholstery codes exist for a reason.
Scrubbing Too Hard
Aggressive scrubbing can damage the nap and make a stain look worse. Gentle repetition is more effective than brute force.
Using Colored Towels
Always use white or light-colored cloths and sponges. Dark or bright towels can transfer dye onto damp upholstery. That is how one stain becomes a sequel.
Ignoring Dry Time
Sitting on a damp couch too soon can flatten fibers, spread remaining soil, and trap moisture. Let it dry all the way.
Assuming All Microsuede Is the Same
Some pieces behave differently depending on backing, finish, dye, and manufacturer instructions. The tag wins the argument every time.
When to Call a Professional
Home cleaning works well for light to moderate soil, fresh spills, and ordinary maintenance. But professional upholstery cleaning may be the better move if:
the furniture has an X code, the stain is old or set in, pet odors have soaked into the cushion, mold or mildew is suspected, or previous DIY attempts left rings, stiff spots, or uneven coloring.
There is no shame in calling a pro. Sometimes the most responsible cleaning decision is knowing when to stop before your “simple touch-up” becomes a cautionary tale.
Real-Life Microsuede Cleaning Experiences and Lessons Learned
One of the most common experiences people have with microsuede furniture is pure overconfidence. The couch feels durable, so someone assumes it can handle any cleaner under the sink. Then comes the panic after a shiny patch appears or the stain spreads into a larger halo. What most homeowners learn very quickly is that microsuede responds best to calm, targeted cleaning rather than enthusiastic soaking. The people who get the best results are usually the ones who slow down, read the tag, and work section by section.
Another familiar experience is the “the stain looks worse before it looks better” moment. This happens a lot with armrests, seat cushions, and places where body oils have built up over time. At first, cleaning can make the fabric look darker or uneven. That can be nerve-racking. But once the surface dries and the nap is brushed, the improvement becomes obvious. Many people think they ruined the couch halfway through the process, only to find out the final brushing step completely changes the result.
Pet owners tend to have their own microsuede stories. Fur gathers in seams, paws leave dusty marks, and occasional accidents turn a relaxing evening into a fabric emergency. The good news is that regular vacuuming makes a huge difference. People who keep a small handheld vacuum nearby often say their furniture stays cleaner with much less effort. Waiting months between cleanings, on the other hand, usually means more embedded dirt, more odor, and more frustration.
Families with kids learn another lesson fast: the stain you can see is rarely the only stain on the couch. Juice drips, snack grease, sticky fingerprints, and mystery smears tend to show up in clusters. A parent may start out trying to remove one spot and end up giving the whole sofa a refresh because the “clean” section suddenly reveals how dingy the rest has become. It is almost rude, really. Microsuede has a talent for exposing your cleaning procrastination with brutal honesty.
There is also the experience of discovering that texture matters almost as much as stain removal. Plenty of people successfully remove a mark, then worry because the cleaned section feels rough or looks flat. In many cases, the issue is not leftover dirt. It is simply the nap needing to be reset. A dry brush, a little patience, and light, even strokes can bring the fabric back to life. That step is easy to skip, but it is often the difference between “technically clean” and “actually looks good.”
Probably the biggest takeaway from real-world microsuede cleaning is that maintenance beats rescue work. Quick blotting, regular vacuuming, occasional deodorizing, and fast attention to spills keep furniture looking good with less effort overall. People who treat microsuede like a fabric that needs small, consistent care usually stay ahead of stains. People who wait until the couch looks tired, greasy, and vaguely snack-scented end up needing a much bigger project. In other words, your future self would like you to deal with that spill today.
Final Thoughts
If you want to clean microsuede furniture successfully, the formula is simple: identify the upholstery code, vacuum first, test your cleaner, use the right method for the fabric, avoid oversaturating the material, and brush the nap after drying. That combination keeps microsuede soft, clean, and presentable without turning your living room into an upholstery regret center.
Handled properly, microsuede is one of the more manageable upholstery fabrics for everyday homes. It can survive pets, movie nights, and ordinary life surprisingly well. You just need the right method, a little patience, and the wisdom not to dump random cleaner on the sofa because the bottle says “multi-surface.”