A great business card is small, but it carries a surprisingly big job. It has to introduce your brand, share your contact information, look professional, survive being tossed into a wallet, and somehow say, “Yes, I know what I’m doing,” without sounding like it is wearing a tiny business suit. That is why learning how to create a custom business card using Photoshop is still useful for entrepreneurs, freelancers, designers, consultants, real estate agents, photographers, and anyone who wants a card that does not look like it came from a forgotten template folder.
Photoshop gives you control over layout, color, typography, images, texture, and export quality. It is especially helpful if your card uses photo-based artwork, layered visual effects, custom backgrounds, or brand graphics. While dedicated layout tools can be better for multi-page print projects, Photoshop can absolutely create a polished, print-ready business card when you set up the file correctly from the beginning.
This guide walks you through the complete process: choosing the right business card size, setting up a Photoshop document with bleed, designing the front and back, arranging text, choosing fonts, preparing images, checking print quality, and exporting your file for professional printing. We will also cover practical lessons from real design experience, because the fastest way to learn print design is usually to make one tiny mistake and then stare at 500 printed cards wondering why your email address is almost touching the edge.
Why Use Photoshop for Business Card Design?
Photoshop is not just for retouching portraits or making dramatic movie posters with mysterious fog. It is also a strong tool for custom business card design when your card depends on visual style. If you want a textured background, photo collage, gradient, product image, illustrated pattern, or layered lighting effect, Photoshop gives you flexible creative control.
For example, a photographer might design a card with a full-bleed image on the front and simple contact details on the back. A bakery might use a soft pastel background with a close-up texture of frosting or flour. A fitness coach might create a bold, high-contrast card with energetic shapes and a strong call to action. Photoshop makes these visual choices easy to build, edit, and refine.
The key is remembering that business cards are printed objects, not just pretty rectangles on your monitor. A design that looks perfect on screen can print poorly if the resolution is too low, the color mode is wrong, the text is too small, or the artwork does not extend into the bleed area. Good business card design is half creativity and half technical discipline. Glamour and measurements must shake hands.
Step 1: Choose the Correct Business Card Size
The standard business card size in the United States is 3.5 inches wide by 2 inches tall. This size fits easily into wallets, cardholders, envelopes, and event badge sleeves, which is one reason it remains so common. However, the Photoshop file you create should usually be larger than the final trimmed card because it needs bleed.
Bleed is extra artwork that extends beyond the final cut edge. It prevents thin white borders from appearing if the printer trims the cards slightly off from the exact edge. For most U.S. business cards, a common setup is:
- Final trim size: 3.5 inches by 2 inches
- Bleed: 0.125 inch on each side
- Total Photoshop document size: 3.75 inches by 2.25 inches
- Resolution: 300 pixels per inch
- Color mode: CMYK Color, 8-bit
If your printer gives different specifications, follow the printer’s template. Print shops can vary slightly, especially for rounded cards, square cards, thick premium cards, folded cards, or specialty finishes. The safest rule is simple: design according to the exact printer requirements, not according to a random screenshot from the internet that looks confident.
Step 2: Create a New Photoshop Document
Open Photoshop and choose File > New. In the new document window, enter the print-ready dimensions. For a standard U.S. card with bleed, set the width to 3.75 inches and the height to 2.25 inches. Set the resolution to 300 pixels/inch. Choose CMYK Color if you are preparing the file for professional printing.
Give your file a clear name, such as Smith-Consulting-Business-Card-Front. Future you will appreciate this. Future you does not want to open files named “final-card-final2-actuallyfinal.psd” at midnight.
Recommended Photoshop Setup
- Width: 3.75 inches
- Height: 2.25 inches
- Resolution: 300 ppi
- Color Mode: CMYK Color
- Background: White or transparent, depending on your design
- Orientation: Horizontal or vertical
Horizontal business cards are traditional and easy to scan quickly. Vertical cards feel modern and are useful when you want a bold logo, portrait-style layout, or stacked typography. Neither is automatically better. The right choice depends on your brand personality and how people will use the card.
Step 3: Add Guides for Bleed, Trim, and Safe Area
Guides are essential when designing a business card in Photoshop. They help you see where the final card will be cut and where important information should stay. Think of guides as the polite little traffic cones that keep your logo from wandering into the danger zone.
With a 3.75-inch by 2.25-inch document, the outer edge is the bleed edge. The final trim area begins 0.125 inch from each side. Your important text, logo, and contact details should stay inside a safe area, usually at least another 0.125 inch inside the trim line. Many designers prefer a slightly more generous margin for a cleaner look.
How to Add Guides in Photoshop
- Turn on rulers by pressing Ctrl + R on Windows or Command + R on Mac.
- Go to View > Guides > New Guide Layout, or drag guides manually from the rulers.
- Place guides 0.125 inch from each outer edge to mark the trim area.
- Add another set of guides inside the trim area to mark the safe zone.
- Keep all essential information inside the safe zone.
Background colors, photos, textures, and patterns should extend all the way to the outer edge of the document. Text and logos should not. If your background stops at the trim line, the final printed card may show unwanted white edges. If your phone number sits too close to the trim line, it may look cramped or, worse, get clipped.
Step 4: Plan the Front and Back of the Card
A custom business card usually has two sides. The front can focus on brand identity, while the back can carry practical contact information. This separation keeps the design clean and makes the card feel more intentional.
For the front, you might use your logo, tagline, brand color, illustration, or a strong visual element. For the back, include your name, title, business name, phone number, email address, website, social media handle, and possibly a QR code. Do not feel pressured to include every possible contact method. A business card is not a tiny billboard, résumé, menu, and autobiography all at once.
Example Layout for a Consultant
- Front: Logo centered, tagline underneath, brand color background
- Back: Name, title, phone, email, website, LinkedIn profile
Example Layout for a Photographer
- Front: Full-bleed photo with small logo
- Back: Clean white or dark background with contact details and portfolio URL
Example Layout for a Local Bakery
- Front: Logo, soft pattern, warm brand colors
- Back: Address, phone, website, Instagram handle, short slogan
Step 5: Build a Strong Visual Hierarchy
Visual hierarchy means deciding what people should notice first, second, and third. On a business card, the most important element is usually your name, business name, or logo. Secondary information includes your role or tagline. Supporting details include phone, email, website, and social media.
A common beginner mistake is making everything the same size. When all text shouts equally, nothing is heard clearly. Instead, create contrast. Make the logo or name larger. Use smaller text for supporting details. Add spacing between groups of information. Use bold type only where it helps. Good hierarchy makes the card readable in three seconds, which is important because people rarely study business cards like ancient treasure maps.
Try this simple hierarchy:
- Primary: Name or logo
- Secondary: Job title or tagline
- Supporting: Contact details
- Optional: QR code, social handle, small icon set
Step 6: Choose Fonts That Print Clearly
Typography can make or break a custom business card. A beautiful font that becomes unreadable at small size is not beautiful anymore; it is just decorative confusion. Choose fonts that match your brand but remain easy to read in print.
For most business cards, avoid going below 8-point type for contact information. Company names, personal names, and key brand elements should usually be larger. Sans-serif fonts often work well for modern cards, while serif fonts can feel elegant, editorial, or traditional. Script fonts can look stylish, but use them carefully. A fancy signature-style font may be perfect for a wedding planner and completely wrong for a cybersecurity consultant.
Good Font Practices
- Use one or two font families, not five.
- Keep contact details readable at actual printed size.
- Use bold, weight, or color to create emphasis.
- Avoid ultra-thin fonts unless your printer confirms they will reproduce well.
- Check spacing between letters, especially in email addresses and URLs.
Before exporting, zoom your design to print size or print a test copy on paper. If you have to squint, your future customer will also have to squint. Squinting is not a brand strategy.
Step 7: Use Brand Colors Carefully
Color is one of the quickest ways to make your business card memorable. It can communicate energy, trust, creativity, luxury, friendliness, or calm. But color also changes between screens and printed materials. A neon blue that looks electric on your monitor may print more muted. A soft gray may print darker than expected. This is why CMYK setup, proofing, and test printing matter.
If you already have brand colors, use them consistently. If you do not, choose a small palette: one main color, one accent color, and one neutral. Keep enough contrast between the background and text. Dark gray text on a black background may look stylish on a glowing screen, but in print it can turn into a secret message.
Simple Color Ideas by Brand Type
- Law firm: Navy, white, charcoal, subtle gold
- Wellness coach: Sage green, cream, warm gray
- Creative agency: Black, white, bright accent color
- Luxury brand: Deep green, black, metallic-style accent
- Tech consultant: Blue, white, slate, clean gradients
Step 8: Add Your Logo and Images
Your logo should be high-resolution and clean. If possible, use a vector version of your logo placed as a Smart Object. This helps preserve quality when resizing. If you only have a low-resolution PNG pulled from an old website header, do not simply stretch it and hope for the best. Photoshop is powerful, but it is not a magician with a tiny wand labeled “Make Pixelated Logo Professional.”
When using photos, choose images that are sharp at 300 ppi. Avoid blurry images, compressed screenshots, or images copied from social media. If your card uses a full-bleed photo, extend the photo beyond the trim line into the bleed. Check that no important part of the image, such as a face, product, or logo, sits too close to the cut edge.
Best Practices for Logos and Images
- Use high-resolution artwork.
- Convert important image layers into Smart Objects before scaling.
- Keep logos inside the safe area.
- Do not stretch logos out of proportion.
- Use contrast so the logo is visible against the background.
Step 9: Keep the Layout Clean
White space is not wasted space. It is the breathing room that helps your design feel professional. Many business cards fail because they are overloaded with too much text, too many icons, too many colors, too many fonts, and a QR code the size of a postage stamp’s ambitious cousin.
Keep the card focused. Ask yourself what action you want someone to take after receiving it. Should they call you? Visit your portfolio? Book a consultation? Follow your Instagram? The design should guide that action.
If your business has many services, do not list them all unless absolutely necessary. “Brand strategy, logo design, packaging, websites, SEO, copywriting, photography, consulting, workshops, and emotional support for your homepage” may be accurate, but it will not look elegant on a 3.5-by-2-inch card. Use your website to explain details. Use your card to open the door.
Step 10: Design the Back Side
To create the back side, duplicate your Photoshop file and rename it clearly, such as Business-Card-Back.psd. Use the same dimensions, bleed, guides, color mode, and resolution as the front. This keeps both sides consistent and print-ready.
The back side is a good place for structured contact details. Use alignment to keep everything tidy. Left-aligned layouts are often easiest to read. Centered layouts can look elegant, especially for minimal brands, but they need careful spacing. Icons can help organize phone, email, and website details, but make sure they are simple and consistent in style.
What to Include on the Back
- Your full name
- Job title or specialty
- Business name
- Phone number
- Email address
- Website or portfolio
- Social media handle, if relevant
- QR code, if it adds real value
A QR code can be useful, but it should not replace basic contact information. Some people like scanning codes; others prefer typing a website or saving an email. Give them options without creating clutter.
Step 11: Proofread Like Your Reputation Depends on It
Because it does. A typo on a website can be fixed quickly. A typo on 1,000 printed business cards becomes a small cardboard museum of regret. Before exporting, proofread everything: name, title, phone number, email, URL, social handle, address, and QR code destination.
Read the card out loud. Send a proof to someone else. Check whether the phone number has the correct spacing. Make sure the email is not missing a letter. Confirm that the website loads. If you use a QR code, scan it with your phone before sending the file to print. This step takes five minutes and can save money, time, and dramatic sighing.
Step 12: Check Print Quality Before Exporting
Before you export the business card, review the file at full size and high zoom. Check the edges, guides, text clarity, image quality, and color contrast. Turn guides on and off to confirm that your artwork extends into the bleed and your essential content stays inside the safe area.
Use Photoshop’s zoom tools to inspect small details, but do not judge readability only at 400 percent zoom. Also view the card at actual print size. Something that looks huge on your monitor may be tiny in real life. Business cards are small. They do not care that your monitor is 27 inches wide and feeling generous.
Final Pre-Export Checklist
- Document size includes bleed.
- Resolution is 300 ppi.
- Color mode is CMYK, unless your printer requests otherwise.
- Backgrounds extend to the bleed edge.
- Text and logos stay inside the safe area.
- Fonts are readable.
- Contact information is correct.
- Images and logos are sharp.
- Front and back files are clearly named.
Step 13: Export the Business Card for Printing
Once the design is finished, save your layered Photoshop file first. This gives you an editable master file in case you need to change a phone number, update a title, or create a version for another team member.
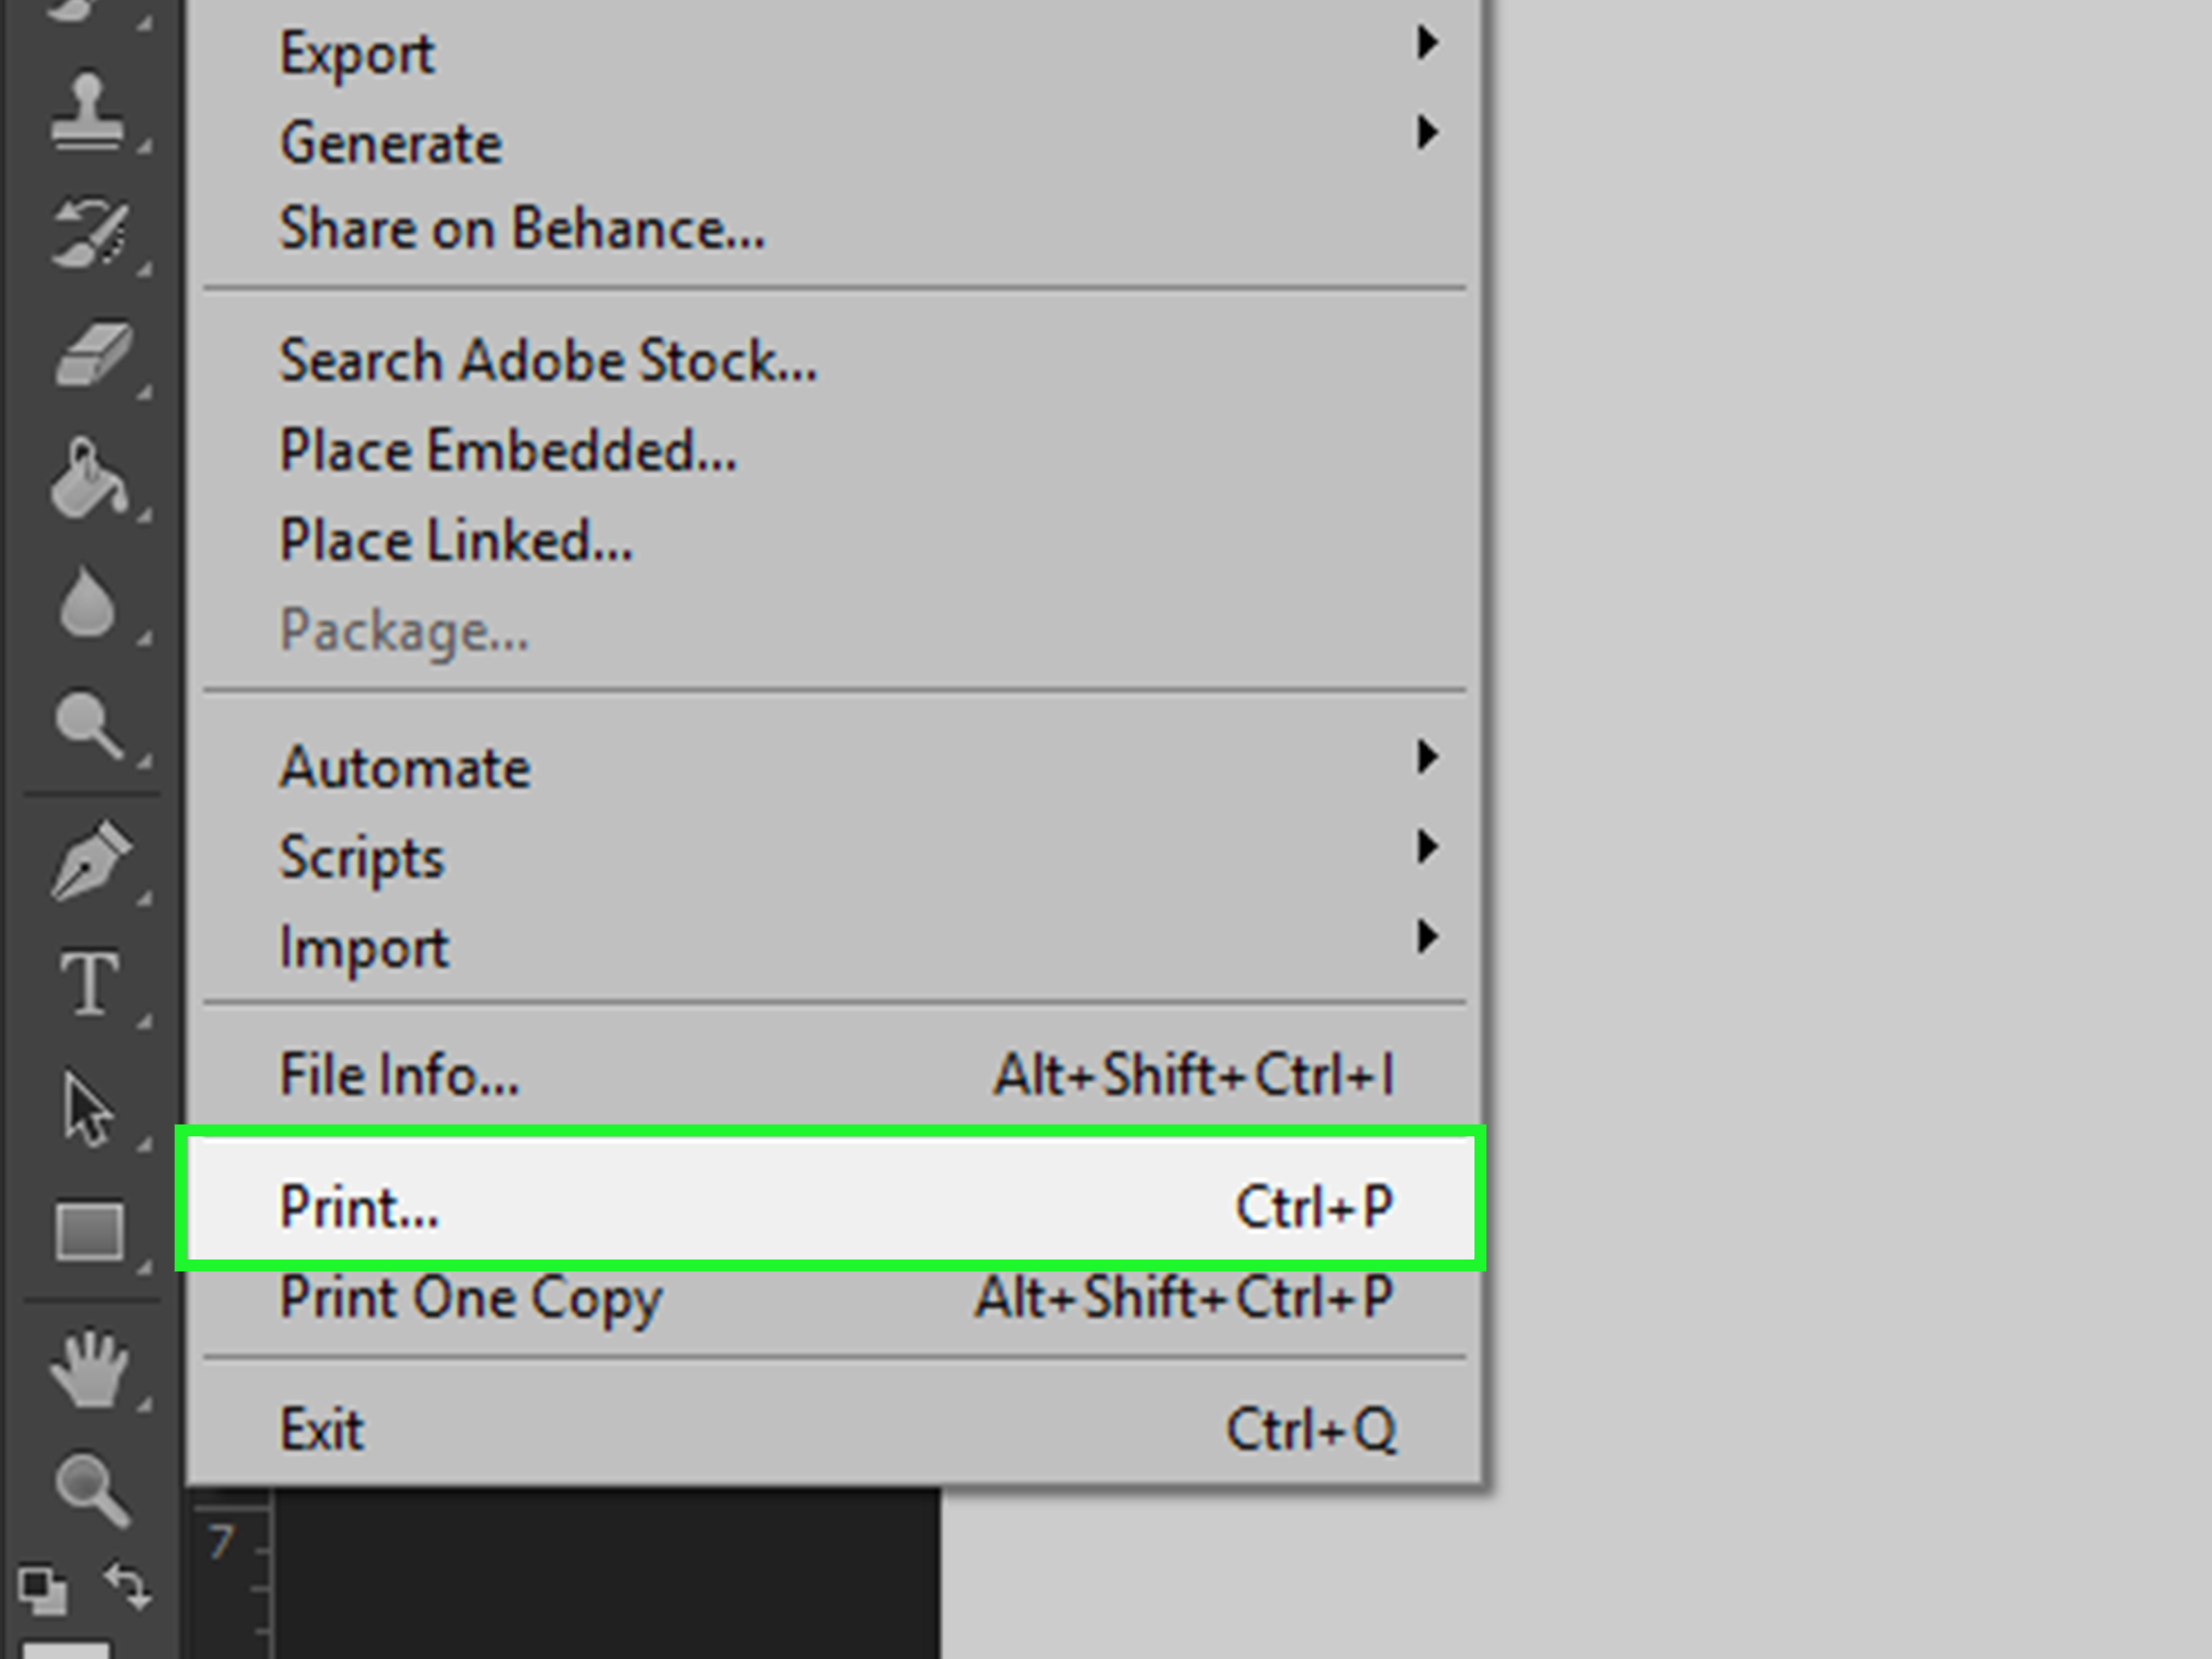
Next, export according to your printer’s specifications. Many print shops accept PDF, TIFF, JPEG, or PSD files, but PDF is often preferred for print workflows. When saving as PDF, use high-quality print settings and preserve image quality. If your printer provides a file upload guide, follow it closely.
If Photoshop does not create traditional layout bleed settings the way InDesign does, the practical solution is to build the bleed into the document size itself. That is why the 3.75-by-2.25-inch setup matters. Your full canvas includes the bleed, while your guides show the final 3.5-by-2-inch trim area.
Recommended Export Habits
- Save an editable PSD file.
- Export a print-ready PDF or file type requested by your printer.
- Do not flatten your only working file.
- Name files clearly: front, back, version number, and date.
- Review the uploaded proof before approving printing.
Common Business Card Mistakes to Avoid
Even experienced designers can make mistakes when preparing small print files. Here are the most common problems to watch for when creating a custom business card using Photoshop.
1. Forgetting the Bleed
If your background does not extend beyond the trim line, the final card may have thin white edges. Always extend color, texture, and images into the bleed area.
2. Placing Text Too Close to the Edge
Important details should stay inside the safe zone. A little extra margin makes the design look more polished and protects against trimming variation.
3. Using Low-Resolution Images
Low-resolution graphics may look acceptable on screen but print blurry. Use high-quality images and logos from the start.
4. Choosing Tiny or Overly Decorative Fonts
Readable typography is more important than showing off the fanciest font in your collection. Save the wild decorative typeface for a poster, not your email address.
5. Overcrowding the Design
A business card should be clear and memorable. Too much information makes it harder to read and less likely to be kept.
6. Ignoring Brand Consistency
Your card should match your website, logo, social profiles, packaging, and other brand materials. Consistency builds trust.
Creative Business Card Ideas You Can Build in Photoshop
Once the technical setup is correct, Photoshop gives you room to be creative. You can design a minimal card with elegant typography, a bold card with a dramatic background, or a textured card that feels handcrafted. The best design direction depends on your audience and industry.
Minimalist Card
Use a clean white or neutral background, strong typography, and plenty of space. This works well for consultants, architects, writers, stylists, and luxury service providers.
Photo-Based Card
Use a full-bleed image on one side and contact details on the other. This is ideal for photographers, interior designers, chefs, artists, and makers.
Bold Color Block Card
Use one strong brand color with contrasting text. This style is memorable, modern, and easy to recognize in a stack of cards.
Patterned Background Card
Create a subtle pattern using brand icons, initials, product illustrations, or abstract shapes. Keep the pattern light enough that it does not fight with the text.
QR Code Portfolio Card
Add a QR code that links to a portfolio, booking page, menu, or digital contact card. Make sure the QR code has enough contrast and white space around it so it scans reliably.
Experience Notes: What Designing Business Cards Teaches You
After designing enough business cards, you start to notice that the best ones are rarely the loudest. They are the clearest. A successful card does not try to explain an entire business model in one glance. It gives people the right information, in the right order, with enough style to be remembered.
One lesson that comes up again and again is that margins matter more than beginners expect. On screen, placing text close to the edge can look modern and dramatic. In print, it often looks nervous. A little breathing room makes the whole card feel more expensive, even when the paper stock is simple. This is especially true for names, phone numbers, and email addresses. When important details sit comfortably inside the safe area, the card feels intentional instead of squeezed.
Another practical lesson is that logos need honest evaluation. Many small businesses only have a logo file that was downloaded from a website, copied from social media, or saved years ago at a tiny size. When that logo is placed on a print-ready Photoshop canvas, the weakness becomes obvious. Edges look soft. Lines look fuzzy. Small text inside the logo disappears. In those cases, it is better to rebuild the logo, request a vector file, or simplify the design than to force a poor-quality asset into a professional print project.
Color is another area where experience helps. New designers often trust the monitor too much. But screens glow; paper does not. Bright colors can print flatter, dark colors can lose detail, and subtle contrast can disappear. A smart habit is to print a rough proof on a home or office printer, even if it will not match the final professional result perfectly. That quick test can reveal whether the text is too small, the contrast is too weak, or the layout feels unbalanced at real size.
It is also worth thinking about how the card feels in someone’s hand. Photoshop controls the artwork, but the final impression also depends on paper, coating, thickness, and finish. A simple design on thick matte stock can feel more premium than a crowded design with every effect Photoshop offers. Foil, spot UV, rounded corners, painted edges, and textured paper can be beautiful, but they work best when the design is already strong. Special finishes should support the brand, not rescue a messy layout.
One of the most useful habits is designing in versions. Create one safe version, one bold version, and one experimental version. The safe version usually solves the communication problem. The bold version may become the final choice. The experimental version often teaches you something, even if it is too wild to print. Comparing versions helps you see what matters: spacing, contrast, hierarchy, and personality.
Finally, always sleep on the design if the deadline allows. A business card can look perfect after two hours of intense work, but fresh eyes may reveal that the title is too small, the QR code is too dominant, or the background texture is distracting. Good design often improves during the quiet second look. Your first draft starts the conversation; your revision makes it professional.
Conclusion
Learning how to create a custom business card using Photoshop is a valuable skill because it combines design thinking with print production. You are not just making a small graphic; you are creating a physical brand touchpoint that someone may keep, share, or use to contact you weeks later.
Start with the correct document size, bleed, resolution, and color mode. Add guides for trim and safe areas. Build a clean layout with strong hierarchy, readable fonts, sharp images, and consistent brand colors. Keep the design focused, proofread every detail, and export according to your printer’s requirements. The result is a business card that looks polished on screen and professional in print.
A business card may be small, but when designed well, it can do a lot of heavy lifting. It introduces you, supports your brand, and gives people a reason to remember you. Not bad for something that fits between a coffee receipt and a loyalty punch card.