Editor’s Note: Longboarding is fun, smooth, and slightly magical when everything goes rightbut stopping is not optional. Practice these techniques slowly, on flat pavement, away from traffic, and always wear a properly fitted helmet, closed-toe shoes, wrist guards, knee pads, and elbow pads.
Why Learning to Stop Comes Before Learning to Go Fast
Longboarding has a way of making beginners feel confident very quickly. The board is longer than a standard skateboard, the wheels are larger and smoother, and cruising down a quiet path can feel like surfing concrete. But there is one tiny detail every rider must respect: the board will keep rolling until you make it stop.
Before you chase speed, hills, dance steps, or stylish slides, you need reliable longboard stopping techniques. A rider who can push but cannot stop is not “adventurous.” That rider is a shopping cart with sneakers. The good news is that stopping on a longboard is learnable, practical, and much less scary when you build the skill in stages.
This guide breaks down three core ways to stop on a longboard: stepping off at very low speed, foot braking, and controlled carving or sliding for speed management. Each method has a place. Each method has limits. And each one works best when paired with common sense, protective gear, and a healthy fear of steep hills.
Before You Practice: Set Yourself Up for a Safe Stop
Choose the Right Practice Spot
The best place to learn how to stop on a longboard is not a road, a crowded sidewalk, a driveway pointed toward traffic, or a dramatic hill that looks like it belongs in an energy drink commercial. Start on flat, smooth pavement with plenty of open space. Empty parking lots, quiet schoolyards after hours, and wide paved paths can work well if skating is allowed.
Look for cracks, sand, wet leaves, gravel, drain covers, and bumps. Small obstacles can cause sudden wheel bite, slips, or awkward dismounts. If the pavement looks like it was recently attacked by a herd of tiny jackhammers, find another spot.
Wear the Gear, Even If You Feel Silly
Protective gear is not just for beginners. It is for people with elbows, knees, wrists, teeth, and brains. A properly fitted helmet should sit level on your head and stay snug when you move. Wrist guards help during unexpected falls, while knee and elbow pads reduce scrapes and impact. Closed-toe shoes with flat, grippy soles are especially important for foot braking.
Know Your Stance
Before practicing any stopping method, know whether you ride regular or goofy. Regular means your left foot is forward. Goofy means your right foot is forward. Neither stance is better; one simply feels more natural. Your front foot usually stays on the board for balance, while your back foot often does the braking work.
Way 1: Step Off at Very Low Speed
Best For: Beginners, Walking Speed, Emergency Reset Moments
The simplest way to stop on a longboard is to step offbut only when you are moving slowly. Think walking speed, not “the board has developed its own weather system” speed. This method is useful when you are just starting, rolling gently, or losing balance in a controlled environment.
To step off safely, slow your body first. Keep your knees bent, your shoulders relaxed, and your weight centered. Place your back foot on the ground while your front foot stays lightly on the board. Then step forward and walk away from the board. The key is to step in the direction you are traveling, not backward or sideways.
Do not jump off a fast-moving board unless you have no safer option. At higher speeds, your feet may not be able to keep up with your momentum. That is when a casual step-off becomes a surprise sprint, and surprise sprints are how people discover new and exciting ways to meet the pavement.
Common Mistakes to Avoid
Many beginners step off too late, lean backward, or try to plant both feet at once. Instead, treat the movement like stepping off a slow treadmill. One foot comes down, your body continues forward, and you walk it out. Keep your eyes ahead, not glued to the board. Looking straight down often makes your shoulders collapse and your balance disappear.
Use this method as a low-speed safety tool, not your main braking system. Once you can push and roll comfortably, move on to foot braking. That is the real foundation of stopping on a longboard.
Way 2: Foot Brake on a Longboard
Best For: Cruising, Beginners, Everyday Speed Control
Foot braking is the most important longboard stopping technique for most riders. It is practical, simple, and works well for casual cruising. The idea is straightforward: balance on your front foot while gently dragging the sole of your back shoe on the pavement to create friction.
Start slowly. Roll forward on flat ground at a comfortable pace. Place your front foot near the center or slightly forward on the deck, pointing mostly toward the nose of the board. Bend your front knee and shift most of your weight over that front leg. Then lower your back foot until the sole lightly touches the ground.
At first, brush the pavement gently. Do not stomp. Stomping can throw your weight backward or twist your body off balance. As you get more comfortable, increase pressure gradually. More pressure creates more friction, which slows the board faster. Less pressure gives you a smoother, longer stop.
How to Make Foot Braking Feel Natural
The hardest part of foot braking is not dragging your shoe. It is balancing on one leg while the board keeps rolling. Practice standing on your board with your front foot only while holding onto a fence, rail, or a friend’s shoulder. Then practice lowering your back foot without putting weight on it. This builds the balance you need before you add speed.
When rolling, keep your shoulders facing the direction of travel. Let your arms help with balance, but do not flap them like a panicked goose. A little movement is normal. Wild arm circles usually mean your knees are too stiff or your weight is too far back.
When Foot Braking Works Best
Foot braking is excellent for low to moderate speeds. It helps you slow down before intersections, crowded areas, turns, and rough pavement. It is also useful before stepping off. In real cruising, many riders combine both methods: foot brake first, then step off once the board is nearly stopped.
However, foot braking has limits. It becomes harder at high speeds, on steep hills, or on wet surfaces. It also wears down your shoe sole over time. That is normal, but it is another reason to wear durable, closed-toe shoes instead of sandals or thin casual sneakers.
Way 3: Carve or Slide to Control Speed
Best For: Gradual Speed Management and Advanced Stopping
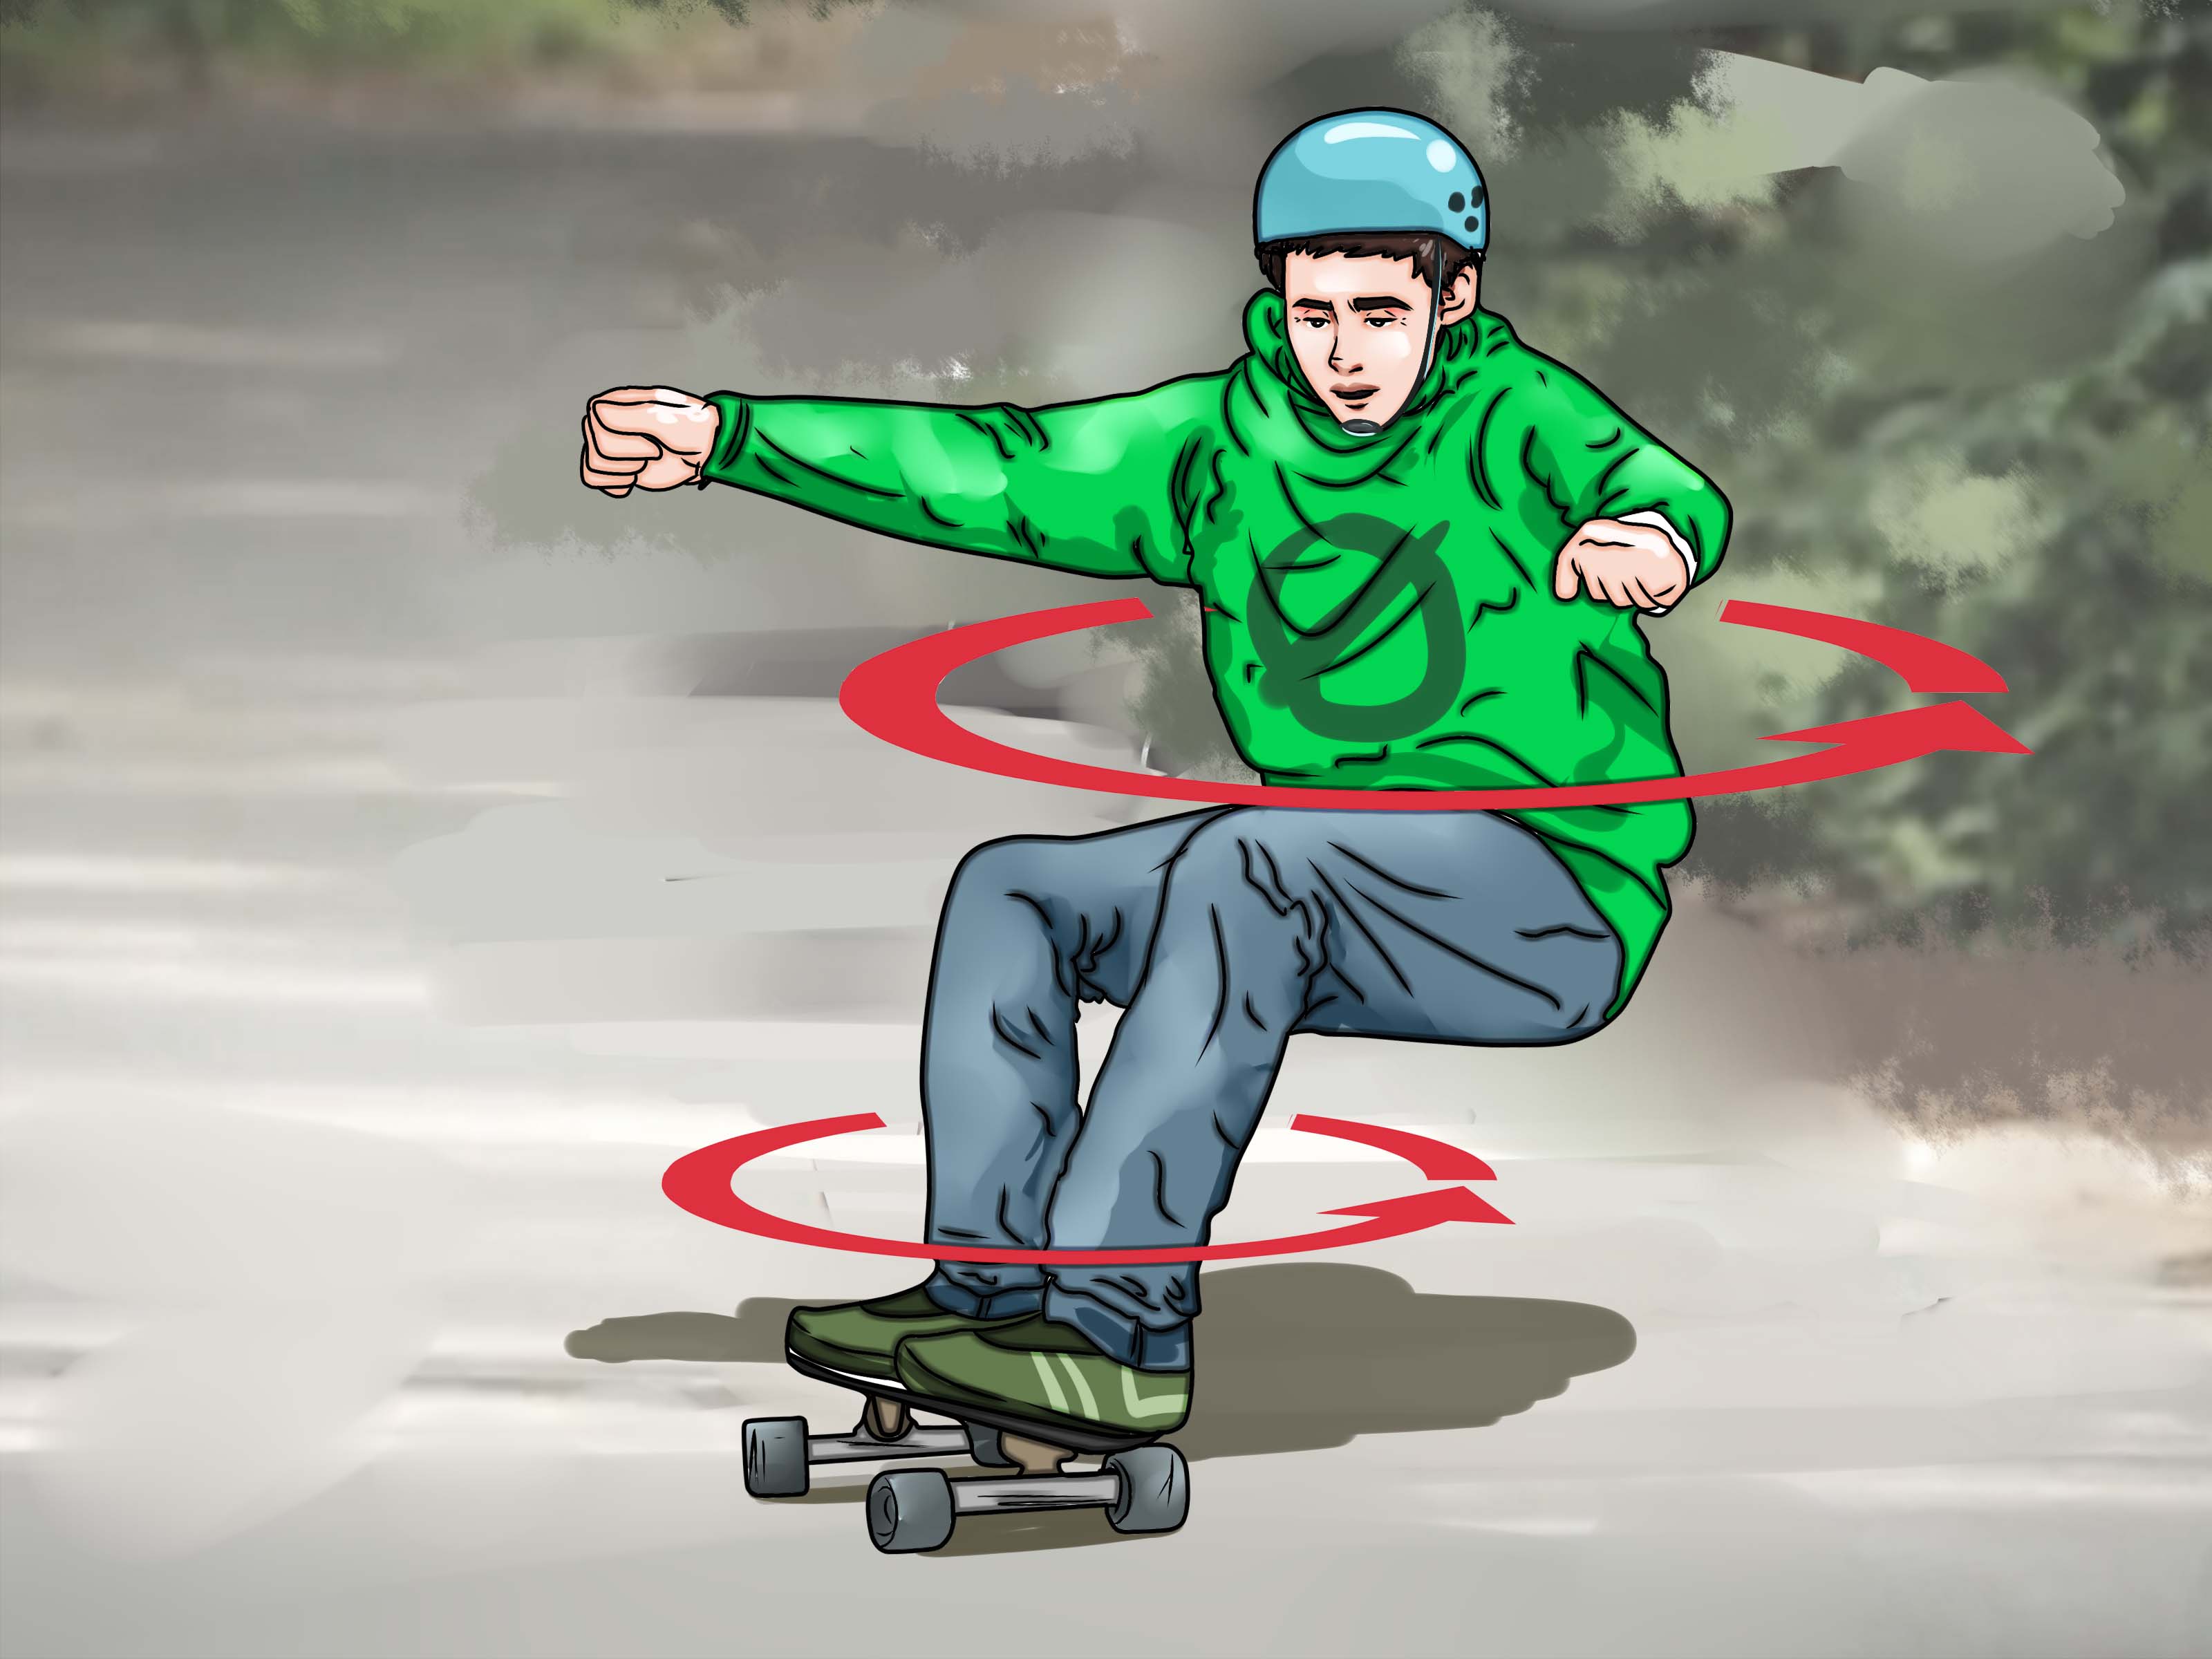
Carving means making smooth S-shaped turns across the pavement. Instead of rolling straight down a path, you turn left, then right, then left again. Each turn redirects your momentum and can help reduce speed. Carving is especially useful on gentle slopes where there is enough space and no traffic.
To carve, bend your knees, look where you want to go, and shift your weight through your heels and toes. A heelside turn uses pressure through your heels. A toeside turn uses pressure through the balls of your feet. The turns should feel smooth and controlled, not sharp and panicked.
Carving is not a magic brake. It helps manage speed, but it may not stop you completely. On steeper hills, carving alone may not slow you enough. That is why beginners should avoid hills until they can foot brake confidently and understand how their board responds under pressure.
What About Sliding?
Sliding is an advanced longboard stopping method where the wheels break traction and the board moves sideways to reduce speed. It can stop a rider quickly when done correctly, but it requires skill, protective gear, slide gloves, the right wheels, and lots of practice in a safe area. Beginners should not learn slides by bombing a hill and hoping courage fills in the missing technique.
If you eventually want to learn a slide stop, start with professional instruction, experienced supervision, or a controlled clinic. Practice on mellow pavement at low speed. Learn carving, foot braking, and board control first. Sliding is not the first chapter of longboarding; it is more like the chapter where the author assumes you already read the safety manual.
Carving vs. Sliding: Know the Difference
Carving keeps your wheels gripping the pavement while you turn. Sliding intentionally reduces that grip. Carving is smoother and more beginner-friendly. Sliding is faster, more technical, and more demanding. Both can help control speed, but only one belongs in your first week of longboardingand it is carving.
How to Choose the Right Stopping Method
Use the Method That Matches Your Speed
At walking speed, stepping off can be enough. At casual cruising speed, foot braking is usually the best choice. On gentle slopes, carving can help manage speed before you foot brake. At advanced speeds, skilled riders may use slides, but high-speed riding should never be treated casually.
A simple rule works well: never ride faster than you can confidently stop. If you are not sure whether you can stop at your current speed, you are already going too fast. Longboarding rewards smooth control, not reckless speed.
Match the Technique to the Environment
In a crowded area, slow down early and step off. On a quiet flat path, foot brake. On a wide open slope, carve gently to reduce speed before braking. Near traffic, driveways, pedestrians, pets, or rough pavement, get off the board and walk. Walking is not failure. Walking is just longboarding with fewer wheels and better insurance.
Common Longboard Stopping Problems and Fixes
You Wobble When You Lift Your Back Foot
This usually means your weight is not fully over your front foot. Bend your front knee and keep your core steady. Practice balancing on your front leg while stationary before trying again at low speed.
Your Braking Foot Bounces
If your braking foot skips across the ground, you may be lowering it too quickly or keeping your leg too stiff. Touch the ground gently first, then add pressure. Think “brush, then press.”
You Turn Accidentally While Foot Braking
Accidental turning often happens when your shoulders twist or your front foot points too far sideways. Keep your shoulders aligned with the board and your front foot stable. Small adjustments make a big difference.
You Feel Scared on Hills
Good. That fear is useful information. Do not practice stopping for the first time on hills. Build your skills on flat ground, then try only very gentle slopes with a safe runout area. Longboarding should feel exciting, not like negotiating with gravity.
of Real-World Experience: What Stopping on a Longboard Actually Feels Like
The first time many riders try to stop on a longboard, they discover that the board is not the problemtheir confidence is. Rolling forward is easy. Pushing feels cool. Turning feels even cooler. Then comes the moment when you realize you need to stop, and suddenly your brain opens 47 browser tabs at once.
In real practice, the best stopping progress usually comes from repeating small drills. One useful routine is the “push, coast, brake” drill. Push once, coast for a few seconds, foot brake lightly, then step off. Repeat that ten or fifteen times. It sounds boring, but boring practice creates exciting confidence. After a while, your back foot learns where the ground is without you staring at it like it owes you money.
Another helpful experience is learning how different shoes feel. Thin soles may give you more board feel, but they can wear quickly when braking. Thick, flat soles often feel more stable and last longer. Avoid loose shoes, sandals, and anything that makes your foot slide around. Your braking foot is basically your emergency anchor, and anchors should not be made of flip-flops.
Riders also learn that speed feels different depending on the surface. Smooth pavement can make a slow roll feel calm and predictable. Rough pavement can make the same speed feel shaky. A tiny patch of gravel can turn a casual cruise into a dramatic plot twist. This is why experienced riders scan ahead constantly. They are not just looking cool; they are reading the ground.
Carving also teaches patience. Beginners often try to force turns with their shoulders, but longboards respond better to smooth weight shifts. When you bend your knees and guide the board through your ankles, hips, and eyes, carving becomes less like wrestling furniture and more like drawing waves on pavement. The more relaxed you are, the better the board behaves.
One of the biggest lessons is that stopping early is smarter than stopping late. If you see a driveway, dog walker, intersection, puddle, or group of people ahead, slow down before you reach them. Waiting until the last second creates panic, and panic is famous for making bad decisions while wearing your face.
Finally, every rider should respect the “not today” rule. If a hill looks too steep, if the pavement is wet, if your shoes feel slippery, if your helmet is missing, or if your instincts say something is off, do not ride it. Longboarding will still be there tomorrow. The best riders are not the ones who never fall; they are the ones who know when to slow down, step off, and save the adventure for better conditions.
Final Thoughts: Stop Smoothly, Ride Longer
Learning how to stop on a longboard is the skill that makes every other skill safer and more enjoyable. Start with low-speed step-offs, build a strong foot brake, and use carving to manage speed before it becomes a problem. Treat sliding as an advanced technique, not a shortcut.
The goal is not to look dramatic. The goal is to stay relaxed, stay aware, and stay in control. Longboarding is at its best when you can cruise smoothly, stop confidently, and arrive with your knees, elbows, and dignity still mostly in their original packaging.